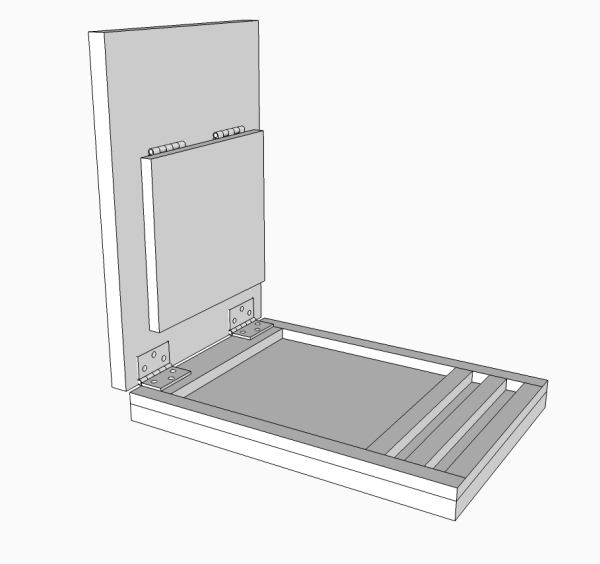
Several friends and family members had mentioned the need for a slant board that would allow the user to stretch their heel cord, Achilles, calf etc. This is a very usefule device for ankle rehab...a natural for my daughter who is rehabing after an ankle replacement and for myself...25 years after an ankle fusion....a total of 5 will be built. After searching the Internet, I found some images of variable angle models I liked...in particalar I liked a model that would fold down flat when not in use.. I created a drawing of my prototype in Sketchup.. The elements would be a base, top, prop plate, and prop support frame.
|
|
This is the online image that
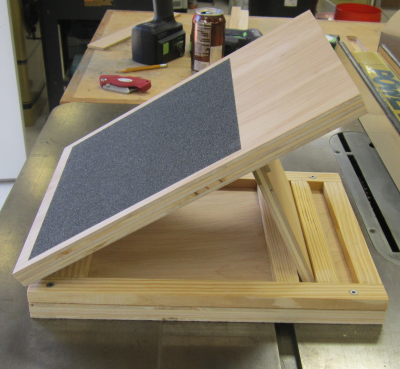
had a design I really liked... side view showed how the prop plate fits
in one of the slots to provide three different slant angles ...these
will roughly be 25°, 35°, and 42°. |
 |
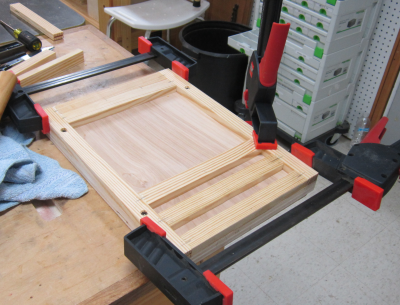
The unit will consist of a base (3/4 inch
ply), top (3/4 inch ply, and a prop plate (1/2 inch ply). These will
be held together by hinges. |
 |
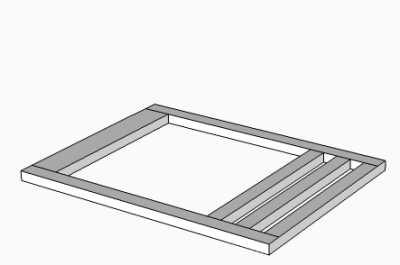
The prop rest frame will be made from 1/2 thick pine. The rails and stiles will be joined by glue and Dominos and then the frame will be screwed to the base. The slots on the right end will anchor the prop plate. The larger opening will allow for prop plate storage when the device folds flat. |
 |
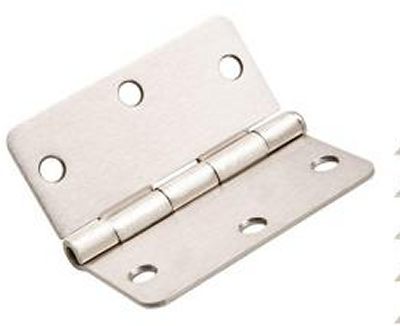
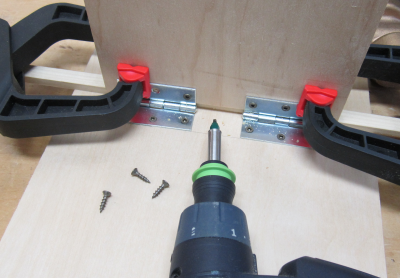
The top will hinge to the frame/base assembly via two 3 inch zinc utility hinges. The prop plate will hinge to top with two 2.5 inch units. The screws will be square drive #6. |
 |
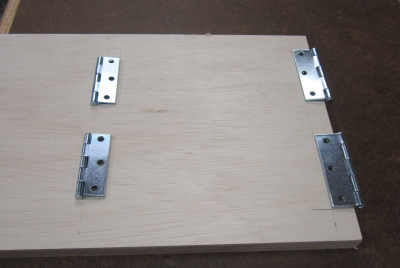
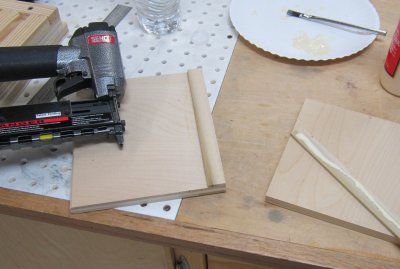
Testing hinge layout... |
 |
Ripping the small pieces for the frame assembly. |
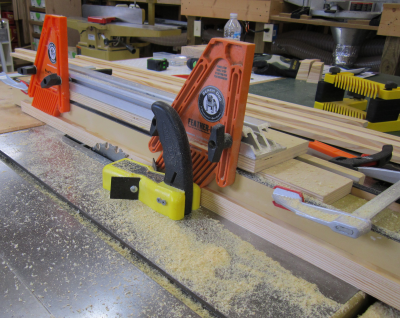 |
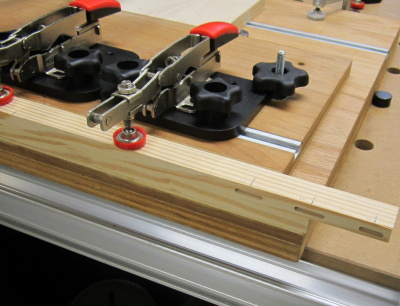
Using a production clamping jig to Domino
mortises in the sides of the frame pieces. |
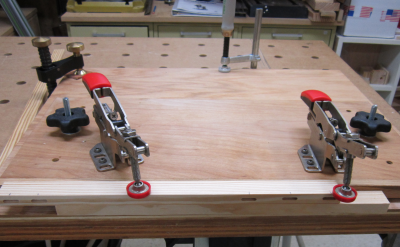 |
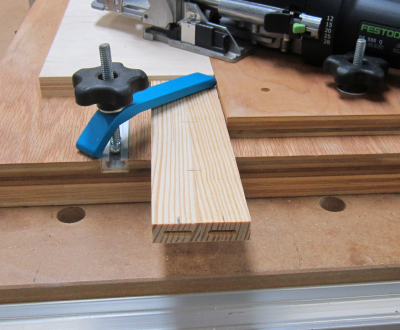
On the MFT3 table, clamping to Domino mortises into the ends of the frame pieces. Due to over a hundred twenty mortises to cut...I redesigned
the production jig...see changes here. |
 |
Assembled prototype.
|
 |
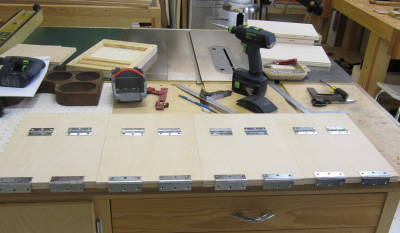
| After building a new crosscut sled for the Powermatic, I got busy doing production work to make six units.
|
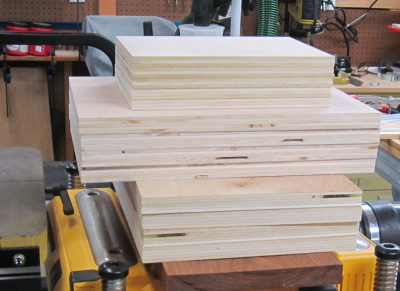 |
Parts gathered for the build. |
 |
Hinges installed on all top pieces. |
 |
Dry fit for frame...layout for Domino mortise and tenon joints. |
 |
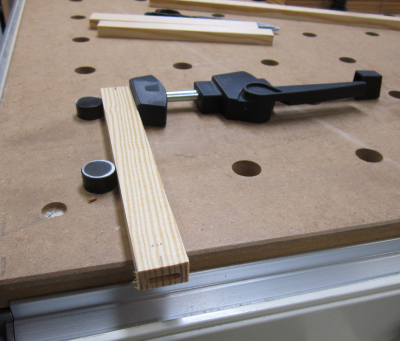
Side Domino mortises...new updated jig. |
 |
End Domino mortises. |
 |
Frame assembly with Domino tenons. |
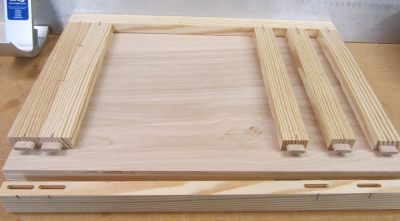 |
Frame glue up. |
 |
Back screw strip pinned and glued onto the
prop plate. |
 |
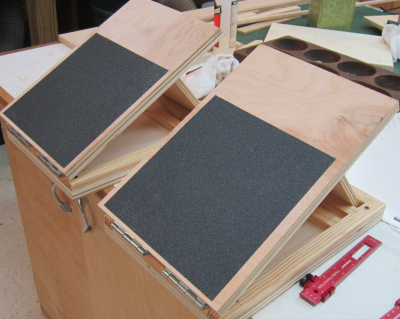
Final hinge assembly to the prop plate.
Unit is ready. |
 |
Non-slip surface installed. |
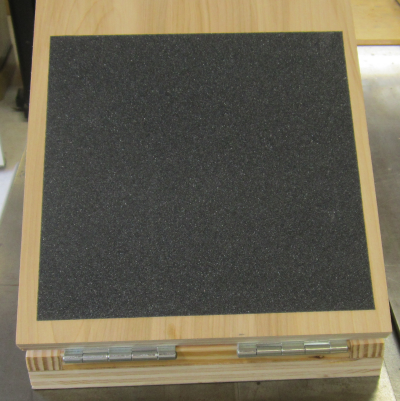 |
Storage position. |
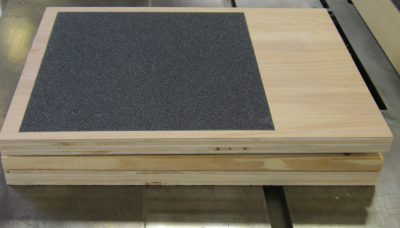 |
Center angle.
|
 |
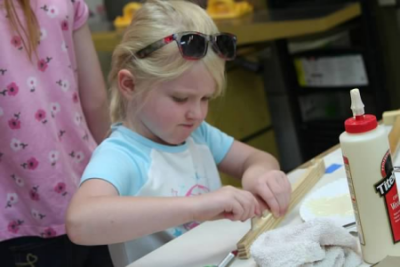
Serious concentration during the glue-up with a Domino tenon. |
 |
A miscalculation in the hinge location caused some consternation. |
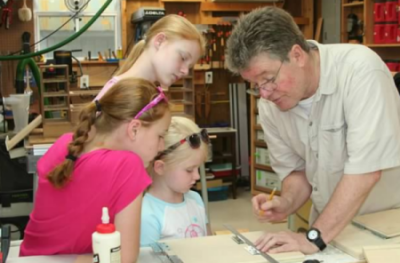 |
The finished products. Proudly made in America by the McGill Girls.
|
 |