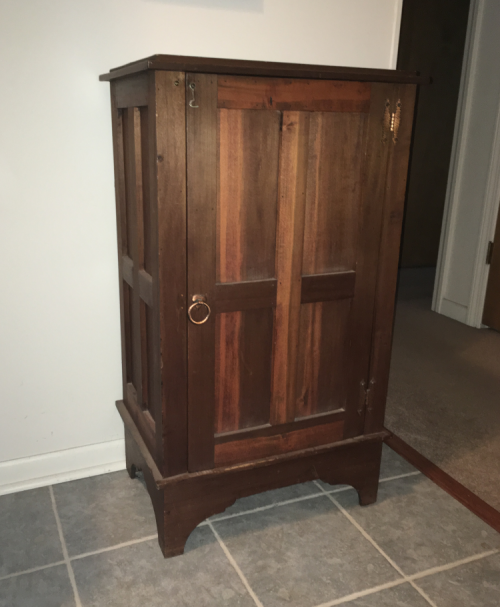
Cherry Shaker Panel Cabinet I have a simple cabinet of persimmon wood that came down to me from my Great Grand parents.
I decided to make myself a Shaker style flat panel version of this cabinet in cherry.
Wood Selection and Primary Milling
|
|
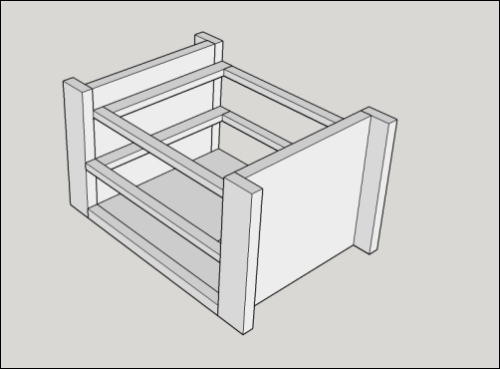
Some Sketchup design looks... The cabinet will have Shaker style flat panels on the sides and front door.
|
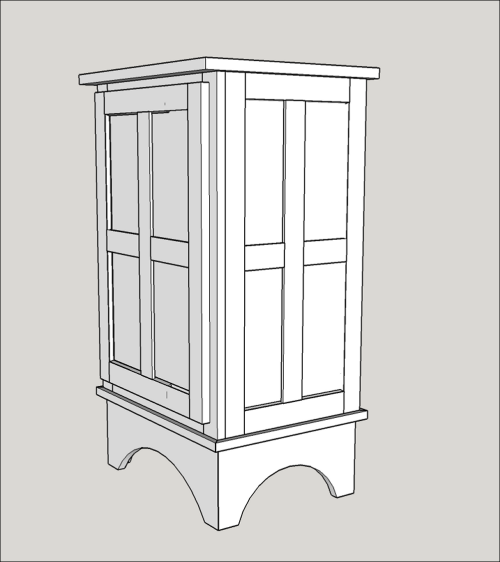 |
The sides of cabinet will be Shaker style flat panels...the rails and stiles will be two inch...with coped joinery. |
 |
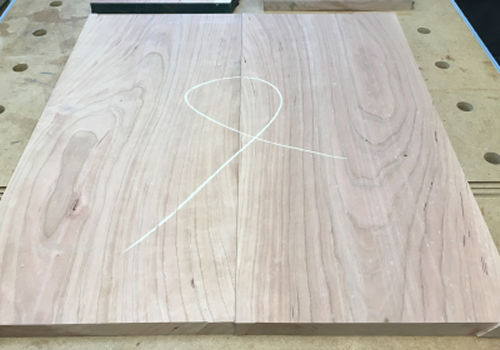
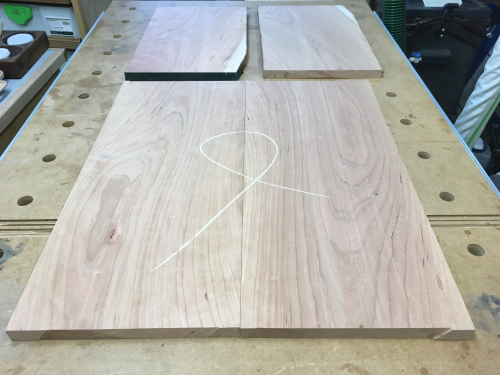
In the attic I had some 4/4 cherry from Picken's Hardwoods, ~9 inches wide, 2 boards @ 60 inches, 2 @ 48, 1 @ 24. |
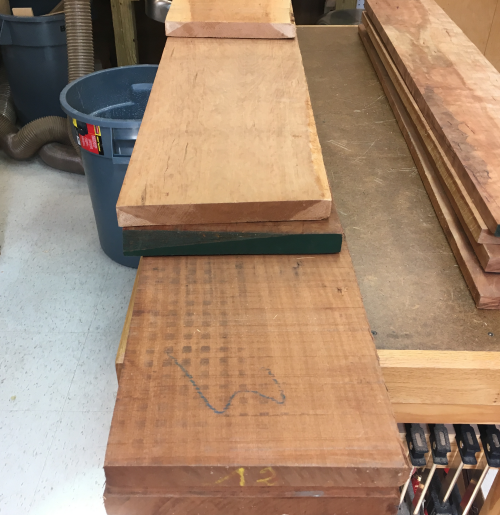 |
...as well as some 4/4 figured cherry that my brother Tom had gifted me..., ~6 inches wide, 4 boards @ 3 feet. |
 |
After running the 5 foot boards, I realised that they were not cherry...they were some mahogany boards that Tom had gifted me. this is the board while rough... |
 |
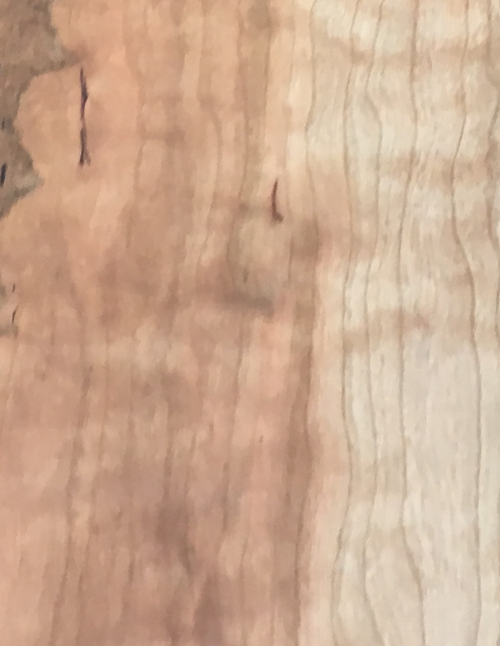
Comparison after surfacing...top is mahogany, the bottom is the cherry. |
 |
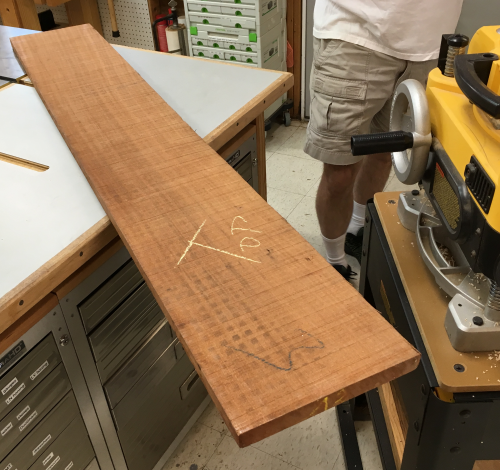
After realizing the problem with the mahogany, we had to turn to an 8/4 cherry slab in the shop attic...rough boards were resawn at the band saw. |
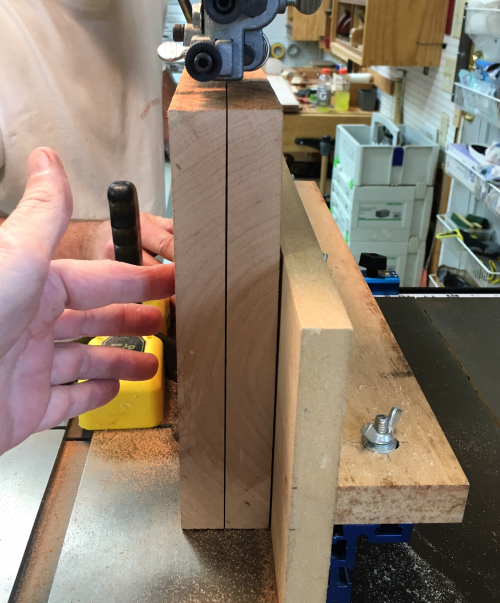 |
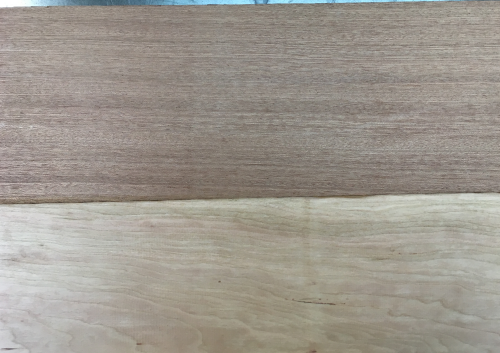
Most of the boards were surface jointed and edge jointed on the Powermatic... |
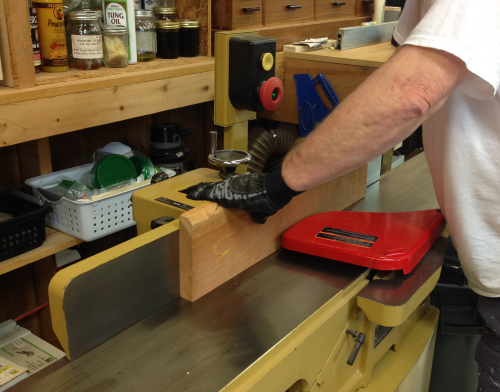 |
...and then surface planed to thickness on the Dewalt planer. |
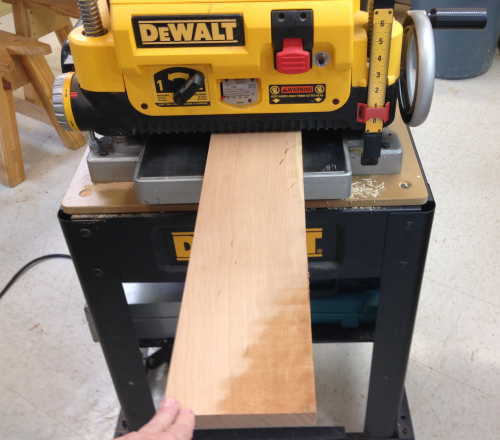 |
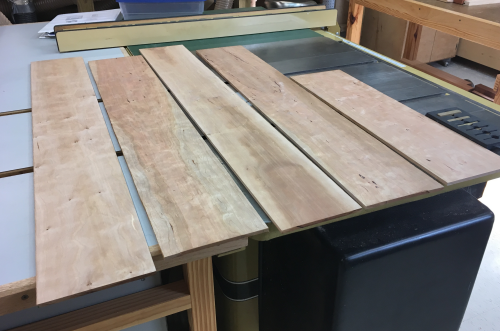
Most of these boards are 3/4", a few are 1/2" or 5/8" for drawers. |
 |
These boards will be glued to make the top. Due to their width, these boards could not be jointed on a surface (too wide for Powermatic) so we surfaced them at the planer, then jointed the edges. |
 |
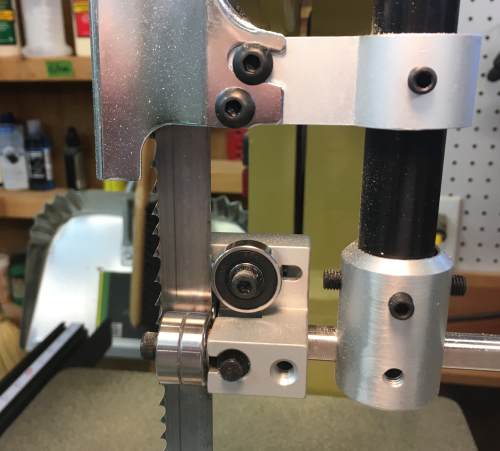
During resawing there was a problem with drift...I ordered up and installed Carter Products guides for the P14CS. Install is shown here. |
 |
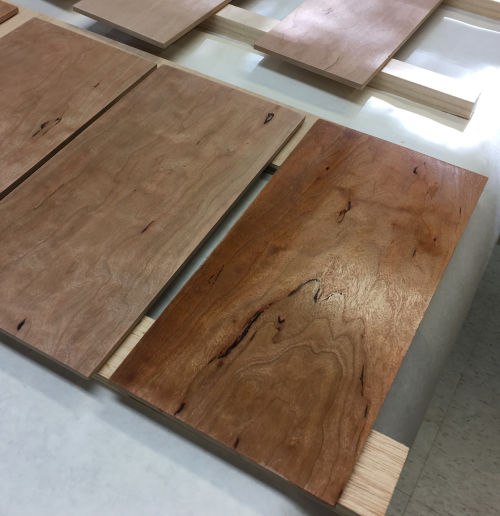
After the upgrade and a move to a new 3/4" Woodslicer blade, the results were vastly improved. Here, some very figured cherry that was ~3/4" thick was resawn to ~5/16" thick and then run through the thickness planer to ~1/4 inch (this is as thin as the Dewalt will allow). These will be the flat panels used in the side and front panel frames of the cabinet. |
 |
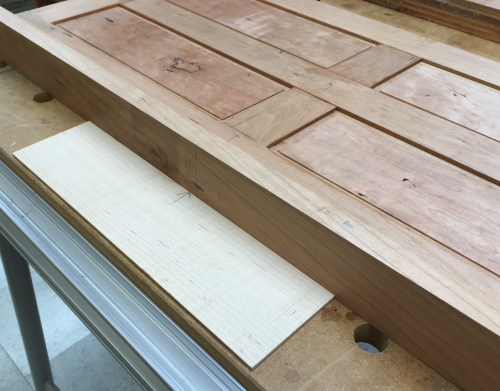
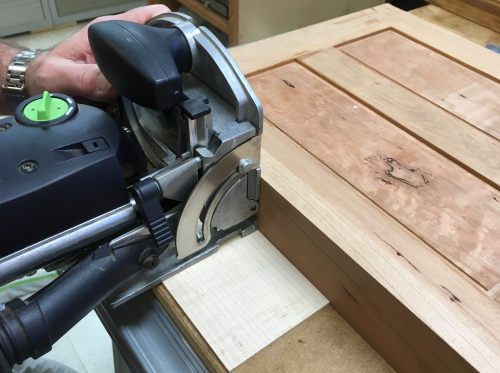
The final thickness of the panel edge that fits into the frame rails and stiles needs to be a little thinner than 7/32"...the edge thickness was done on the backside of the panel at the router using an up spiral bit. |
 |
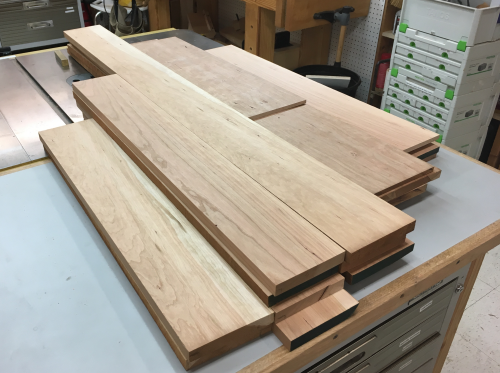
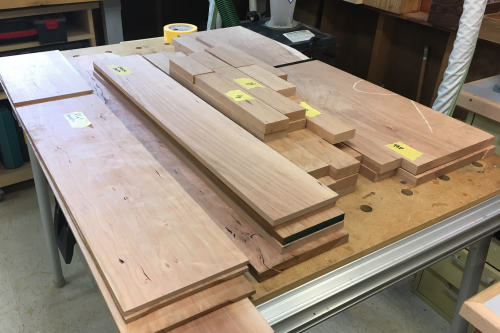
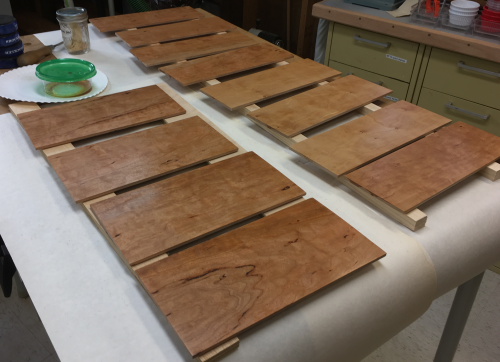
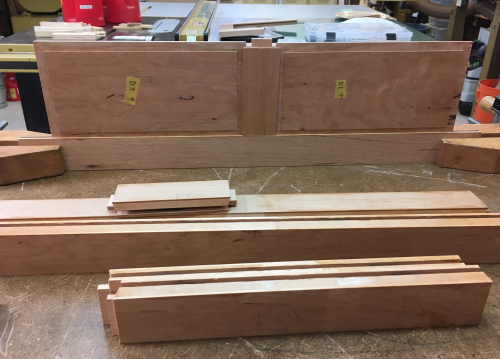
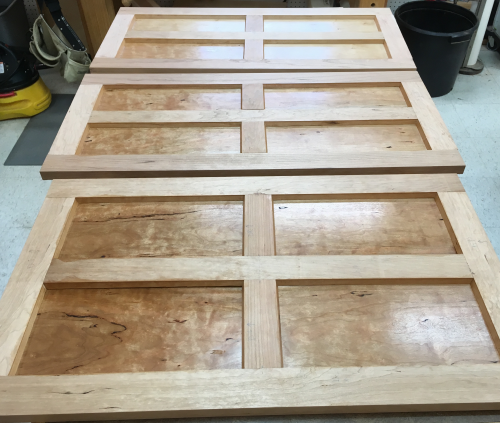
Final blanks for all parts after milling... panels, drawers, rails, stiles, baseboards and the top.
|
 |
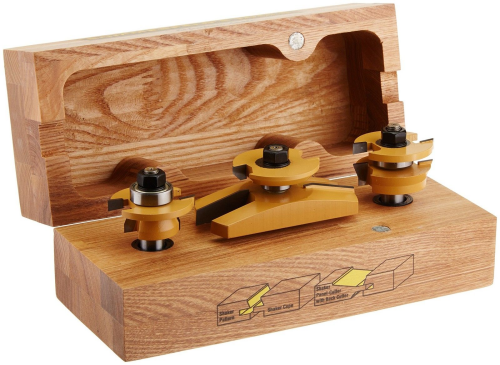
Used a Sommerfeld 3 piece raised panel router bit set. It is the Shaker panel set. |
 |
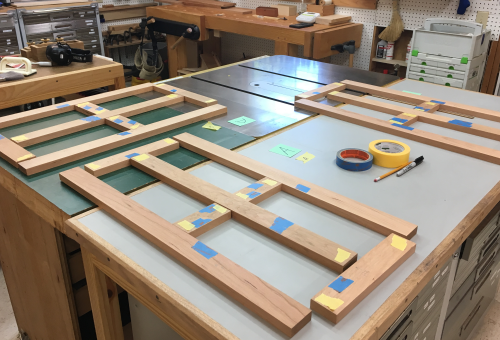
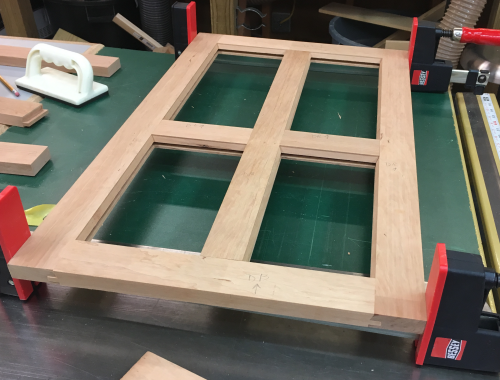
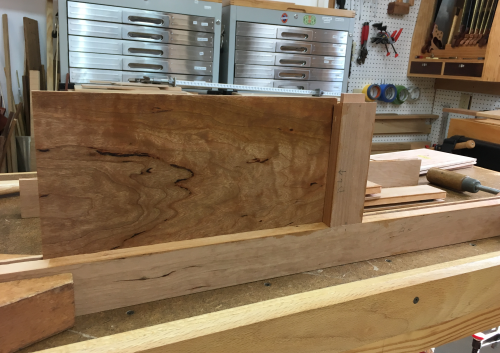
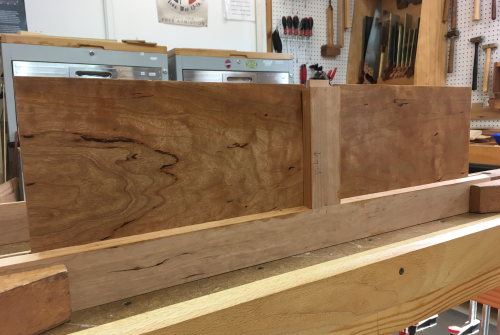
All of the rails, intermediate rails, stiles, and muntins for the two side frame panels and the front door panel were laid out and marked to verify the pattern/groove cuts and cope cuts at the router. Blue = pattern/groove cuts on edges |
 |
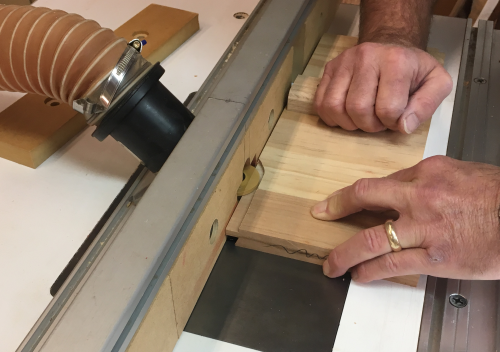
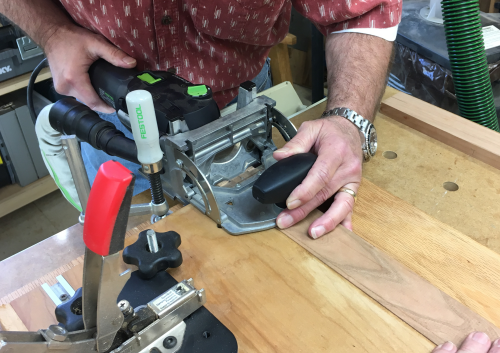
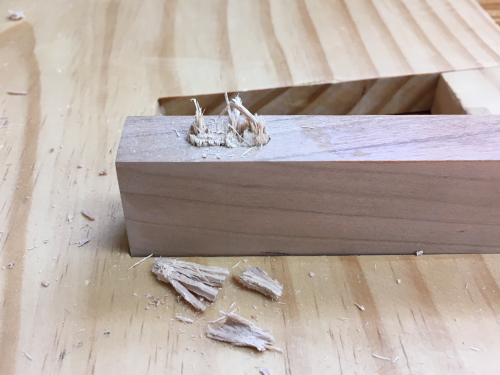
The cope cuts were made first...all of the rails and the muntin were coped on two ends. A shop built push board with a handle made this easier and provided a backer surface to reduce spelching. |
 |
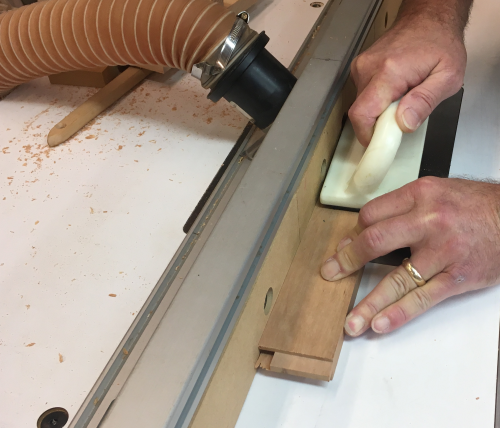
Then the pattern/groove cuts were made. |
 |
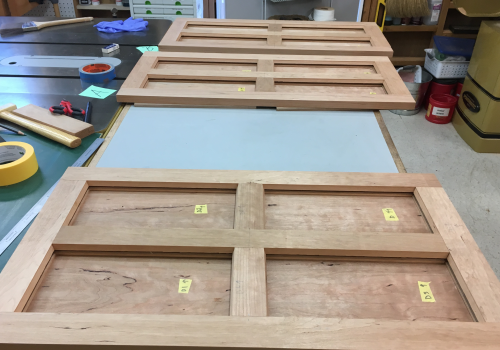
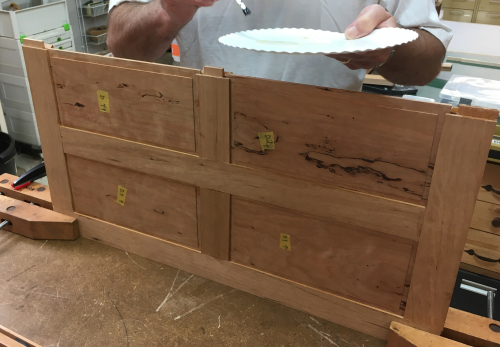
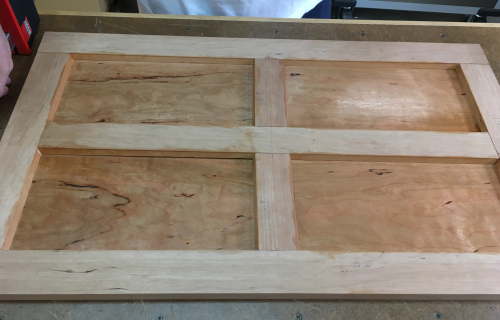
All the pieces were dry fit... |
 |
The cherry panels were laid out under the frames to allow for figure alignments. |
 |
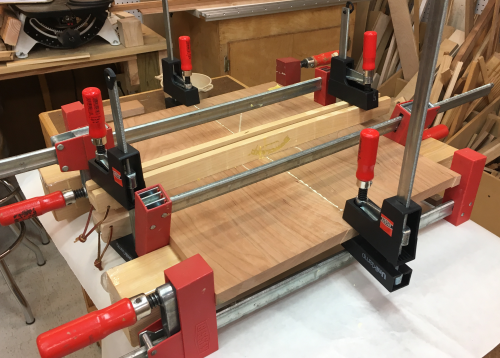
During a dry fit for the panels we felt that the amount of time it took to get everything in place was going to cause problems due to woodworking glue set up time...decided to try hot hide glue...did a crash test dummy...liked it...will use to glue up panels. |
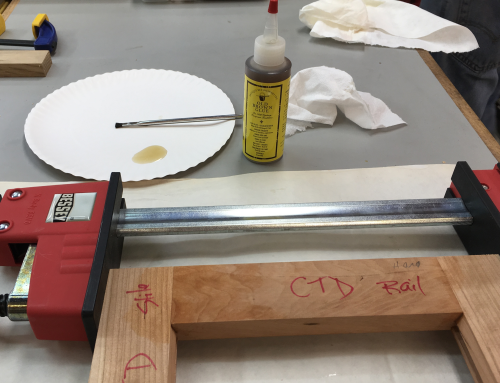 |
I used " Old Brown Glue" pre-mixed hide glue. I heated it to the upper range of the manufacturers suggestion...around 140 degrees. |
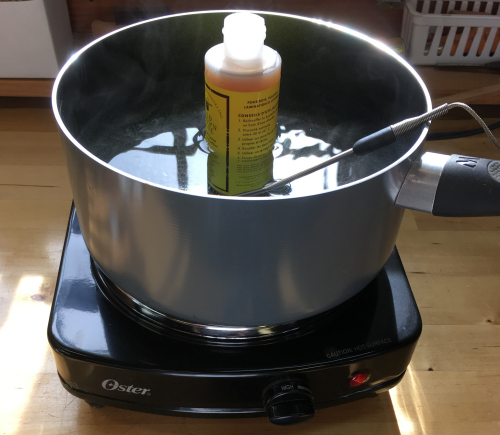 |
The glue worked well in the rather complicated glue up. |
 |
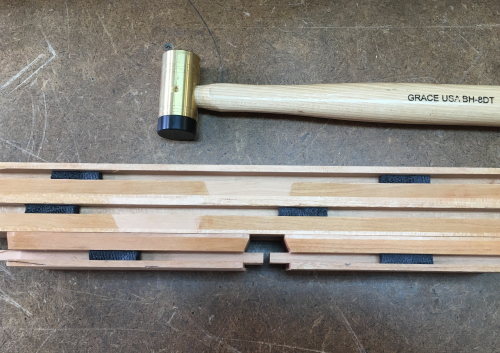
Some panels were too tight a fit...opted to make the rabbit deeper and use more panaligns. |
 |
We put single panaligns in short runs and two in the longer runs. |
 |
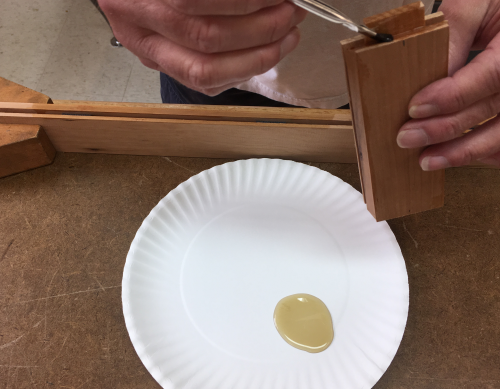
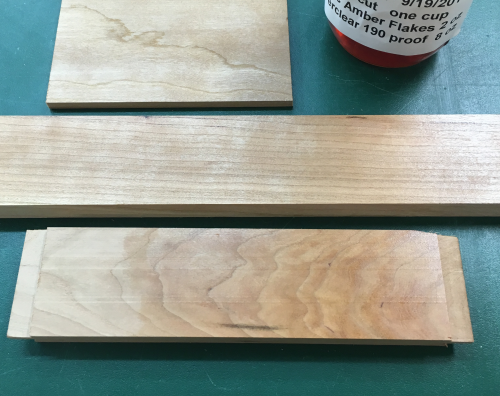
Also decided to sand and shellac the panels prior to assembly. Tested out a new shellac mix...amber crystals. |
 |
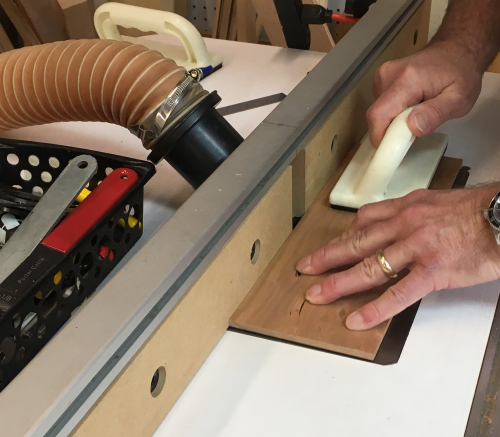
Sanded the panels with 90mm at 220x and 320x. Hand sanded the profile groove faces at 150x. |
 |
Applied shellac...this 1 lb. mix amber really made the figure in the cherry pop. |
 |
All twelve panels got about 5 coats of rubbed on amber shellac. |
 |
During the glue up we secured one of the side stiles to the assembly table...then we worked "up" by gluing in the the intermediate rail and dropping in a panel... |
 |
...then dropping in another panel... |
 |
...view of the backside...the panels were marked as to location and directionality... |
 |
...after the muntin and top and bottom rails were added then we added the other stile. |
 |
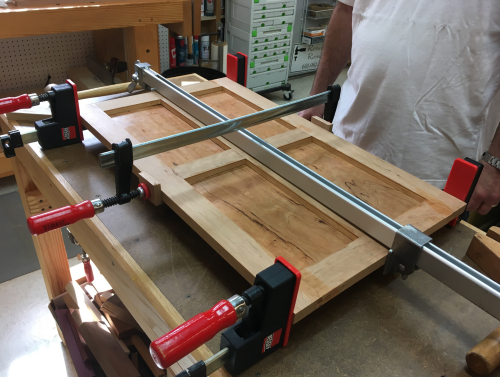
The door panel was then laid flat...aligned... |
 |
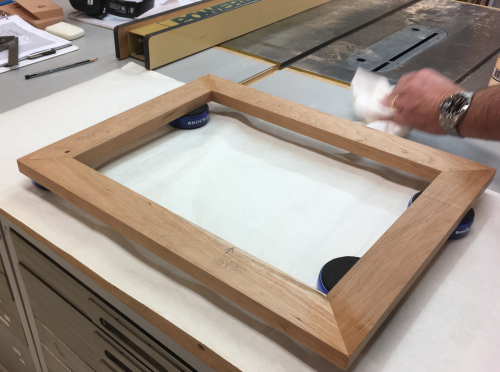
...and then clamped up...then we did the two side panels as well. All went well...loved the glue. |
 |
Out of the clamps... |
 |
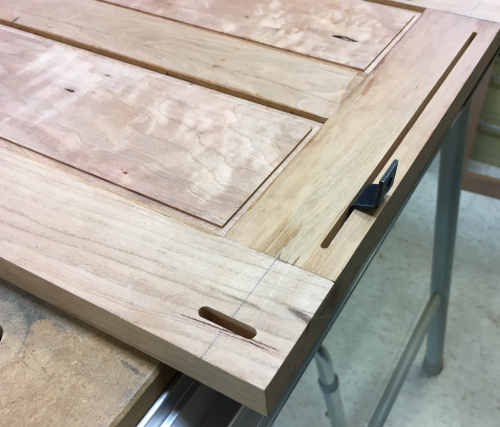
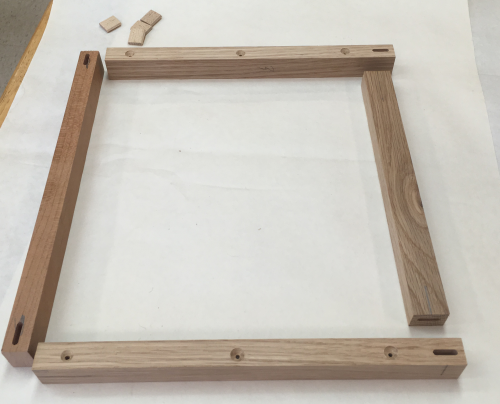
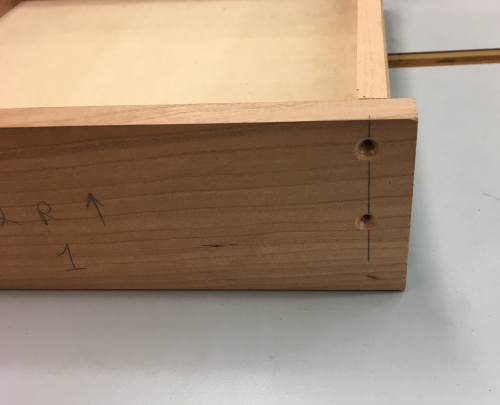
The side panels and the front frame were joined with Dominos...and regular PVA glue. All Domino mortises were indexed from the bottom. |
 |
Because we wanted a shadow line where the front frame met the side panel we put a 7/32 inch thick piece of wood to offset the location of mortise holes on the side frame piece. |
 |
Mortises were then made as usual. I put more (5 to 3) on the right frame since it will hold the door panel. |
 |
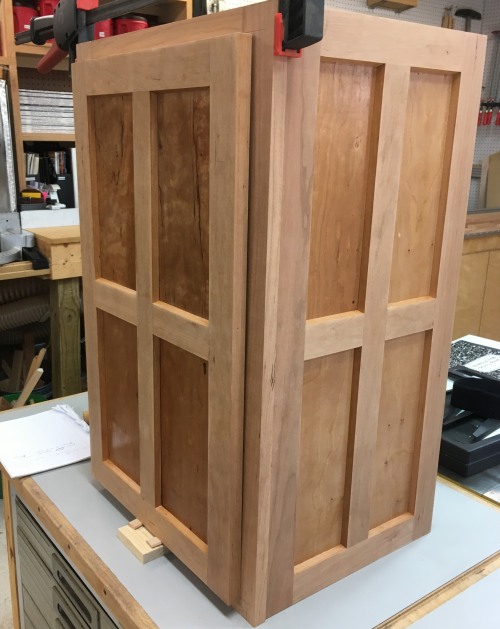
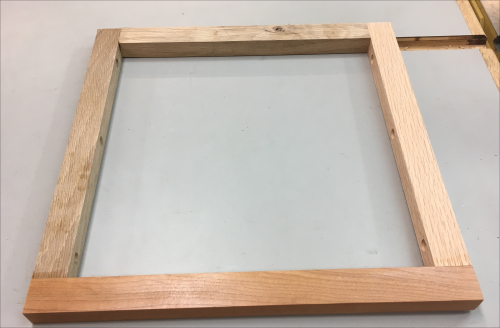
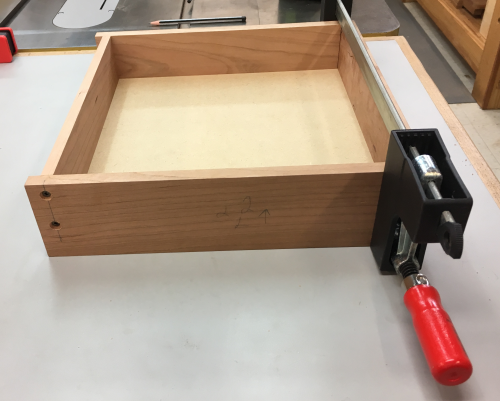
Dry fit of the carcase... |
 |
Weather got cold overnight and one of the Dominos would not come out...caused much grief. Had to drill it out with a Forstner... |
 |
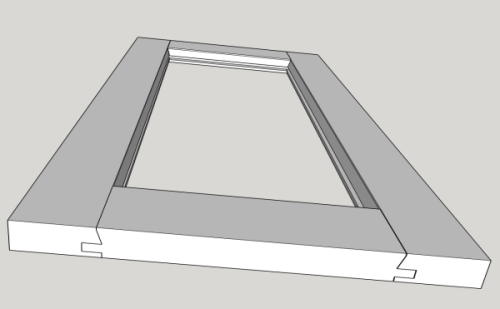
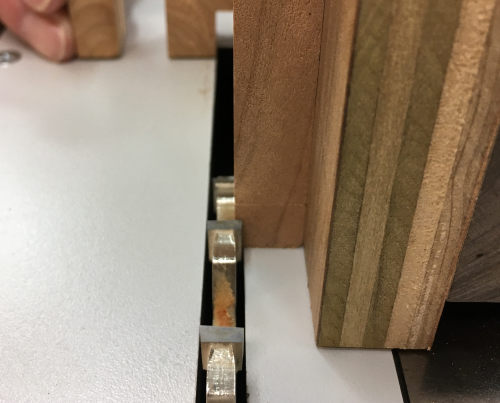
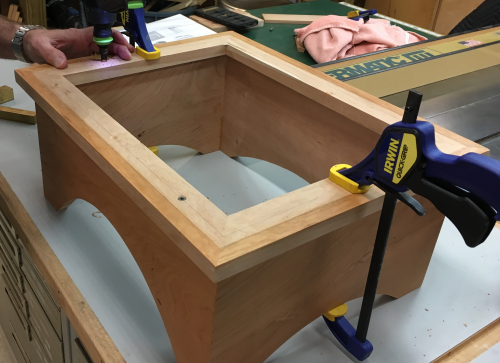
Before assembly we used the router and a spiral 1/8 inch bit to put in the grooves for the hardware to hold on the top. |
|
The groove...and the expansion clip... |
 |
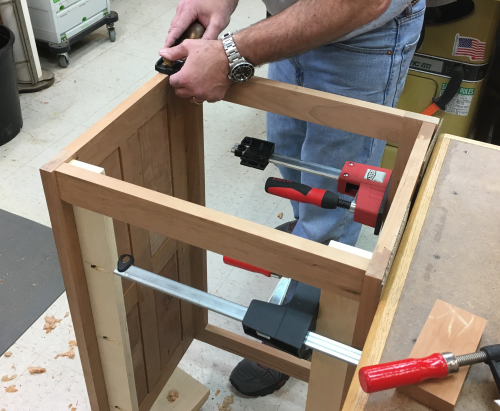
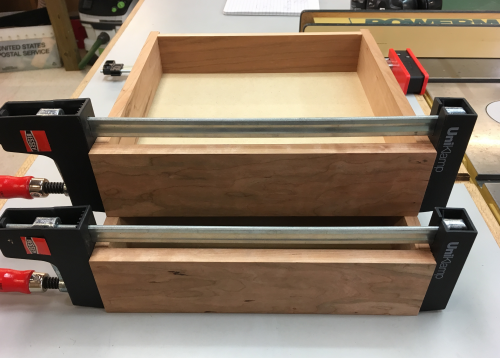
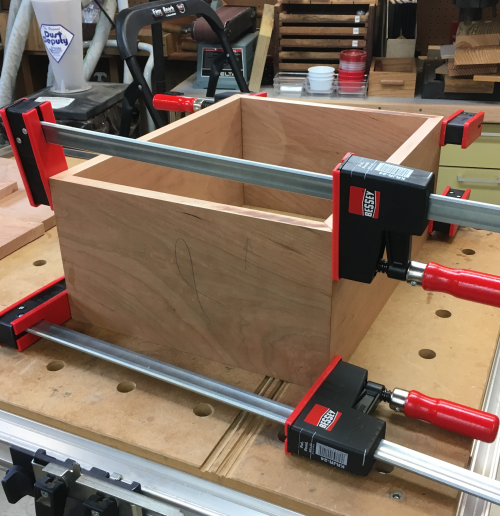
Glued and clamped... |
 |
After being pulled from the clamps, all top and bottom surfaces were planed...unit will be ready for top attachment and the carcase will be joined to the bottom assembly. |
 |
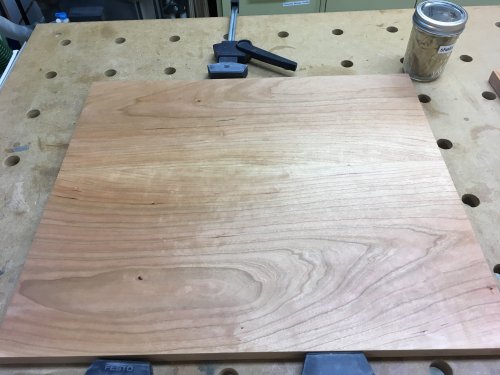
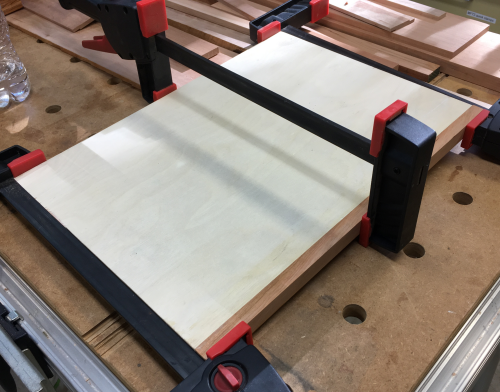
Two pieces were selected for the top... |
|
Glue up with Bowclamp caul and clamps. |
 |
The top after sanding and a coat of shellac. |
 |
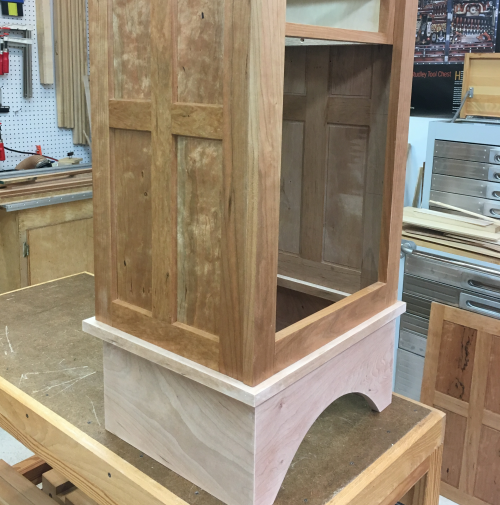
The top was then placed on a blanket on the assembly table...the carcase was placed on the top and the securing clips were screwed down. They were difficult to secure due to the angle. |
 |
The side clips had to be accessed around the side of the drawer cage...we had calculated that the clips could be secured using long extensions on the Festool driver...placing the clips was the hardest part. The top had some curvature and we were not able to screw down tight enough to remove the bow. |
 |
| The installed top. |
|
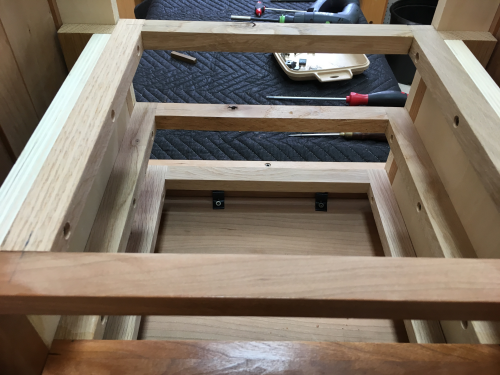
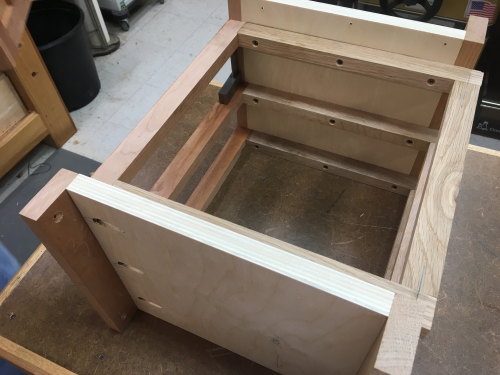
I designed a drawer cage to hold the two drawers. It will be built and then lowered into the carcase and secured. This design from the SketchUp was altered in that I decided to have the bottom of the cage not be a solid piece. I will need the access through this space to secure the top later. |
 |
The front blades, which are show faces, are cherry...the drawer runners and the rear support are all oak. |
 |
After glue up, all drawer guide surfaces were planed and sanded, the cherry received a coat of shellac. |
 |
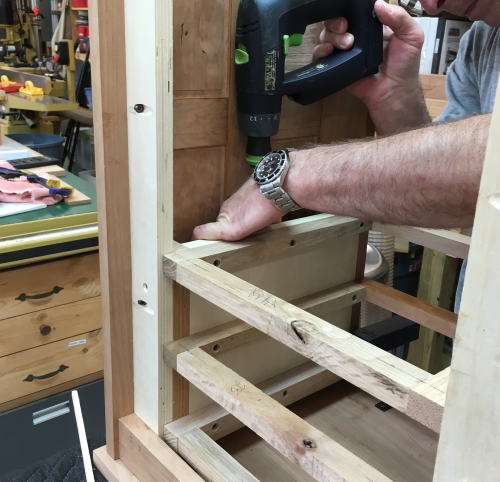
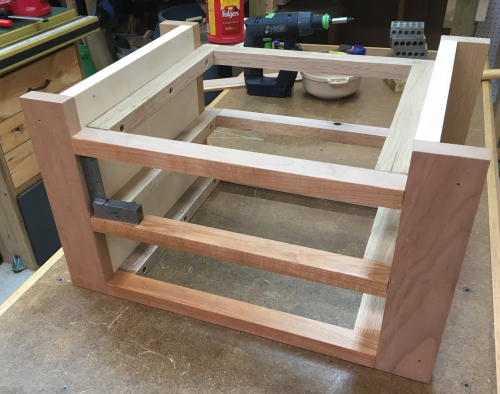
Each runner assembly was then screwed into the side assembly. |
 |
View of interior of cage... |
 |
Front of cage... |
 |
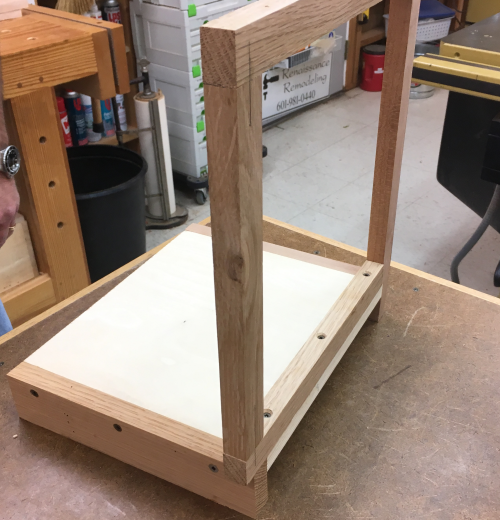
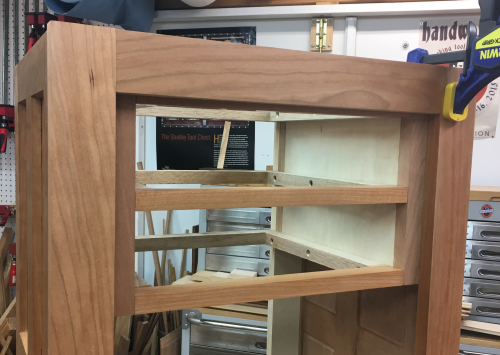
Dry fit into the carcase...a nearly perfect friction fit... |
 |
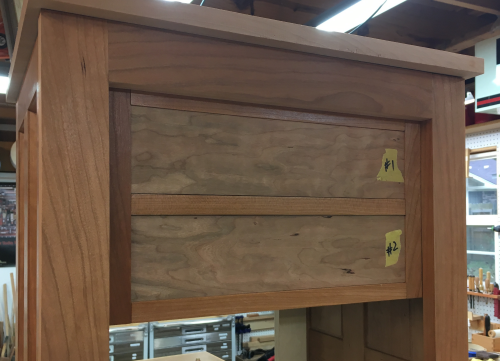
Drawer fronts were originally milled at close to 3/4 inch...final height and width were acheived with planes...here the figured cherry fronts are dry fit into the drawer cage. |
 |
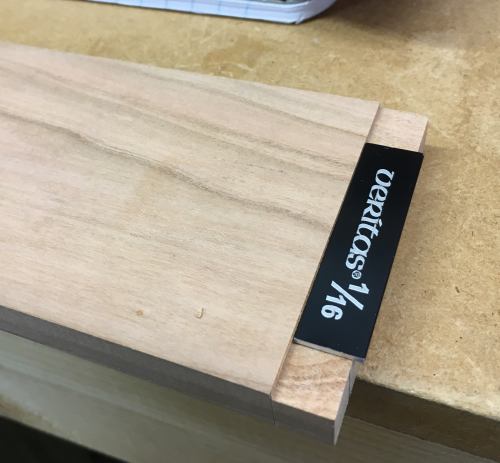
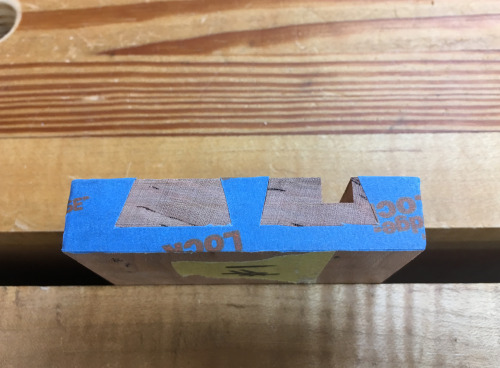
The sides received an indexing rebate at the edge to be joined to the front with half-blind dovetails. This was done on the P66 with the Infinity 1/4 inch flat top blade. |
 |
We had some problems with the fence setup on the jig...we tore it apart... |
 |
...put on new wood faces and squared it up... |
 |
...the result was perfect 1/16 inch rebate ledge...the blade really puts in a clean lip... |
 |
...end result...four sides ready for layout... |
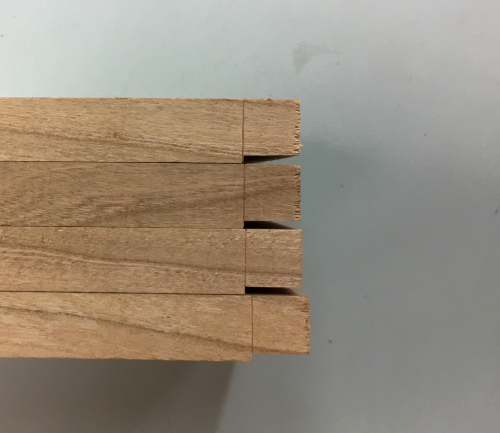 |
After the milling, the sides had tails laid out and cut with Stilleto dovetail saw, Jet scroll, and finished with chisels and sanding. Then the tail pins were marked out... |
 |
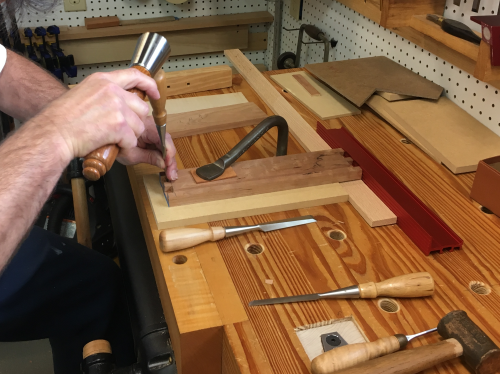
The pin sockets were angle sawn, squared with a beater card, and chopped and pared with chisels... |
 |
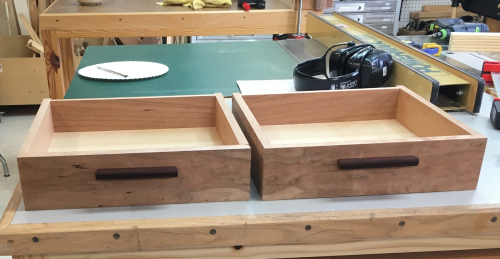
The drawers, dry fit and ready for bottoms and backs... |
 |
Bottoms were cut from 1/4 MDF stock on the crosscut sled, the backs were ripped and crosscut and then installed with screws. |
 |
The drawers were then assembled with the front dovetail joints glued and the back joints screwed without glue. |
 |
Clamped along the half blind joints... |
 |
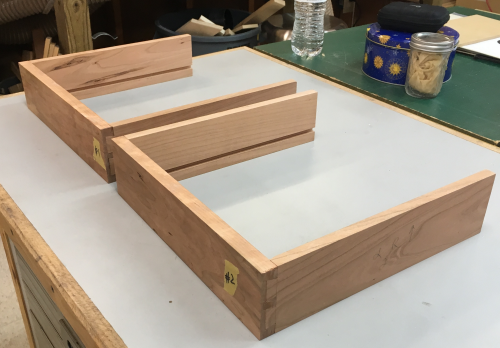
Both units clamped up... |
 |
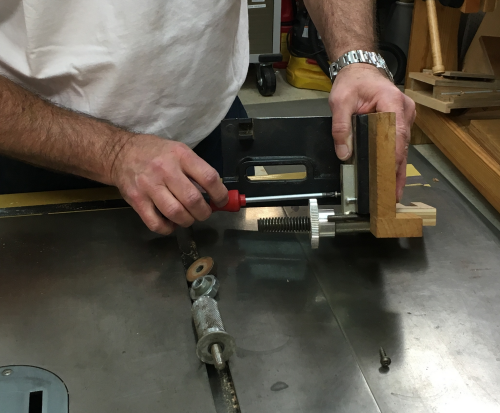
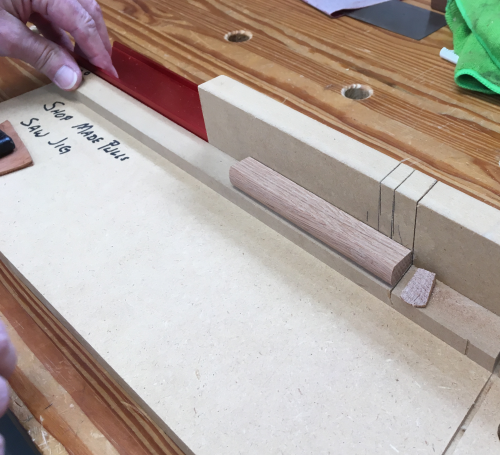
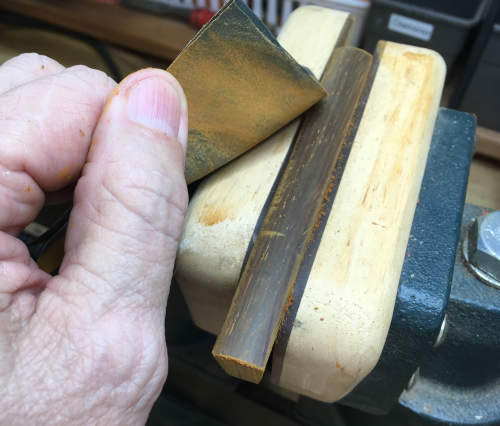
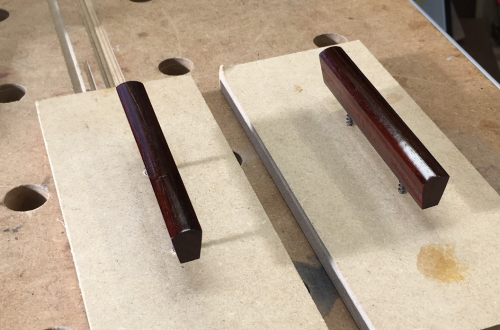
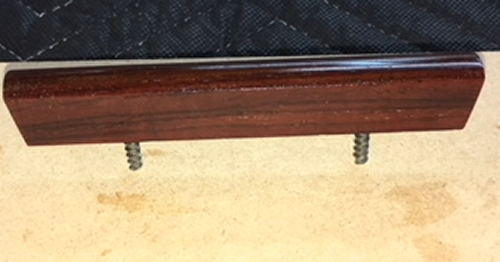
On to the pulls, I found a blank of Brazilian rosewood, Dalbergia nigra , called jacarandá da Bahia in Brasil. We had made milled these pulls for the machinist's chest...see that process here... The pulls were beveled at 8°.
|
 |
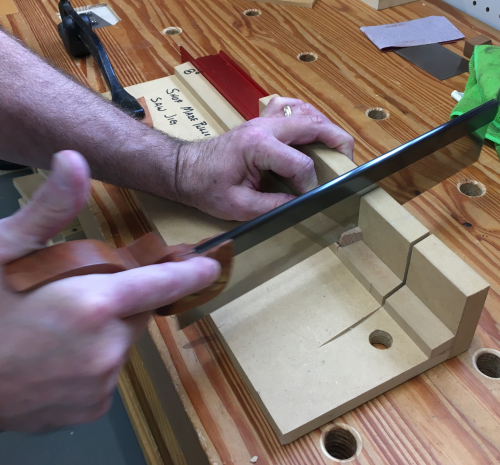
We had saved the shop made jigs that we created for the previous setup...this one is designed to hold the blank at 8° and allow you to bevel the ends at 8°... |
 |
This angle was sawn with the Stilleto... |
 |
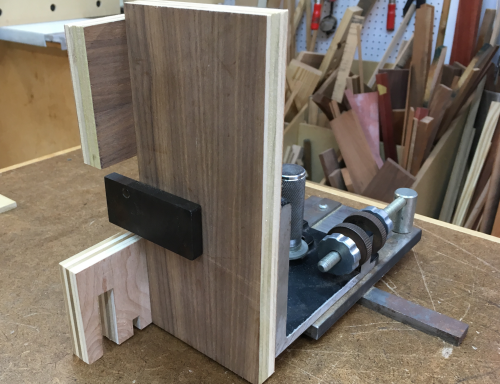
The second jig was designed to hold the beveled blanks square on the drill press. |
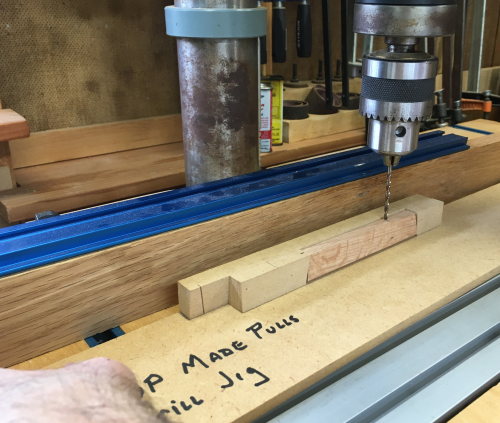 |
A template was made for the holes to be drilled into the front of the drawer...clamped with top edge coplanar...pine block for back board to stop spelching... |
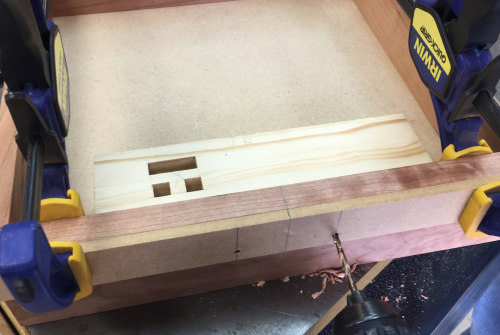 |
Dry fit for drawer pulls... |
 |
Prepping the drawer pulls...sanded smooth with 600x paper...nasty yellow-orange dust...I remember why I did not particulary like working this wood. |
 |
I prepped MDF sheets to allow me to raise the handles off the surface to apply the finish. |
 |
While screwing the handle on, I went a bridge too far and popped a crack...spread it and put in some glue... |
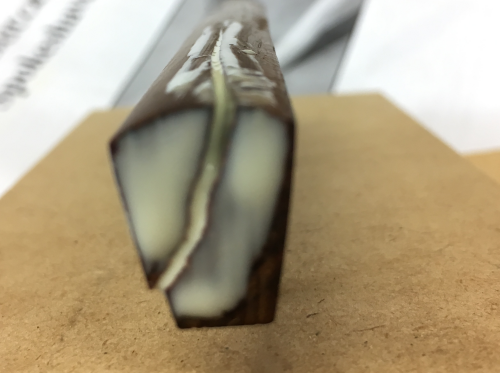 |
Clamped it down... |
 |
I mixed some of the rosewood dust in with the glue...it is lighter...shown here at the top right end of the pull...should darken with time... |
 |
| The drawer fit involved work with various planes, cabinet scrapers, and sanding. | |
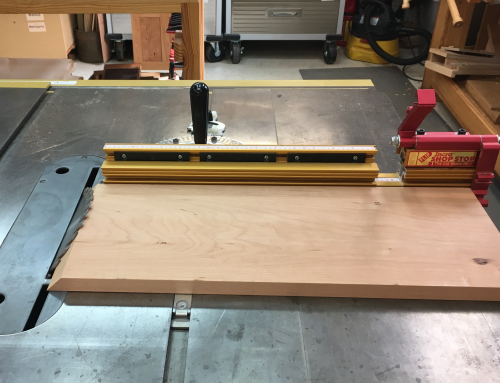
The vertical baseboards (7 1/2 inches tall) were mitered on the P66 using the Incra mitre gauge. |
 |
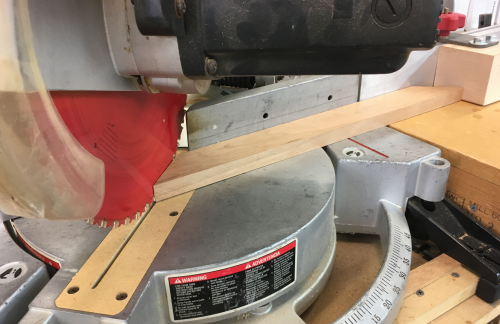
The horizontal lip boards (2 inches wide) were mitered at the chop saw. |
 |
Baseboards were glued and pinned (23g)...joints were a problem...we did not worry too much about square. |
 |
The lip boards were also glued and pinned...joined much better. |
 |
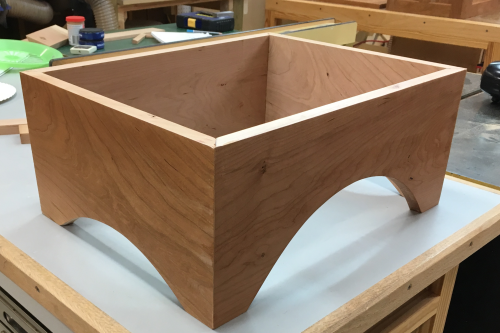
I put a curve in the front baseboard...2 inches in from each corner with a top edge at halfway...3 3/4 inches. Here it was dry fit under the carcase to test proportions... |
 |
The sides had the same curvature...I used the front cutout as a template...with the same 2 inches in from the corner...but the shorter length of the side board meant that the overall height of the cutout was less...I liked the proportions...the back cutout was only two inches high. |
 |
The lip assembly was then secured with screws to the baseboards... |
 |
Oak strips were used to attach the base and the carcase. This strip will also serve as a lip to secure the bottom shelf of the cabinet. |
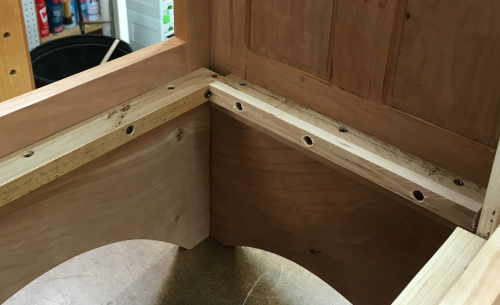 |
Shelves were repurposed 3/4 inch cypress plywood with a cherry front banding strip. |
 |
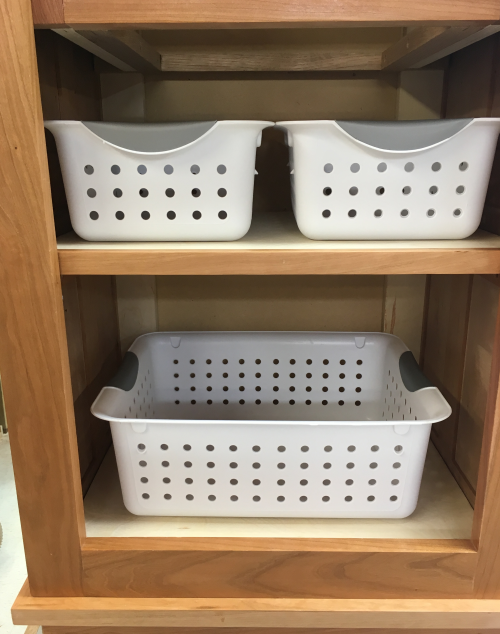
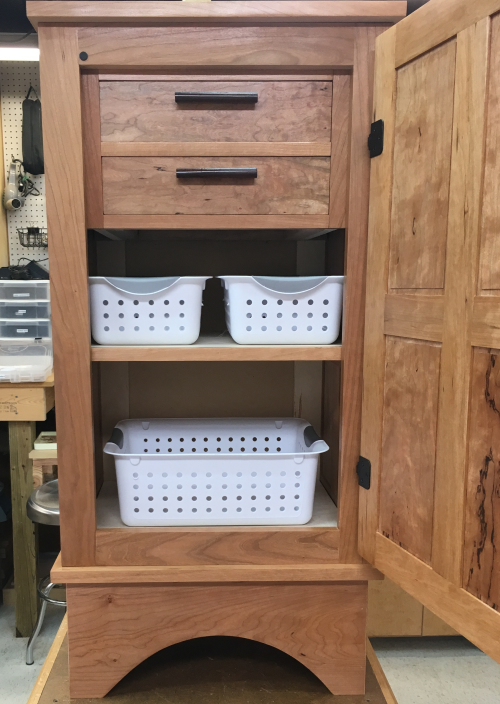
Shelves dry fitted with storage baskets in place. |
 |
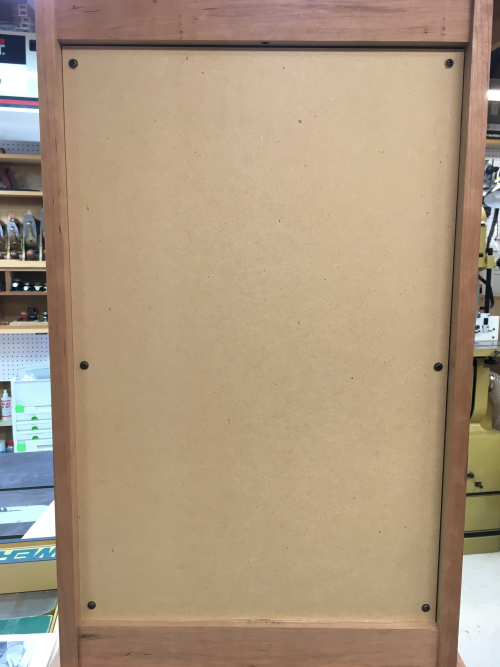
The backside of the cabinet got a 1/4 inch MDF dust board. |
 |
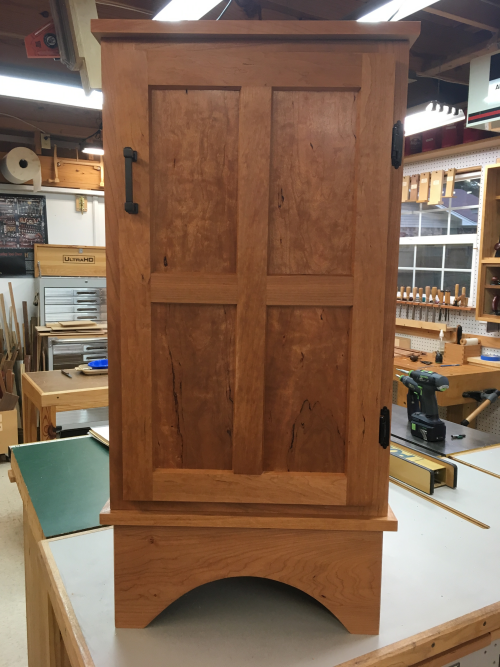
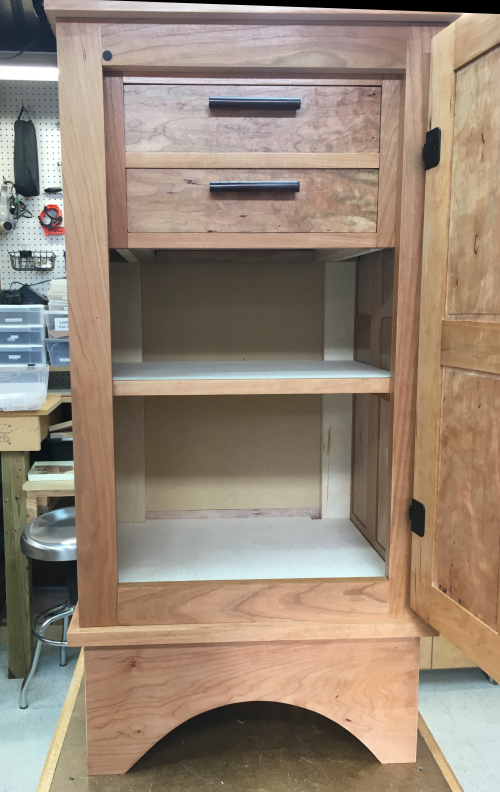
The door hardware was installed and the door was attached to the cabinet. |
 |
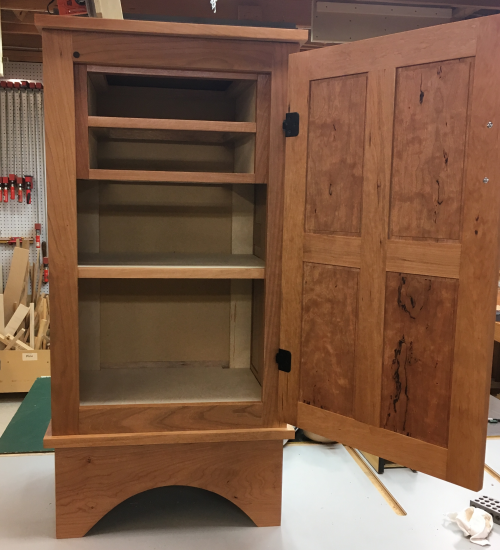
Interior look...drawers to come... |
 |
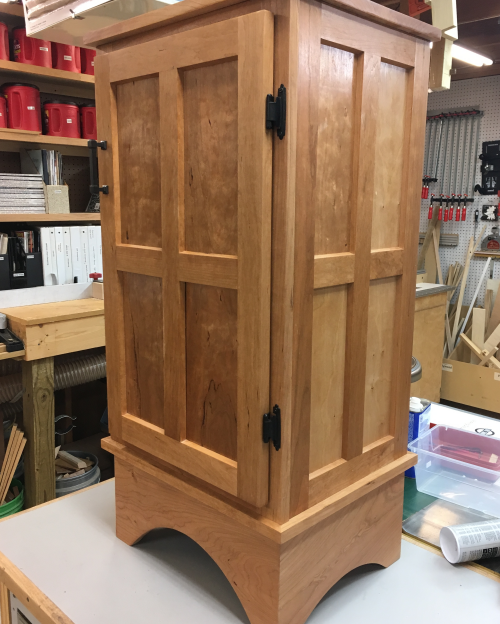
Left side... |
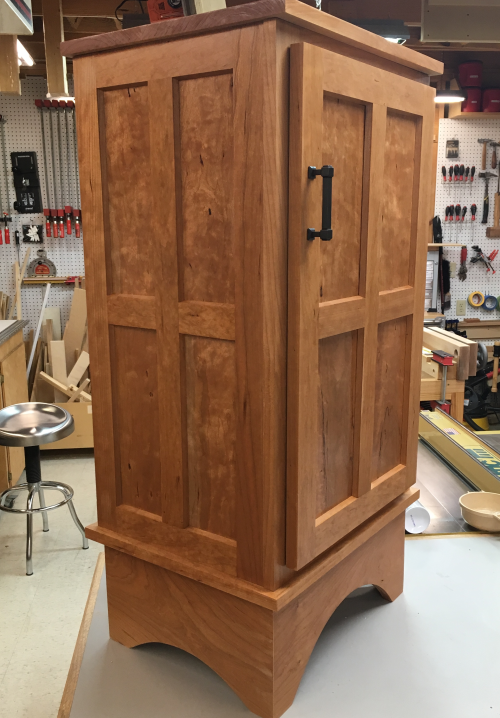 |
Right side... |
 |
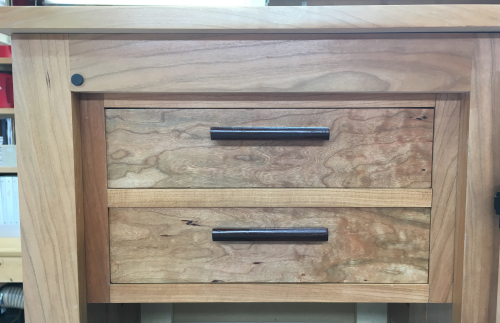
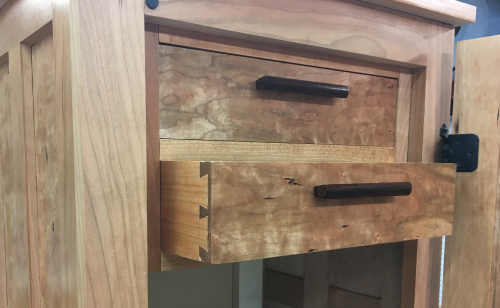
Interior with drawers... |
 |
Detailed image of drawers... |
 |
Half-blind dovetails... |
 |
Interior with storage bins... |
 |