|
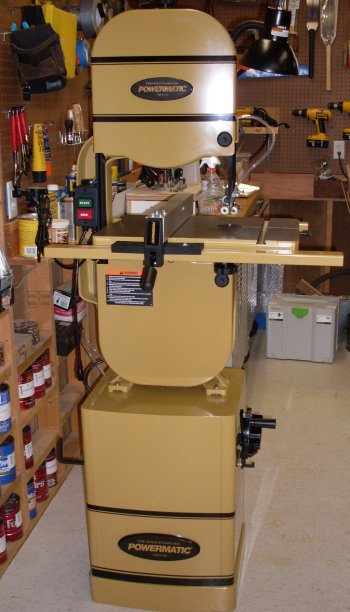
The 14 inch Powermatic bandsaw had been having some blade tracking issues. Some of the problem was needing a new blade...some probably was in the buildup of dust on the rubber tires. It was time to replace the blade and the tires and for an overhaul and tune-up. |
|
|
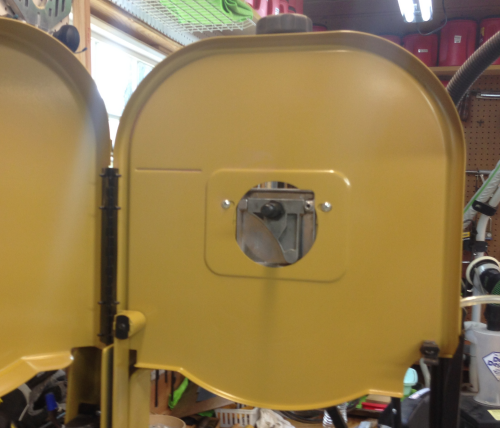
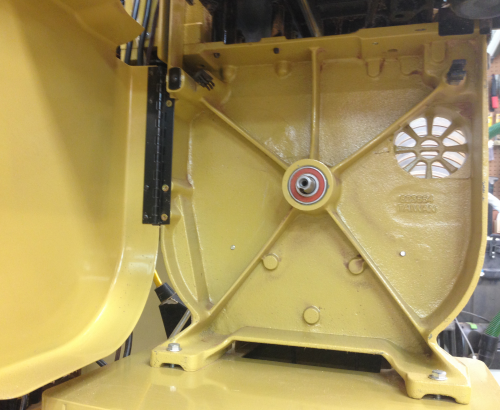
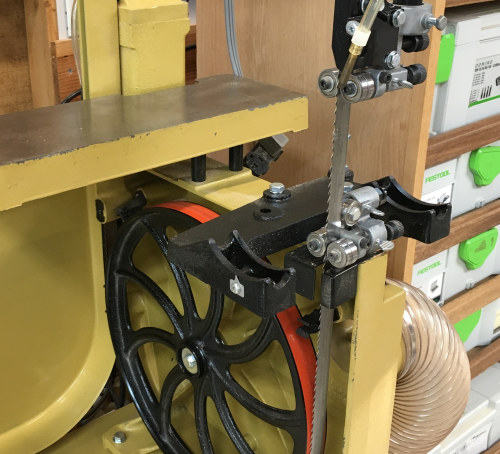
Phase 1 was to clean the interior section of the P14...and pull the wheels. Here is the upper chamber with a view of the Carter tensioning device behind the wheel bolt. |
 |
|
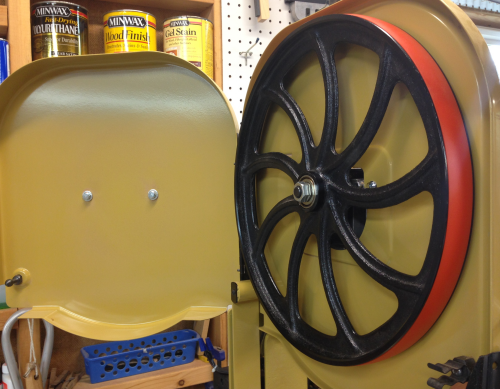
Here is the upper wheel, reinstalled with a new urethane tire. The nut The original rubber tires, part PWBS14-119 are discontinued by Powermatic. The urethane tires were purchase from Sulphur Grove Tool. |
 |
|
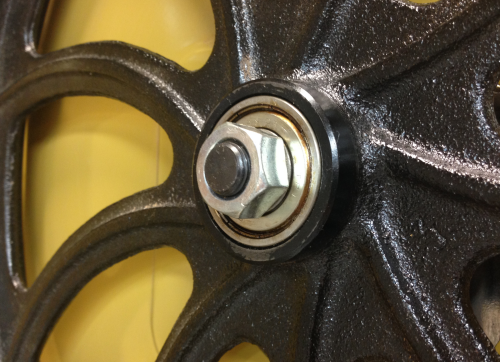
Close up of the upper nut...it is 3/4 inch with regular threading. The upper wheel bearing is pressed into the hub of the wheel. |
 |
|
The lower assembly. The drive
mechanism wheel bolt is inside a bearing that is pressed into
the cast iron housing.
|
 |
|
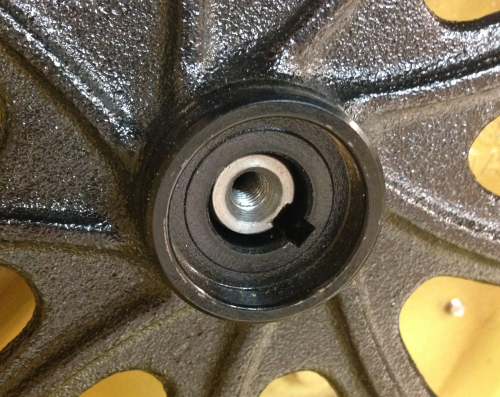
Here is a close up of the lower hub. The wheel fits over the threaded shaft...there is a matching keyway on the shaft and the hub. |
 |
|
I pulled the table to facilitate the blade change and make the under the table adjustments more easily accessible. It was quite a mess under there.
|
 |
|
The clean up...
|
 |
|
New blade...for several years I have been using Wood Slicer resawblades...a 1/2 inch and then a 3/4 inch. I purchased new models of both of these resaw blades from Highland Woodworking. These blades were 105 inches to match the size fo the Powermatic with the 6 inch riser block. I put on the new 1/2 inch.
|
 |
|
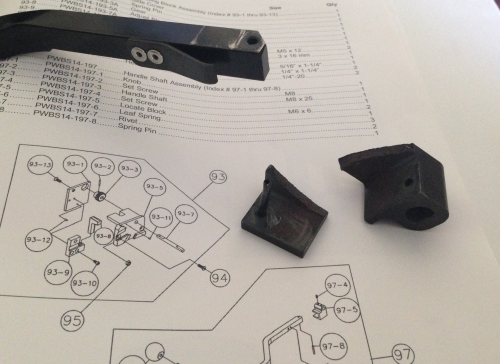
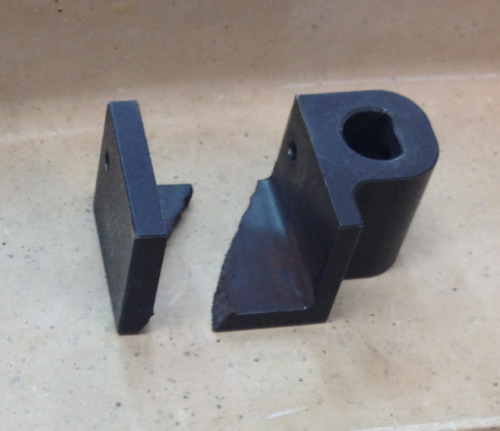
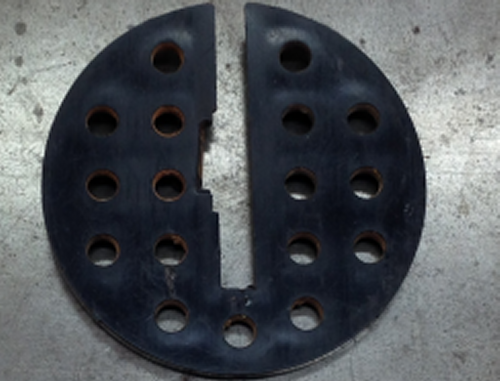
Applying tension onthe new blade was going well and then...a catastrophic failure...a failure of the tensioning mechanism...a broken cast iron assembly. The Carter® Quick Release blade tension assembly has three positions...zero tension, half tension and full tension. After working with the blade position and tension while in the "half-tension" position, I went to move the lever arm to full tension. I apparently had made adjustments that when the arm was set to the full-tension, it went a "bridge too far" in some way and cracked the "locate block" (part PWBS14-197-5).
|
 |
|
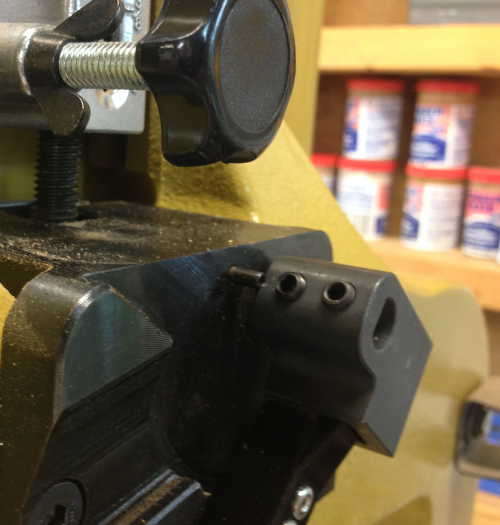
This is a cast iron block that holds the lever arm along with a spring pin (part PWBS14-197-8). Ordered parts up from mmtoolparts.com
|
 |
|
To remove the broken cast iron
block...two set screws had to be loosened...they were Torx T
1.5 screws and one of them blew out and was a pain to remove.
These set screws were not available and will have to be
replaced with local hardware versions.
|
 |
|
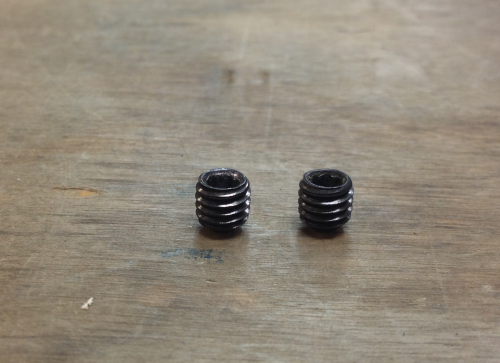
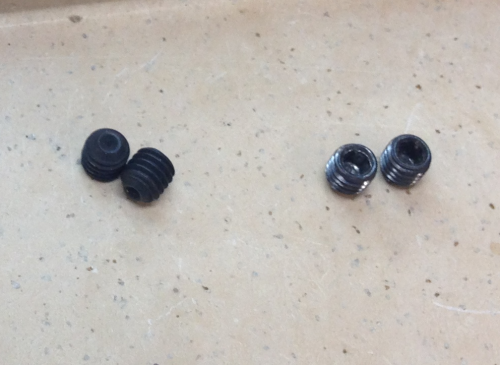
At the hardware store I was able to buy the M6 1.0 thread set screws...I got them in two lengths.
|
 |
|
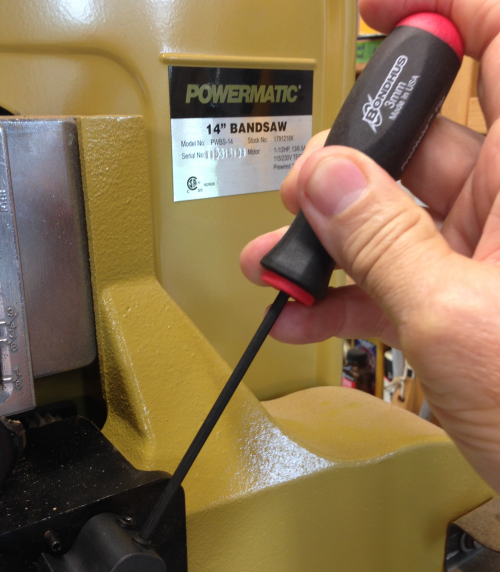
The new set screws are driven with 3
mm hex wrench.
|
 |
|
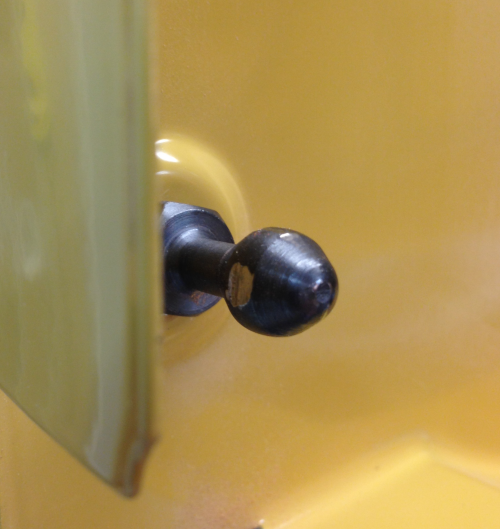
The set screws held the location block
on to this shaft.
|
 |
|
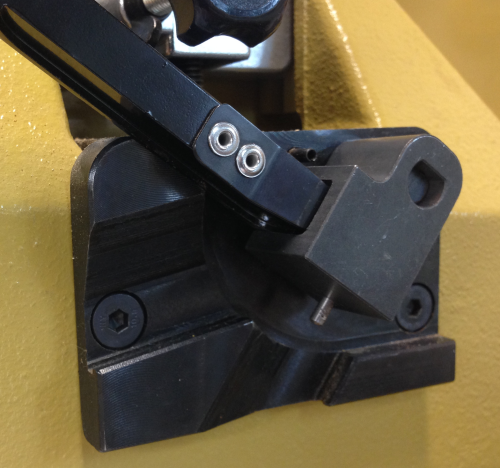
Replacement block installed. I used
the longer set screws.
|
 |
|
The spring pin was not available
online...I could not find the exact size at the hardware
store...we looked for 20 minutes...I bought a solid pin
instead...a tapered pin...when tapped in it seemed to lock up
okay with some pin sticking out...I am going to search for the
real deal pin...
|
 |
|
2022
repeat of tension locator block failure this time I purchase a roll pin, a spring pin... I purchased two blocks at this time, ereplacementparts.com, since this was a repeat failure. Looking to secure extra pins |
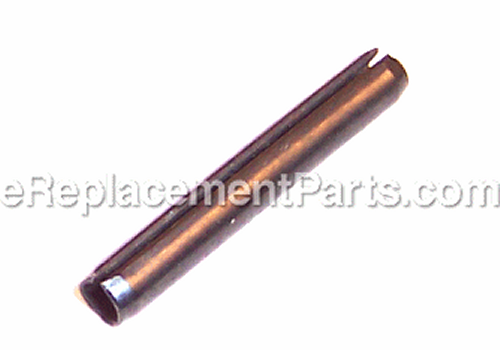 |
| the roll pin was oversized and was pounded in and thus deformed... | 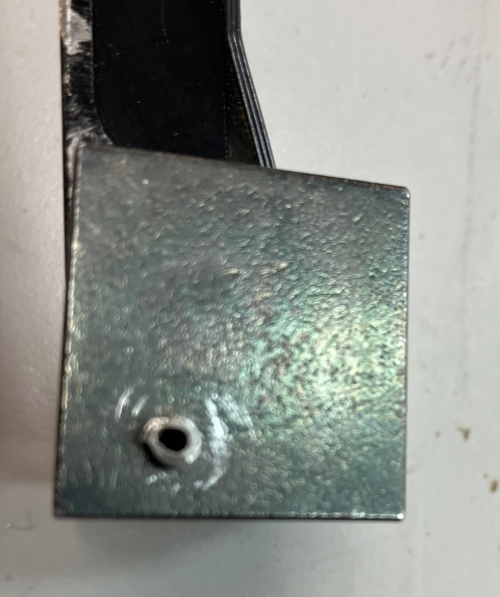 |
|
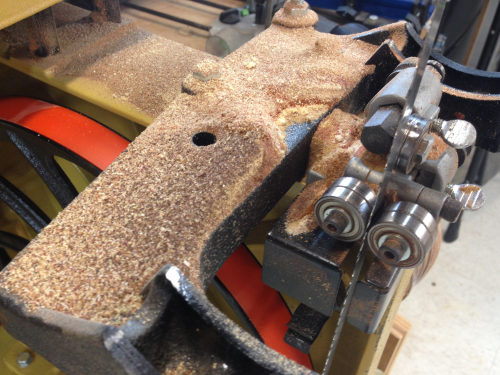
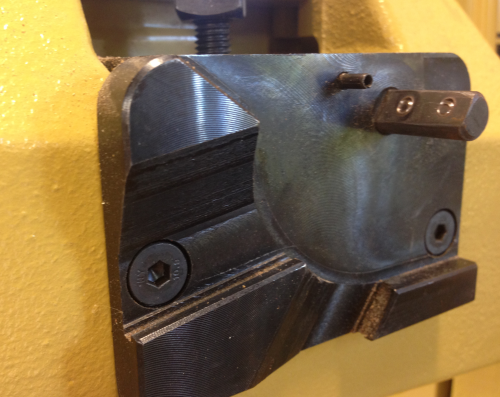
There was a noise that we searched for...with blade off, blade on, adjustments made, power on, power off, etc... after much sleuthing, James zeroed in on the latch on the upper door. It was rubbing against the blade. The rubbing spot is visible in this image. After removal and adjustment the noise is gone. |
 |
|
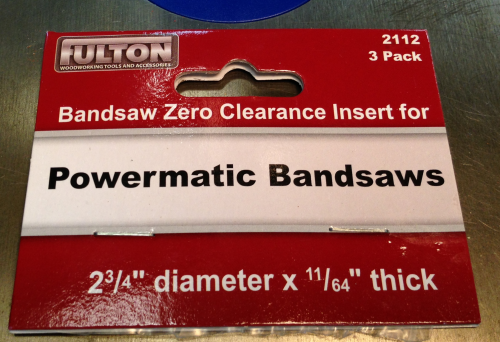
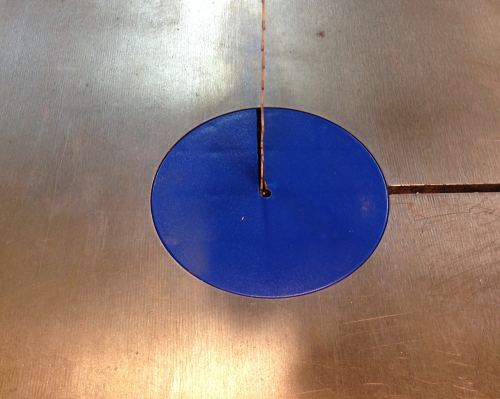
I decided to replace the table insert. The OEM insert had taken a beating. |
 |
|
I purchased a three pack of inserts
made by Fulton.
|
 |
|
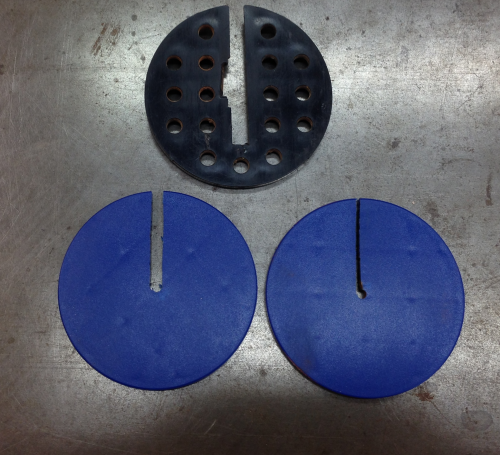
I marked the center line on one of the inserts. |
 |
|
Drilled a center hole...and then cut
away the line.
|
 |
|
But the cutout ended up being wider
than I wished and the blade was not centered.
|
 |
|
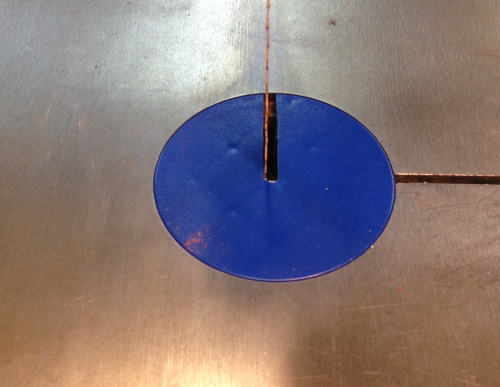
So I moved the marking hole to the
left and cut a thin line that was basically just the bandsaw
blade kerf...
|
 |
|
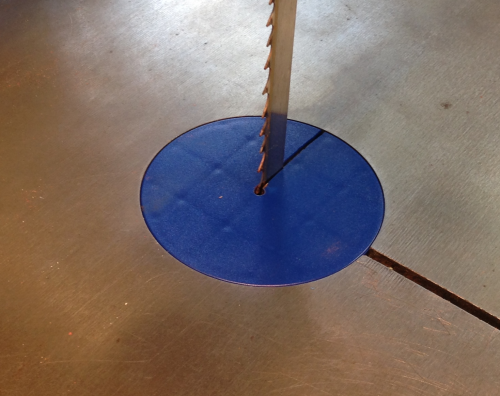
This made for a nice snug fit...front
view...
|
 |
|
...side view. It remains to be seen as to the need to put in some dust collection relief holes. |
 |
|
I had been having some issues trying
to resaw wide boards...I was getting significant drift. So I
decided to upgrade to some new guides. Bought the Carter
Products bands saw guide upgrade kit.
|
 |
|
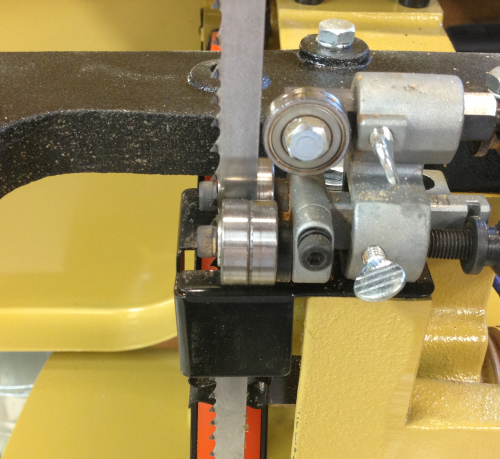
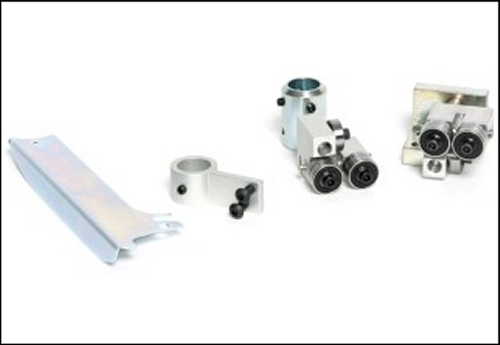
This is the Carter #UNV1-PWR14CS kit.
It includes the upper and lower bearings and guides as well as
a new blade screen.
|
 |
|
To install, I removed the table to
pull the Powermatic guides.
|
 |
|
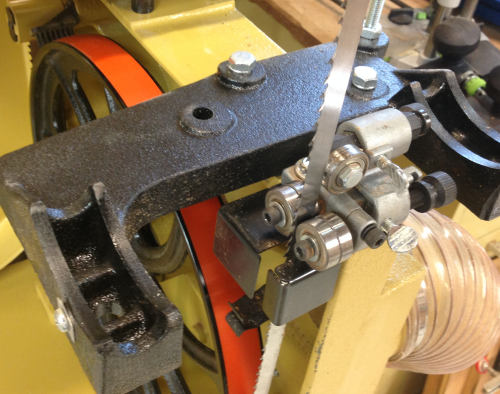
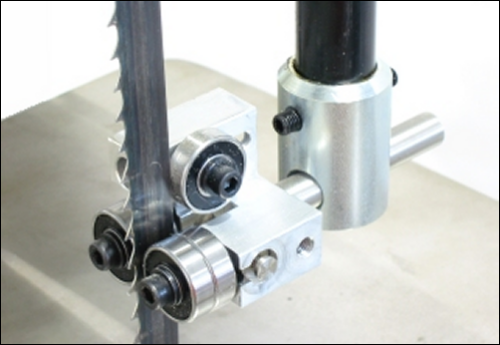
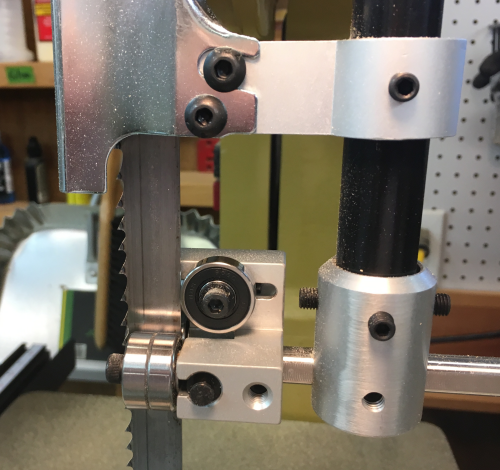
Here is the upper guide system.
|
 |
|
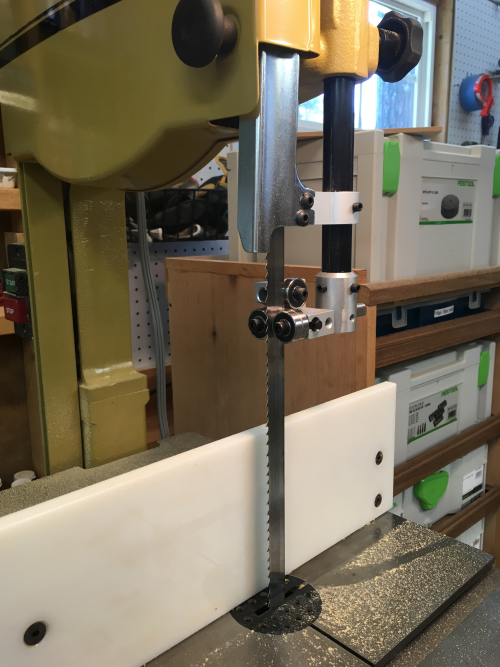
Dry run...setup for resawing with the
Carter magnetic fence...worked very well...very little drift.
|
 |
|
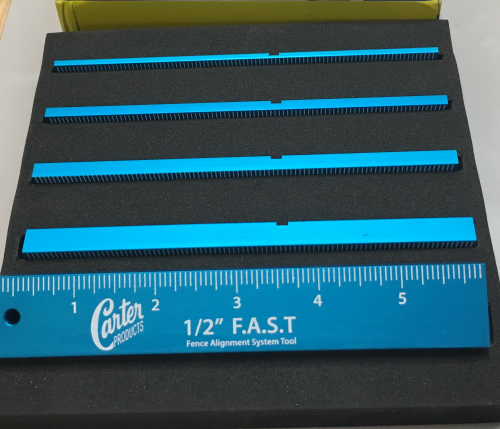
Setup of the fence was done with the
Carter F.A.S.T. system.
|
 |
|
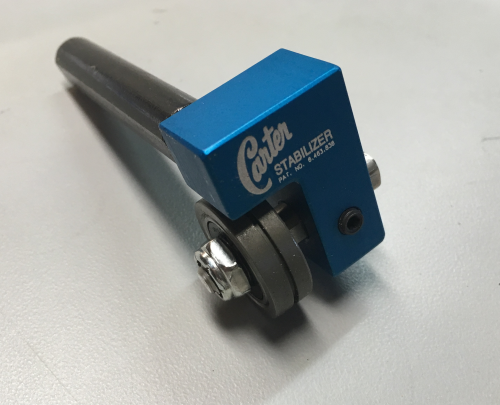
I also purchased a Carter stabilizer
for use with small blades...1/4" and 1/8"...will try later...
|
 |