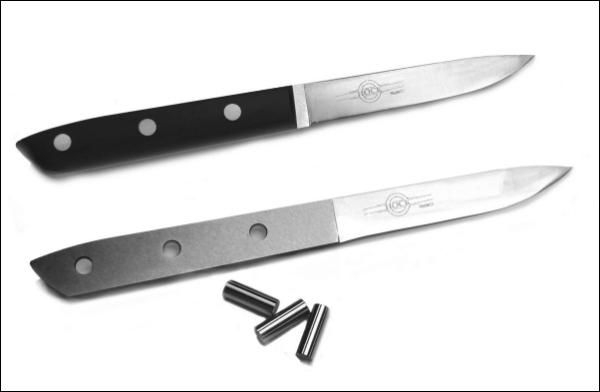
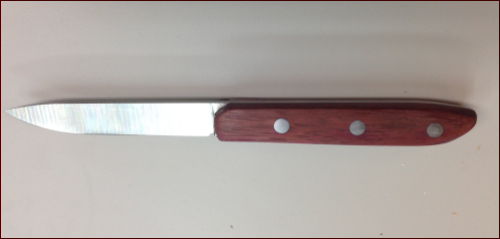
I ordered this Hock Paring Knife Kit from Hock Tools. The 3.5 inch paring knife kit consists of a wonderful Hock blade and the necessary pins. The kit is Model #KP350.
This knife is for my niece, Elizabeth, as a wedding gift. It will have handle scales from purpleheart. For the most part, all of the steps in this process are identical to the first knife. The entire knife 1 build process can be seen here.
Info about knife kits is available at Hock site
|
|
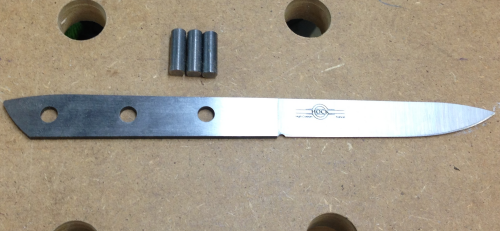
The #KP350 blade is made from high-carbon tool steel. It was forged in France and sharpened by Ron in California. |
 |
|
|
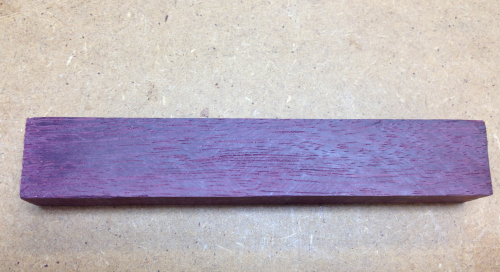
Wood selection: Purpleheart, Amaranth Peltogyne spp. Central and South America More info about purpleheart here. |
 |
Here is a purpleheart blank for the scales. |
 |
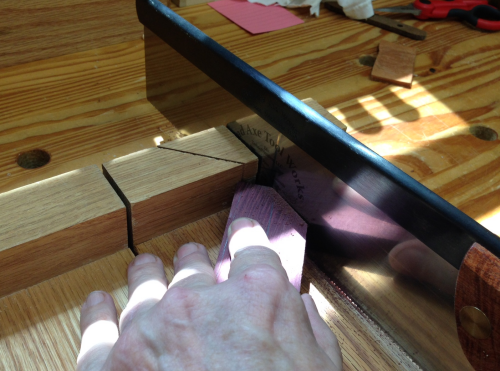
Trimming the blank with a handsaw. |
 |
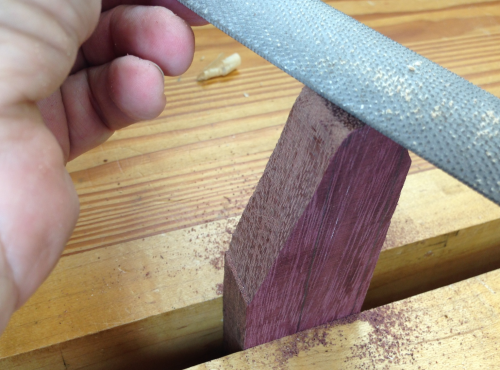
Shaping the blank with a rasp. |
 |
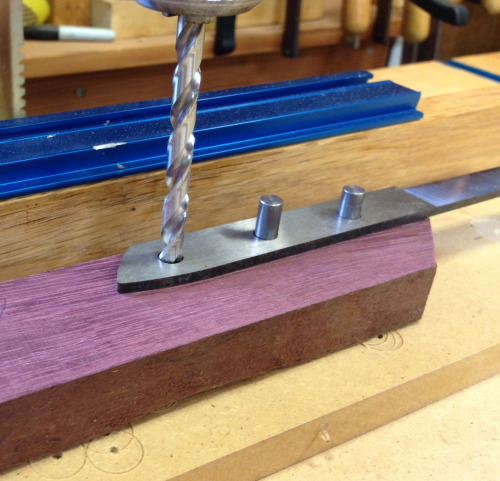
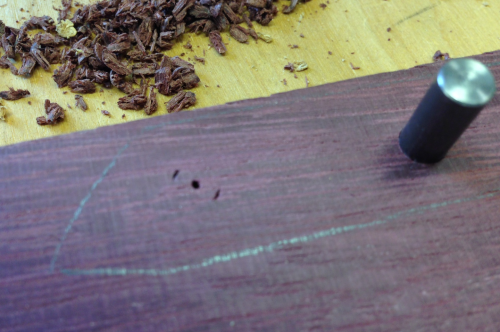
I drilled the holes for the pins. First I laid out the hole location using the tang... |
 |
...just enough to make a mark. |
 |
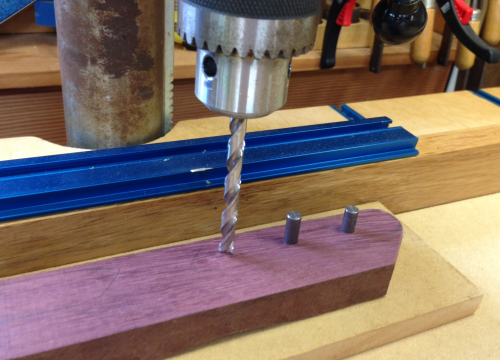
Then the blade was removed to drill the hole. |
 |
The remainder of the trimming was done at the bandsaw. |
 |
Front end was sanded with RX-90 to 220x prior to dry fit. |
 |
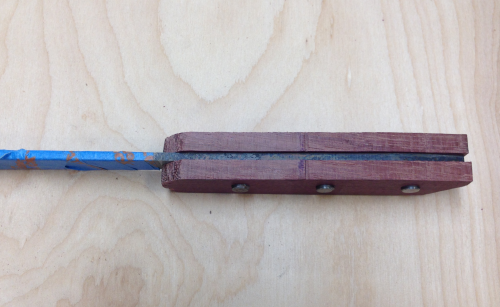
Dry fit...ready for epoxy. |
 |
|
|
|
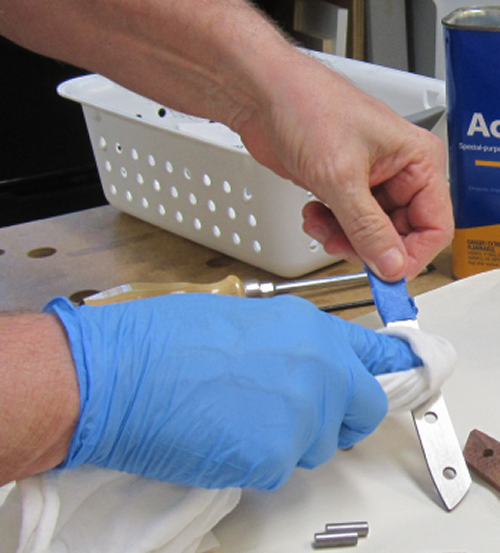
The inside surfaces of the scales and the tang of the blade were sanded to 150x to provide a better adhesion surface. Then the mating surfaces and the pins were cleaned with acetone. |
 |
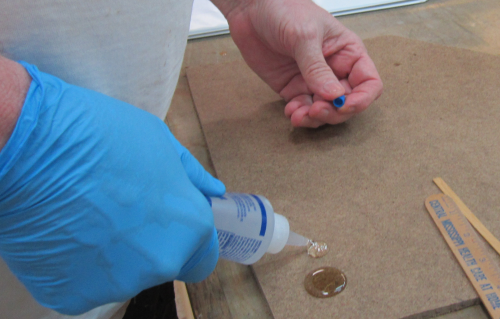
I chose a strong, water-resitant epoxy adhesive, Devcon 2 Ton® Epoxy...comes in two 4.5 oz. bottles. |
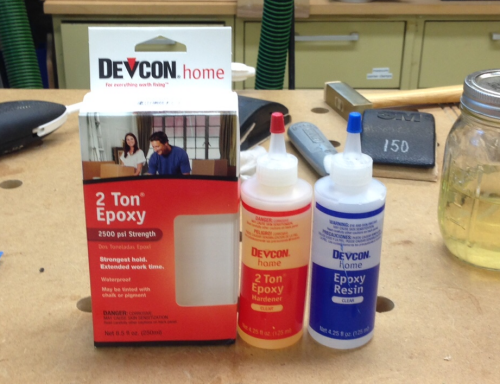 |
To mix...equal dollops of the resin and the hardener were squeezed out. |
 |
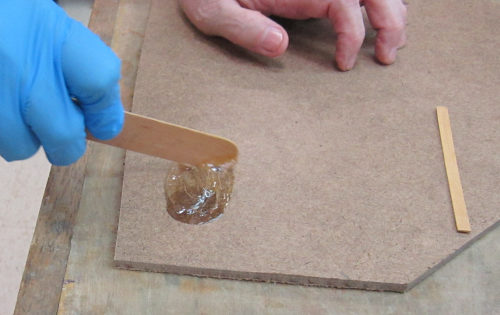
then mixed... |
 |
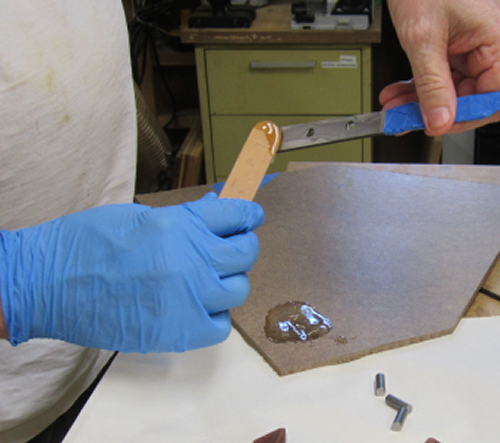
The adhesive was then spread on to one side of the tang, the scale and then the other sides... |
 |
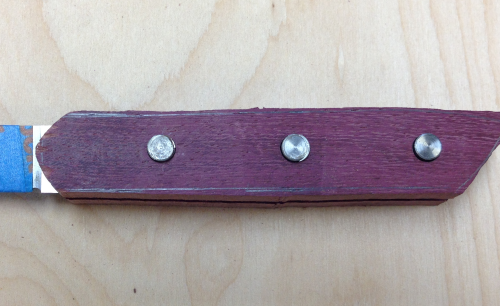
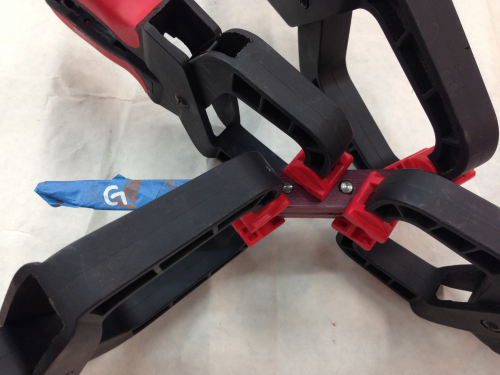
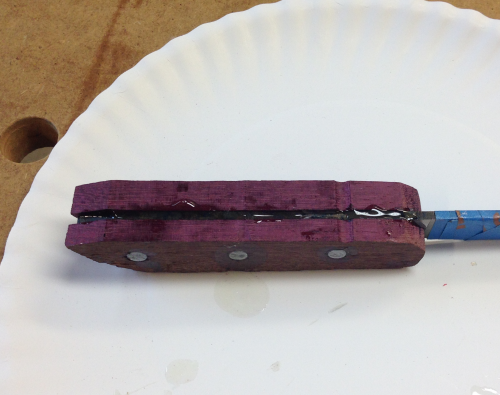
then the knife tang and scales are clamped overnight with Bessys... |
 |
After glue-up...ready for grinding and sanding. |
 |
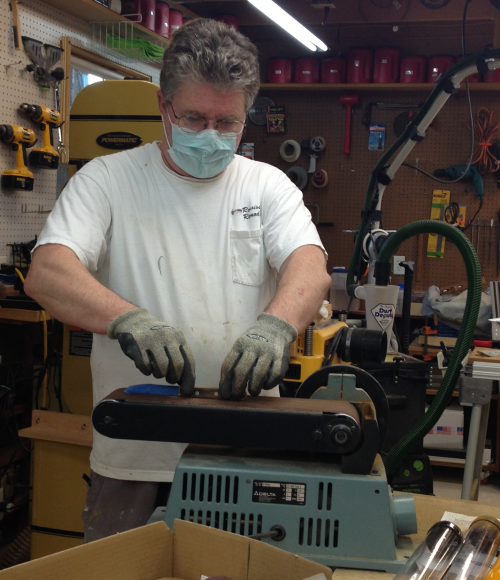
After glue up and roughing out the shape, the next phase was the grinding of the wood and the metal was done on a belt sander with 80x paper. I try to avoid dust so I ran both shop air filter systems and wore a protective mask.
|
 |
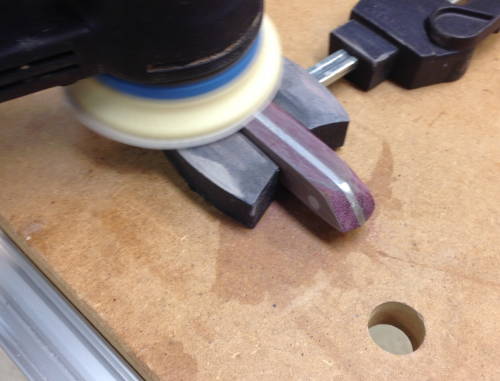
Secondary grinding of the pins was done on the 1 x 30 belt sander with 80x paper. Further removal of metal and wood was done with the Rotex 90 sander with 40x paper. After all the metal and wood was taken down to proper size, the grits were progressed on the Rotex 90 from 40x-80x-120x-220x-320x-400x. |
 |
The finishing cycle consisted of multiple coats of Waterlox wiping varnish.
|
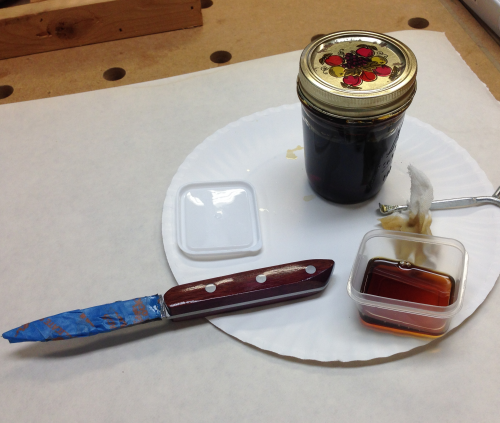 |
Each coat was saturated and then dried using wet/dry sandpaper. Two saturations and rub-ins were done at 400x, 600x, 800x, 1000x and 1500x. |
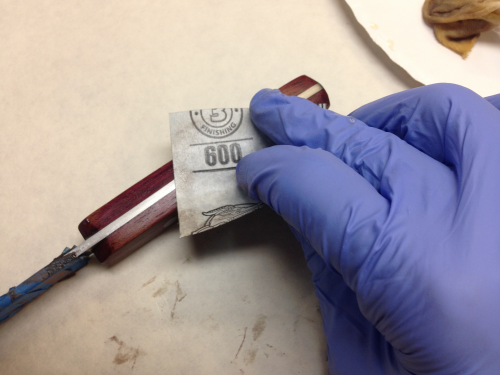 |
The finish was extremely smooth. |
 |