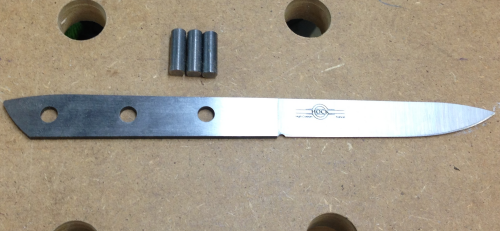
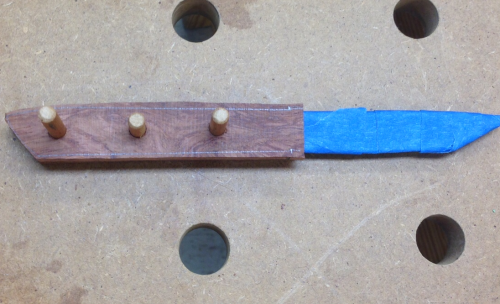
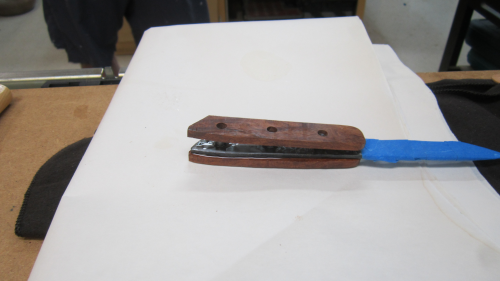
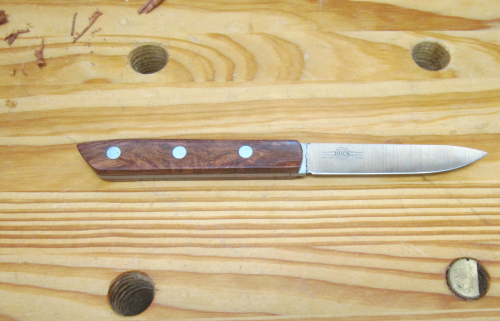
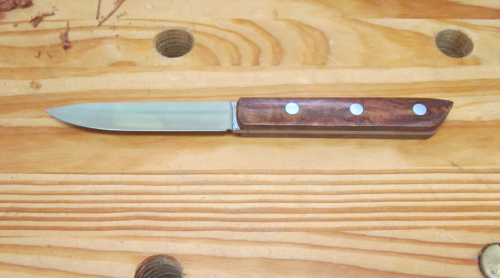
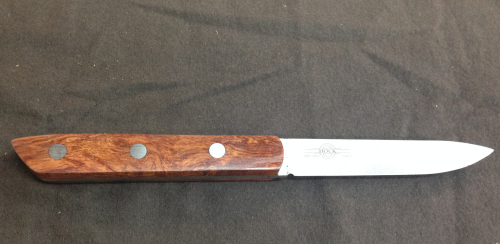
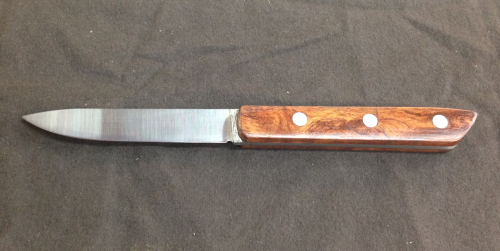
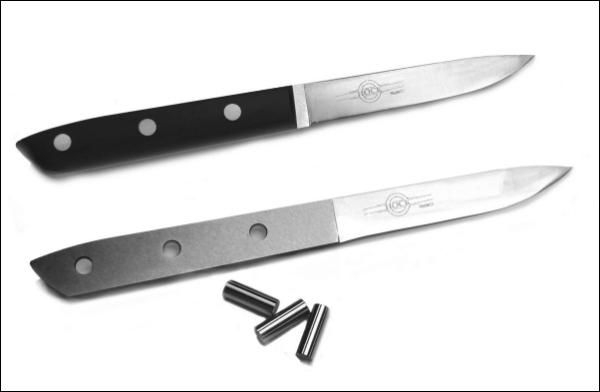
I purchased two Hock Paring Knife Kits. I am pleased to say that I bought them in person from Ron and Linda at Handworks 2015. The 3.5 inch paring knife kit consists of a wonderful Hock blade and the necessary pins. The kit is Model #KP350.
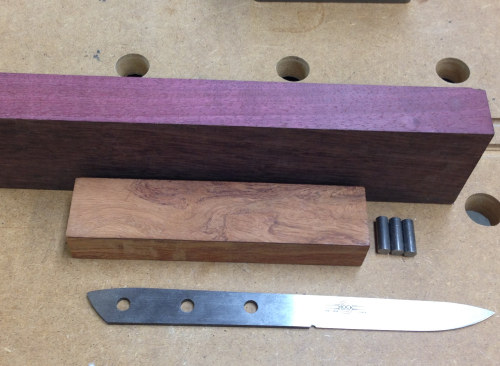
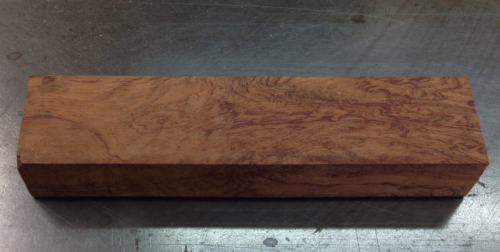
The first knife that I create will have handle scales from a piece of bubinga that my brother, Tom, left me when he moved to California.
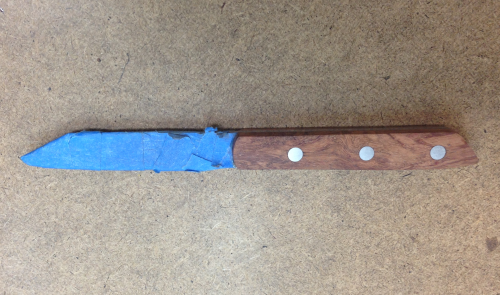
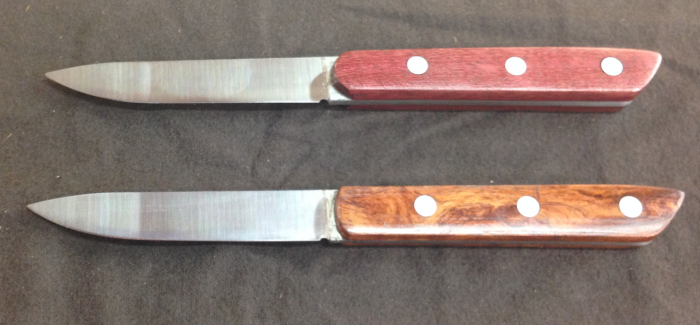
This blade is created as a paring knife...I plan tp use it as a general purpose, shop knife. In particular, I plan to use it as a sample "Sloyd knife" in some hand skills training with my grandchildren. After some use as a shop knife, I gifted it to my mother.
Info about knife kits is available at Hock site
|
|
The #KP350 blade is made from high-carbon tool steel. It was forged in France and sharpened by Ron in California. |
 |
|
|
 |
|
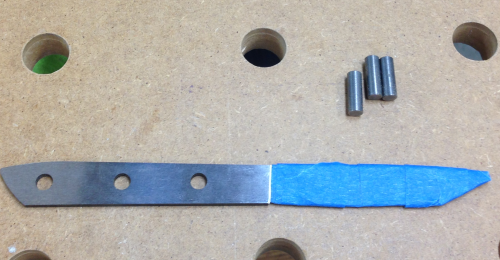
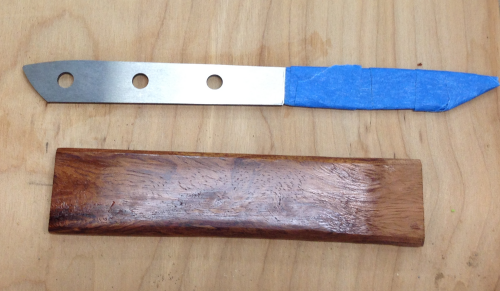
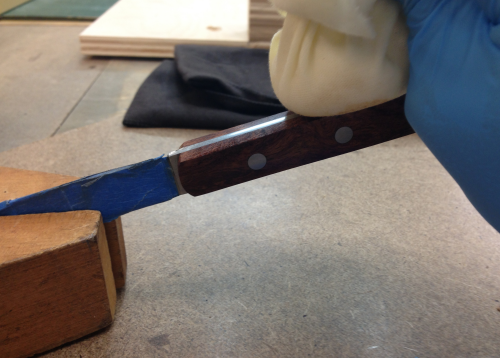
The blade was covered in tape for protection. The blade comes incredibly sharp. |
 |
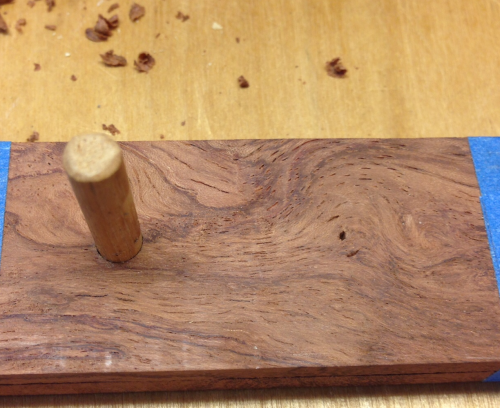
I have never made a knife handle before so I ran a finishing "test"...I wanted to see how the finish looked on the bubinga and how it felt. My first knife will get a finish treatment of shellac and Waterlox.
|
 |
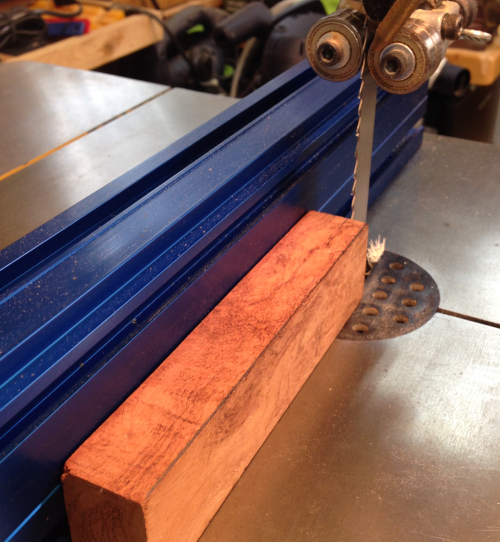
The bubinga blank was trimmed down to rough size on the bandsaw. |
 |
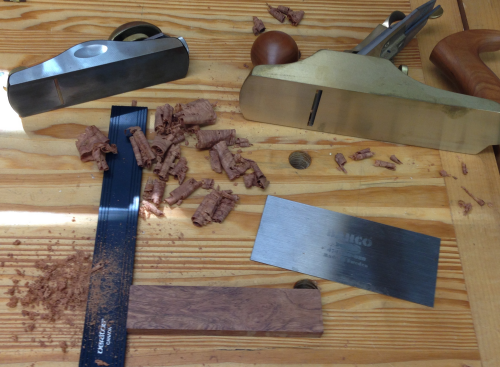
Before cutting the blank into two scales, I used planes and cabinet scrapers to prep the faces. |
 |
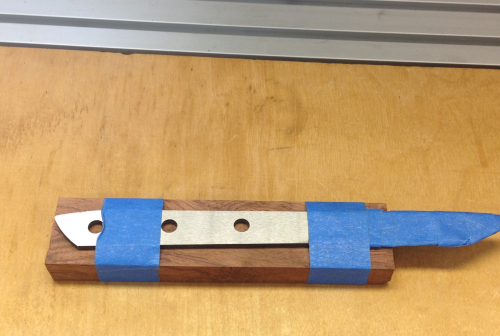
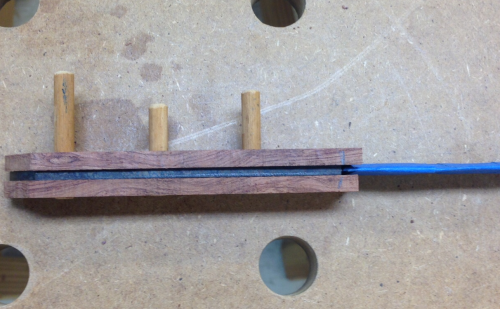
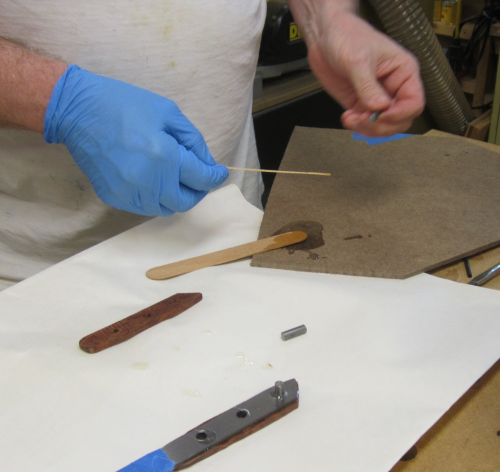
A test alignment was made with the blade and the scales taped together. |
 |
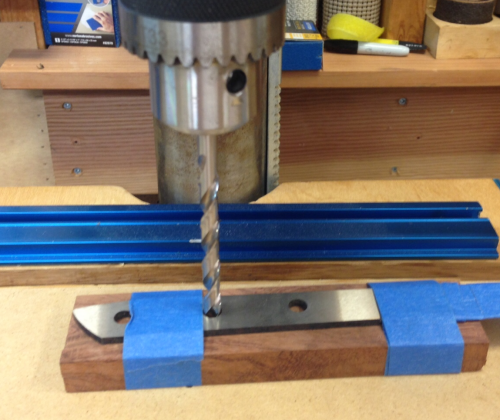
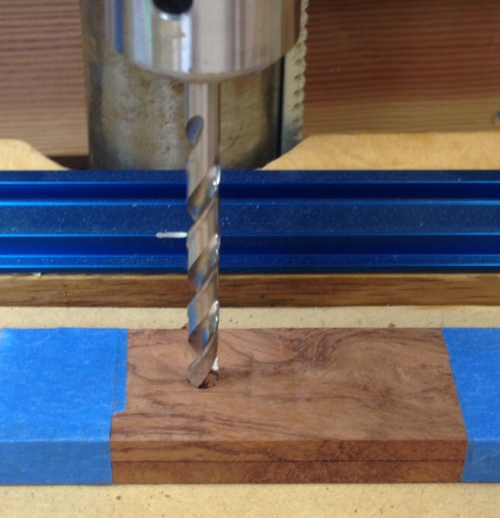
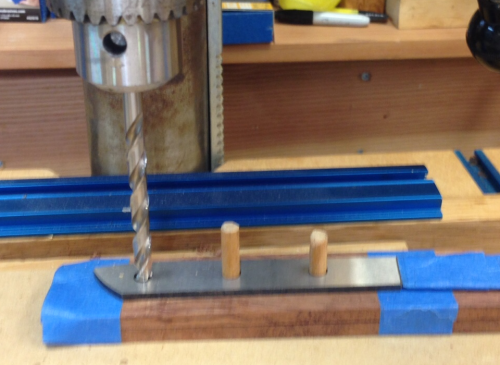
I did not want to wound my extremely good brad drill bit so I used the press and bit just to mark the location. |
 |
Then using the reference point, I drilled the two scales without the blade tang in the stack. |
 |
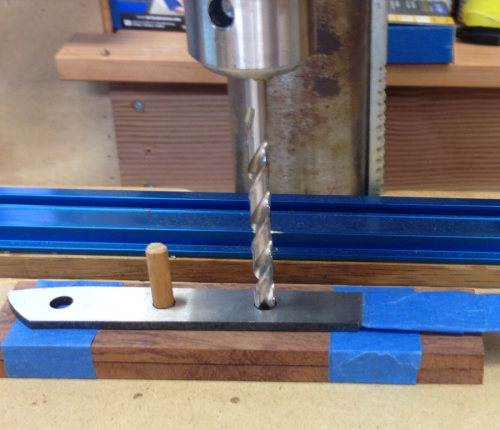
Rather than use the metal pins from the kit I cut up 1/4 inch dowels to use as index points. |
 |
To make for consistent sizes I tapped the dowel rod through the LN dowel plate...I also chamfered the ends with sandpaper. |
 |
Here the dowel is funtioning as the index so that I can press mark the second hole center. |
 |
The center mark was quite easy to align for drilling. |
 |
A press for the third hole... |
 |
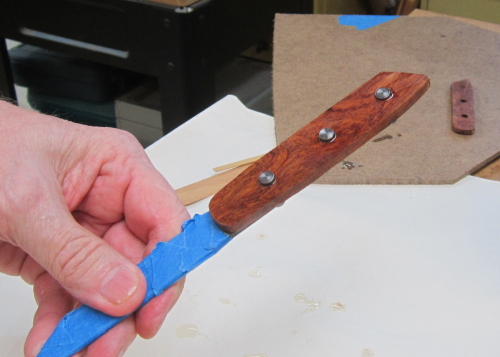
Then the three index points were used to draw the blade outline on the two scales... |
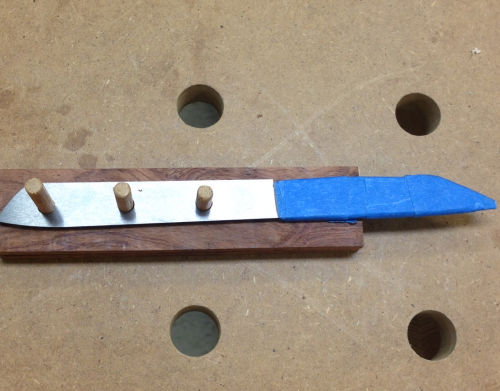 |
The blade was then reversed and indexed and outline drawn... |
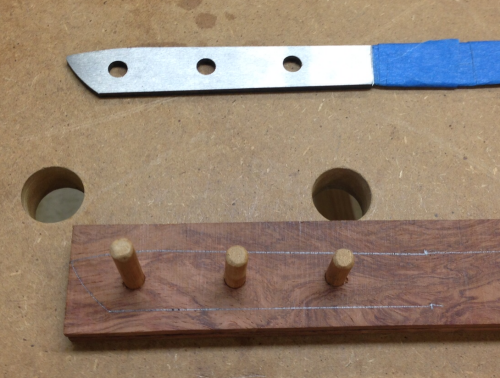 |
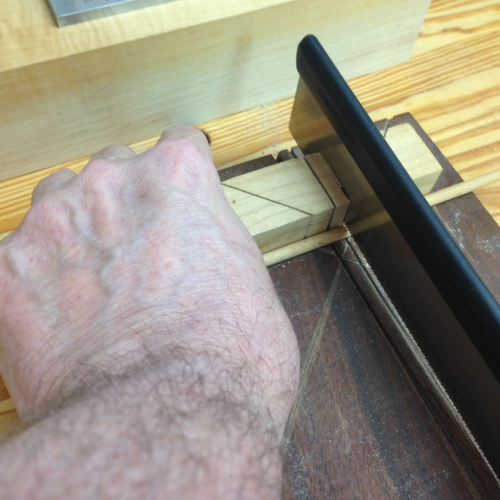
The outlines were cut oversized on the bandsaw. |
 |
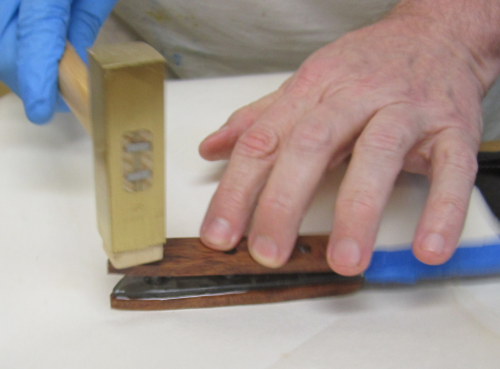
Side view of the scales...unit is ready for final touch up on the wood scales at the front near the blade. This area can not be effectively worked after glue up so I shaped them, sanded them to 400x, and put some shellac on them. |
 |
|
|
|
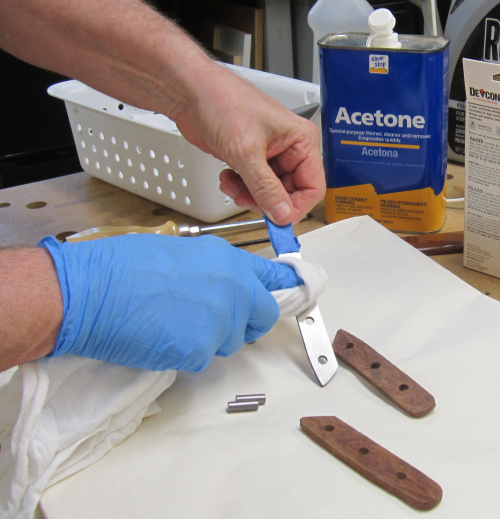
The inside surfaces of the scales and the tang of the blade were sanded to 150x to provide a better adhesion surface. Then the mating surfaces and the pins were cleaned with acetone. |
 |
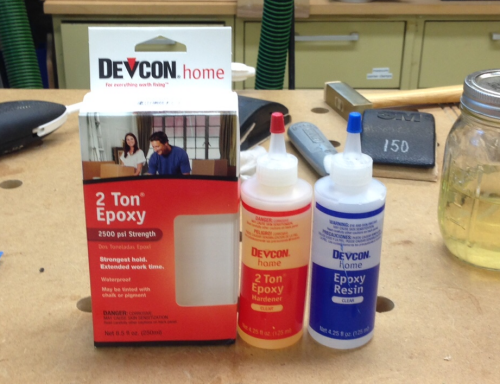
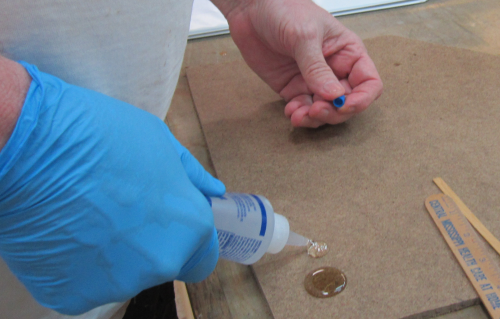
I chose a strong, water-resitant epoxy adhesive, Devcon 2 Ton® Epoxy...comes in two 4.5 oz. bottles. |
 |
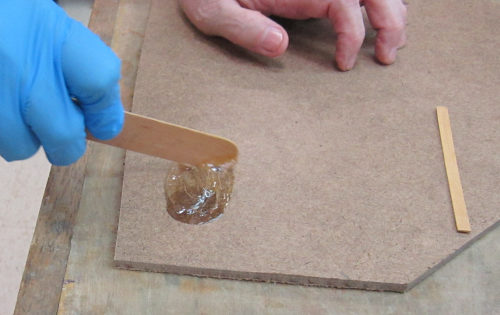
To mix...equal dollops of the resin and the hardener were squeezed out. |
 |
then mixed... |
 |
The adhesive was then spread on to one side of the tang... |
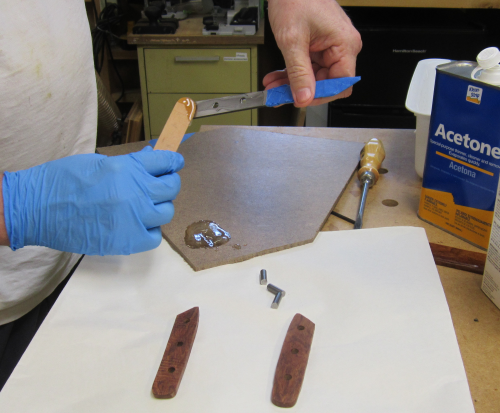 |
and the mating surface of a scale... |
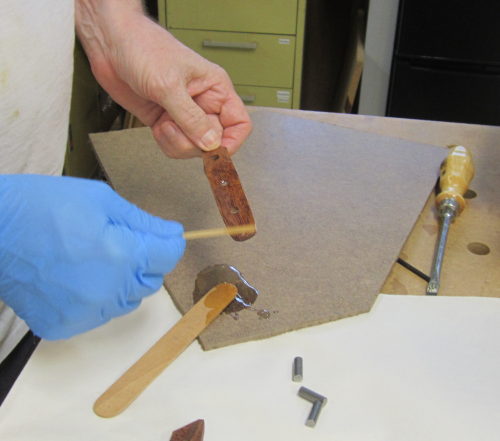 |
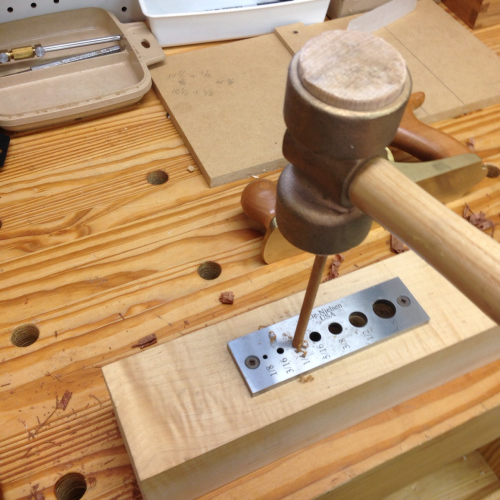
The pins were then coated with epoxy and tapped through the tang and the scale. |
 |
The tapping was done on a spongy surface so that the pins stood out proud on the back side of the scale. |
 |
Then the other mating surfaces were epoxied... |
 |
The scale was pressed over the pins. |
 |
One pin grabbed slightly...the scale (toward the blade) went down too far and the opposite end caught on the lip the pin...I should have pulled the scale up into a more horizontal position. A more even press of the scale across all three pins at the same time would solve that issue. |
 |
As happens quite often, I further enhanced my mistake with a secon mistake... I thought a couple of light taps would work fine... but...I erred and put a small crack into the scale. |
 |
I could have only used clamping power to press down the scale. |
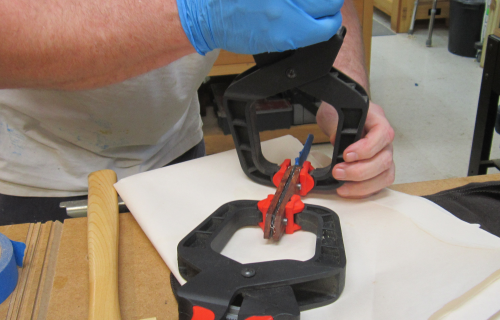 |
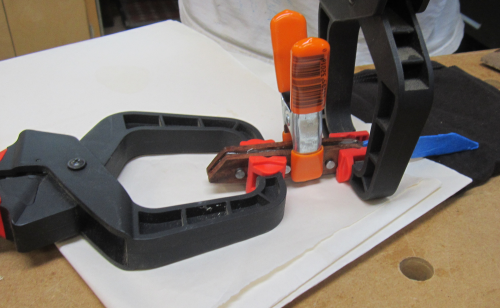
Clamps on...will sit for a 24 hour cure. |
 |
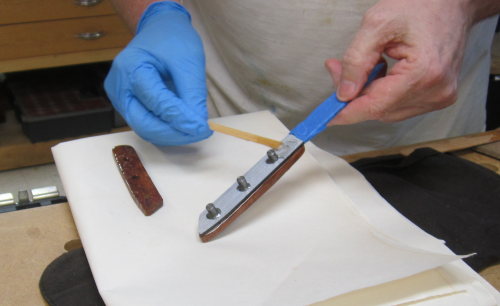
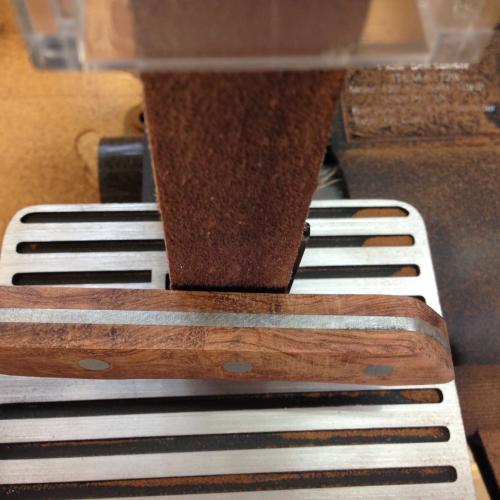
After the knife was removed from the clamps, the next step was to sand down the pins flush with the scales. |
 |
The grinding was performed on a 1 x 30 belt sander at 80x. |
 |
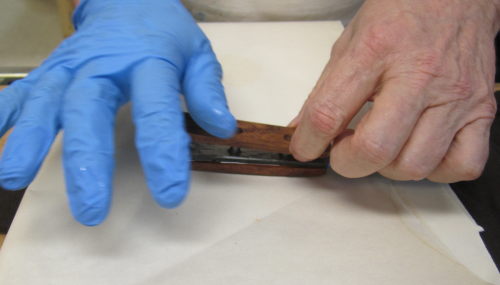
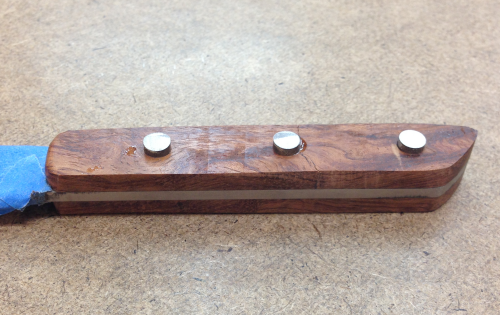
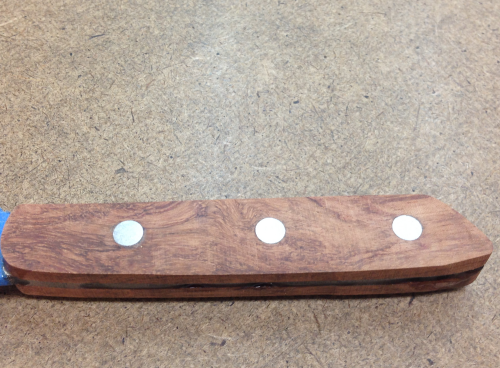
After the pins were taken down the wood on the sides, the scales on the top, bottom and end were taken down flush with the metal edges of the tang. |
 |
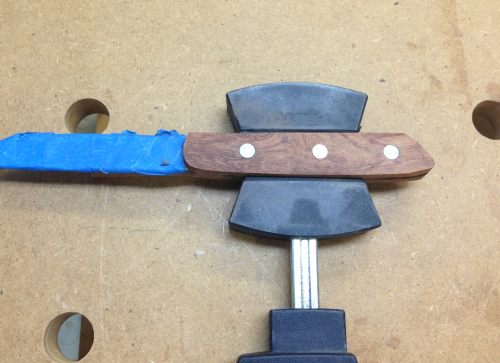
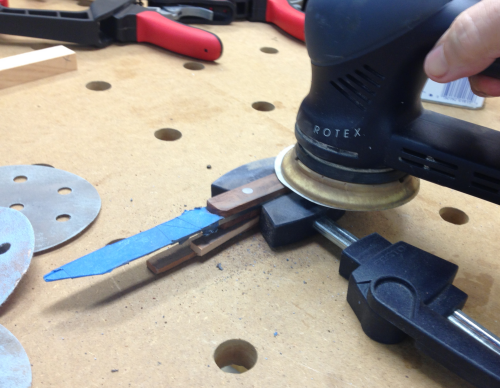
The sanding process then moved to the MFT3 table. I was able to hold the blade in a Festool Clamping Element using a shim board under the handle of the knife. |
 |
Power orbital finish sanding was performed with the RO 90 Rotex through a grit progression of 40x-80x-120x-220x-320x-400x.
|
 |
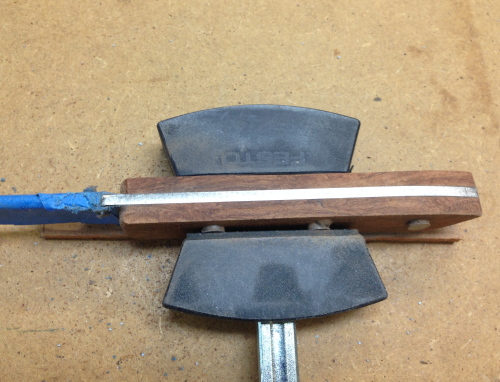
The top and bottom were also worked on the MFT3. |
 |
After cleaning the epoxy from the crevice between the scales and the tang/blade, I was done with the sanding phase...after cleaning with acetone, further smoothing will be done by hand using wet/dry sandpaper during the oil and varnish finish stage. |
 |
First finishing coats were 1 lb. and 2 lb. super blonde shellac applied with a pad. |
 |
Multiple Waterlox® tung oil based wiping varnish coats were applied heavily with pads and then, while saturated, hand sanded with wet/dry paper. Grit progression with subsequent Waterlox® coats was 400x-600x-800x-1000x. The final "feel" is quite smooth.
|
 |
Final coat was Birchwood Casey Tru-Oil®. |
 |
 |
 |
