The Building of Hermes
My last PC build was in 2007 when I made the Windows 7 box called Daedalus.
This PC has gone through several iterations with replacements... mobo, CPU, PSU, RAM, new drives, etc.
Through it all, it ran on Windows 7 Ultimate and it ran well...but with Microsoft declaring the end of life for Win 7 in Jan 2020 and because of some recent issues, a new build was required.
In keeping with past builds and/or laptop names...Icarus, Daedalus, Hephaestus and Pegasus...I chose a name from Greek mythology...Hermes.
Hermes was a swift messnger god, an intelligent god of information, a transcender of the realms...appropriate for a workstation that will be fast, store plenty info and connect me to the world.
So, Hermes it is...

Component Parts
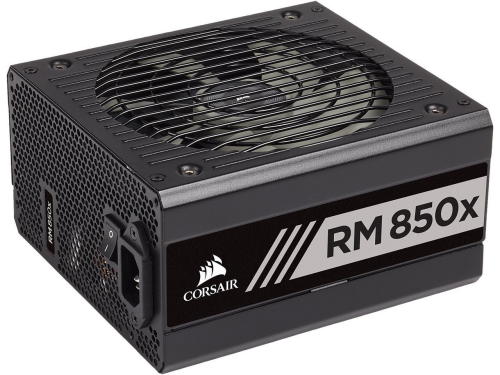
Power Supply Unit
RMx Series™ RM750x —750 Watt 80 PLUS® Gold Certified Fully Modular
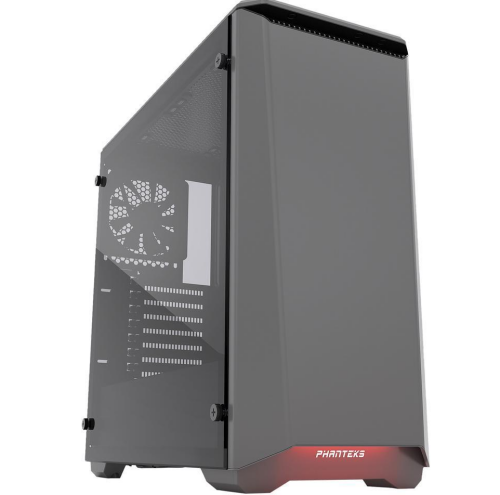
Case
Phanteks PH-EC416PSTG_BR Eclipse P400S Silent Edition
This unit was specifically designed to hold down noise.
- Steel / Plastic / Tempered Glass ATX Mid Tower
- 2 x USB 3.0 / Mic / Headphone Front Ports
- 6 x 3.5" / 2.5" (2 included) Internal 3.5" Drive Bays
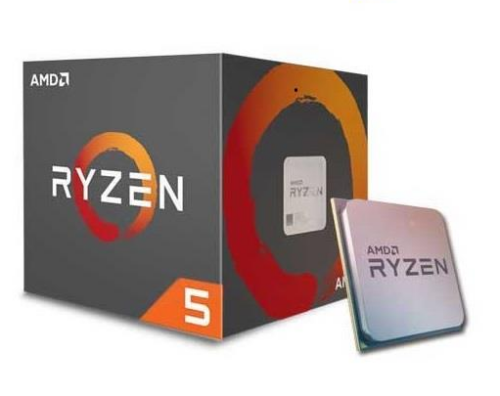
CPU
AMD Ryzen 5 1600 3.2 GHz
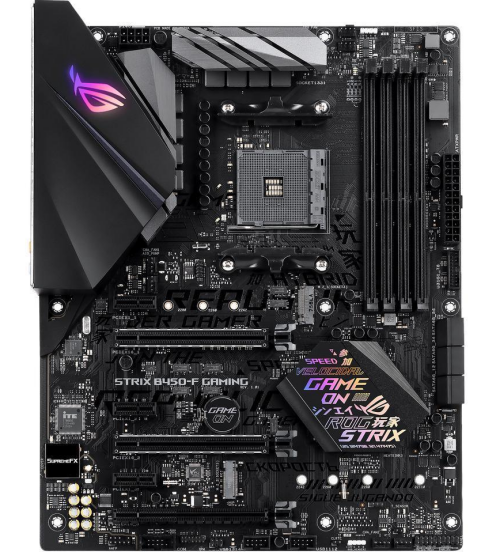
Motherboard
ASUS ROG Strix B450-F Gaming Motherboard (ATX) AMD Ryzen 2 AM4 DDR4 DP HDMI M.2 USB 3.1 Gen2 B450
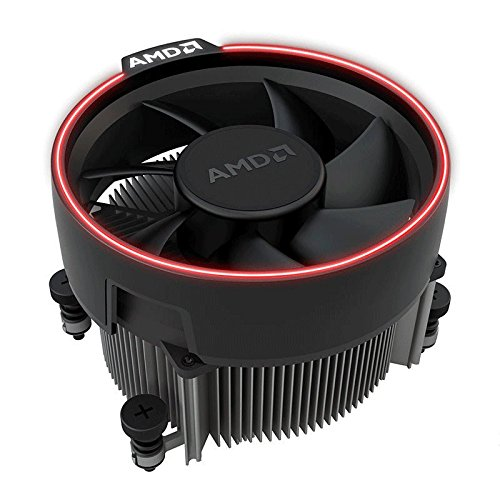
Cooler
AMD Wraith Spire, for Socket AM4
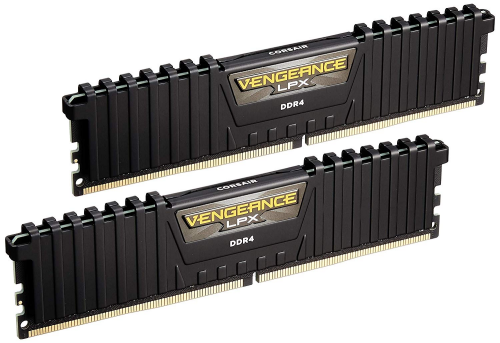
RAM
Corsair Vengeance LPX 16GB (2x8GB) DDR4 DRAM 3000MHz C15
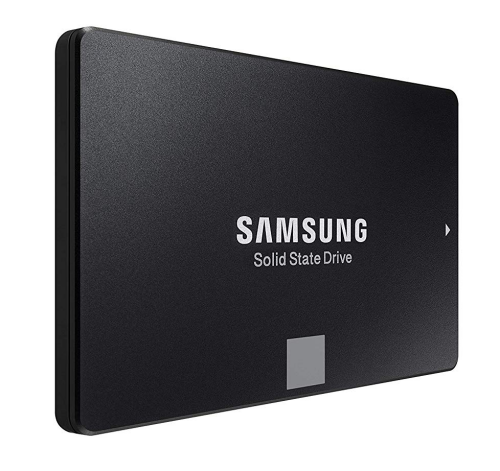
SSD
Samsung 860 EVO 500GB 2.5 Inch SATA III Internal SSD
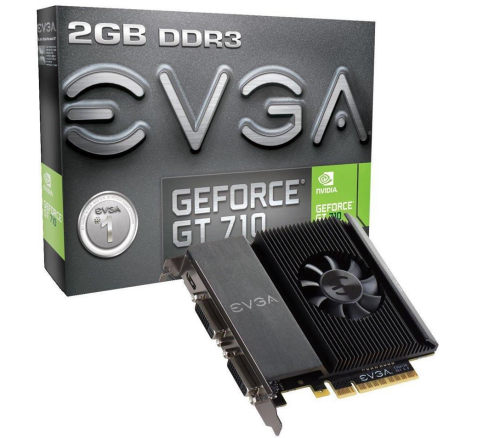
Video
EVGA GT 710 2GB DDR3 64bit Single Slot, Dual DVI 02G-P3-2717-KR
Monitors
Samsung 226BW 22 " LCD
Viewsonic 22 " LCD
dual monitor setup currently in use with Daedalus
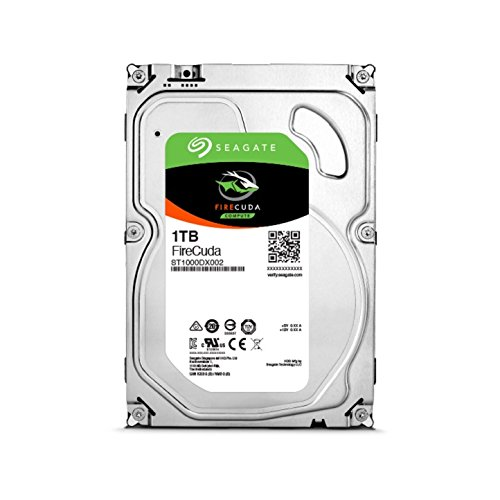
HDD 1
Seagate 1TB FireCuda Gaming SSHD (Solid State Hybrid Drive) - 7200 RPM SATA 6Gb/s 64MB Cache 3.5-Inch Hard Drive (ST1000DX002)
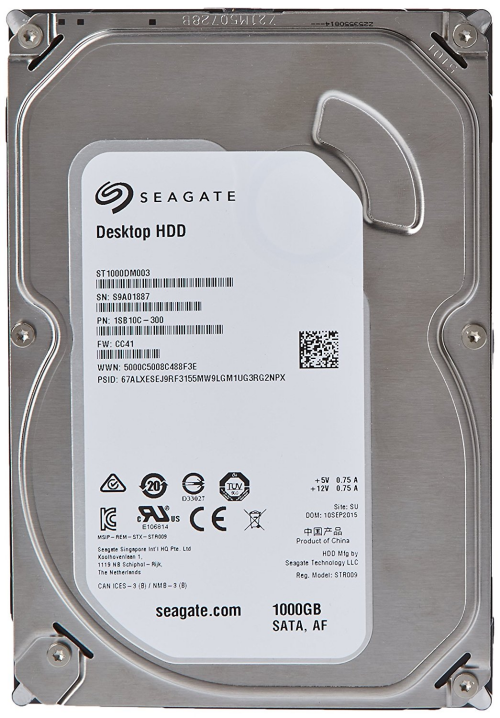
HDD 2
Seagate 1TB Desktop HDD SATA 6Gb/s 64MB Cache 3.5-Inch Internal Bare Drive (ST1000DM003)
Step 1:
Setup the ATX box...
Step 2:
Motherboard prep
Step 3:
CPU Install
Step 4:
Cooler Install
Step 5:
Install Mobo
Step 6:
Install PSU
Step 7:
Install SSD for System Partition
Step 8:
Install RAM
Step 9:
Install Video Processor
Step 10:
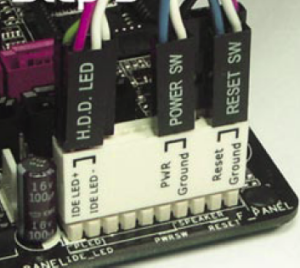
Check All Case and Internal Connectors
Case connection continued: all of the LED leads...power, hard drive function...plus power on and reboot, were connected to motherboar via the Asus Q-Connector for quick install and release.
Step 11:
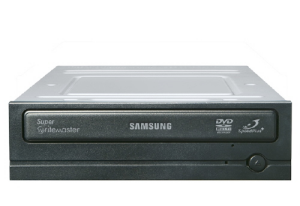
Optical Drive ???
SAMSUNG Writemaster
SH-S203B
SATA
Black
2MB Cache
20X DVD±R DVD Burner / CD Burner