|
Woodbin Project As part of the Phase III remodel of the shop, improved wood storage and more space were major priorities. The constant stack of cut-offs caused many problems
but throwing away valuable wood pieces is not my nature. |
|
|
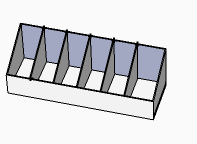
This is the preliminary Sketchup design of the wood storage area. It would be about 24 inches deep, 72 inches long and would have partitions to divide it into six sections.
|
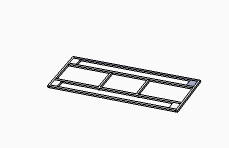
The base is a torsion-box construction. The outer layers of the sandwich are 1/2 inch MDF. The internal frame is constructed withe 1" square pine...with 5 x 5 blocks in the corners to secure the casters.
|
|
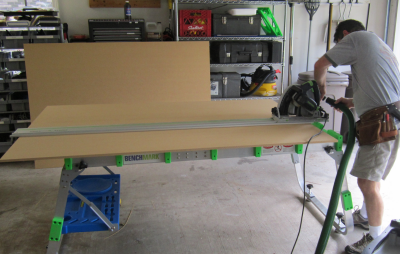
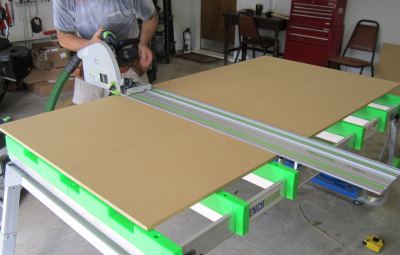
Most of the unit is constructed with 1/2 inch or 3/4 inch MDF. We purchased the sheet goods and unloaded the panels
into the garage. Here is a rip cut. |
 |
|
Crosscuts were made to further break
down the goods. All panels were then hauled to the shop.
|
 |
|
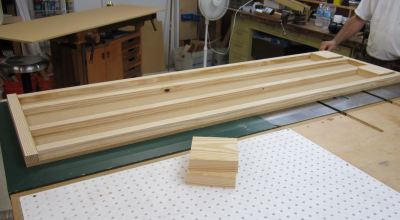
We milled down 2 x 6 pine by jointing two faces and one edge on the Powermatic 8 inch jointed and then ripped them on the P66 tablesaw. These 1 x 1 boards made up the torsion-box frame. |
 |
|
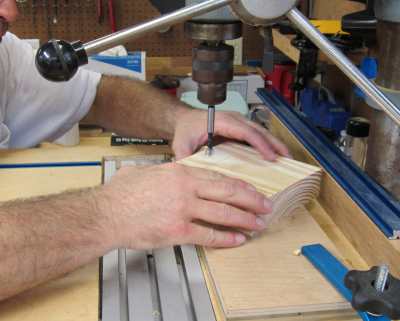
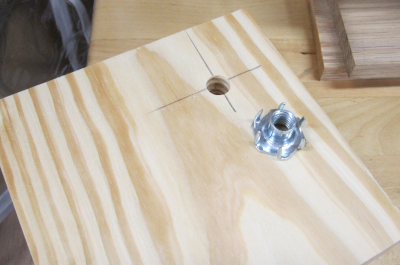
The 5 x 5 milled caster plates had a
7/16 hole put in them with Forstner bit.
|
 |
|
The holes for theTee Nuts were placed in the outer quadrant of the caster plate. All four casters will be non-locking types so exact placement was not overly critical.
|
 |
|
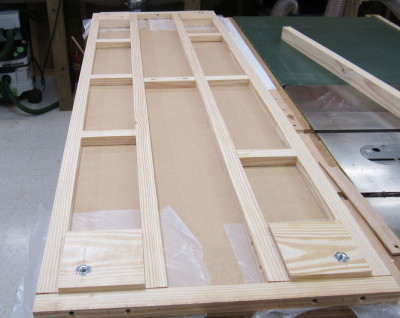
Here is the torsion-box frame glued
up. The frame was assembled with glue, 16 gauge nails, and
screws in select locations.
|
 |
|
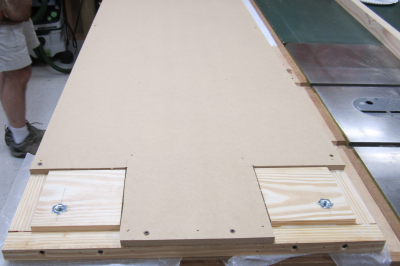
The MDF base had cut outs for the
caster blocks.
|
 |
|
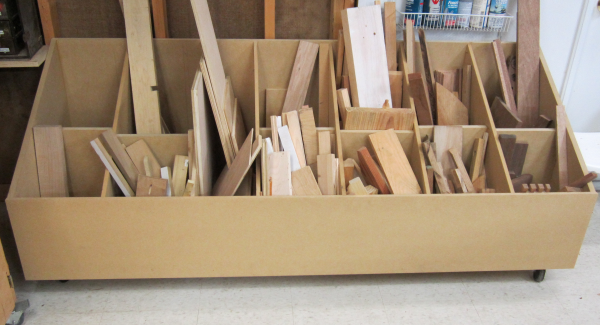
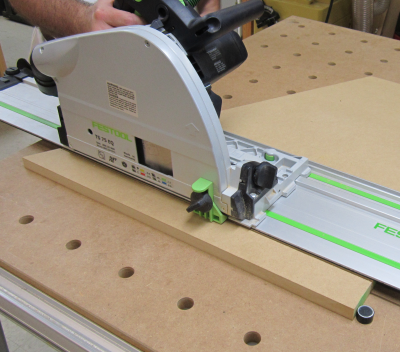
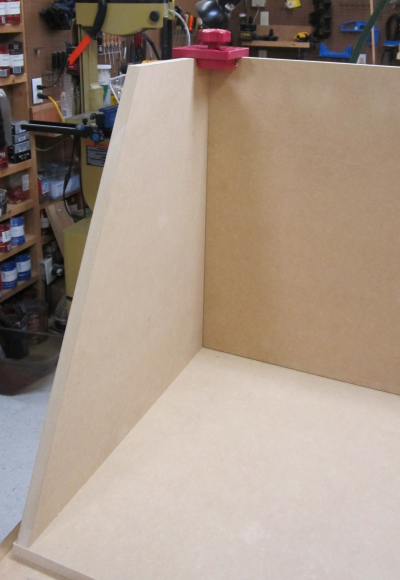
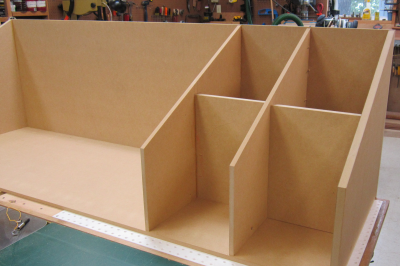
All partitions are 10 inches tall in the front, 22 inches in the back, and go 23 3/4 deep. The end partitions were made from 3/4 inch MDF...all others from 1/2 inch. This work was precision cut on the Festool MFT3 since the sheet goods had all been processed into easily handled sections. |
 |
|
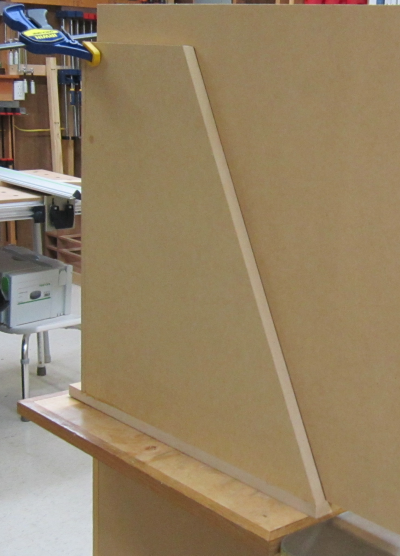
The 3/4 inch end partions were attached to the rear 3/4 inch section and the 1/2 inch base. In the image to the right, the corner being held together with a Woodpecker carcase clamp is actually the end partion / base panel corner connection. |
 |
|
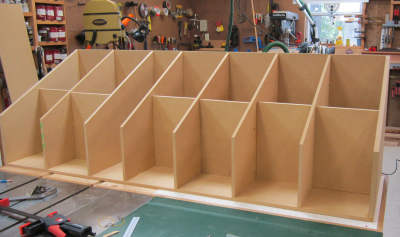
At the end of the day we had a finished torsion-box base, ready for casters. The carcase frame for the woodbin section was glued up. |
 |
|
I was working solo on the second
day...I started by scribing the partions off the end
partition.
|
 |
|
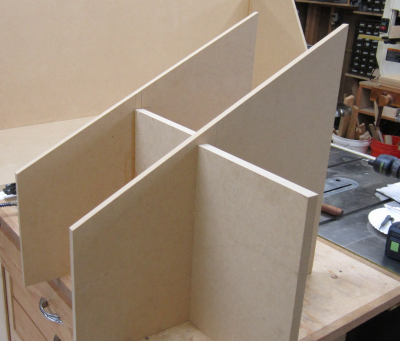
The dividers that separate the partitions were cut
from 3/4 inch MDF. I would put together two or three panel sections to allow for easy handling. |
 |
|
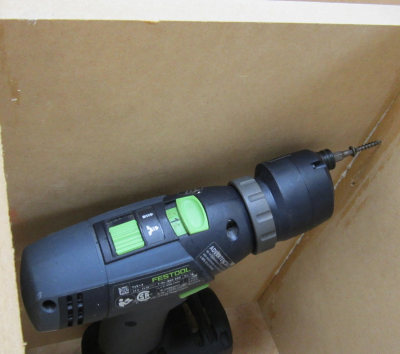
In some spots which were too tight for
the 16 gauge gun, I used the Festool with the eccentric head
to put in screws.
|
 |
|
The groups of partitions were then put
into the carcase with glue, nails, and screws.
|
 |
|
I made some minor changes during construction...added one non-divided partition for larger plywood panel cutoffs.
|
 |
|
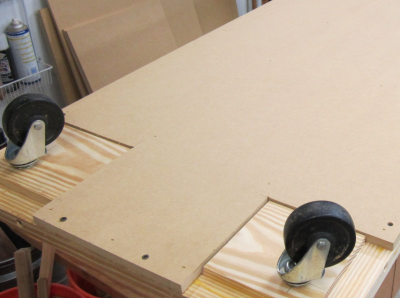
Casters were added to the base
unit...they screwed into the embedded Tee Nuts.
|
 |
|
After attaching the top bin unit to the rolling base I placed the bin against the east wall. The location of the unit still allows the right hand door exit door to be opened. The attic ladder is able to be lowered with no issues. |
 |
|
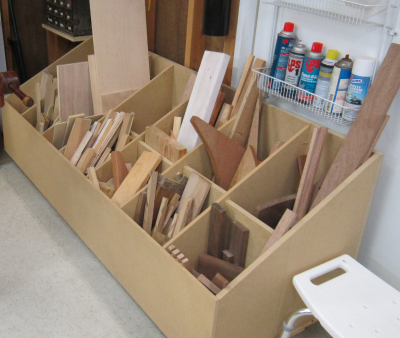
Quick and handy storage by type.
|
|
|
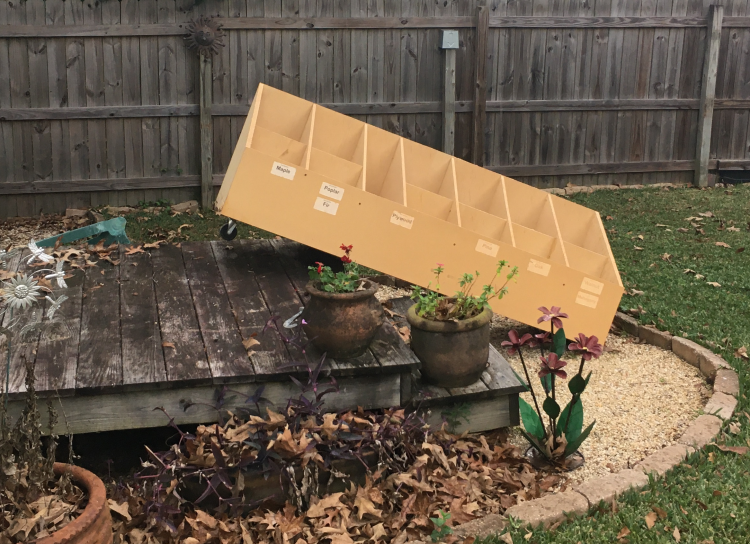
The End... The wood bin had to go...it was eating too much room...it was not mobile anymore. |
|
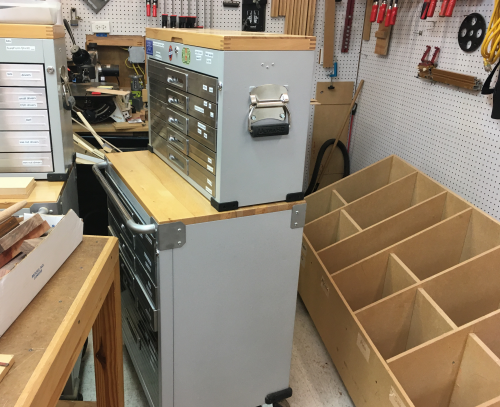
| Moved rolling drawer units out of
the way of the back doors...emptied the bin. |
 |
| The bin went out the double doors...and was hammered...BFH. | 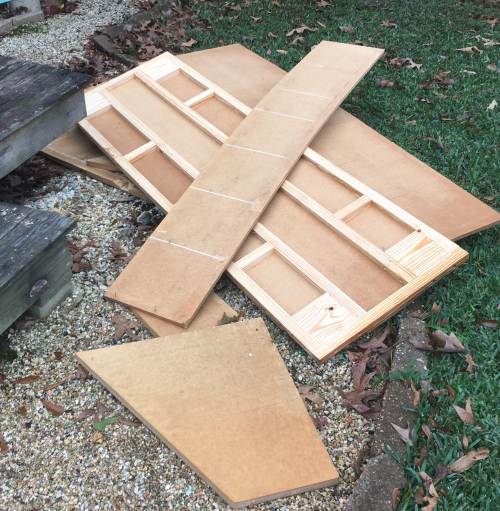 |
| Sorted all of the wood as
pulled... |
 |
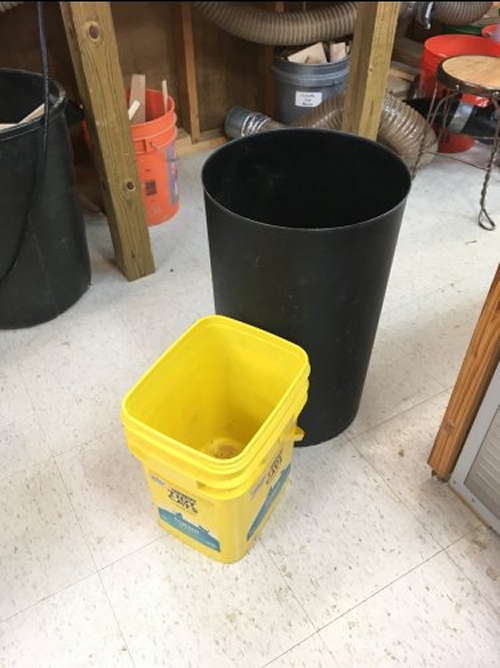
| Working heights were determined
for a short and tall bucket...kitty litter buckets were
great...height of black can was good but decided should be
rectangular of best use of space. |
 |
| CKT found a great inexpensive
model at Wally World and we bought five. This made room for the Mortiser Roller . |
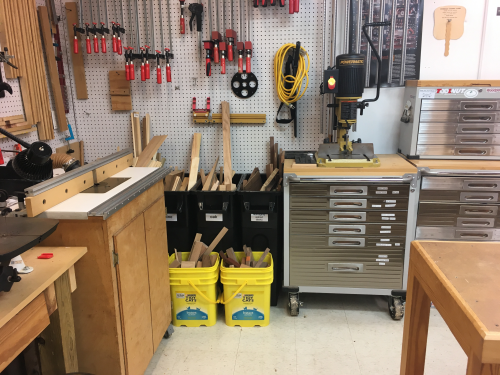 |
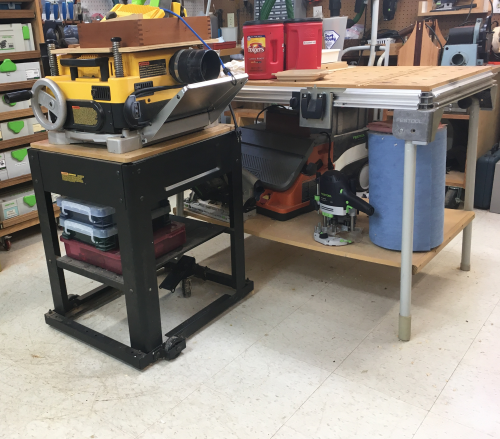
| New storage fits well in between router table and Mortiser Roller unit. | 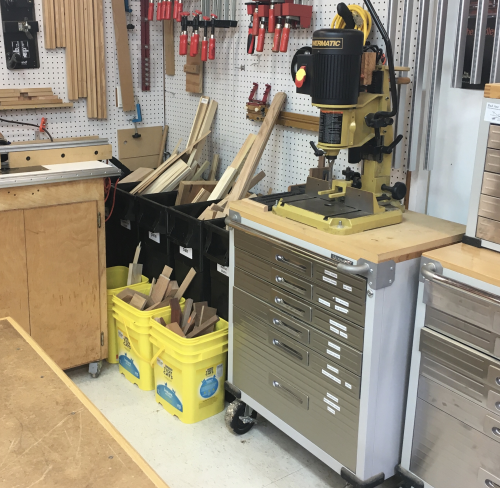 |
| After the Mortiser Roller was put
in place it was obvious the lathe tool rack on the side made it
too tight...moved the rack to space to the left of the drill
press. |
 |
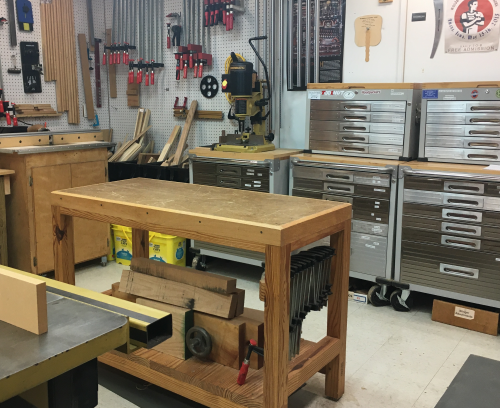
| A view of the east end. |
 |
| The hole that was created in the
work area after Mortiser Roller was moved. |
 |