|
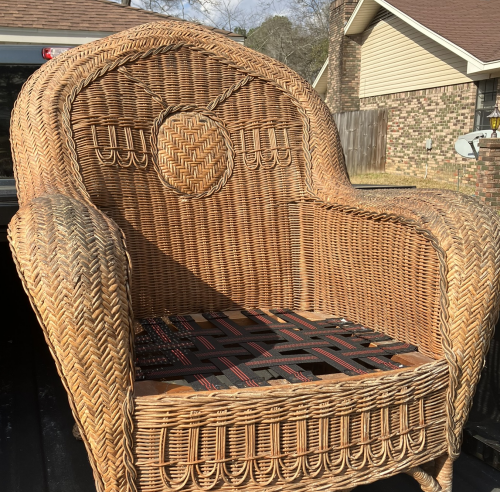
James had two large wicker
chairs that needed new seat webbing...the structure of the
chairs made web stretching an issue.
|
|
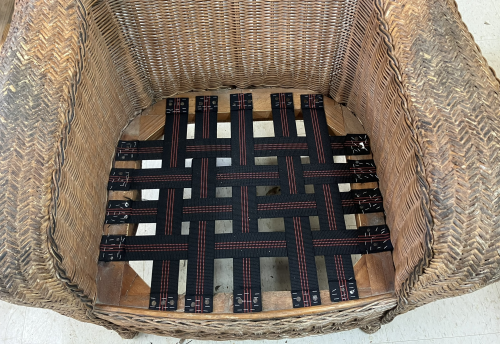
The side to side webbing was the most
difficult element. Stretching the webbing material in a
typical manner was simply not going to work.
The sides of the wicker chair were
integrally entwined with the sides of the frame...the rear of
the seat was also an issue.
James came up with a crafty solution.
First, the webbing was secured to the left
frame edge.
|
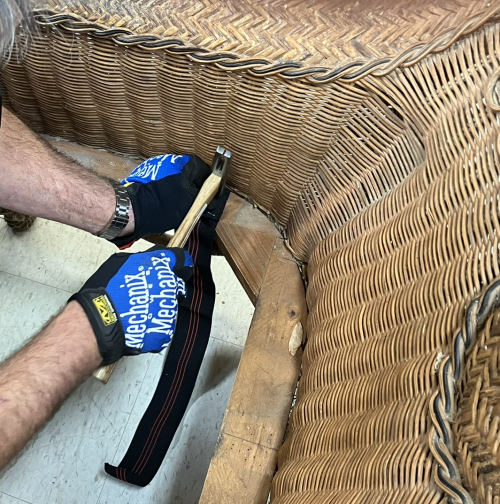 |
| Special tool that James crafted for this job... | 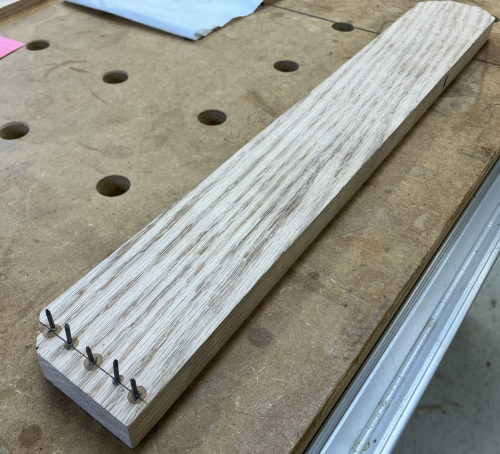 |
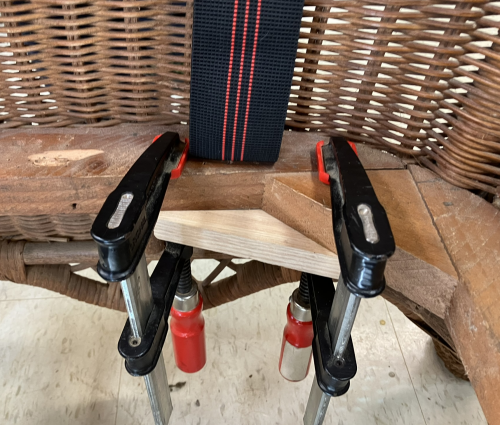
| A ledge was brought into the
process using a piece of ply secured with a couple of
clamps...this would become the "leverage ledge". |
 |
| Then the webbing was secured with
the nail pad and it was stretched vertically until the bottom of
the tool could rest on the leverage ledge. |
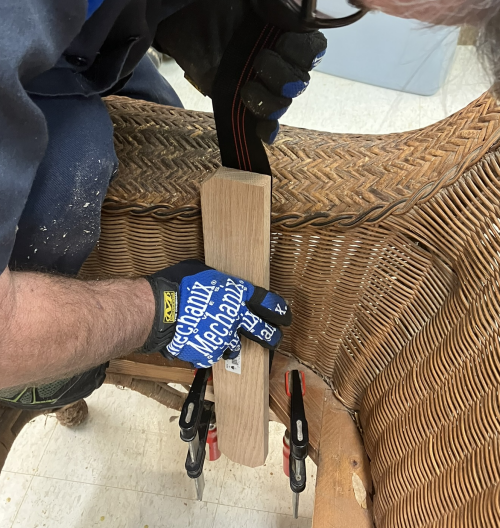 |
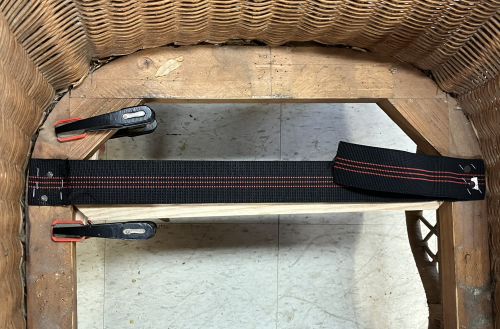
| Took some tugging but the stretch was good | 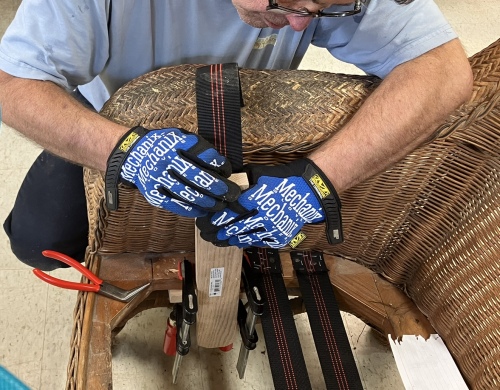 |
| After the webbing was fully
extended into a horizontal plane, it was stapled off and
tacked. Tool is seen under the webbing. |
 |
| Four runs of side to side webbing were installed. | 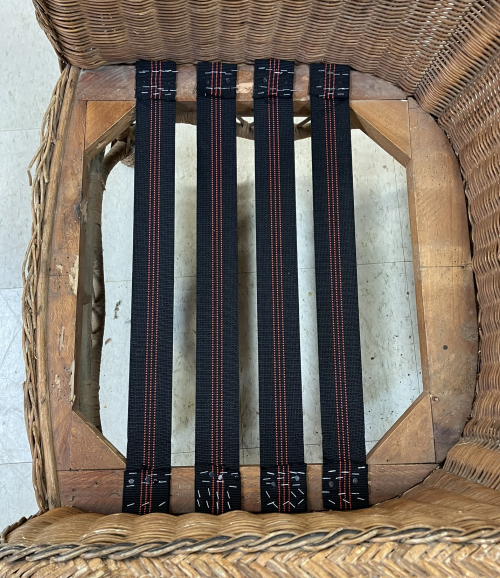 |
| The front to back webbing was
then installed...we were planning on using an existing web
stretching tool but James found he could make it quite taut by
pulling it. |
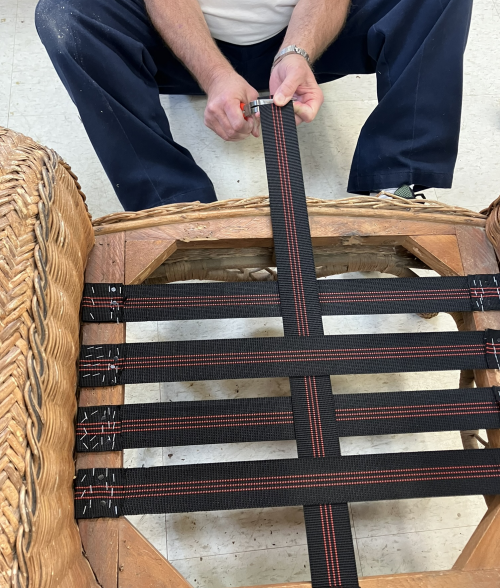 |
| Front to back webbing was interlaced with the side to side webbing...stapled and tacked as before. |  |
|
|
|
| Webbing completed on chair #1 |
 |
| Headed for home |
 |