Project plans... Phase 1: North east corner... Closet remodel...Redisign the closet. Change from clothing rack and storage > foo pantry. Phase 2: South wall...Wreck out sink. Shut down plumbing in wall. New wall with infrastructure. New refrigerator, wiring. Phase 3: Install upper shelves. Cabinet to extend over refrigerator. Can cabinet beneath shelves and to right of fridge. Phase 4: New floor. New paint, trim. Fresh paint on ceiling. Replace all electrical outlets, switches, cover plates. Phase 5: New entry door. |
|
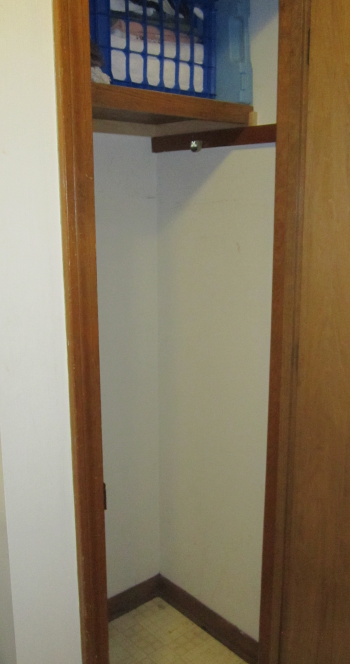
The closet was used for storage in the upper shelf area. The lower section had a hanging bar and predominately held winter coats and motorcycle jackets. The floor was storage for vacuum cleaner and assorted small appliances. |
 |
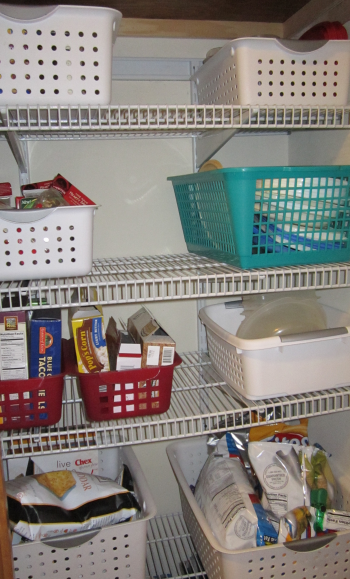
We pulled all shelving and bars out and
installed a modular metal shelf rack system. |
 |
 |
|
Great new larder space... |
 |
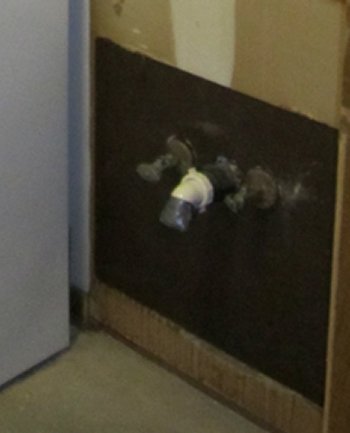
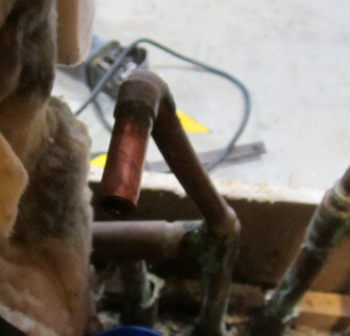
Plumbing... The south wall had an old vanity and sink. It had to go.
|
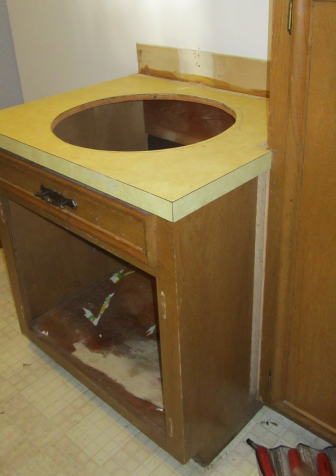 |
We wrecked out the unit and temporarily
closed off the waste line. |
 |
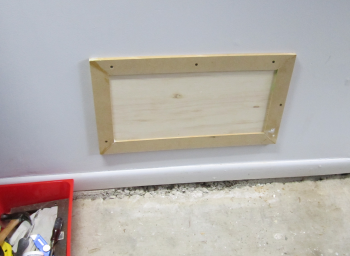
We decided to cap off these plumbing fixtures...the ABS waste line and the 1/2 inch copper hot and cold water lines. We cut an access panel hole in the garage wall in the event that we wanted to easily access this area in the future. |
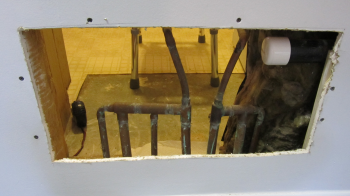 |
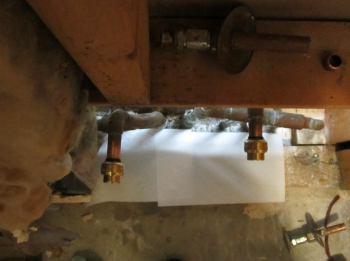
This garage wall access panel will allow us to easily check the pipe fittings if we feel the need.
|
 |
 |
|
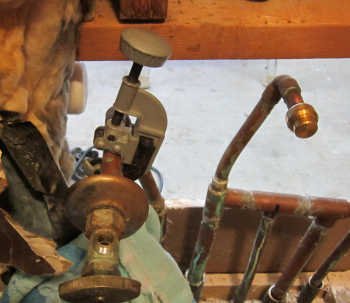
Then the pipe was cleaned with 600 grit sandpaper. This prepped the pipe for a "Gator Bite" cap installation. This fitting is a solder-less cap that uses an O-ring to make the seal. This was my first time to use a product like this...it went very well, but my lack of total confidence in a new product is what convinced me to create the access panel.
|
 |
Here is a Gator Bite cap.
Now both of the copper lines are capped off within the limits of the wall space. |
 |
Pulling the upper mirror and light unit revealed that there was a double wall between the laundry room and the garage. Some 2 x 4s had been cut when the mirror was installed. Scabs will have to be used.
|
 |
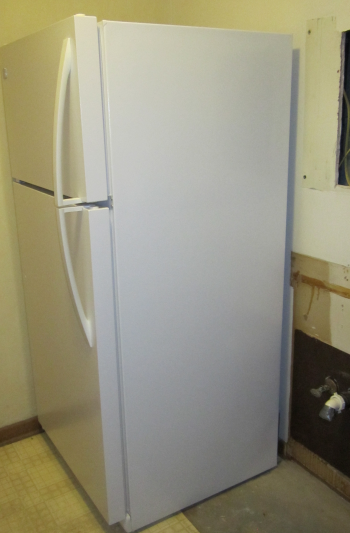
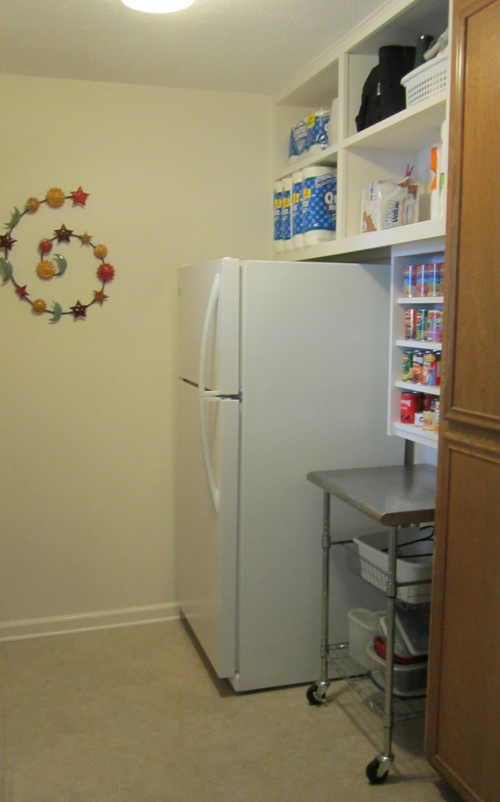
A refrigerator was added to the room. This a secondary unit with the regular cooling lower section used predominately for drinks. The upper freezer is dedicated to my Gluten-Free frozen products. This appliance will live in this south east corner and new shelving units will be built-in above it and the right of it.
|
 |
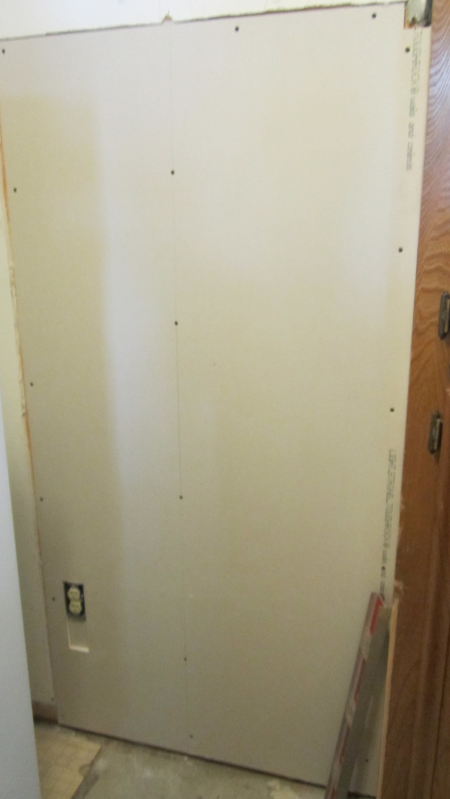
Pull dry wall. Wall supports were put in...emphasis was placed on having good support for new drywall, upper cabinet, and the can cabinet. Studs were scabbed to increase screw surface...upper horizontal structures were put in using Kreg pocket holes. |
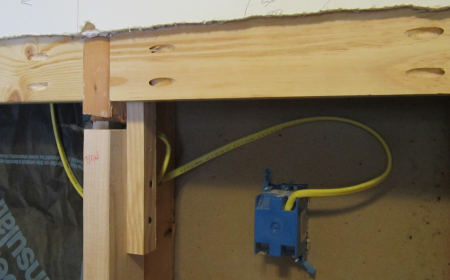 |
The electrical outlet was moved to a more secure location and a sheet of drywall was installed.
|
 |
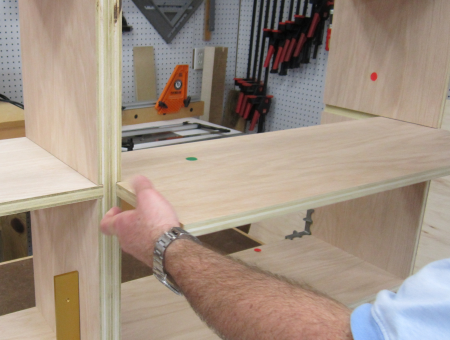
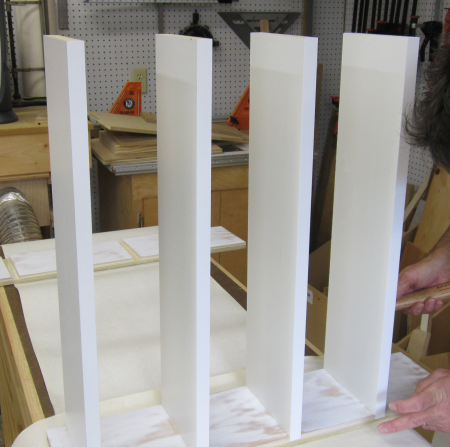
Dry run fitting for upper shelves. |
 |
Adding final shelf in dry fit. |
 |
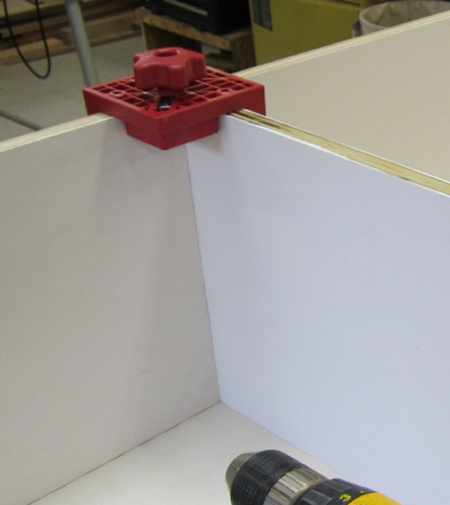
Started glue up by putting the shelves into the central rail...glued and screwed. Used Woodpecker corner clamps to make everything square. |
 |
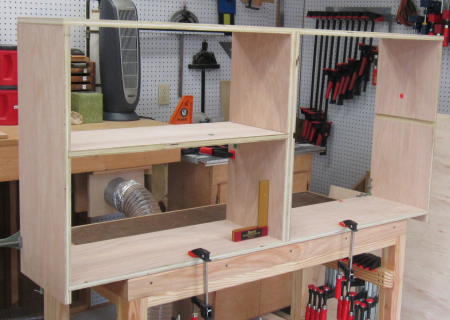
Full unit goes together... |
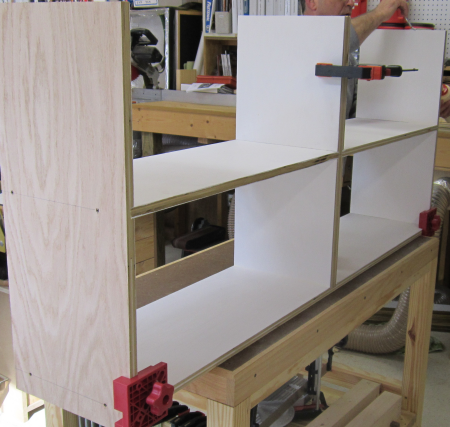 |
Top is screwed down... |
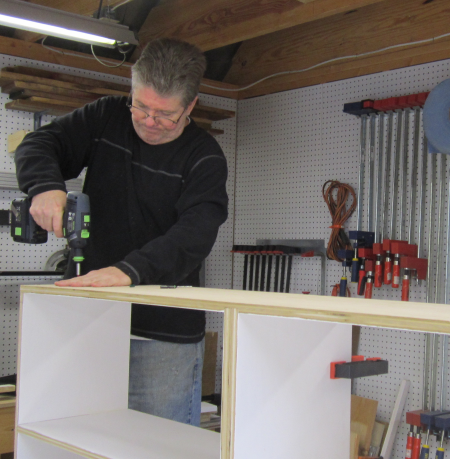 |
Upper shelving unit was hoisted and secured. |
 |
Trim was installed to face out the unit. |
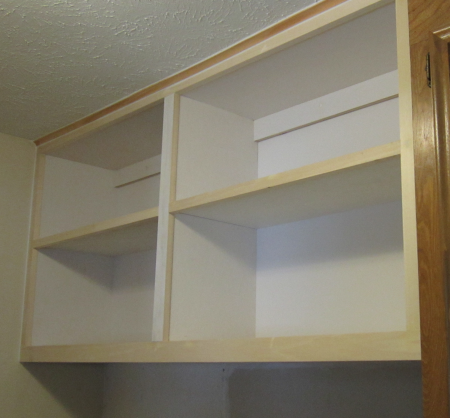 |
The line where the existing cabinet and the new unit merged was a problem area. We designed the new shelves to come out a little less than the exitsting cabinet. A piece of the old crown moulding was used to turn the corner. Cove trim was installed to make the transition to the ceiling. |
 |
The can cabinet was constructed in oak plywood with poplar banding...the shelves were melamine. Image shows melamine shelves being glued into dadoes.
|
 |
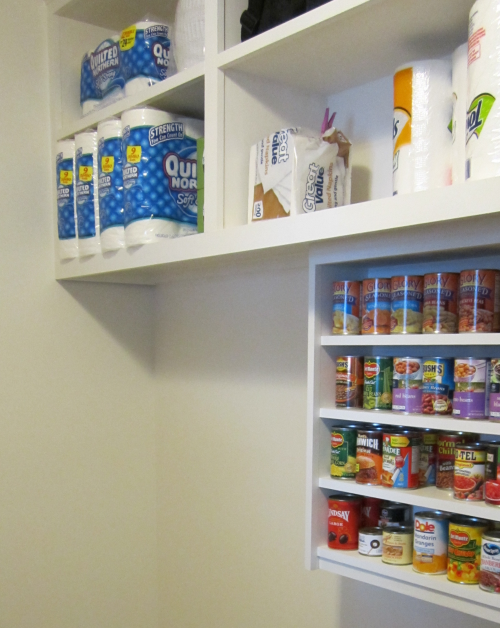
The can cabinet installed and in use. |
 |
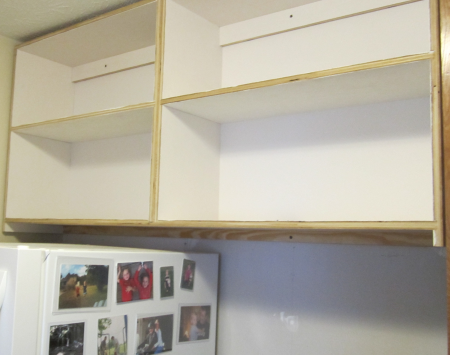
Entire cabinet system.
|
 |
Refrigerator back into place. |
 |
|
New Floor |
|
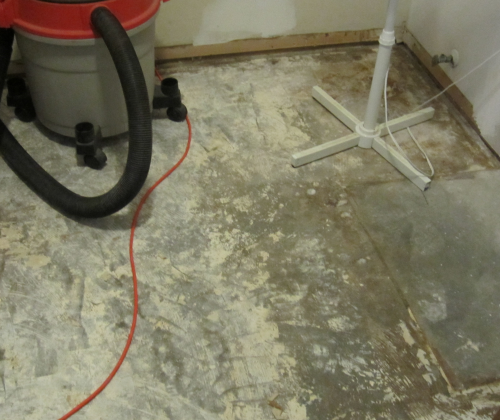
Prep work for the floor install started with the removal of the previous vinyl floors. This was tedious, physical labor. |
 |
The top floor came up reasonably easy but
the bottom floor was tough. |
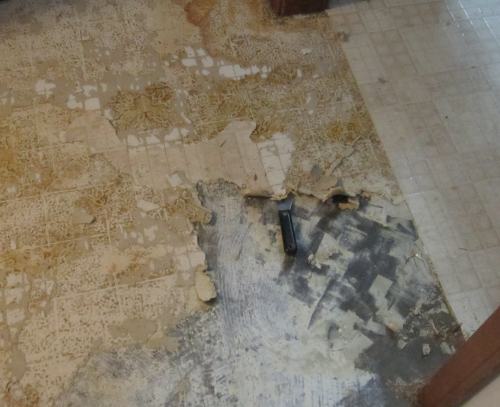 |
Once the floors were up there was still
a lot of glue residue. |
 |
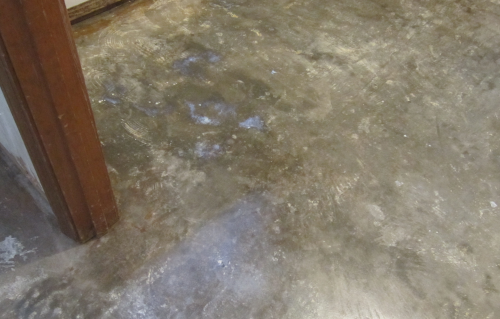
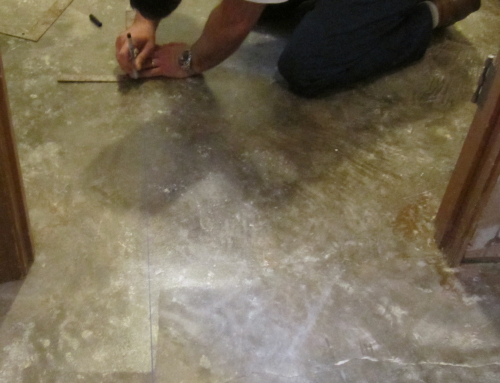
After wetting and scaping...floor was clean
enough...a sealer/primer coat was rolled on... |
 |
Then we did a layout...the critical location
was the centering of tiles in the two door frames that are aligned in
the kitchen. |
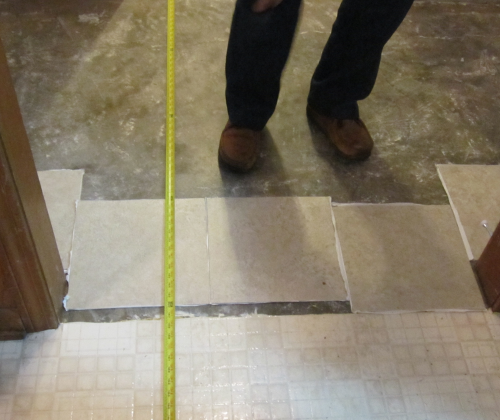 |
After aligning the first two points, that
line was carried along the long axis to the far wall of the wash room. |
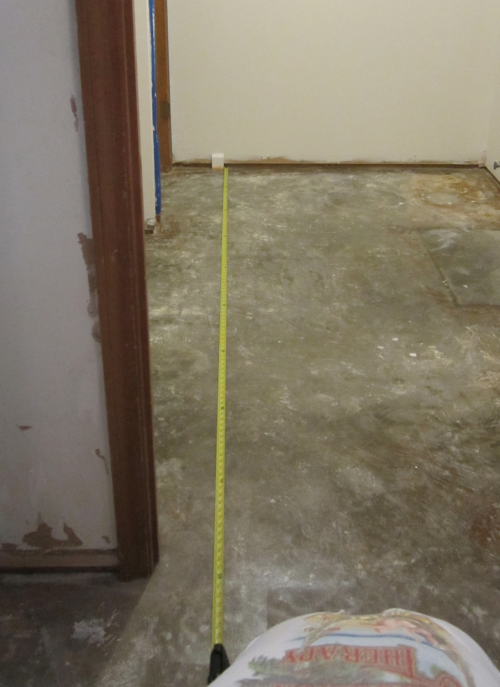 |
Then the critical first tile location was
established. |
 |
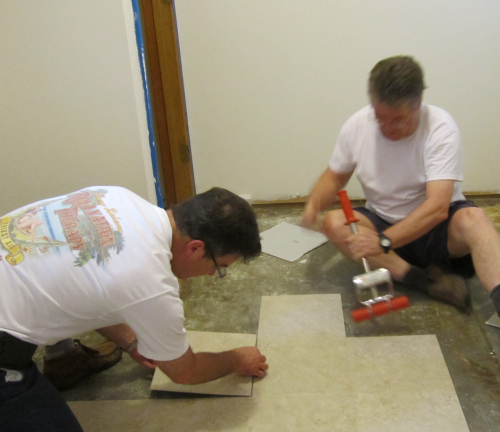
Then the peel and stick phase started... |
 |
With two tile layers and Cindy feeding us
material, this phase went quickly. Working around the door frames and
into corners was a bit tedious. |
 |
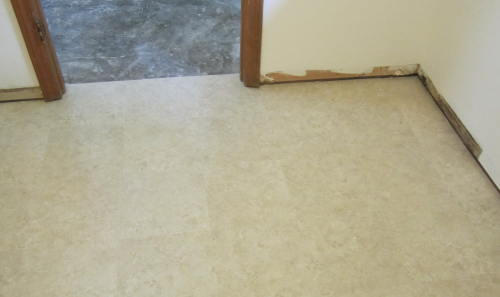
Finished product...floor completed out to the doorway. Ready for trim. |
 |
| Base and shoe moulding goes
in...caulk, spackle, paint and suddenly it all looks really good. |
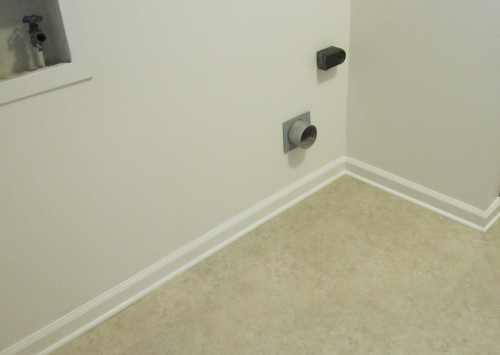 |
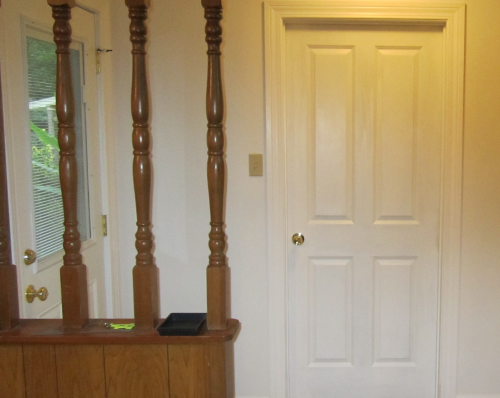
A new interior door, solid masonite, heavier with noise dampening materials was installed...along with new trim...everything is now white instead of dark wood. This view is from the kitchen, through the hallway to the outside of the washroom door.
|
 |