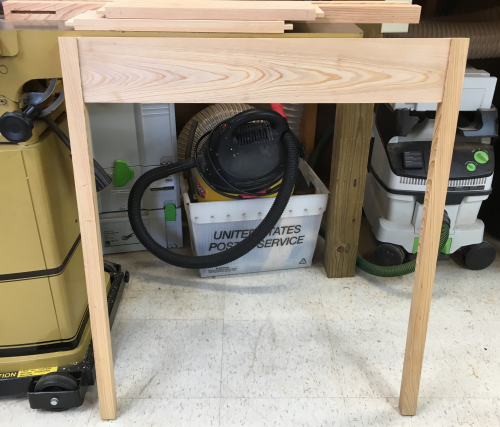
This is a vanity base for a bathroom fixture.
|
|
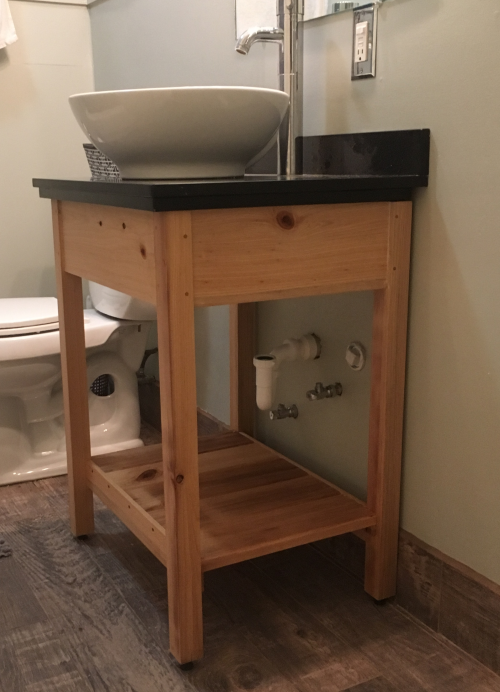
It will be similar in style to the base I made for my daughter. |
 |
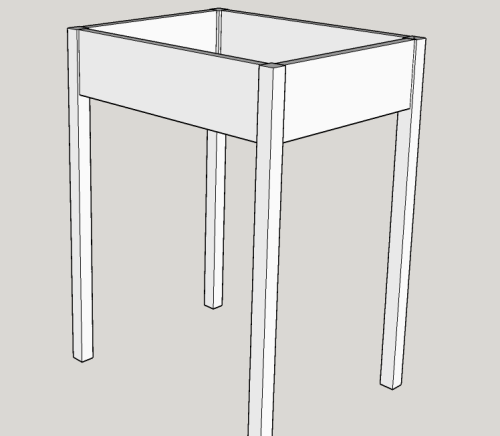
The base unit will be a simple shell...with 1 1/4 inch square legs...and 4.5 inch aprons (3/4 inch thick). Legs will join the aprons with mortise and tenon joints...they will be secured with glue and dowels. |
 |
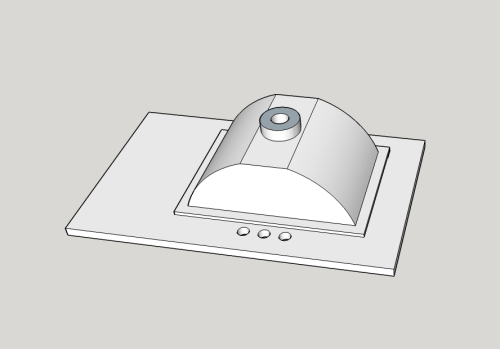
This is the Sketchup top view of the vanity top. It is 31 inches wide with a depth of 19 inches. There will be a splash that runs the 31 inches at the back. It is 7/8 inch thick. |
 |
This is the underside view of the vanity top.
|
 |
The vanity top unit in the shop...there were some issues involved with this unit...the metal plates on the left edge obstruct the access to the apron and the closeness of the back of the basin to the rear of the top...restricting water hose attachment. |
 |
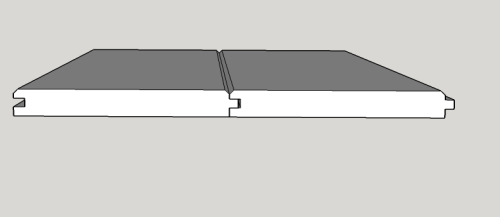
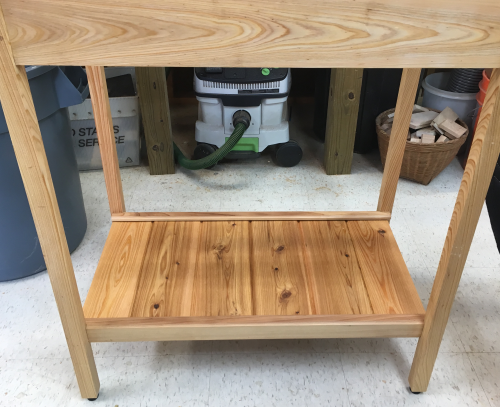
There will be a lower shelf...these boards will be 3/4 inches thick...routed to v-tongue and grooves... |
 |
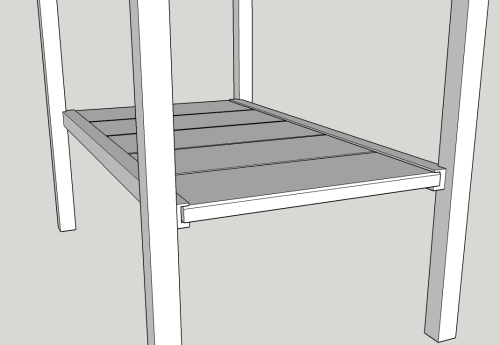
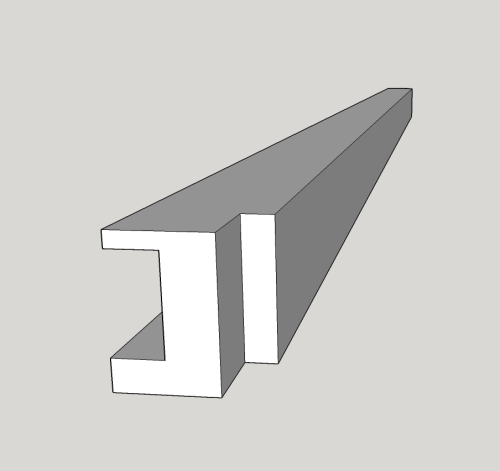
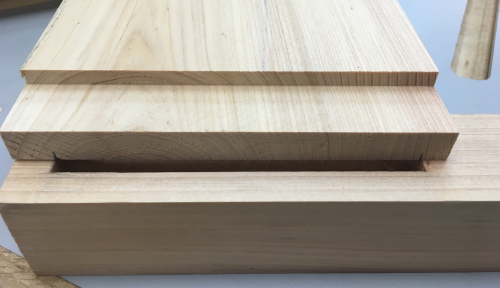
The slats will fit into a front and back rail that has a dado ledge to accomodate them. |
 |
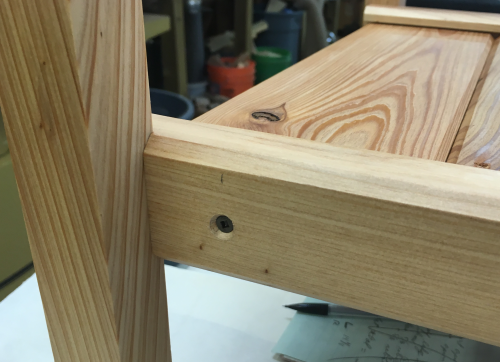
Closer view of the ledge with a 3/4 fat inch dado that is 3/8 inch deep. The rebate in the back is to fit on the edge of the legs. |
 |
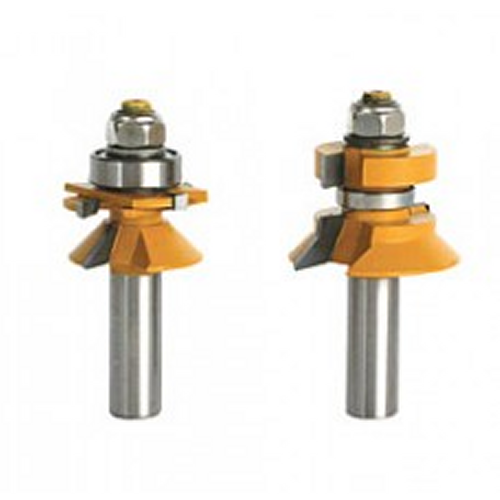
The 7 slats for the lower shelf were ripped to 5.5 inches...then used a Sommerfeld matched v-cut tongue and groove router bit set...
|
 |
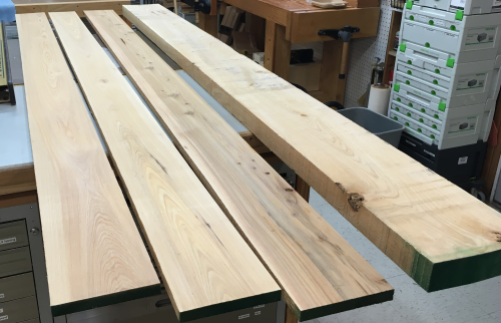
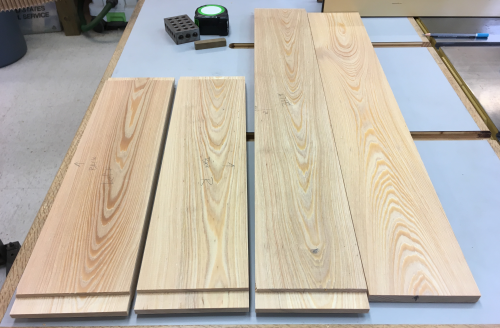
I secured three cypress boards...4/4 stock (squared 3S down to 3/4 inch...and a rough 8/4 slab...from Larry at Heartwood in Star, MS. Boards were ~6 inches wide and ~8 feet long. |
|
Slab, I jointed a face and an edge to get a square edge. |
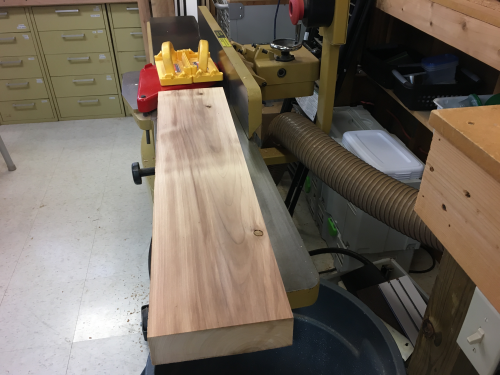 |
Ripped the board down at the band saw...and chopped them to workable lengths... |
 |
The leg blanks ready for the first cuts... |
 |
Edge jointed and faced at the jointer, then surface planed to 1.25 x 1.25 inches...legs were arranged for appearance and marked for easy reference... |
 |
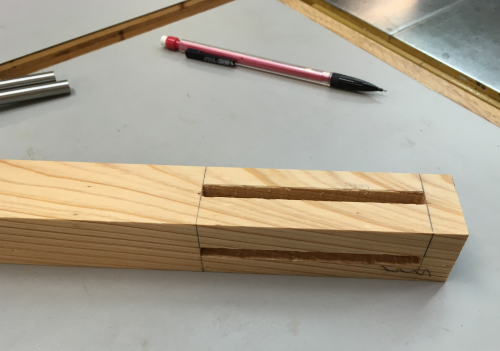
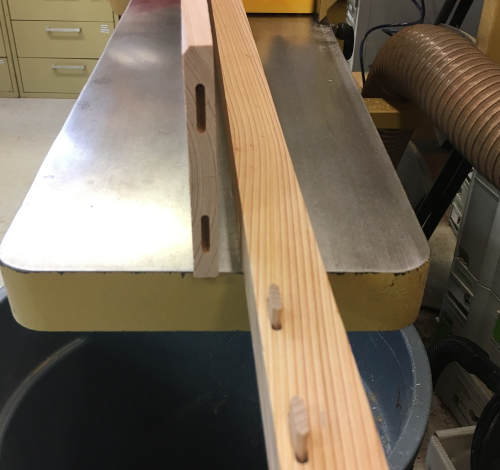
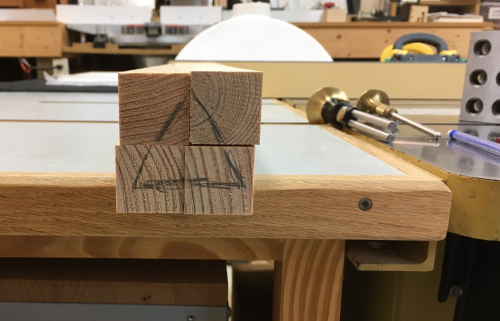
Mortises were laid out...1/4 inch by 3.5 inches. The two mortises will meet and will require the tenons to be mitered. The mortises were chiseled on the dedicated PM bench unit with a 1/4 inch mortise drill bit...to a depth of 3/4 inches. |
 |
Clean up work on the mortises was done with a bench chisel, a mortise chisel and a Henry Taylor swan-neck mortise. |
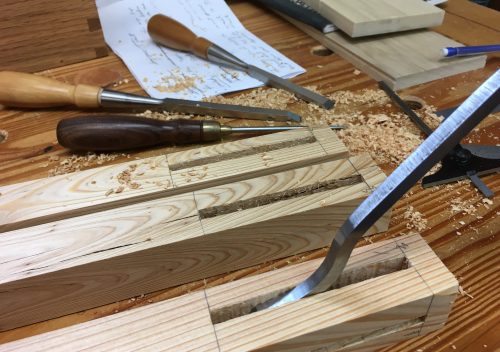 |
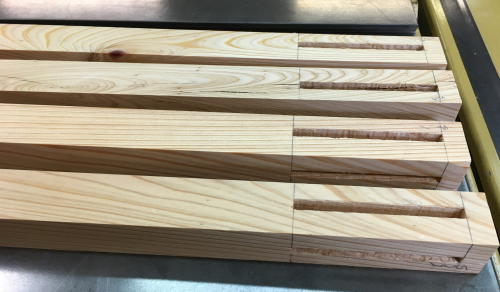
The joinery-milling for all four legs is done... |
 |
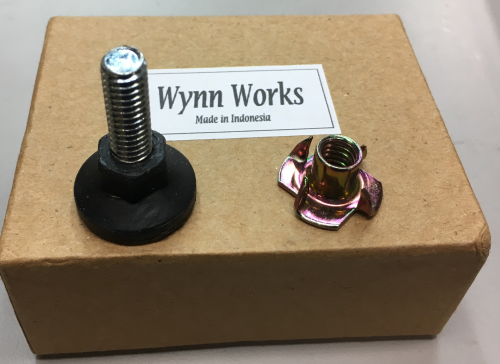
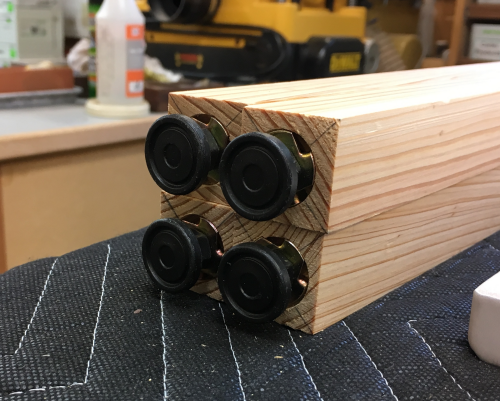
Prepped for the the heavy duty leg levelers from Wynn Works... |
 |
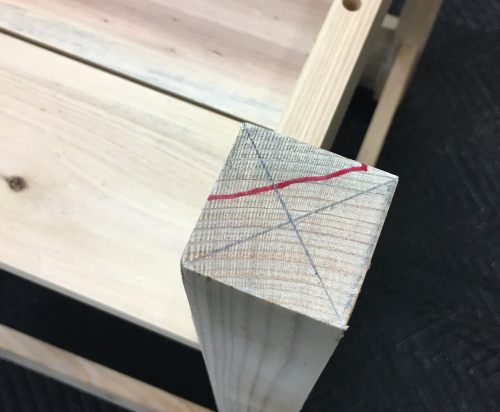
Marked centers in bottom of legs...this end grain of the cypress will not work cleanly...it is very crumbly... |
 |
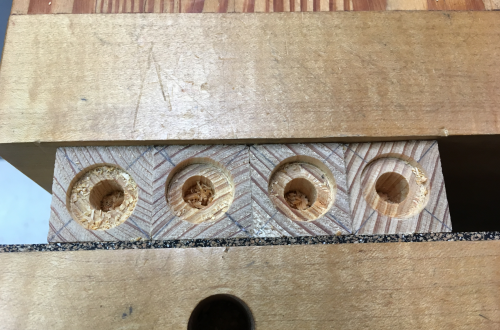
I put the four legs in the workbench end vise...this made them stable and they supported each other...countersunk with 7/8 inch Forstner to a depth of 1/8 inch for the t-nut... |
 |
...and then each center was drilled with 7/16 inch brad bit to a depth of ~3/4 inch to accept the female threaded shaft of the t-nut and the inserted male shaft of the leveling leg. |
 |
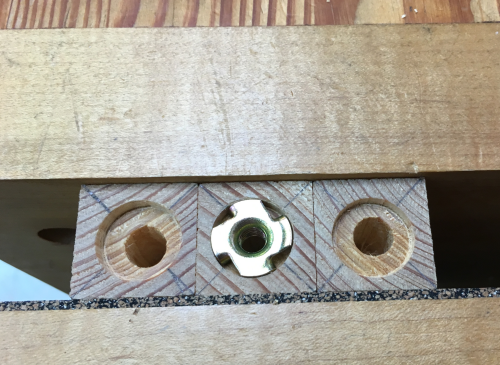
T-nut carefully countersunk... |
 |
Installed leg levelers... |
 |
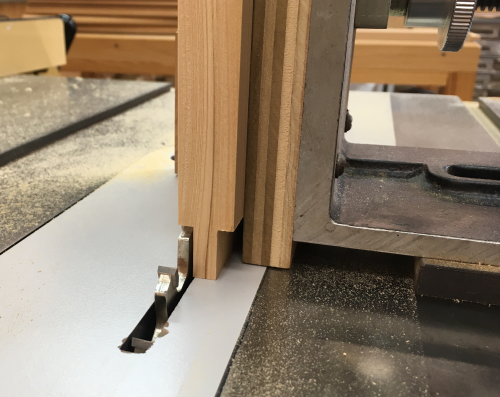
Making tenons on the aprons...using the tenon jig on the PM66 with the Infinity 1/4 inch thick flat top blade. |
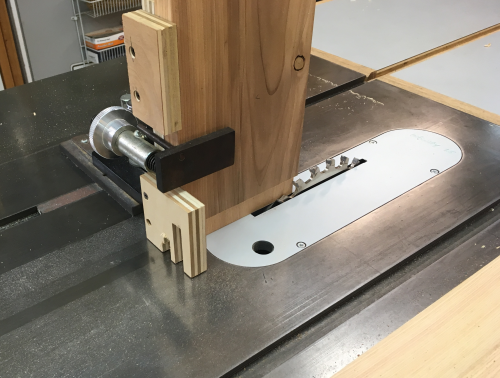 |
The front and the side aprons are run twice through the P66 to create a slightly fat ~1/4 inch thick tenon with 3/4 inch cheeks and shoulders... |
 |
The rear apron was redesigned to be only 1/2 inch thick to make it easier to deal with the plumbing between the apron and the lavatory bowl. The board is the same length as the show face of the front apron. The rear apron will have Domino floating mortise and tenon joinery. |
 |
Tenon shoulder layout was ticked at the mortise and then marked out... |
 |
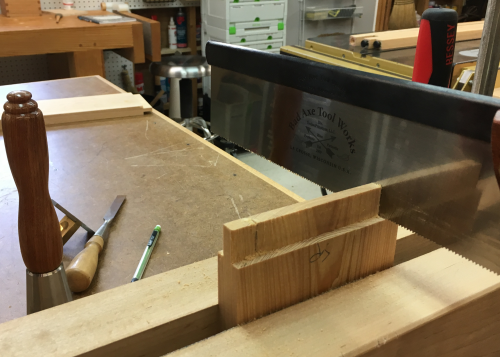
Cuts made with BA small tenon saw, apron held in Moxon2. |
 |
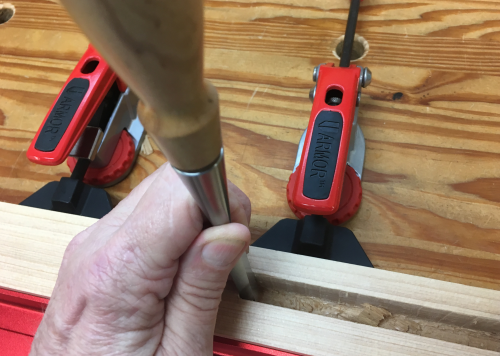
Fit adjustment was made in the mortise with chisels... |
 |
...and on the shoulders with the large LN shoulder plane. |
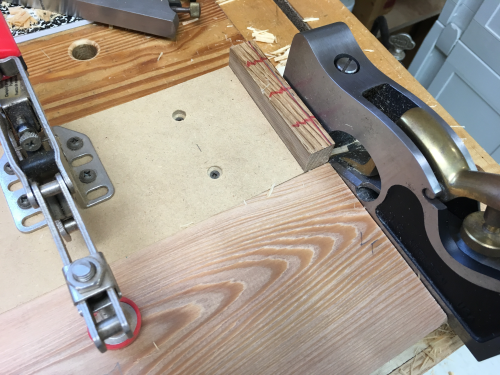 |
Due to tearout in the cypress, at times the crosscut planing with shoulder planes was problematic...on these pieces I used a router plane. |
 |
An example of the mitre cut on the tenon ends... |
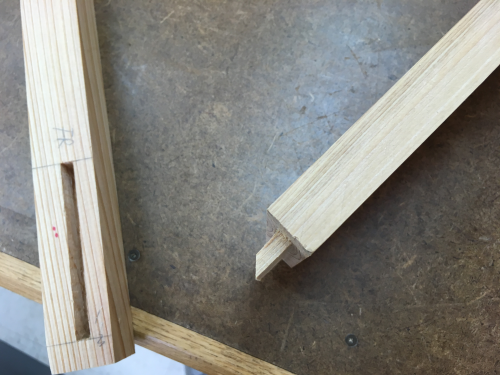 |
...all of the joints had a final dry fit |
 |
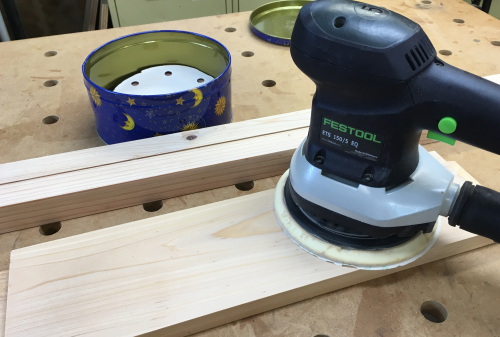
..prior to gluing, show surfaces are ready to sand..Rotex 150 with a grit progression of 120x, 220x to 400x. |
 |
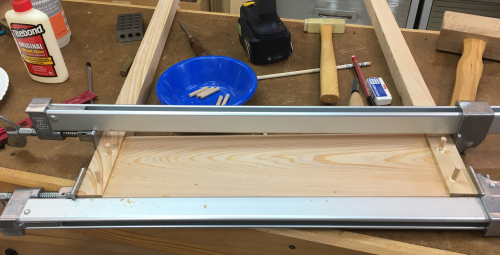
The two long aprons were glued in first...then side apron mortises were joined to the side tenons with glue and clamped... |
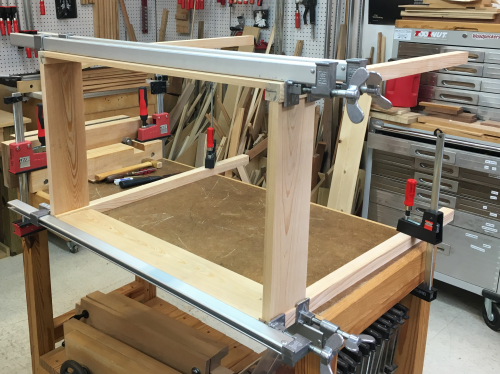 |
Holes were drilled for the 1/4 inch oak dowels...these were not true drawbore pins...holes were straight-line drilled with pressure applied with clamps. |
 |
The rear apron was redesigned to be thinner to help with the tight space between the base and the apron... it was planed to 1/2 inch...so rather than the full sized tenon, I used floating Domino 10mm tenons...mortises were reference off the back side of the apron...the mortise width was set to medium. |
 |
These were glued in... |
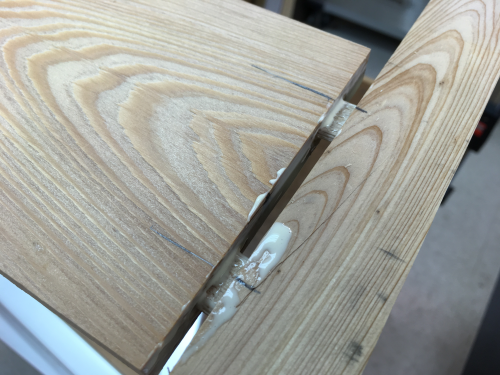 |
...and an oak glue block was put into each rear corner. |
 |
The shelf boards have a v-tongue and groove...I knocked off the thickness of the tongues with a shoulder plane...a couple of runs on each side of the tongue... |
 |
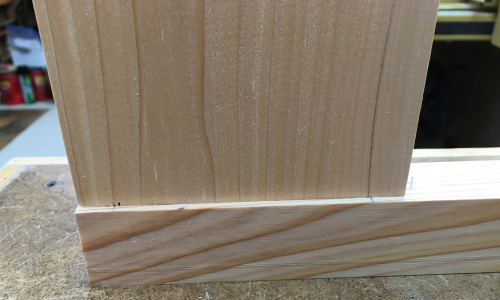
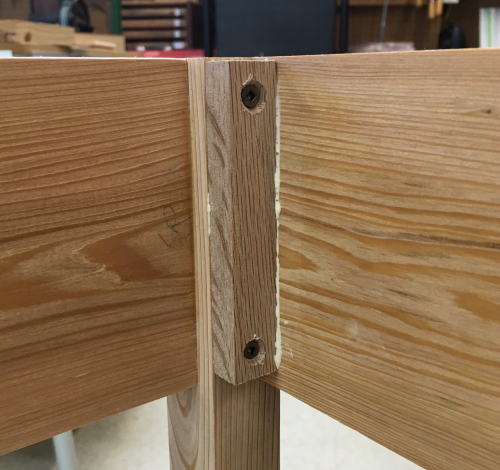
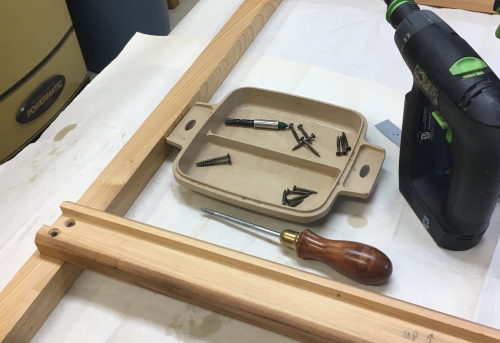
Chopped to length, the ledger boards were laid out to fit around the legs...this lap-joint is a 3/8 rabbet...two hidden screws were put into each end... |
 |
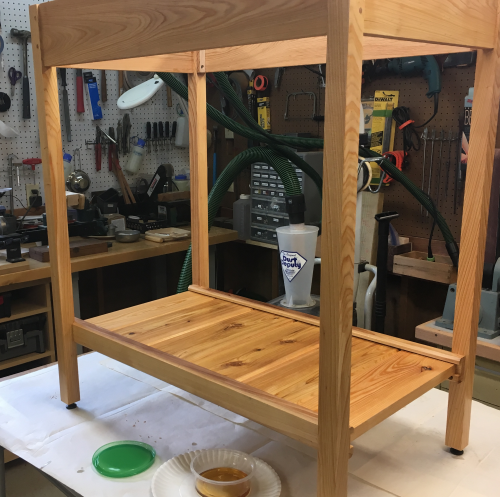
Test layout of slats...the boards were chopped to ~14 1/8 inches...they lay free floating in the dados...outer edges of the outermost boards are square cut... |
 |
After all the slats were dry fit....the two end slats are secured...a screw was placed into each end slat from the backside...and from the underneath on the front side...this solidifies the shelf and steadies the carcase as well.
|
 |
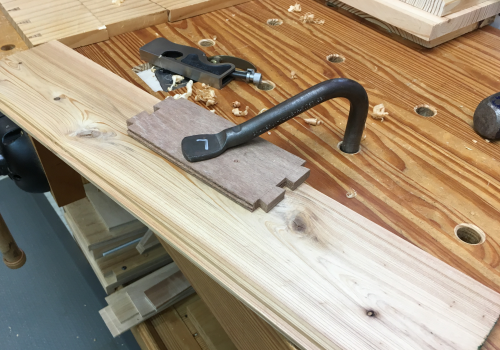
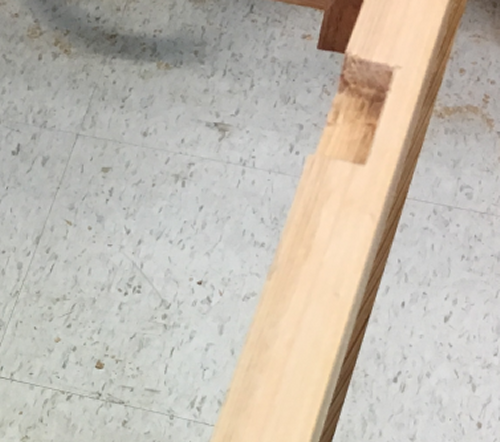
Right edge of apron top was chiseled out in two places to fit over the metal pieces on the downside of the basin... |
 |
Finished off the build with a final rubbed-on coat of varnish. |
 |
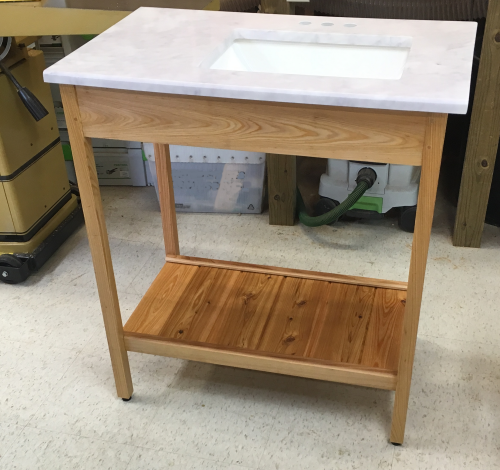
Carcase with the basin and top dry fit...side view... |
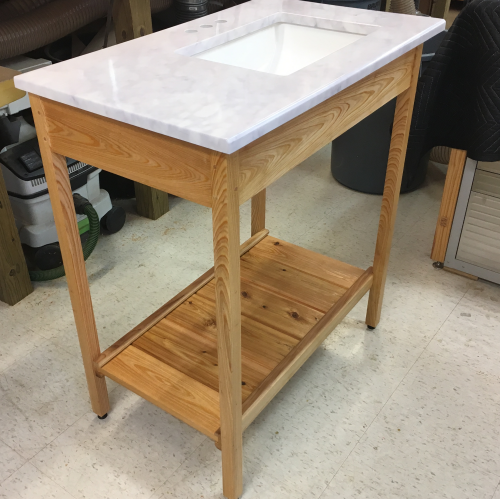 |
...front view, ready to go on site. |
 |
Error notes: I made a major error while transfering measurements from real world to digital at the computer with Sketchup and then back to the shop...I incorrectly listed the "show" length as the real length and then added on the two tenons. Thus, I made all of my aprons 1 1/2 inches too long. I also drove right through a CTD dry fit that was supposed to make me check before glueing...I let a late in the day urge to get something glued take me to a bad place. |
|
I was forced to saw the apron carcase apart...the legs were a loss but I was able to make four more from the less attractive parts of the 8/4 slab. |
 |
The aprons were all salvaged...I was able to reuse them since they had been long...the new measurement was the correct show length plus the two tenons. The new tenons were downsized to 5/8 inches long. |
 |
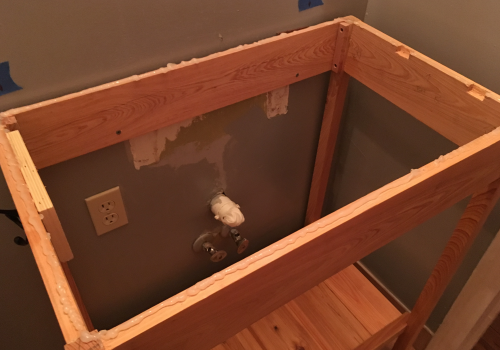
Installed...screwed to the wall, leveled, caulked, ready for the top. |
 |
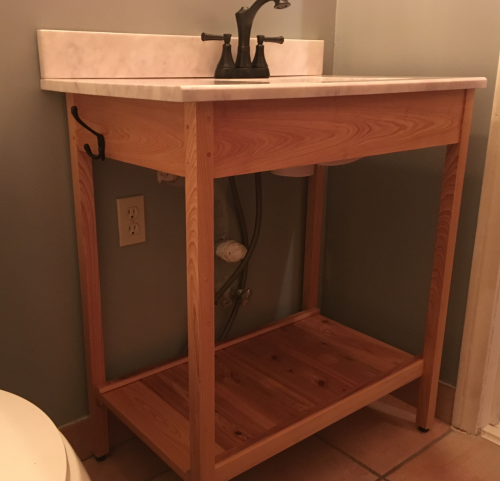
Top adhered, faucet in, back splash adhered... |
 |