My daughter had a bathroom basin fixture that came attached to a base. During a plumbing procedure, the base of the vanity cabinet was broken. I am to build a new base for this sink.
Demolition of Old Unit, Assessment
|
|
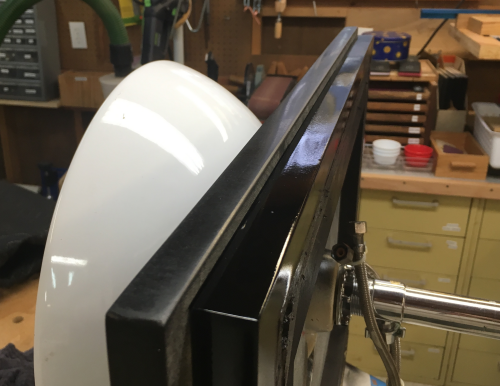
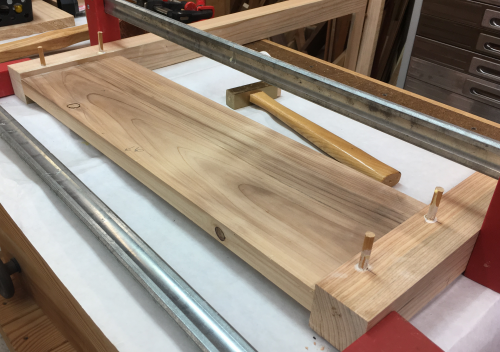
The under view shows the marble resting on the wooden base that we will keep...these boards are 3/4 thick, 3 inch wide... |
 |
After the lower cabinet apron and the legs were removed, screws remained that had hidden heads between the glued marble and wood...and they had to be pulled thought the wood...this worked fine after some digging with a chisel... |
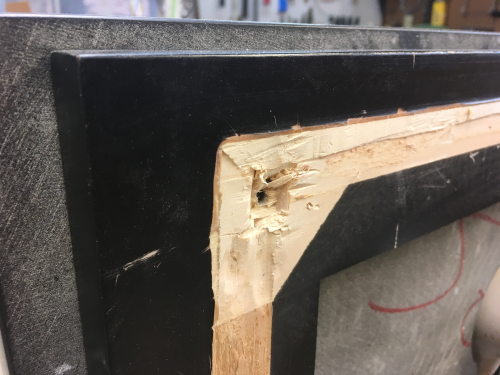 |
On the back lip however, the screws were much closer to the edge of the wood and will pulling on them the entire back edge broke off and had to be glued... |
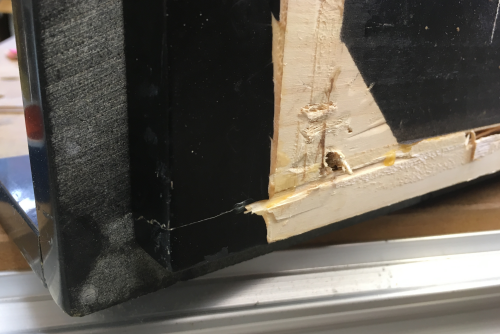 |
...and then I had to spray paint with black lacquer... |
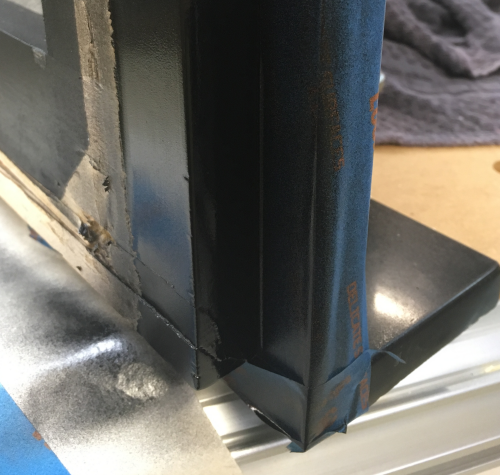 |
...turned out ok. |
 |
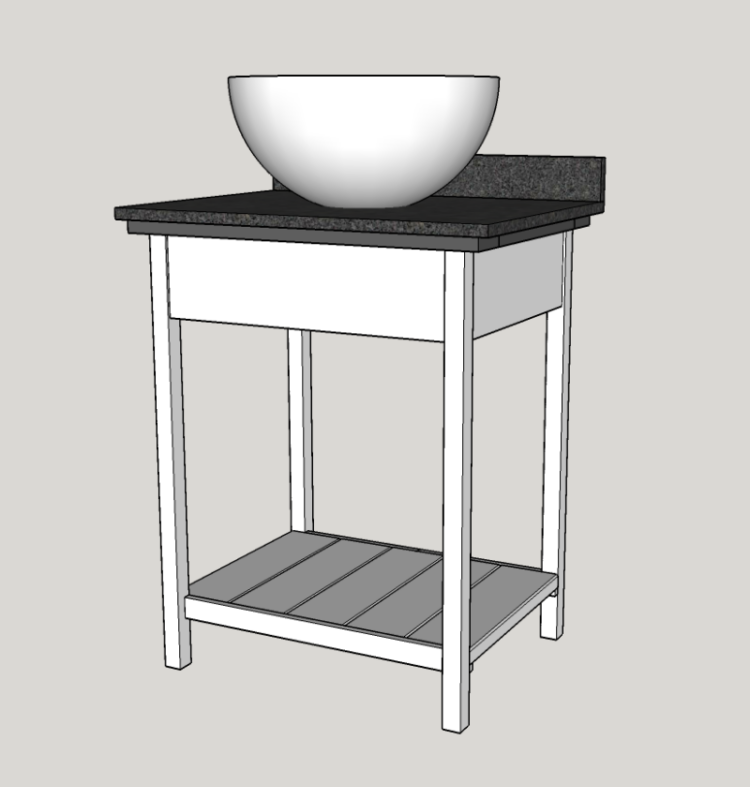
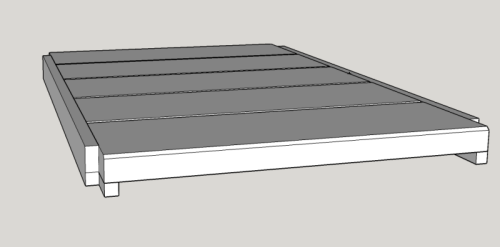
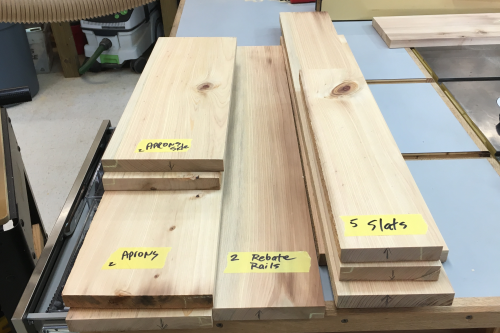
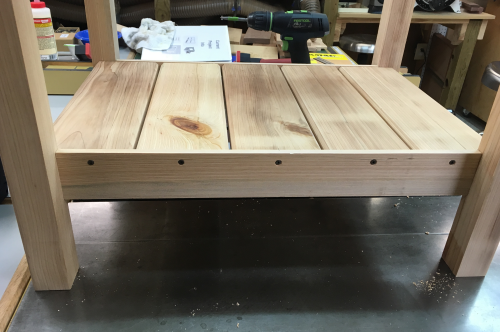
The base unit will be a simple shell...with 1 3/4 inch square legs...and 6 inch aprons (7/8 inch thick). Legs will join the aprons with mortise and tenon joints...they will be secured with glue and drawbore pins. |
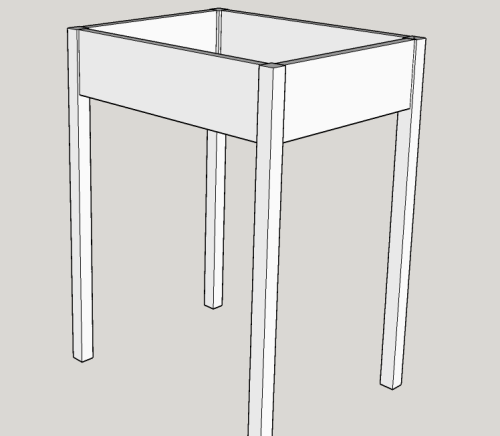 |
We will be reusing the basin, the marble top and the wooden base that the marble is held to with adhesive. |
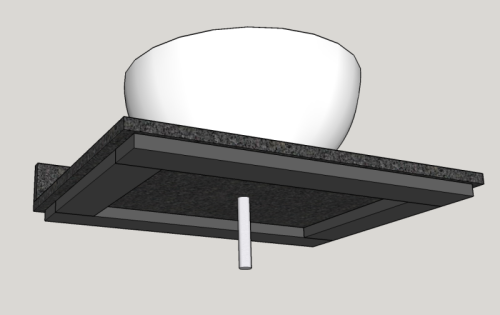 |
There will be a lower shelf...five 7/8 thick slats, 4 1/2 inches wide...chamfered edges. |
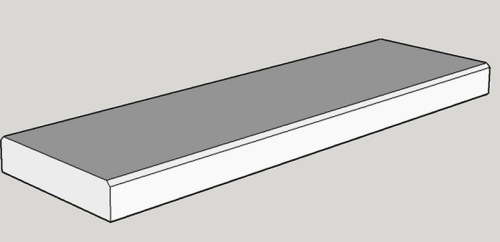 |
The slats will fit into a front and back rail that has a rebate ledge to accomodate them. |
 |
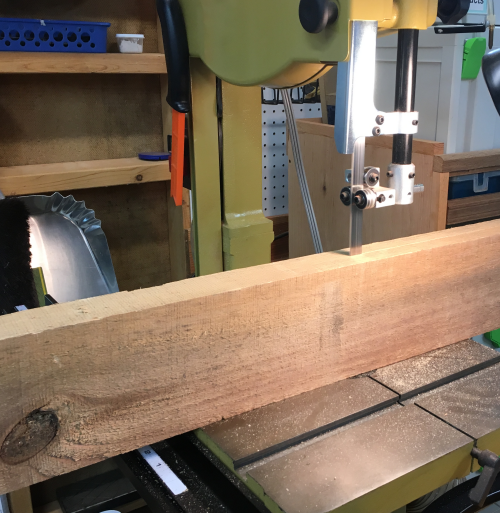
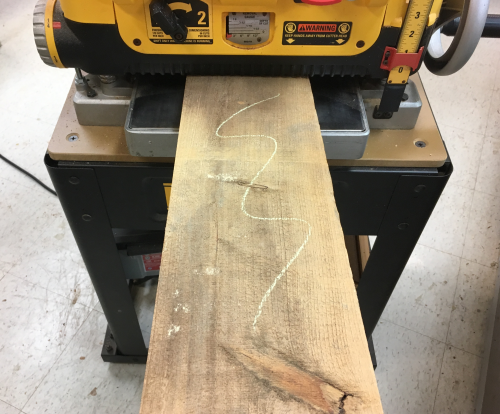
There was a slab of cypress in the attic...this was an 8/4 slab about 7 feet long and 11.5 inches wide... |
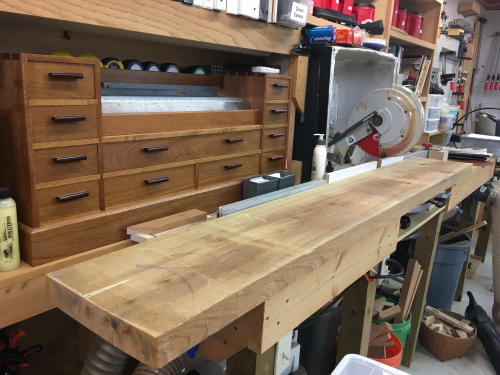 |
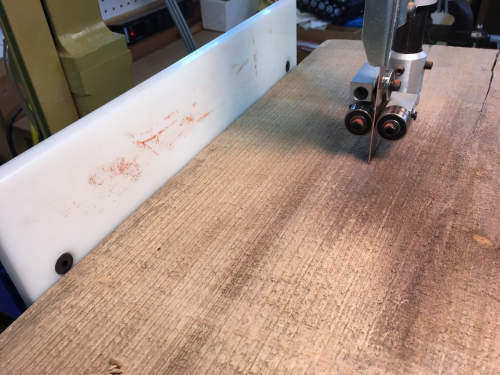
After chopping it into a workable length I took it to the bandsaw and reduced the size to leg blanks and apron blanks. |
 |
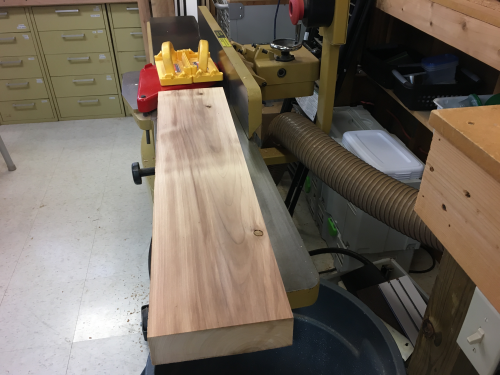
Then I jointed a face and an edge to get a square edge. |
 |
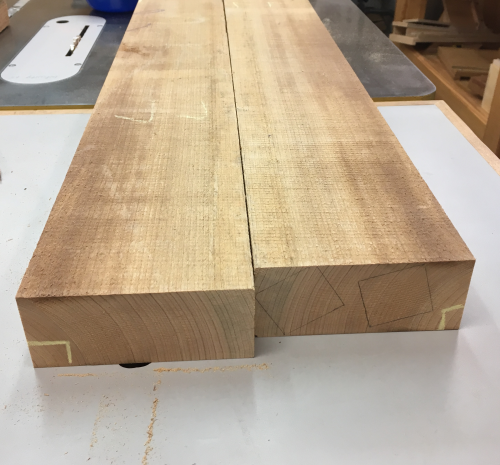
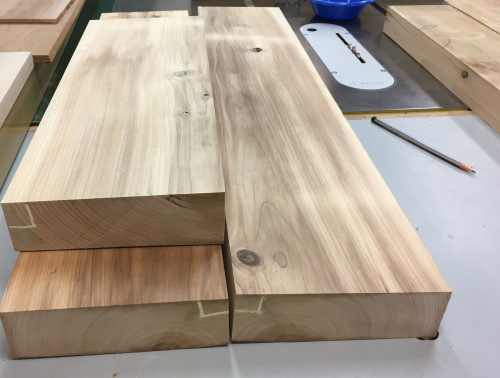
The leg blanks ready for the first cuts... |
 |
The apron blanks will come from these pieces...should get 7/8 inch thick stock. |
 |
Apron and slat blanks were jointed on a face and edge and then went to the bandsaw for resawing at one inch... |
 |
Sawn faces were jointed and then all the apron/rail/slat blanks went through the planer to be surfaced... |
 |
...and then thicknessed to 7/8. |
 |
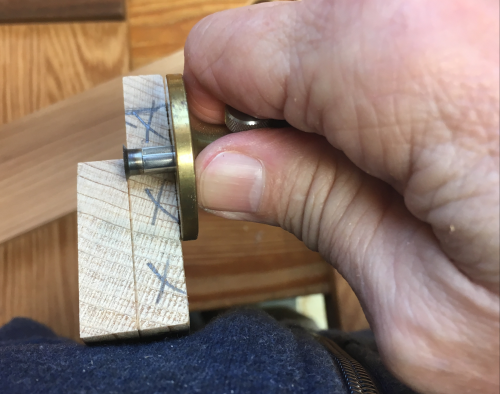
Legs were arranged for appearance and marked for easy reference... |
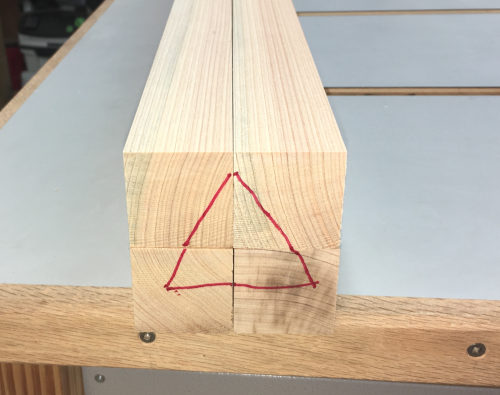 |
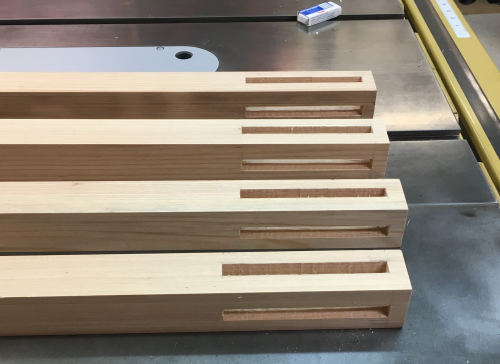
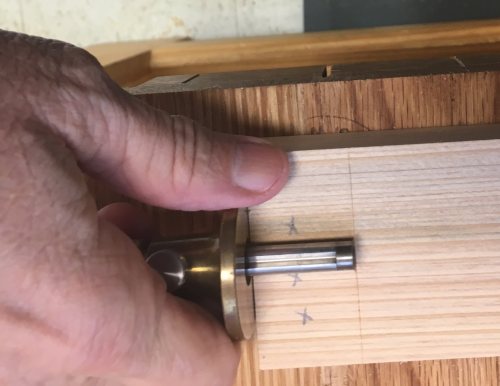
Mortises were laid out...1/2 inch by 4 inch. The two mortises will meet and will require the tenons to be mitered. |
 |
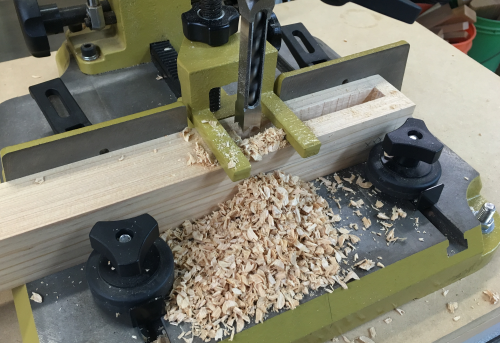
The mortises were chiseled on the dedicated PM bench unit with a 1/2 inch mortise drill bit...to a depth of 1 1/16 inches. |
 |
The four legs are done... |
 |
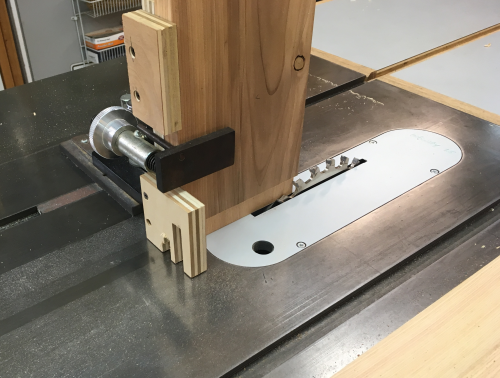
Making tenons on the aprons...using the tenon jig on the PM66 with the Infinity 1/4 inch thick flat top blade. |
 |
All the aprons are prepped...ready for shoulder cutoffs... |
 |
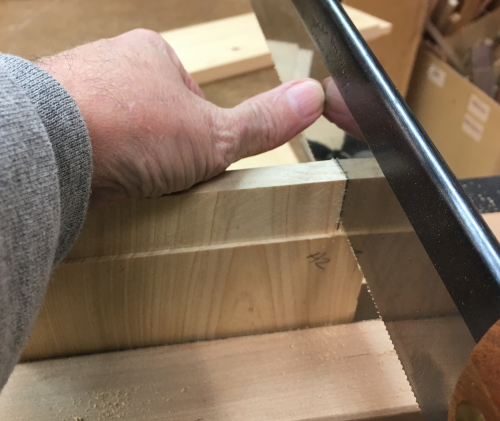
Tenon shoulder layout was ticked at the mortise and then marked out... |
 |
Cuts made with Stilleto, apron held in Moxon2. |
 |
Fit adjustment was made in the mortise with chisels... |
 |
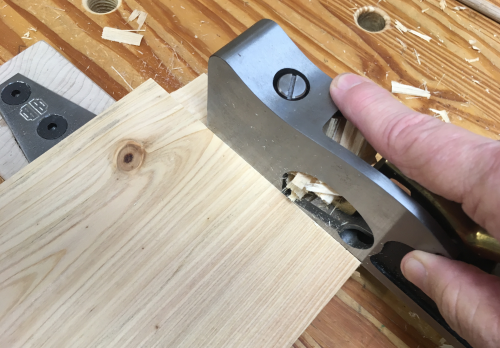
...at on the shoulders with the large LN shoulder plane. |
 |
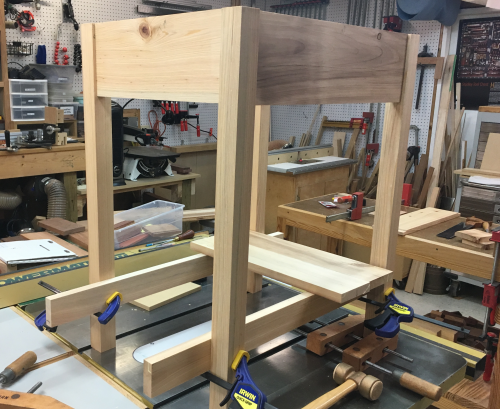
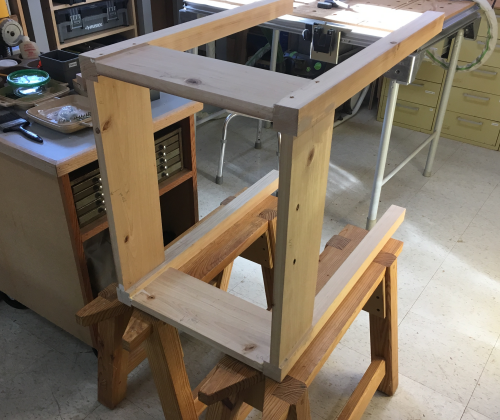
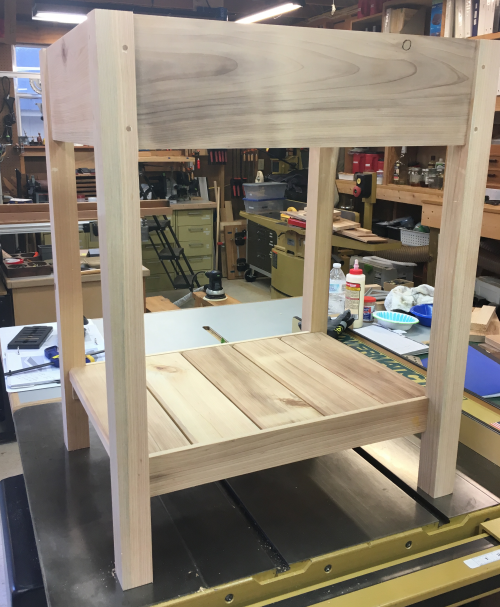
Final dry fit...with a look at the shelf height... |
 |
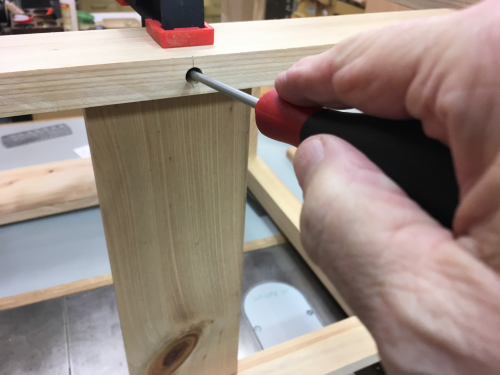
The legs and apron were joined at the mortise and tenon joint with glue and dowels...these were not true drawbore pins...holes were straight line drilled with pressure applied with clamps. |
 |
All of the aprons and legs glued up... |
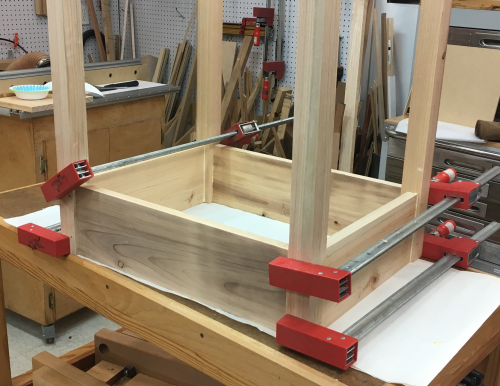 |
Dowel pins were sawn flush...carcase then sanded |
 |
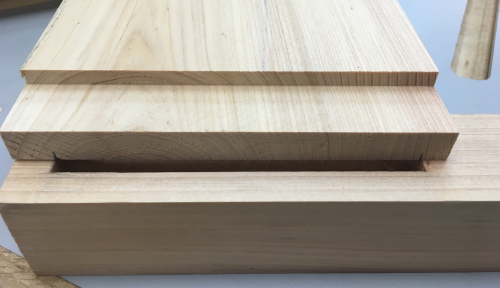
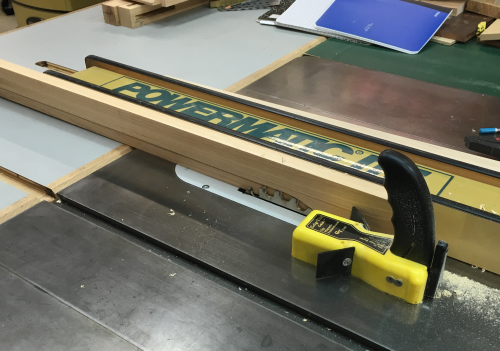
The lower shelf has two ledger boards that needed a 1/2 inch wide ledge that was a 7/8+ inch rebate. These boards were cut at the table saw with the 1/4 Infiinity blade...blade was elevated to be slightly proud of one of the slats. |
 |
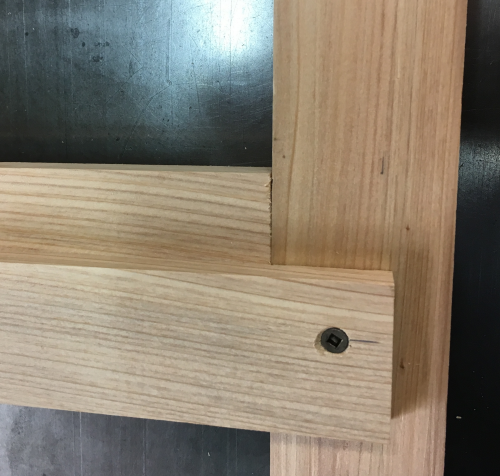
Chopped to length, the ledger boards were laid out to fit around the legs...this joint is a single-rabbet...with a rebate for the ledge...here the shoulder line laid out... |
 |
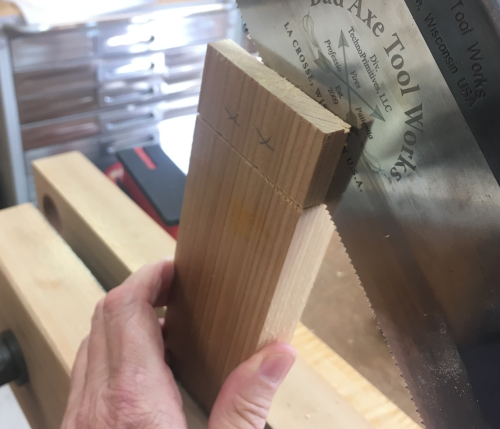
Cut with the Bad Axe small tenon... |
 |
The cheek thickness was laid out to define the piece to be removed ... |
 |
Cut like you would a tenon...at the Moxon2... |
 |
Fit and screwed into place... |
 |
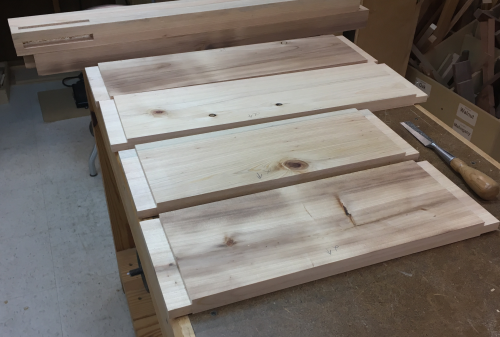
Test layout of slats...spacers were leather cutoffs... |
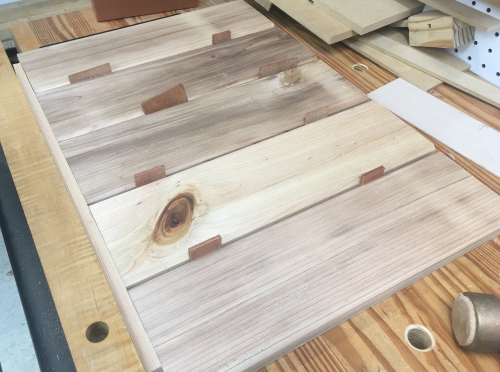 |
Ledgers installed...final slat test fit... |
 |
To secure the slats...in the front I centered the center slat...from the underide of the ledger I drilled a one inch deep hole, 3/16 Forstner, then a smaller brad bithole to allow a screw, #6-1 1/4 inch, to carefully be screwed in...this will hold the center of the slat and allow lateral expansion to occur. |
 |
So the front of all five slats are secured but with a hidden screw from the underside of the ledger. |
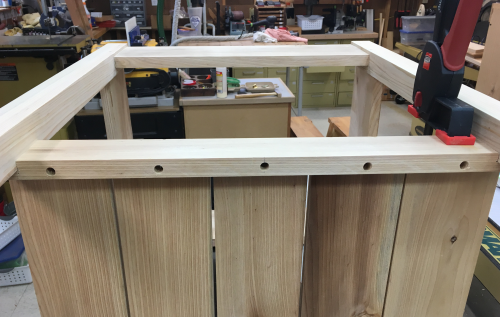 |
On the back side, countersink holes were made for a #6-1 1/4 inch square drive...carefully screwed in. |
 |
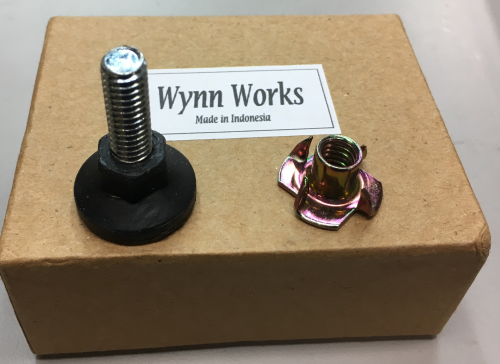
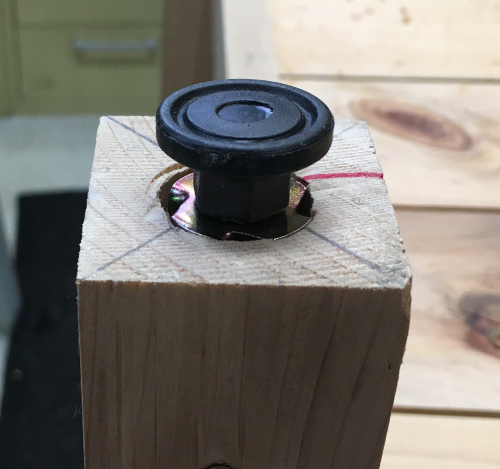
Heavy duty leg levelers from Wynn Works were installed... |
 |
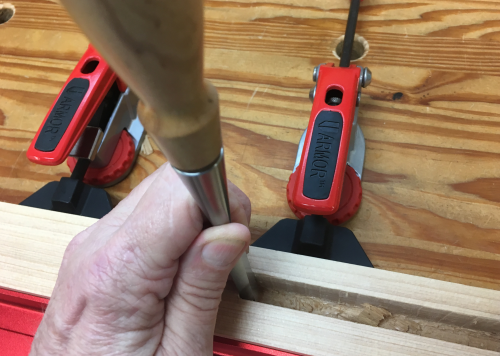
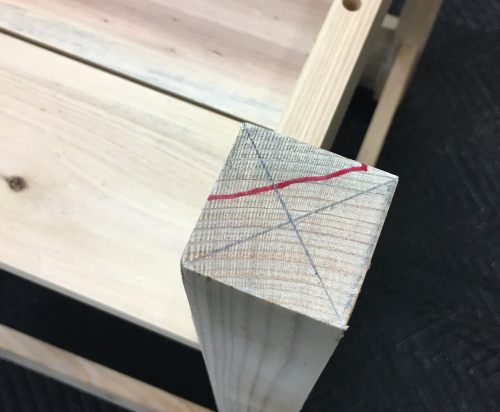
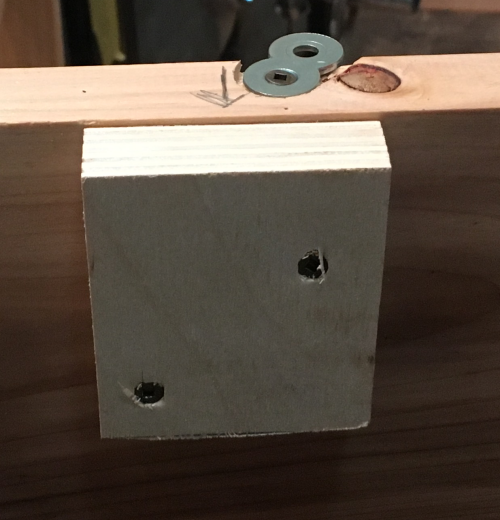
Marked centers in bottom of legs...this end grain of the cypress will not work cleanly...it is very crumbly... |
 |
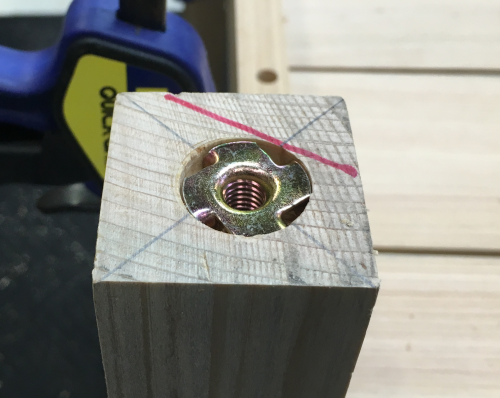
Countersunk with 7/8 inch Forstner for the t-nut...and then I will center and drill a smaller hole, 7/16 inch, with a brad bit about 3/4 inch deep to accept the female threaded shaft of the t-nut and the inserted male shaft of the leveling leg. |
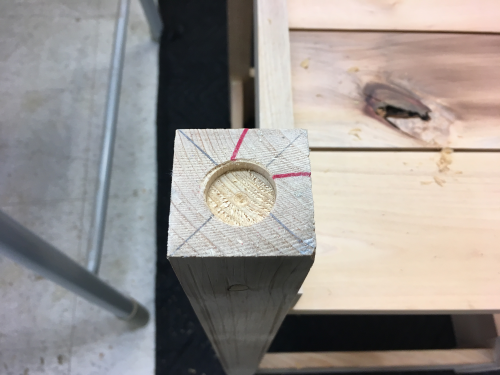 |
T-nut countersunk... |
 |
Installed leg leveler... |
 |
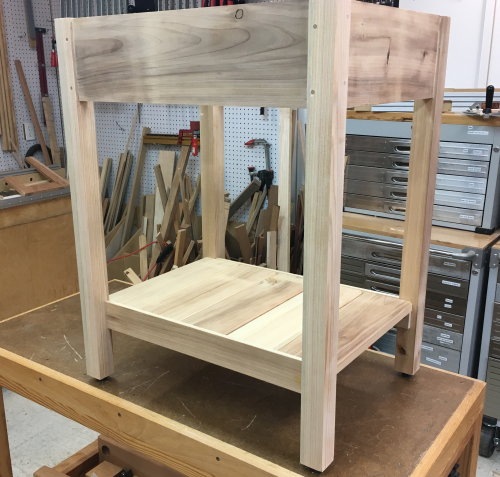
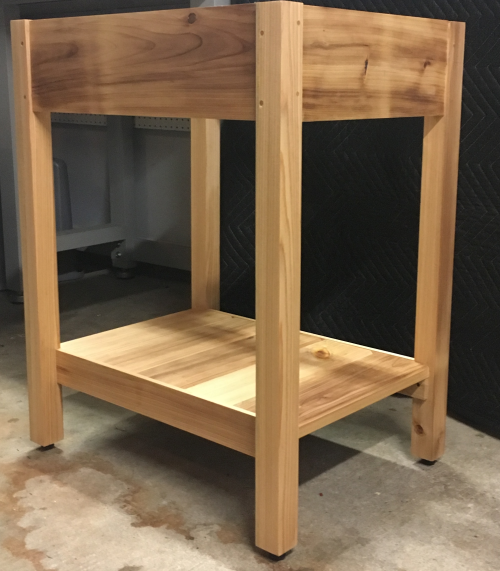
Finished carcase... |
 |
Lightly sanded by hand...rubbed on coat of tung oil... |
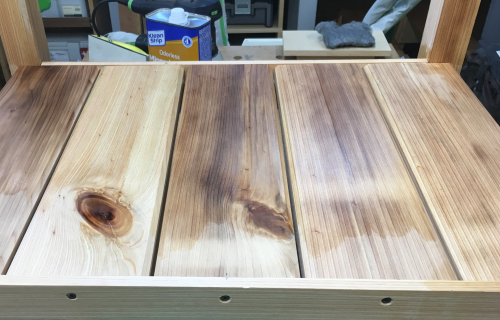 |
After oil... |
 |
Each upper edge of the apron had two slot hardware pieces installed... |
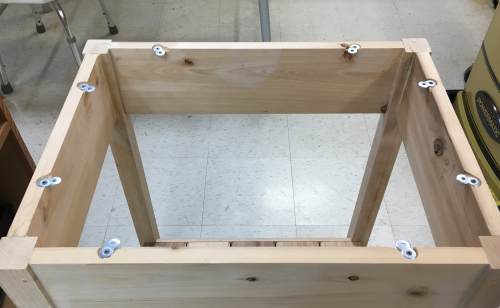 |
Countersunk with Forstner and then pared with chisel...tilted toward angled edge to allow for movement... |
 |
Installing the marble top...used #6, 3/4 inch screws through the figure 8's... |
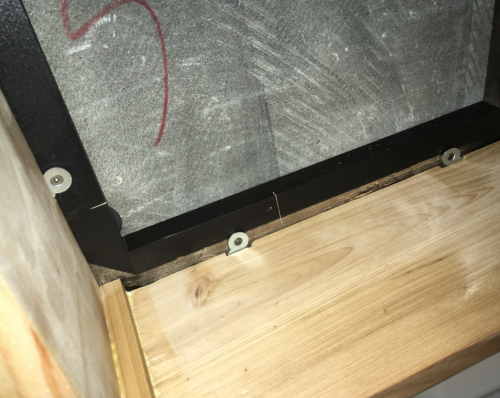 |
Attached 3/4 inch plywood spacers to create a pad through which to screw the back apron to wall studs... |
 |
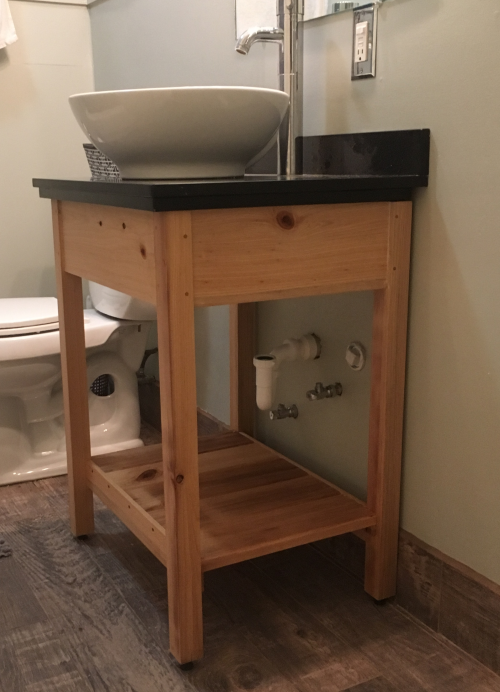
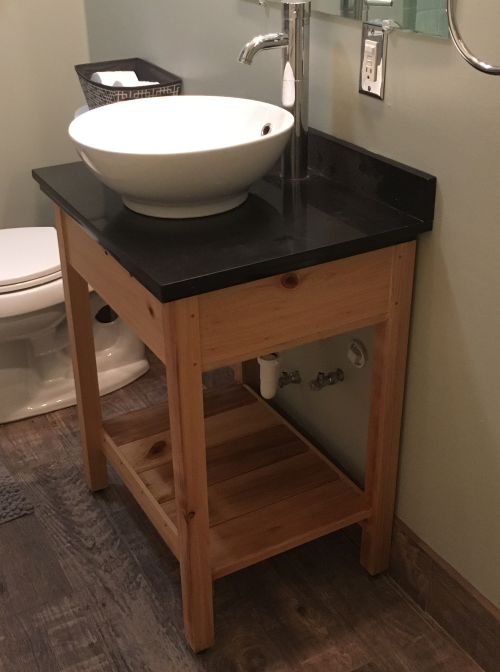
Installed...
 |
|