Toybox for Asa and Silas
|
|
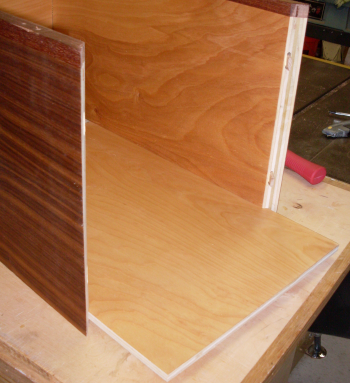
I started the project with the idea that all of the wood would be recycled or salvaged from some other use. The 3/4 inch plywood that I used had been purchased by my brother Tom from a "salvage"...I believe that the sheet was an accident....it had Baltic Birch on one side and Black Walnut on the other. I put the birch on the inside and the walnut on the outside. |
 |
Edges were mitered and there was a 1/2 dado groove to accept a botton of Birch plywood left from a previous project. Domino tenons were cut into the mitered edges. |
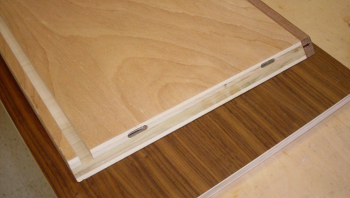 |
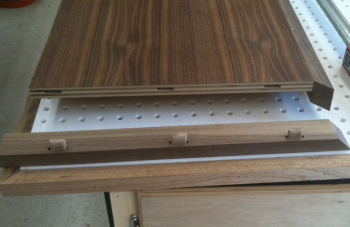
An edge banding of Honduran Mohogany was installed with Domino tenons. Trim was put on oversized and routed down .
The picture shows the mitre going together in a dry test using the Dominoes to hold it together. |
 |
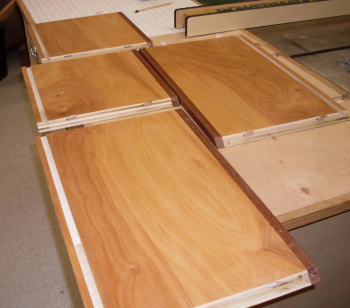
Here are all of the milled box parts after a couple of applications of Teak oil.
|
 |
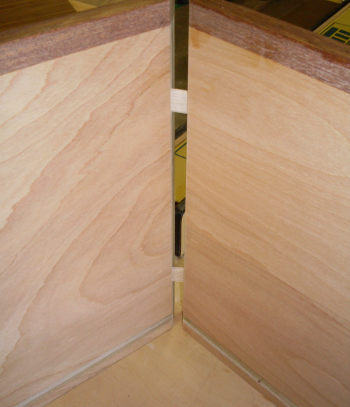
Glue up begins. |
 |
After three sides are glued the bottom Birch ply panel slides into the dado.
|
 |
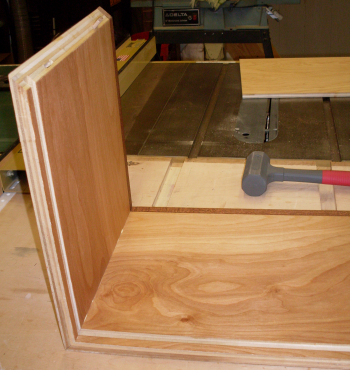
The mortises for the Domino
tenons were milled on the MFT3 table with the Festool Domino. |
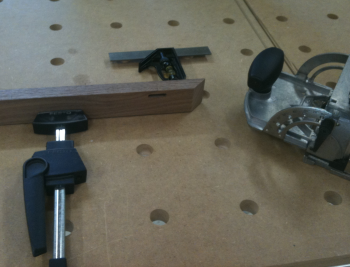 |
Walnut edge trim was secured
to end of ply with glue and Dominoes. |
 |
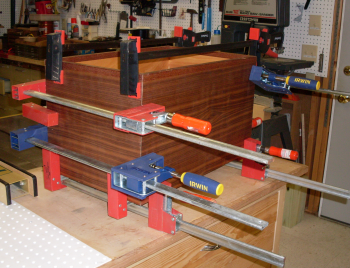
Bessey time. |
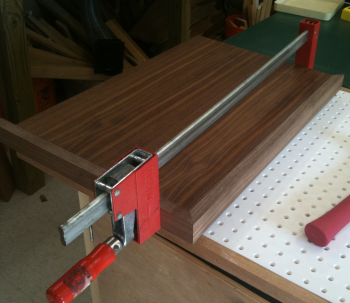 |
Top clamped. |
 |
Carcase clamped. You can never have too many quality clamps. |
 |
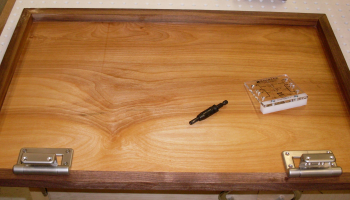
Installed heavy duty torsion spring hinges from Rockler. These units will hold the top at any point in time during the lifting or closing of the lid. Similar to the way a laptop opens and closes. Used a Vix bit for centering and a special jig from Rockler for the layouts. |
 |
Lid partially open. |
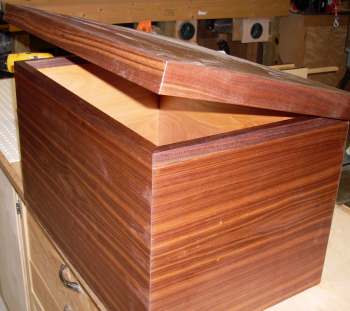 |
Fully open. |
 |
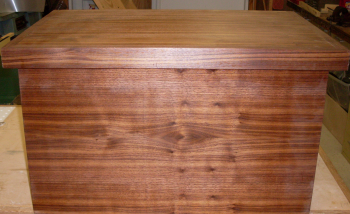
A couple more coats of Teak
oil and a little buffing and it is ready to go. |
 |