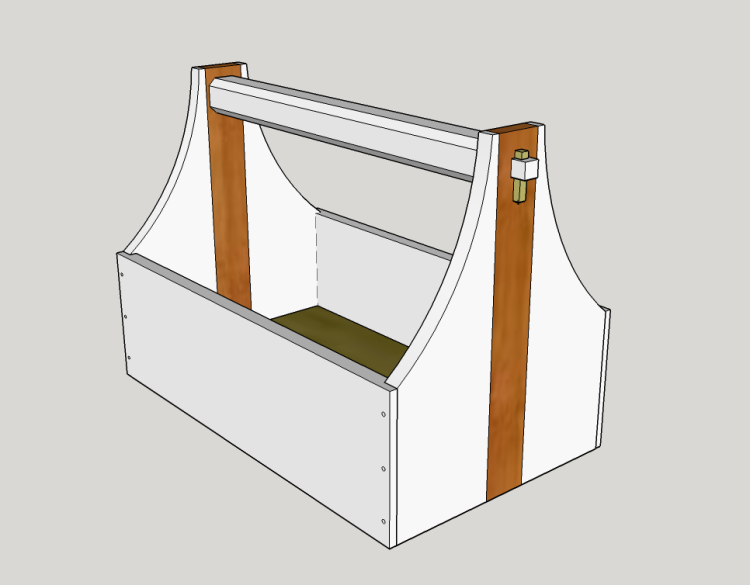
Wanted to make a tote for the shop to hold some lubricants. Sketchup ideas...
|
|
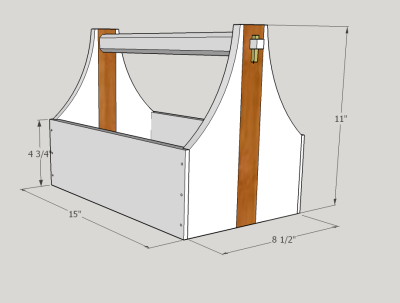
Dimensions... |
 |
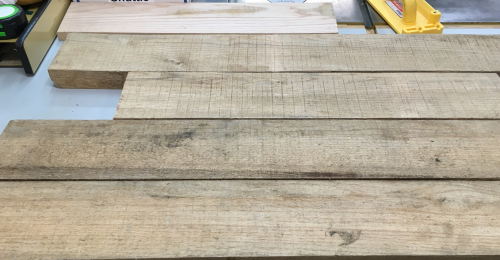
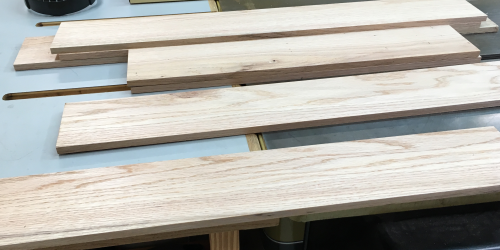
Oak for toughness...had a large supply of 6/4 x ~6 inch wide red oak...picked out a few from the attic... |
 |
Jointed one surface and edge and then planed opposite surface...at bandsaw, 5/4+ boards were resawn at ~5/8 and then surfaced planed to 1/2 inch. |
 |
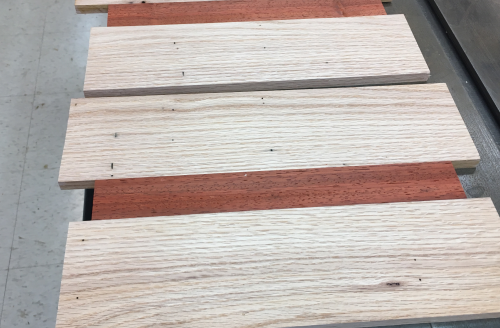
Plenty of 1/2 x ~5 inch stock...one of the reasons I resawed so much stock was to see how this batch of wood reacted...it went plenty wonky...many pieces not usasble...opted to make the sides of the totes 4 3/4...ripped all stock. |
 |
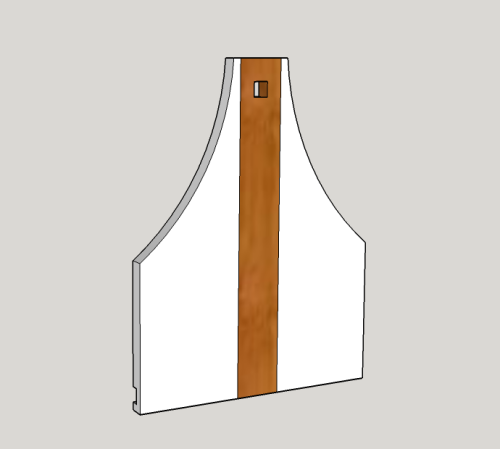
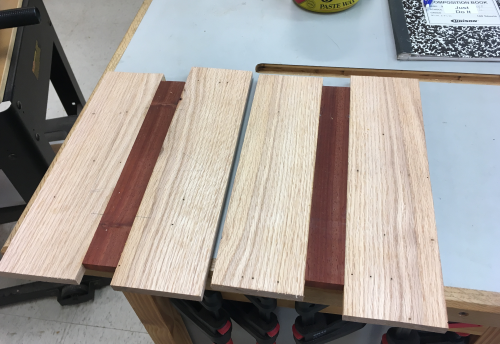
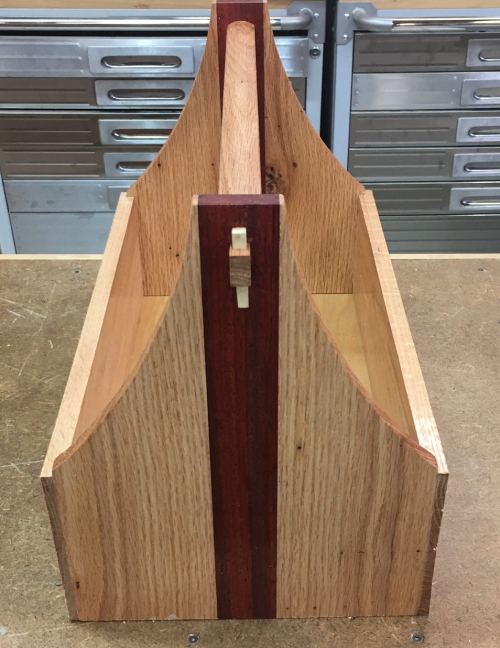
On the ends, I wanted to use a board that had the grain vertical...to get the 8 1/2 inches I would have to glue up a couple of boards...decided to throw in a 1 1/2" wide piece of contrast wood in the middle...had some African padauk cutoffs that were about right. |
 |
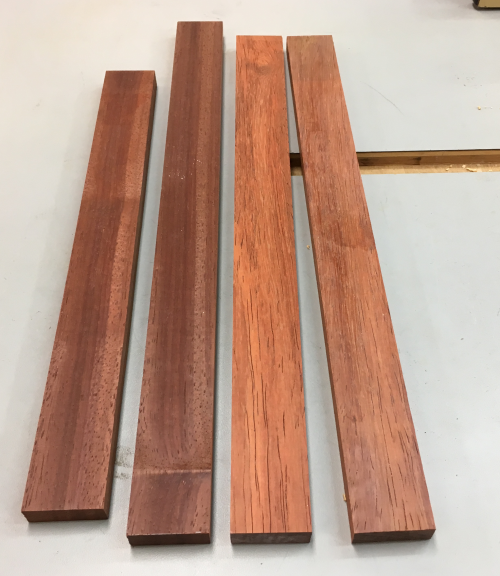
Padauk blanks...fresh milled ones are really orange...I ended up using the two darker blanks...based on both measurements and esthetics. |
 |
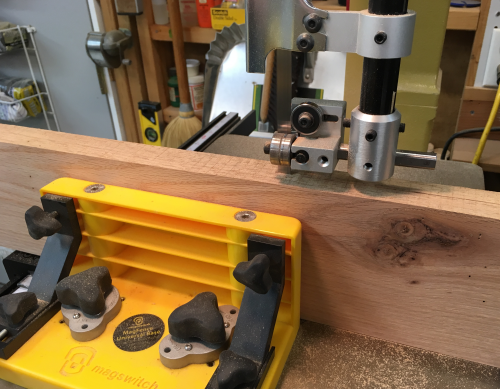
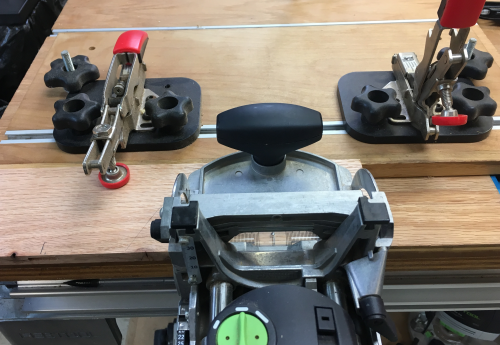
The 1/2 thick boards had a centered Domino mortise put in, (on a middle width setting as shown) for 30mm floating Domino tenons. |
 |
Glued edge to edge, clamped up... |
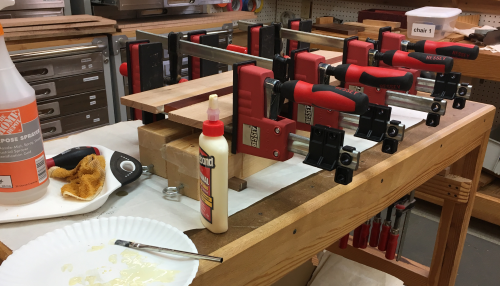 |
After pulling from clamps...some glue squeeze issues, some slight non-coplanar surfaces and some mild wonk... |
 |
Ran throught the planer...light cuts, both sides...cleaned up most of the issues... |
 |
Crosscut the blanks... |
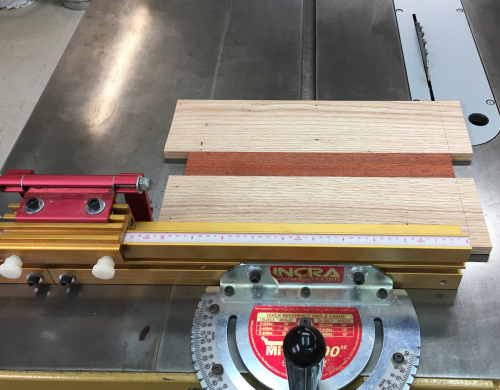 |
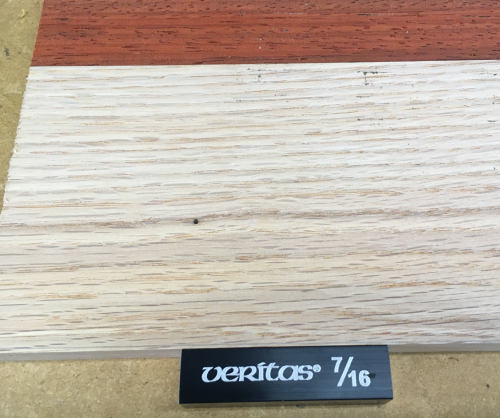
The planing knocked the thickness down to 7/16 for the two ends... |
 |
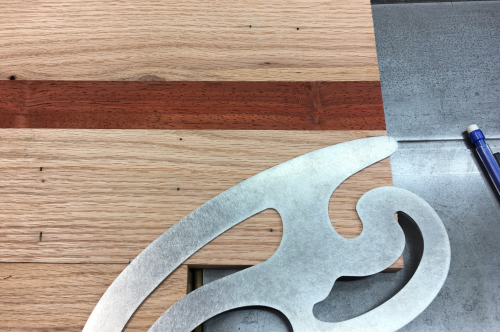
For the cutouts on the end...made nicks at 1/8 inch off the padauk on the top edge...1/8 inch above the height of the side panels on the side edge...lay out of a pleasing line with a French curve... |
 |
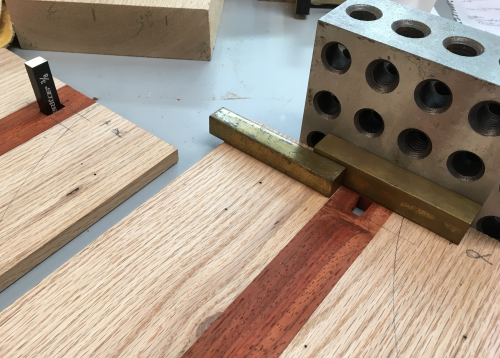
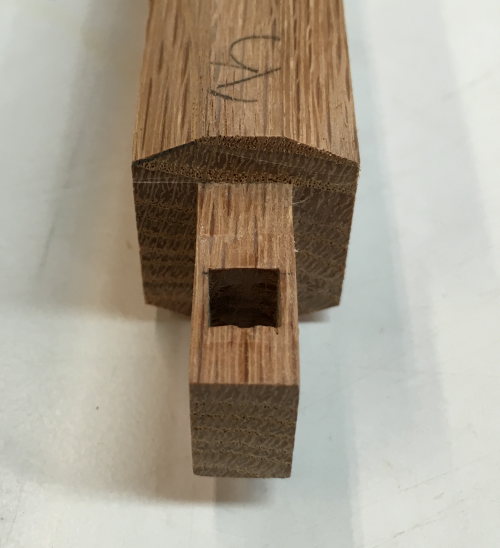
The mortises for the though tenons were milled at the dedicated bench mortiser....using a 3/8 inch mortise bit... |
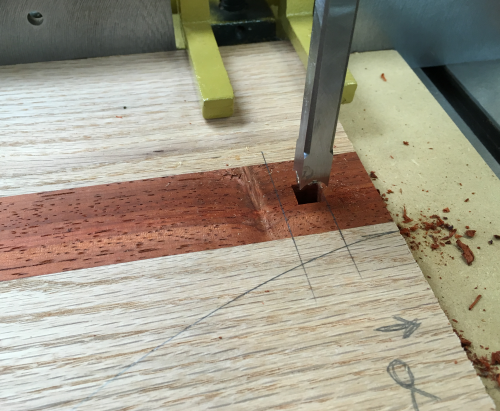 |
...length of mortise was 5/8"... |
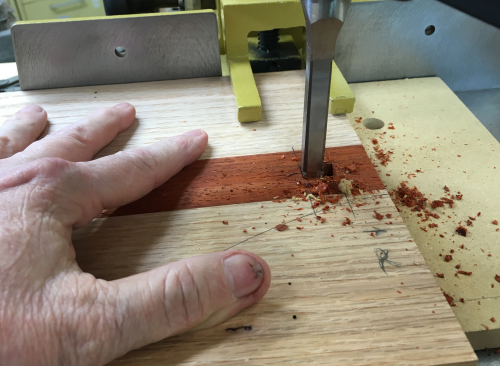 |
...mortises = 3/4" off top edge, centered at 3/8" width and 5/8" length. |
 |
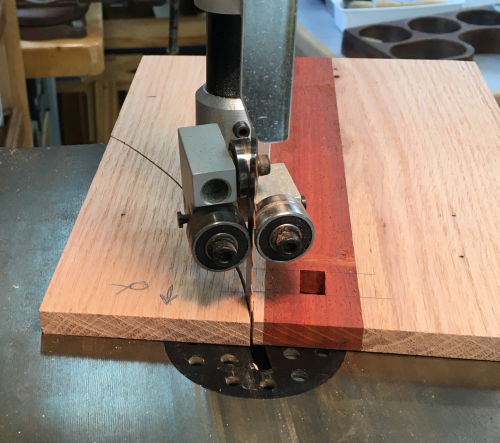
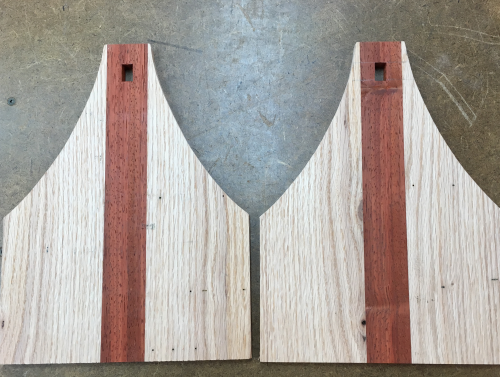
The arced cutouts in the end panels was done at the bandsaw... |
 |
...hand sanded edges with 220x block. |
 |
The tenons were cross cut on the P66 with Infinity 1/4 inch blade. |
 |
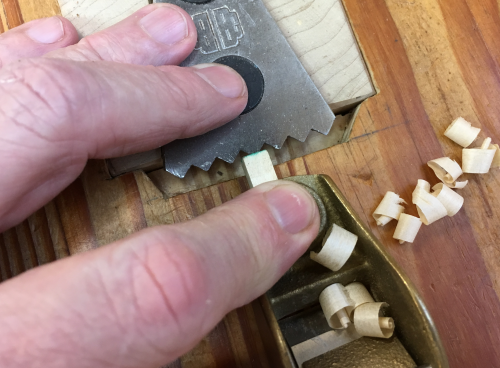
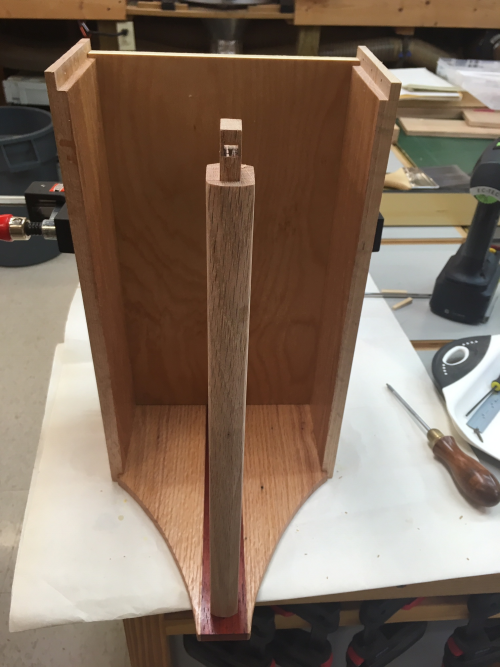
The tusks were made from 1/4 inch square stock. With LN 101 block plane, I tapered three sides leaving the non-tapered surface that will contact the back of the mortise... |
 |
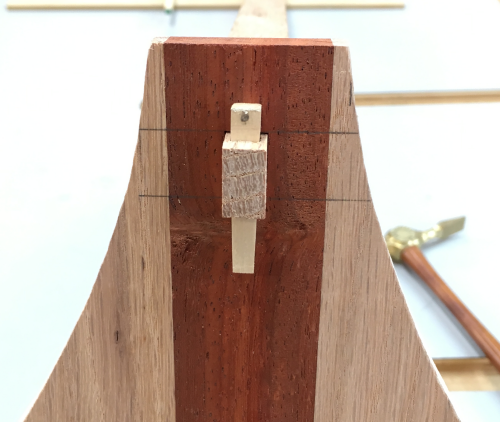
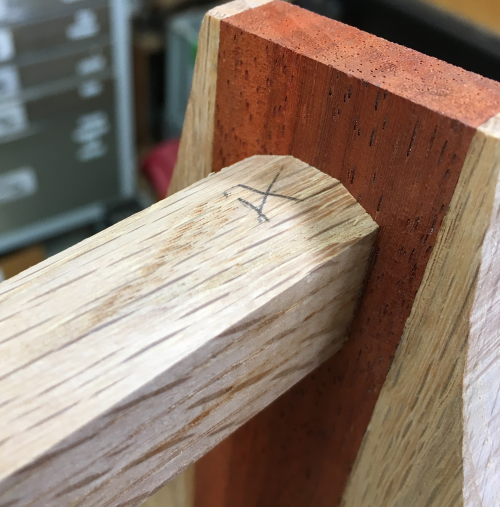
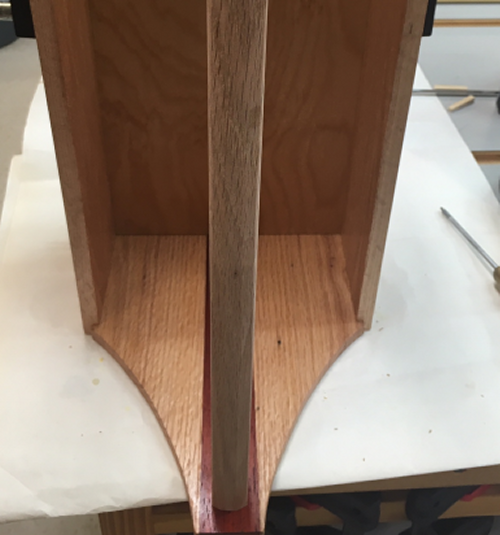
Front view of tusk fit. |
 |
Second tusk fit. |
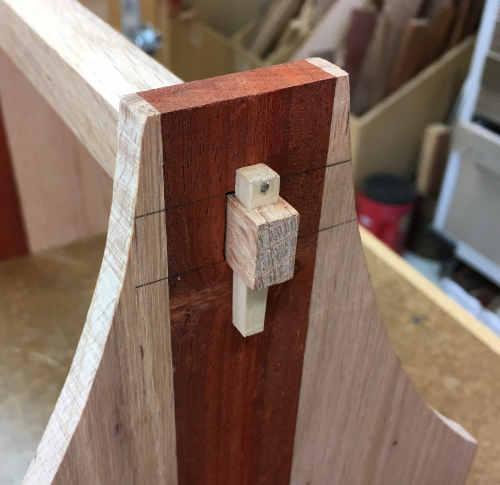 |
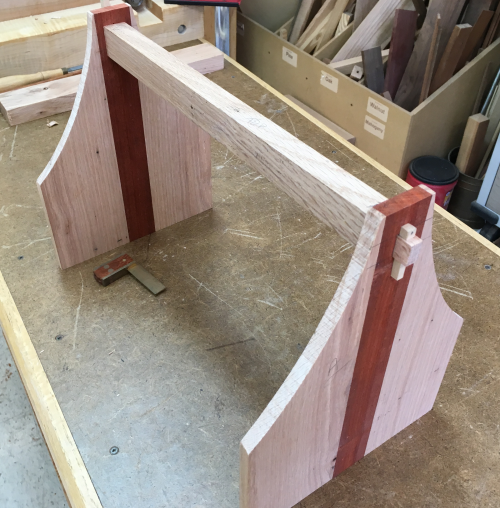
Both tusks...dry fit. |
 |
Chamfered bevels on the four edges of the handle...at the router table. |
 |
Look of the chamfer on the inside face... |
 |
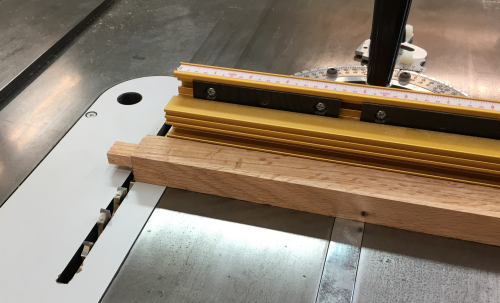
Milling the sides...half laps were rabbeted at the P66 with Infinity 1/4 inch blade. |
 |
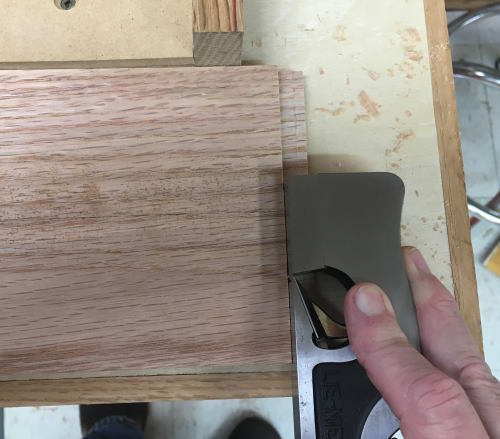
Rabbets were cleaned up and fine tuned with shoulder planes... |
 |
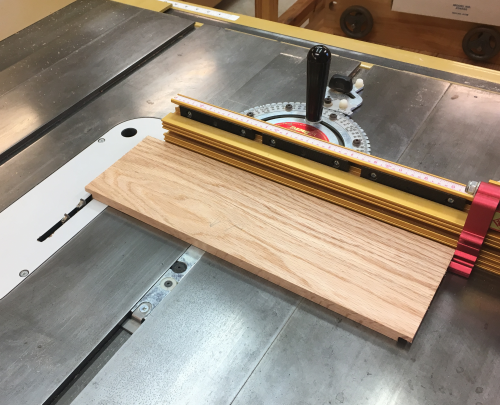
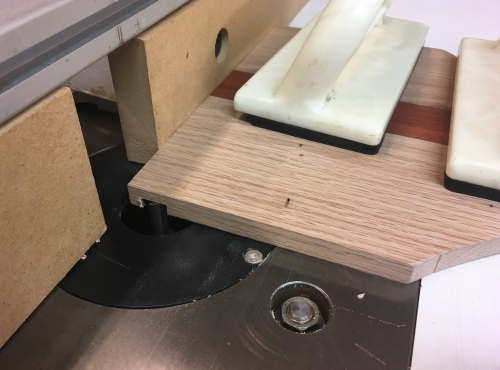
Sides and ends were given a dado to accept the 1/2 inch Baltic Birch bottom. The nominal 1/2" is really undersized and at the router table use a Whiteside 15/32" bit to make a less than 1/4" deep groove, 1/4" off the bottom. |
 |
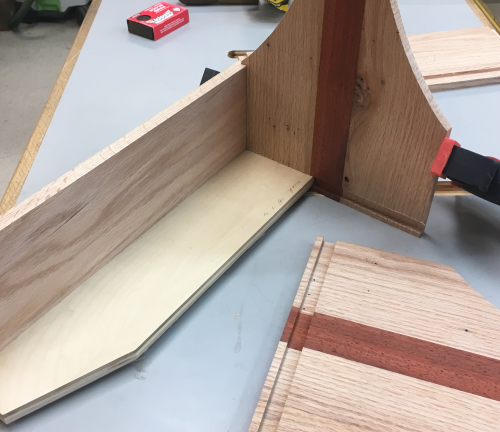
Test fit for the thickness of the ply... |
 |
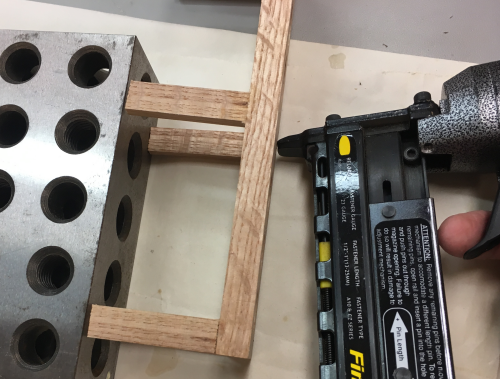
The half lap ends were glued... |
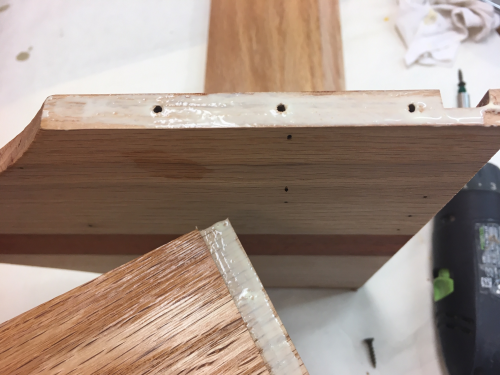 |
...and screwed. #6 SH 3/4 inch. |
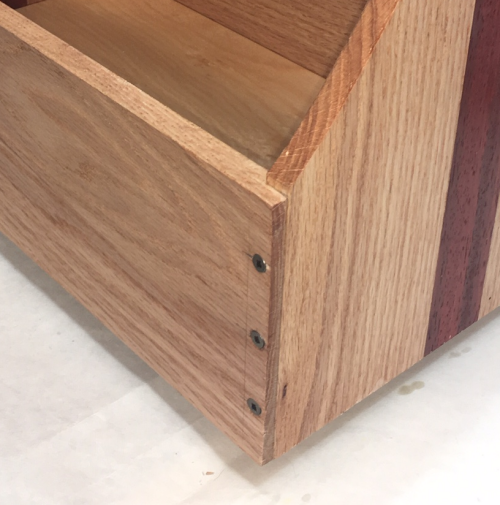 |
Then slid in the Birch plywood floor and glued the other end. |
 |
Easy sanded 220x with 150mm Festool. On the interior surfaces, prior to assebmly, I rubbed on two coats of General Arm-R-Seal glossy oil and urethane top coat varnish. |
 |
After assembly, I rubbed two coats of varnish onto the exterior surfaces and the handle. |
 |
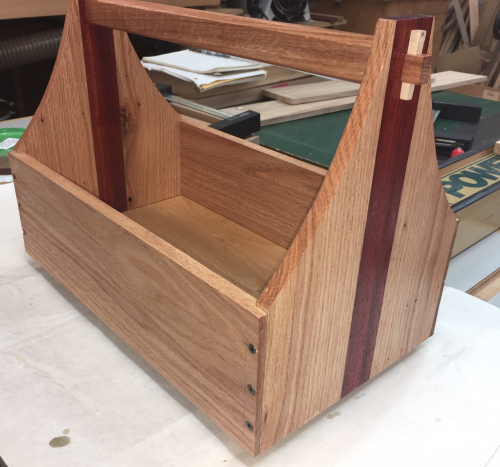
Final look with two coats. |
 |
Finished coats...end view. |
 |
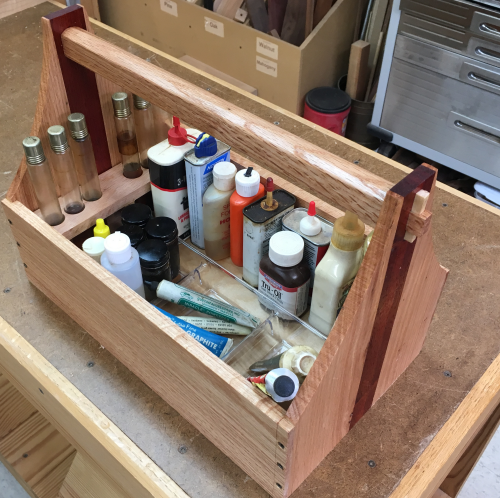
The purpose of this tote is to store lubricants in an easy to move container. Custom fit an inserts to hold six vials of oil of different viscosities. |
 |
Filled the tote with lubes of varying types. Will use and decide on further inserts. |
 |