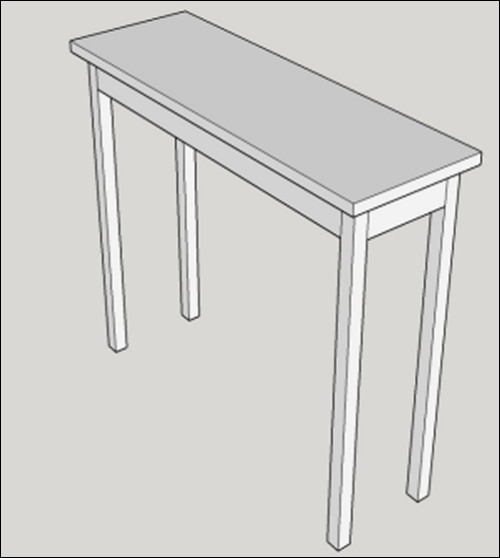
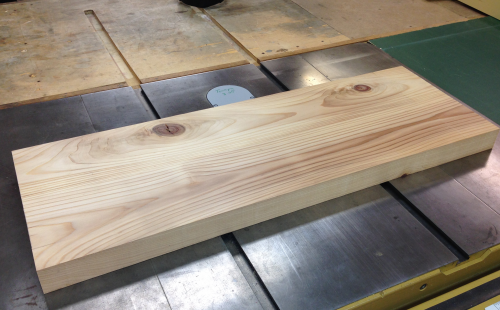
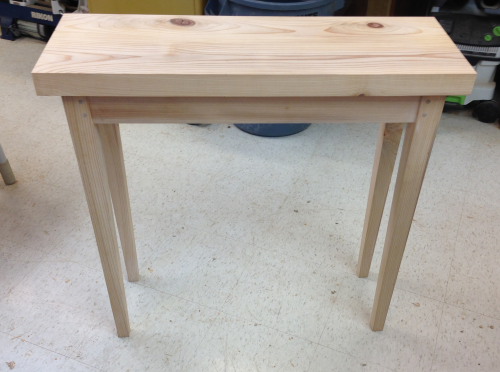
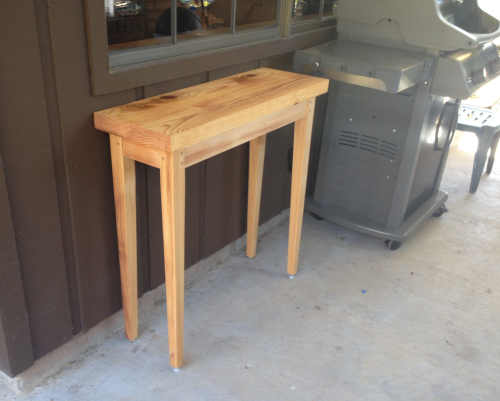
This table will be used on the back porch as a work table alongside the grill.
|
 |
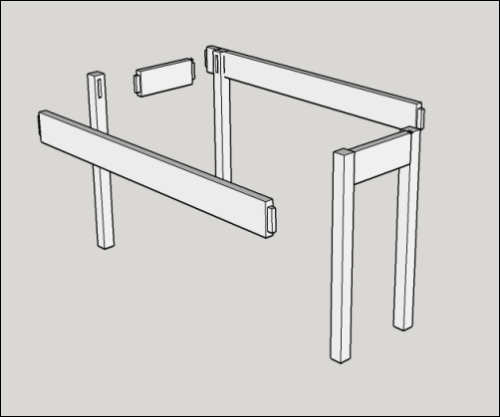
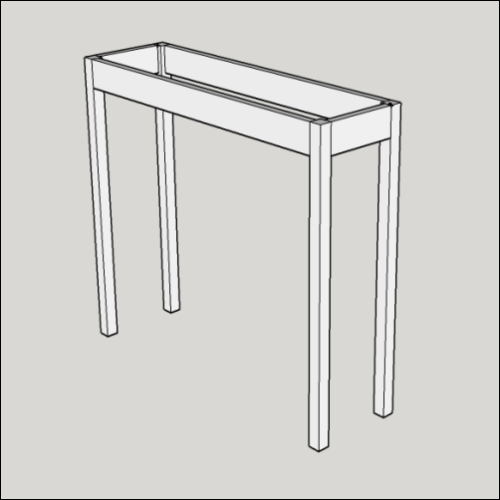
An early Sketchup conception of the apron and legs...
|
|
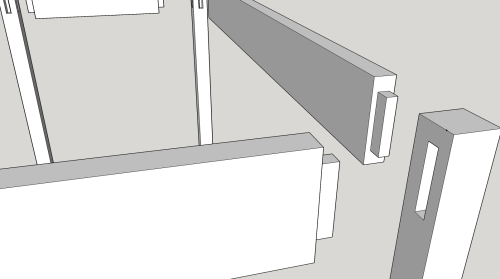
Corners will be mortise and tenon joints. |
 |
The design is long...32 inches... and narrow @ 11 inches and will fit under the rear kitchen window out on the porch. |
 |
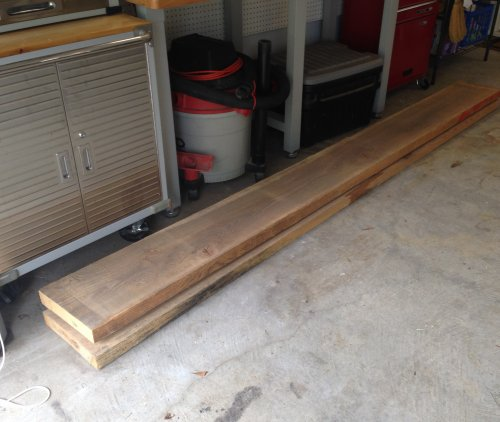
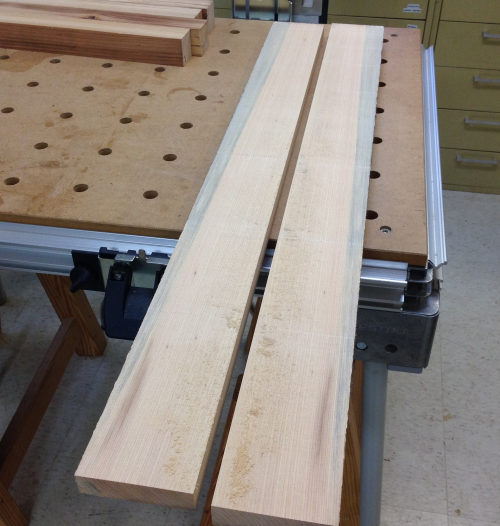
I had several projects that could use some cypress so Cindy and I bought two 8/4 slabs that were 12 inches wide and 10 feet long. |
 |
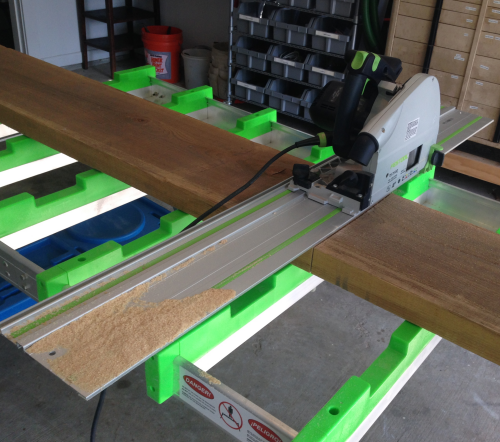
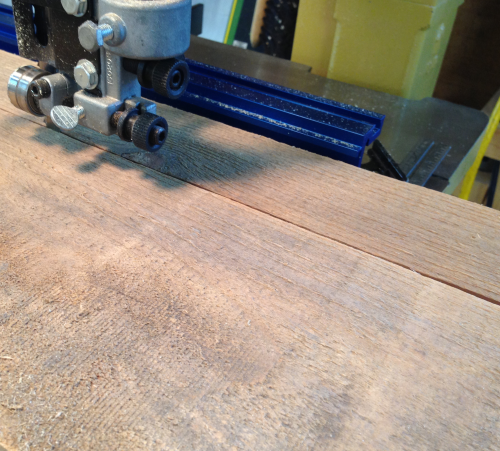
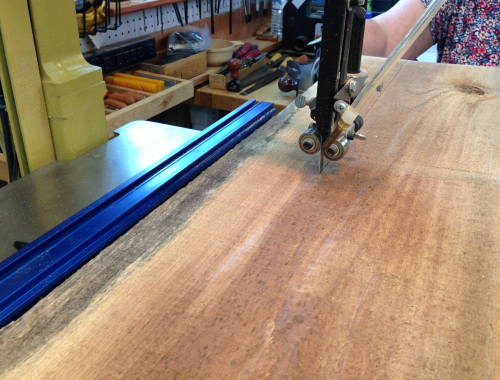
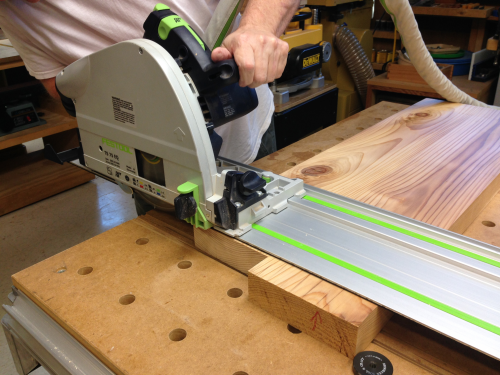
We cut these down to 5 foot long on the BenchMark table with the track saw. This slab was kiln dried and the kerf cut produced very dry light sawdust. |
 |
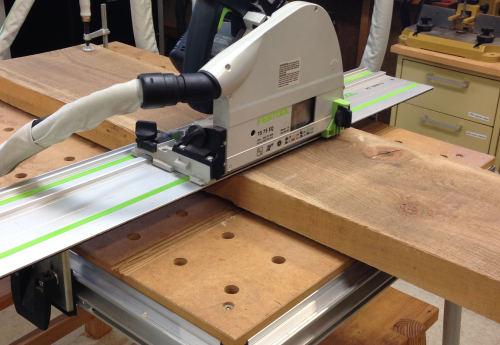
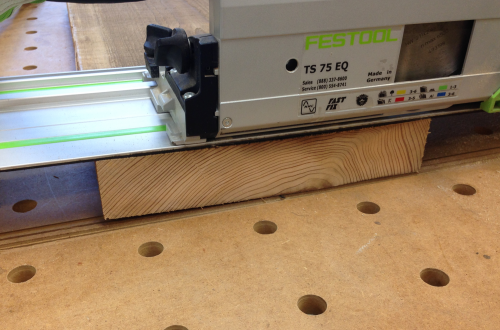
Moved the slabs to the shop and crosscut them again on the MFT3. |
 |
Here is an image of the end grain after crosscut. |
 |
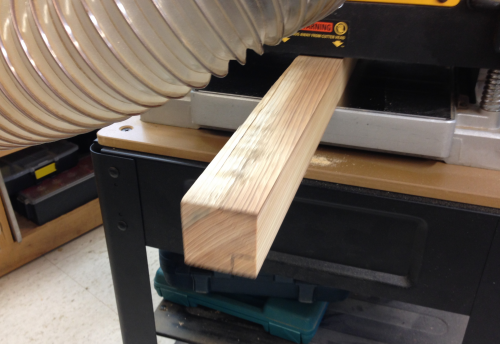
Ripped the leg blanks off at the bandsaw. |
 |
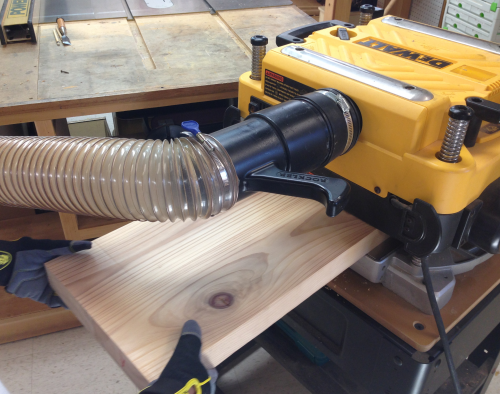
After jointing a square edge, ripping another at the tablesaw, the blanks went to the planer. |
 |
First run appearance. |
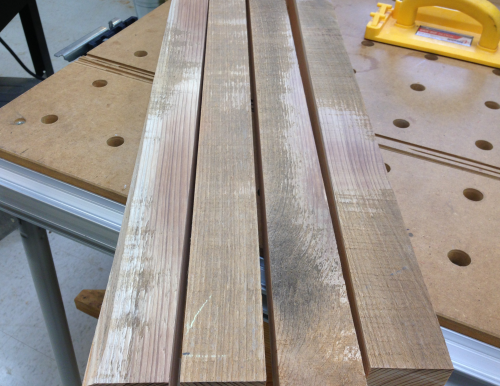 |
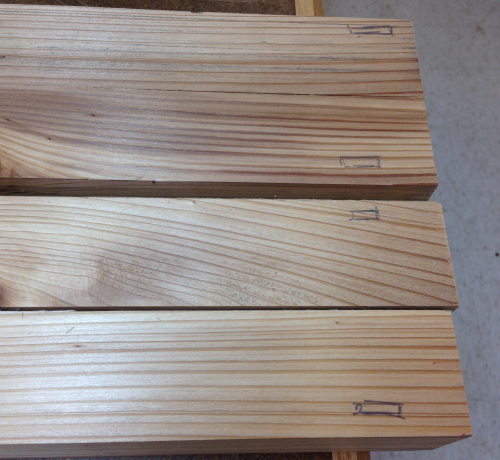
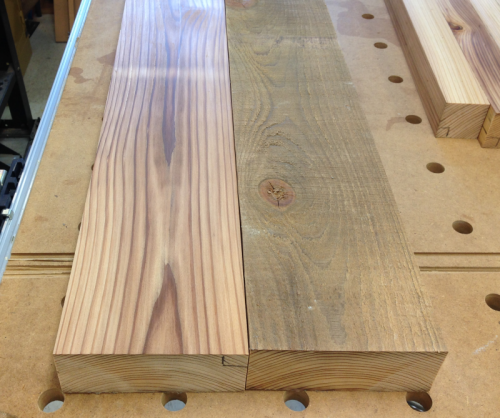
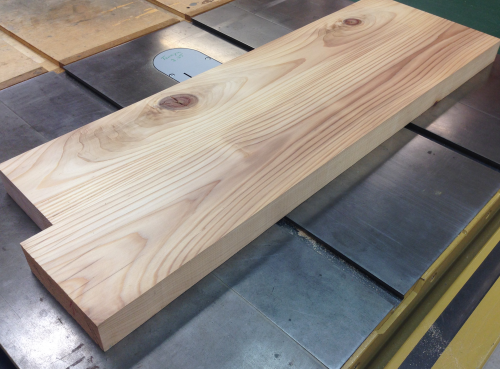
All faces were planed to make a square blank a little shy of 2 inch x 2 inch. The rift sawn appearance and the diagonal grain runs all look good. |
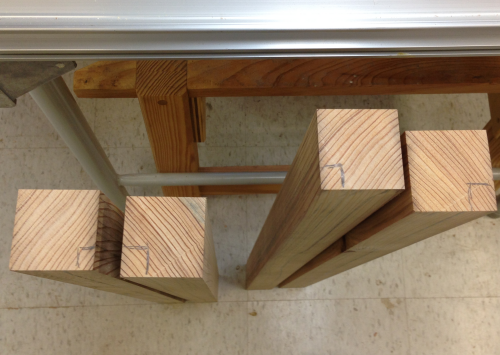 |
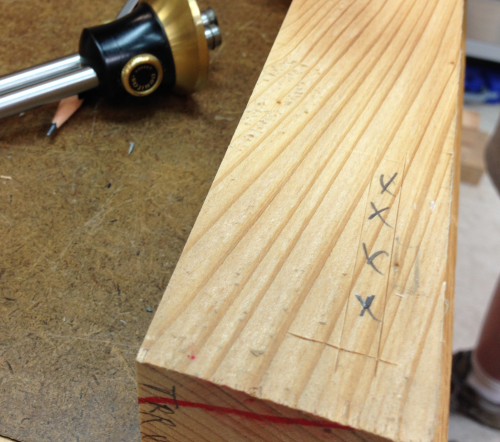
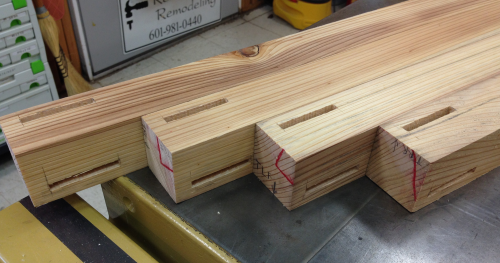
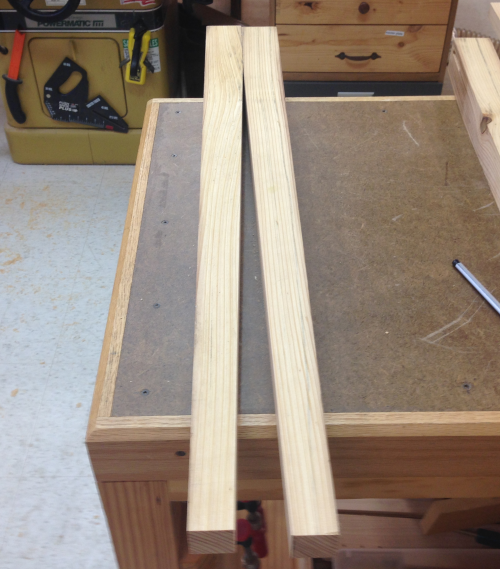
The leg blanks were selected for appearance, chopped to equal lengths of 30 inches and then placed appropriately and marked at the tops of the legs with a triangle. |
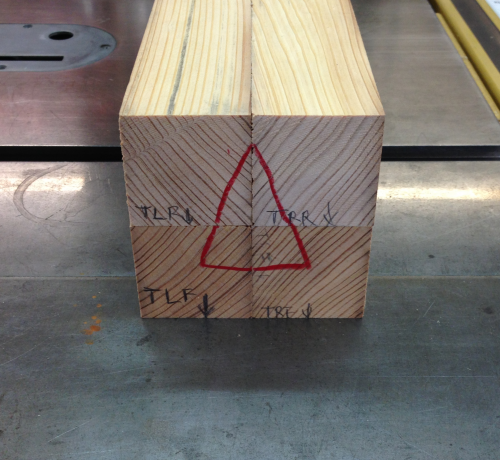 |
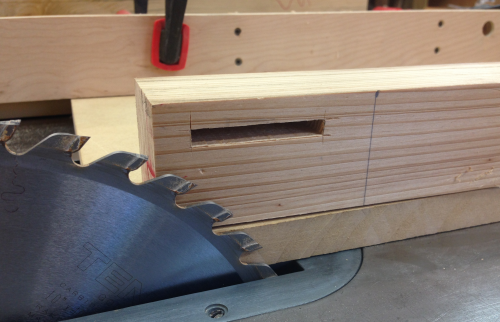
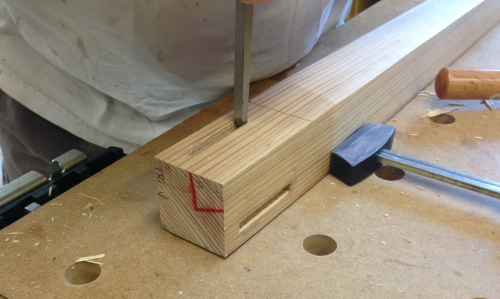
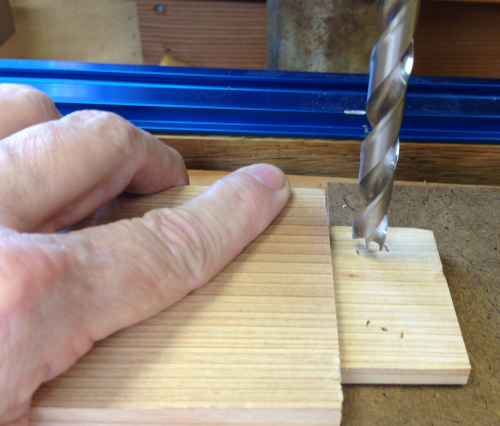
The 8 mortise locations were roughed in on the leg blanks. After careful verification of mortise match-ups we proceeded to layout. |
 |
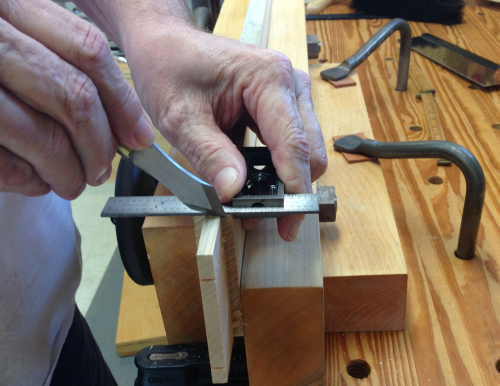
The mortise layout was done with marking with Glen Drake and Veritas marking gauges. |
 |
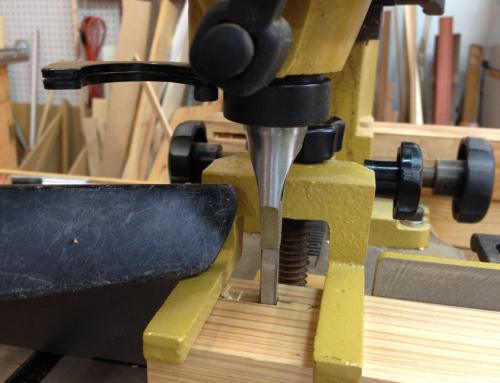
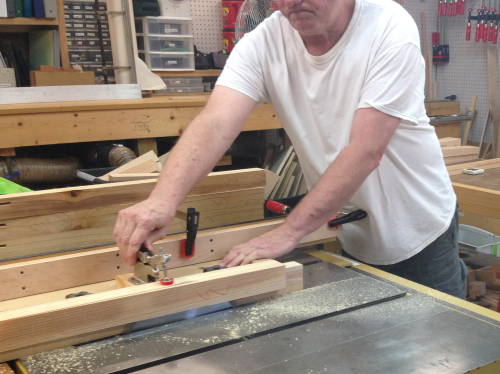
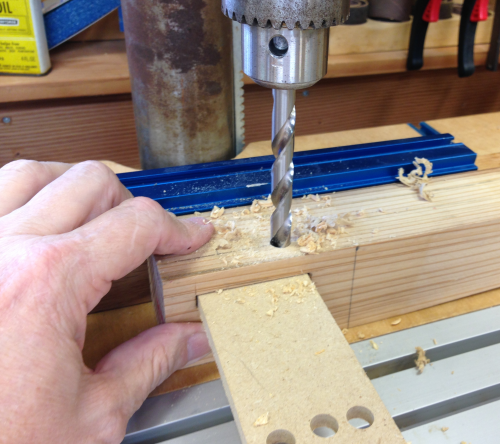
The 1/4 inch wide, 2 inch long and 1 1/2 inch deep mortises were made on the PM dedicated bench mortiser with Cindy manning the vacuum. |
 |
Finished mortises. |
 |
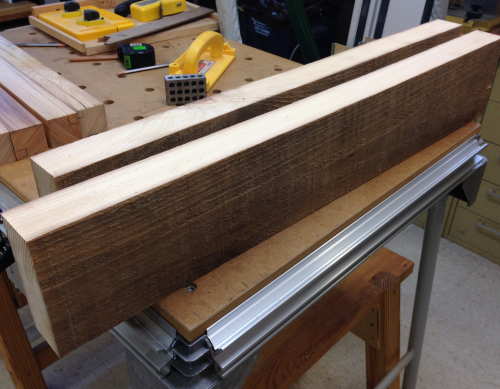
After the leg blanks were removed at the rift sawn outer edges the center pieces of the slab that were left will become the 6/4 blanks for the table top. |
 |
A jointed face and edge... |
 |
Then a four inch cutoff of another slab was ripped at the bandsaw. This blank will become ~3/4 inch thick side and end aprons. |
 |
After being resawn to one inch...the second blank was then jointed on a surface and an edge. Now ready for the planer. |
 |
After planing to 7/8 inch the apron blanks were ripped to three inches. They would sit for awhile and later be jointed and planed to 3/4 inch.
|
 |
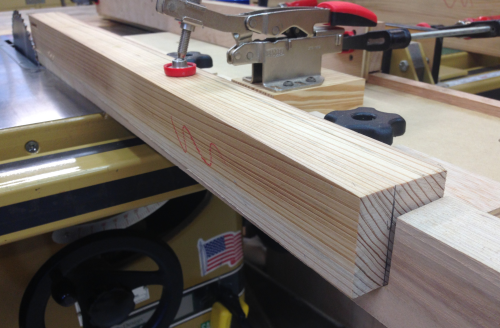
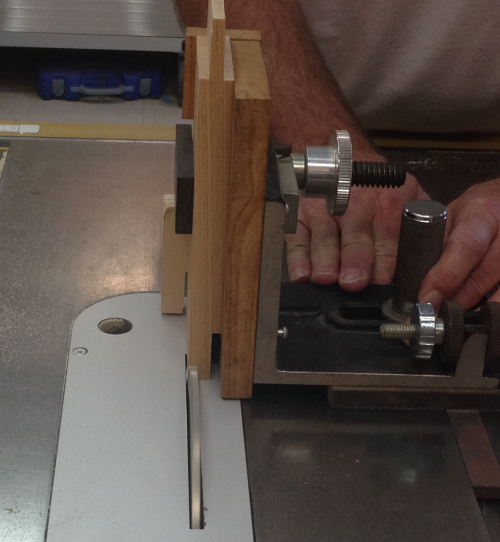
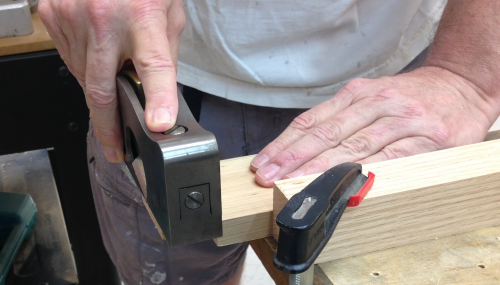
The legs were then tapered...the top of the leg is 1 15/16 inch square...here the starting taper line (about 1/2 inch below the bottom edge of the apron) is set up flush to the jig edge. |
 |
The bottom of the taper is set here at 1 3/16 inches. |
 |
Cindy handled quality control...she verified that edge to be tapered is the edge the mortise and with the red snake mark... |
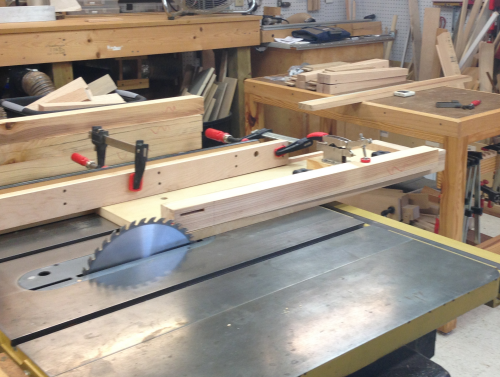 |
The taper was made and then the leg rotated 90 degrees in the jig and was tapered again. |
 |
A visual of the degree of taper... |
 |
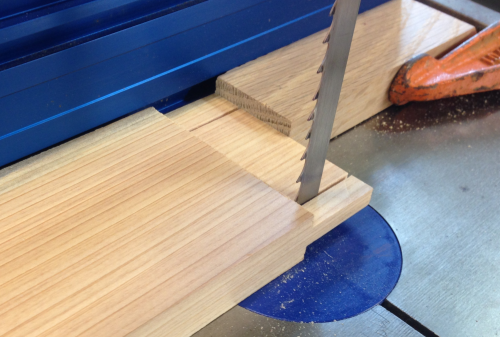
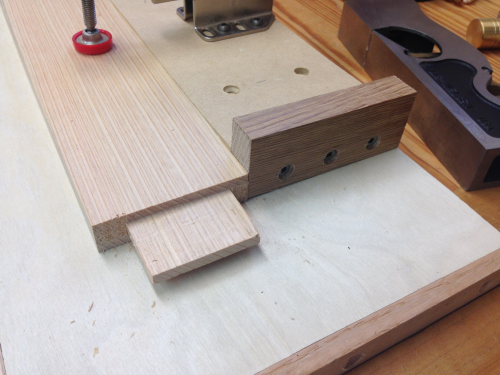
The aprons must have 1/4 inch thick by 1 1/4 long tenons. We used a new 1/4 inch thick, flat top blade from Infinity. In conjuntion with the tenon jig, this blade will cut the two 1/4 sides off of 3/4 inch stock in two passes. |
 |
The flat top blade cuts an extremely clean tenon...no bat ears! |
 |
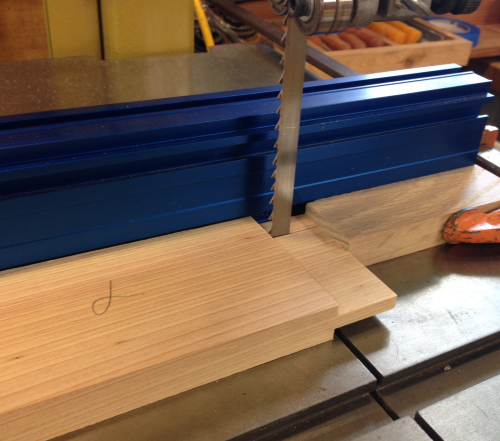
Then to the bandsaw...with a stop set, the top edge cheek cut was made at the bandsaw... |
 |
...changed fence...again with a stop set, the bottom edge cheek cut was made at the bandsaw... |
 |
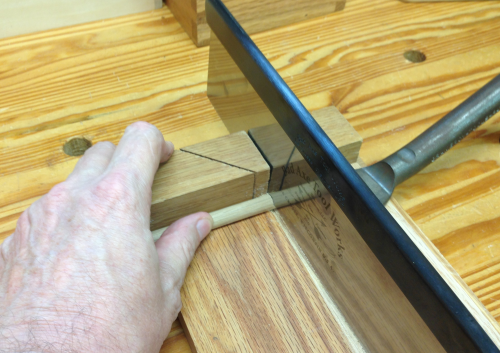
Finished the cheek cut by making a Class I sawcut...first a scribed line with a marking knife... |
 |
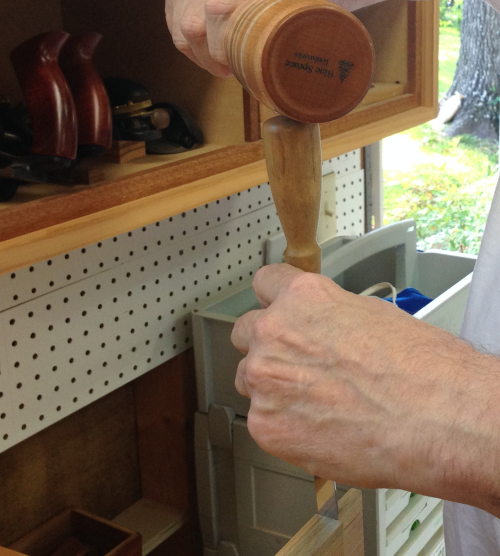
...then made a deeper definition of the line with chisel and mallet... |
 |
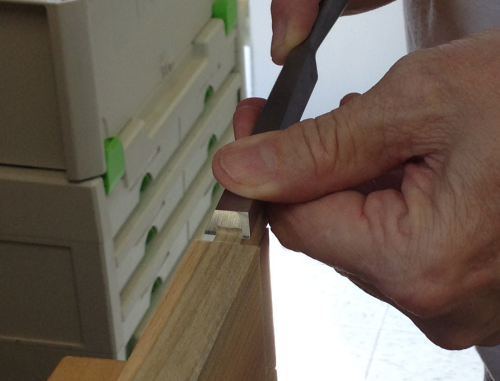
...then a beveled chisel cut to the line |
 |
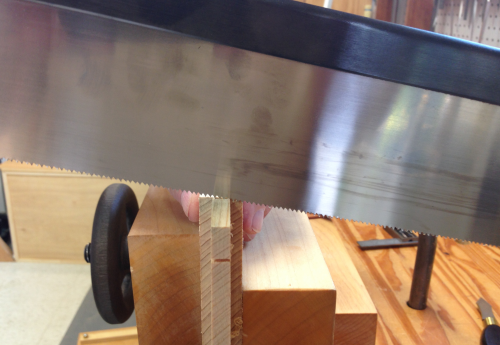
...using the tapered prep line to square the saw, the cut is made with the Bad Axe small tenon saw... |
 |
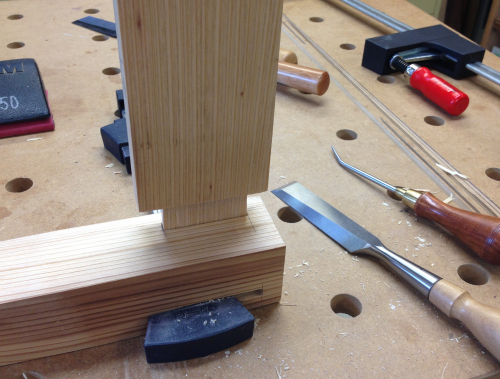
...dry fit |
 |
Mortise side walls were enlarged as needed with the Nishiki Kinari paring chisel. |
 |
Fine tuning the walls with a 1 inch LN bench chisel. |
 |
Mortise end walls and corners were cleaned out with LN 1/4 mortise chisel. |
 |
Adjustments to the tenons were made with the large LN shoulder plane and then sandpaper. |
 |
During the tenon adjustments, I decided that I wanted a better way to hold the pieces to square the tenon shoulders...so I made a tenon jig... |
 |
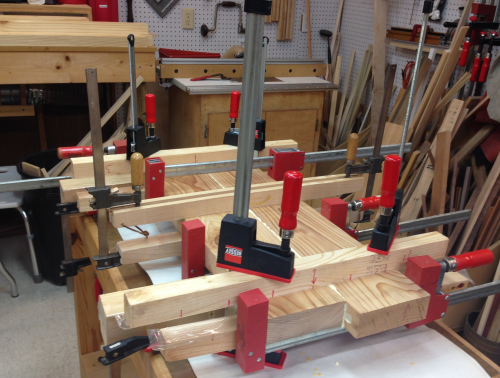
All mortise and tenon joints were dry fitted and clamped to pull them tight... |
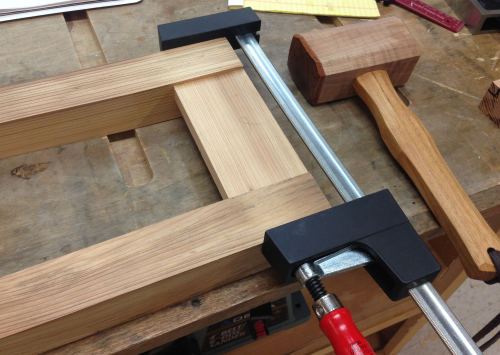 |
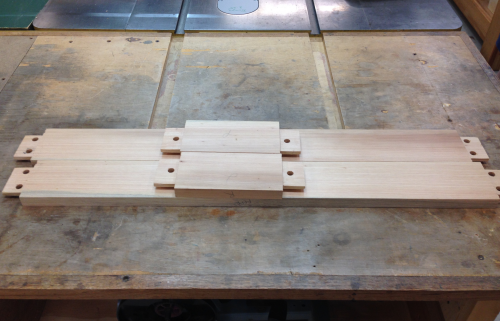
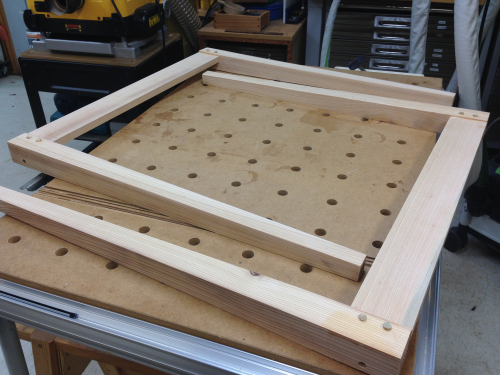
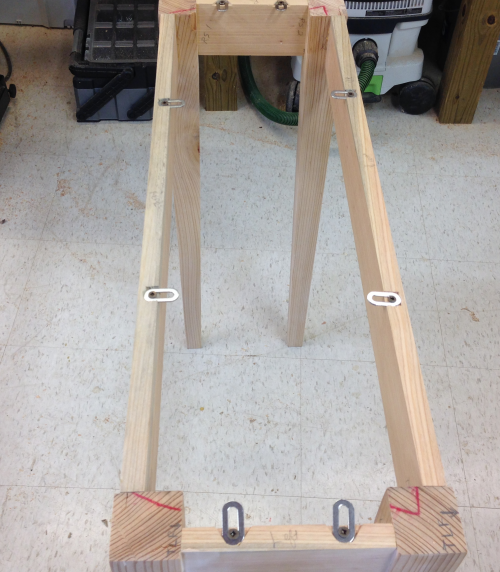
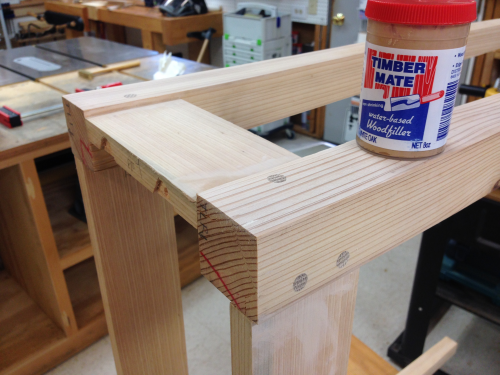
The full long carcase dry fit... |
 |
The two thick pieces that will make up the top slab were laid upon the lower carcase to get a feel for the proportions...Cindy and I both felt it looked good... |
 |
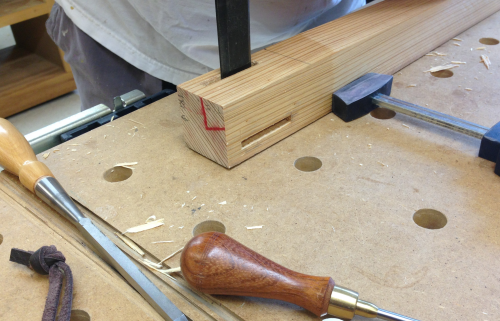
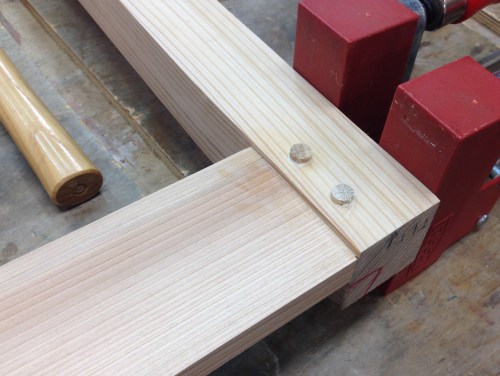
Final tenon prep was to drill holes in the legs for the dowel draw bore pins. This was a 3/8 hole about 1 inch deep. This carries the hole beyond the mortise opening by about 3/16 inch. A sacrificial board was inserted into the mortise to prevent spelching. |
 |
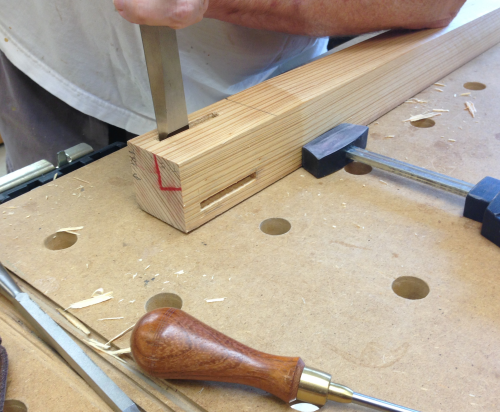
Then the mortise and tenons were dry fitted and clamped tight...the 3/8 bit was tapped through the newly drilled holes to mark the location of the to be drilled hole on the tenon. |
 |
Then the hole on the face of the tenon was actually drilled about 1/32 closer to the shoulder than the mark. |
 |
The finished drawbore holes... |
 |
Oak dowel stock...3/8 inch...was sawn to a lenght of 1 1/8 inches for the drawbore pins...one end was slightly narrowed with a knife. |
 |
All show surfaces were sanded from 80x-100x-220x-320x. |
 |
Ready for assembly. |
 |
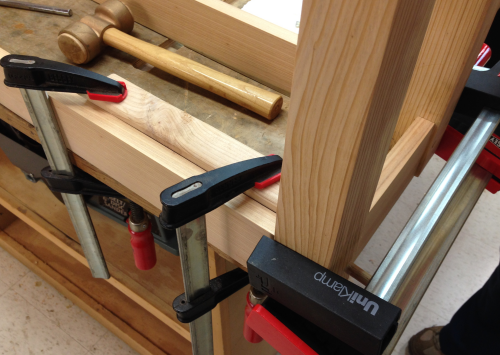
First the tenons of the long aprons, front and back, were glued and clamped tightly...then the oak dowels were pounded in... |
 |
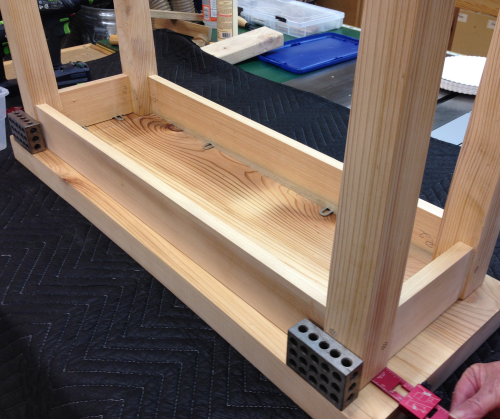
Long apron assemblies are glued up... |
 |
Gluing up the short aprons... |
 |
...had to put a stop block for backstop for the pounding of the drawbore dowels. |
 |
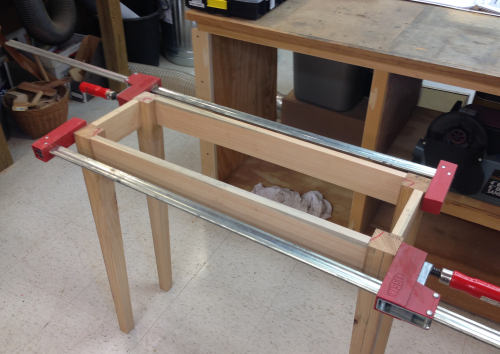
The lower assembly all clamped up. |
 |
The concrete slab on the porch is way off of level. So, a set of four levelers were installed. This was a medium duty unit with nylon pads, 1/4 inch threaded shank, adjustable 0" to 3/4", with a 400 lb capacity. |
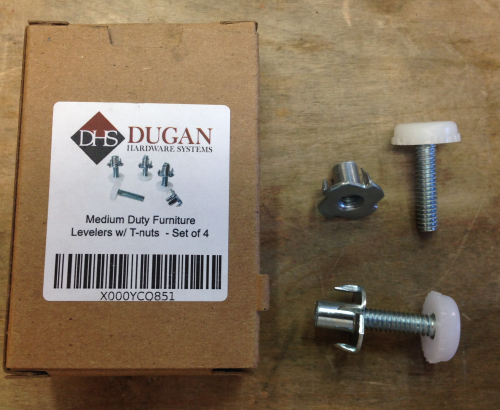 |
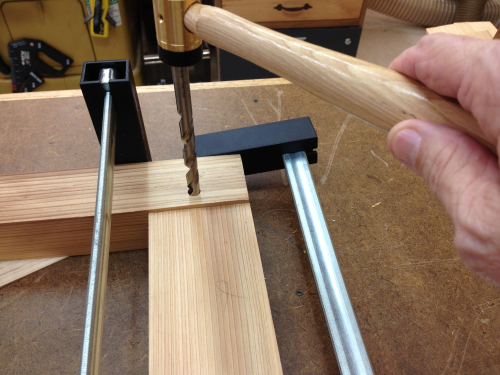
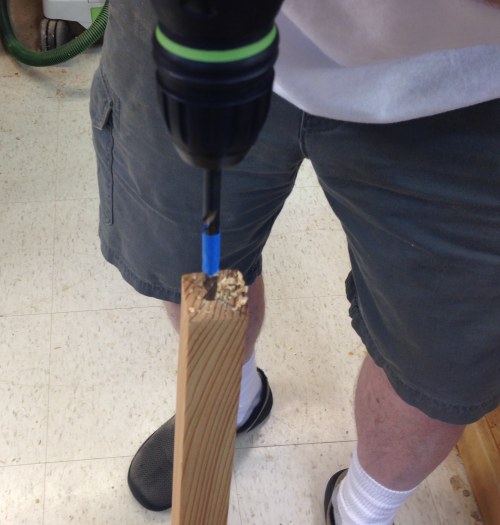
Holes were drilled into the center of the bottom of the legs to accomodate the T-nuts of the leveler. The hole 5/16 inch x one inch deep. |
 |
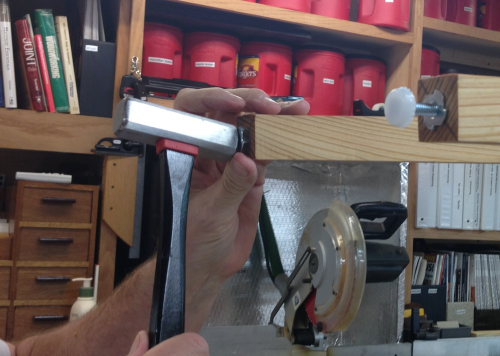
The T-nut was hammered into the leg and the nylon leveler was screwed into the unit. |
 |
The two pieces of slab were then glued up... |
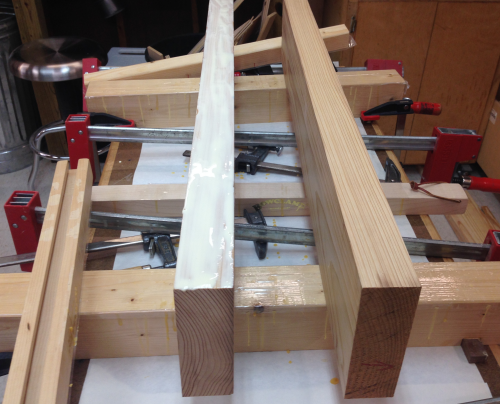 |
...and clamped along with cauls. |
 |
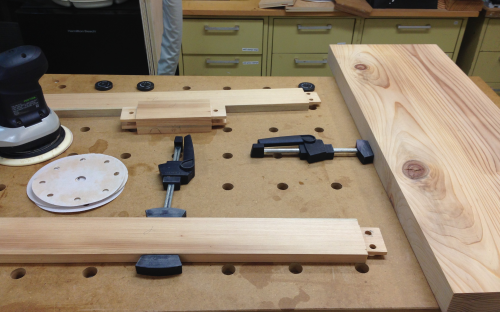
After the clamp pull, a glue cleanup was performed with a scraper and chisel...the slab then went to the planer...here BetaGirl Cindy is catching the slab... |
 |
...the planed slab. |
 |
The slab ends were trimmed at the MFT3 table with the track saw. |
 |
The trimmed top slab. |
 |
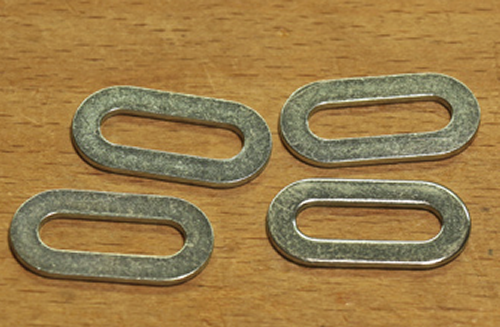
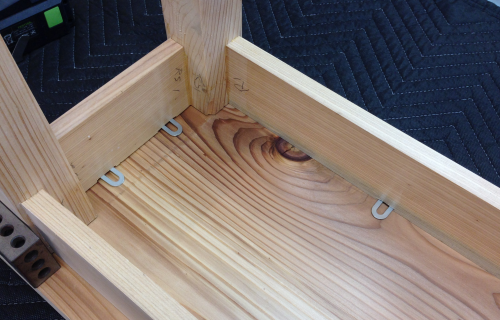
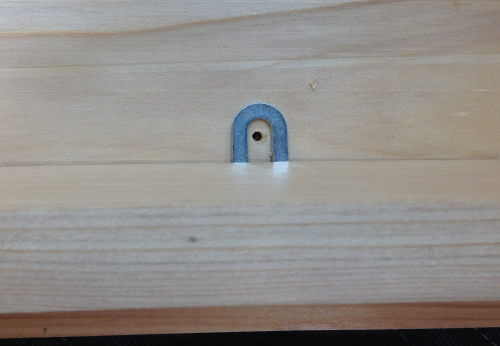
I tried a new method to attach the aprons to the top slab. Previously, I have used cabinetmakers buttons. This time I tried expansion washers. These are Lee Valley 50K35.02 #14 washers. |
 |
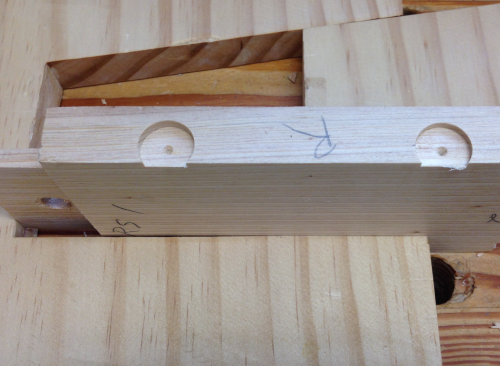
Using a Forstner bit, a 5/16 inch shallow hole was drilled...closer to the inside of the apron than to the show surface. The hole was just deep enough to contain the washer. |
 |
On the side aprons I expanded the hole with a chisel to allow for expansion of the top. |
 |
In the apron I used a a #6 x 1 square drive screw with a bevel...this allows the screw to sit down tight on this end. There will be some expansion left and right. |
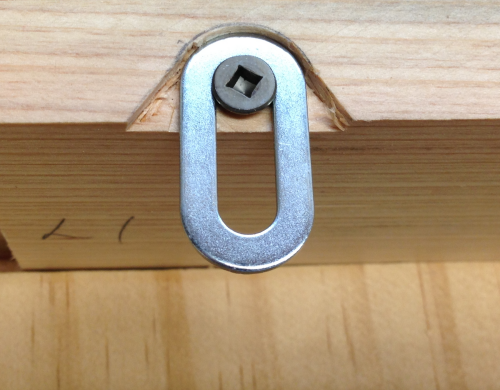 |
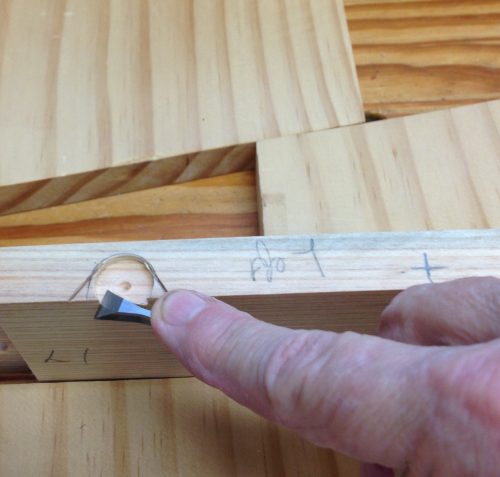
I wanted to make the screw head a little lower and to also make the inward end of the washer higher so it will make better contact to the slab. To accomplish this I chiseled out the end at an angle that accomplished both... |
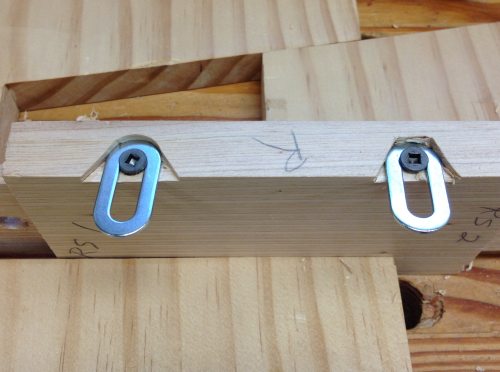 |
On the narrow end aprons the expansion washers were installed with some movement options. The long aprons had the washers installed perpendicular without movement options. |
 |
The slab was laid face down on a blanket and the carcase was positioned appropriately... |
 |
The expansion washers were all reasonably flat against the slab. |
 |
Holes were drilled and centered in the washer opening to allow for some movement. |
 |
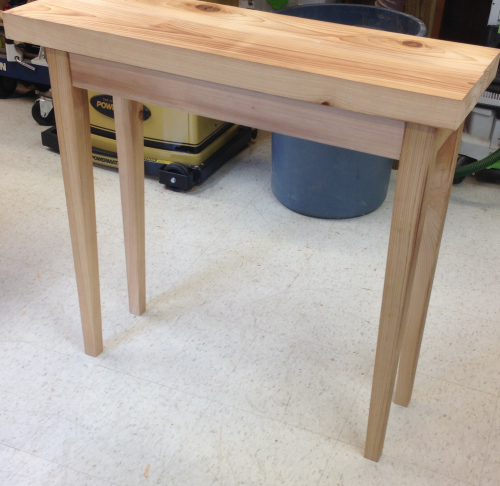
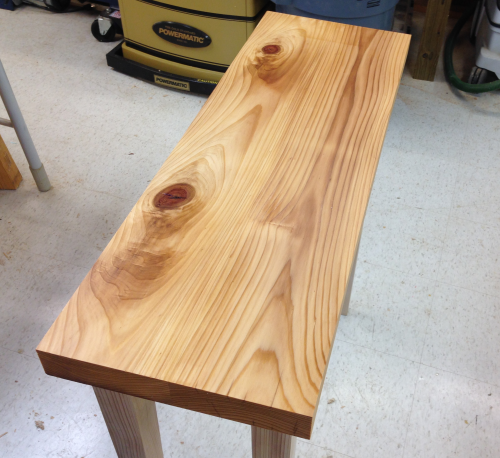
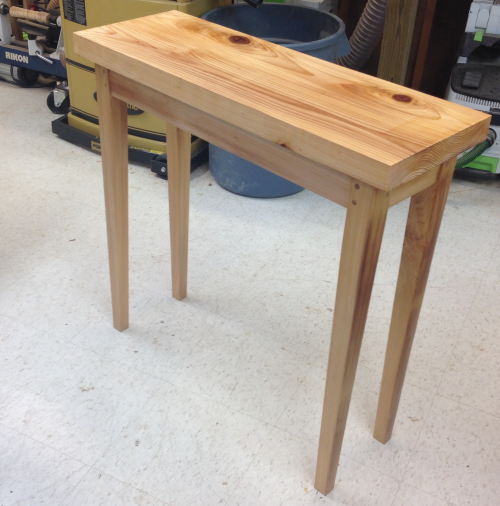
The table construction is complete. |
 |
All of the show surfaces had been previously sanded...after lower carcase assembly was completed and after the drawbore dowels were cut flush, I filled any imperfections with putty.
All surfaces then got a final sanding by Rotex where possible and then by hand 150x-220x-400x. |
 |
After an acetone clean up, all surfaces were given a coat of 100% pure tung oil. Here the top is getting the rub... |
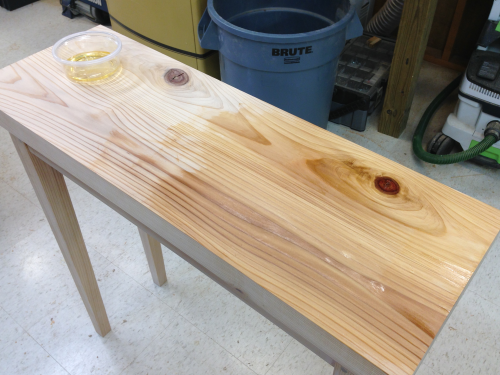 |
Top slab... |
 |
A coat everywhere... |
 |
The table on the back porch... |
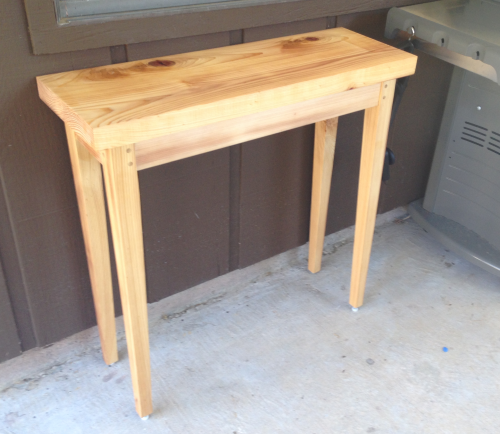 |
...next to the grill in storage location. |
 |
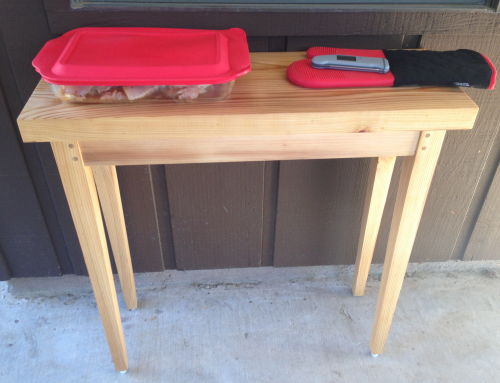
In use... |
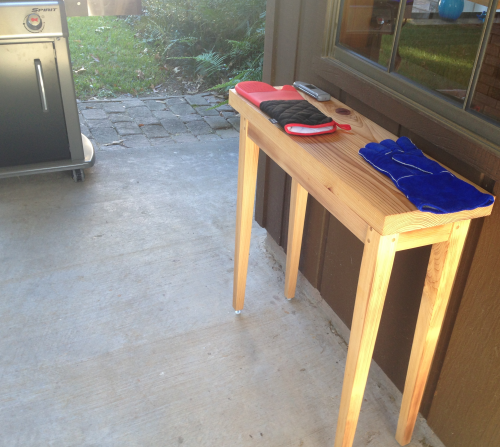
 |
...grill at edge of porch. |
 |