Inherited a stool that had belonged to my great grandmother. My mother had painted it during milk can green and rust color phases.
|
|
|
|
|
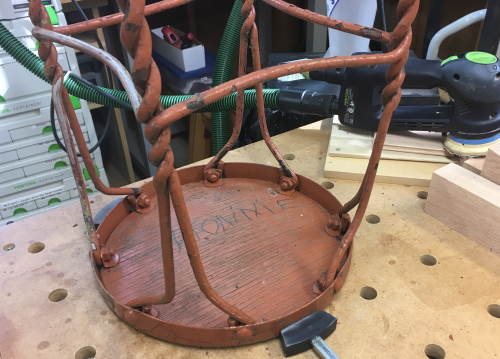
The entire stool...the wooden
seat top, the metal rim of the seat, all of the legs and hardware as
well as the underside of the seat had been painted. |
 |
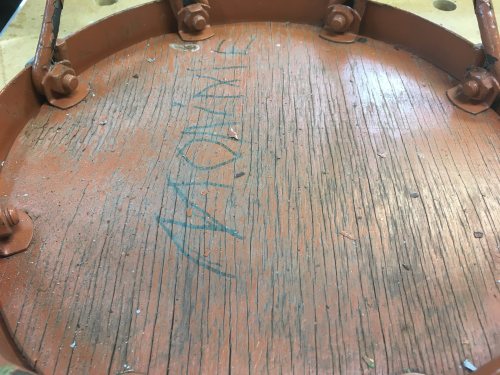
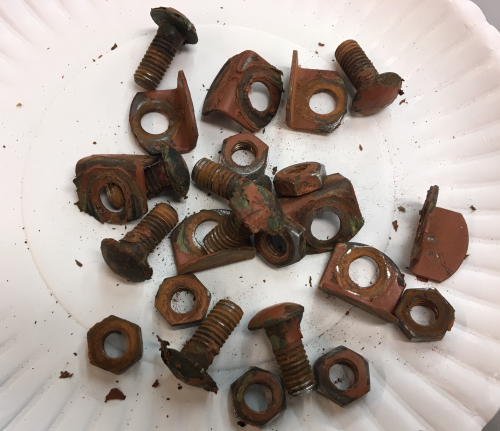
A closer look at the hardware and a hand written ownership declaration...written in the block printing style of my mother. |
 |
I begain chiseling away the multiple coats of paint. There was so much paint that the hardware were just mounds... |
 |
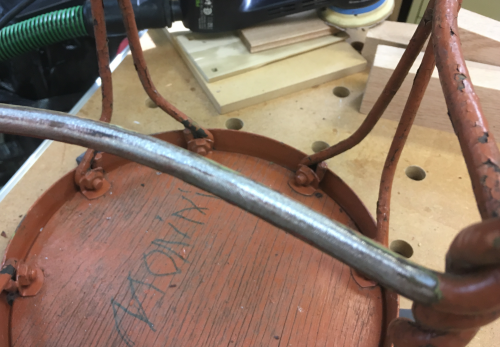
Finally ,a metal frame piece cleared of paint... |
 |
After much work, all the hardware was finally removed from the metal ring... |
 |
The ring... |
 |
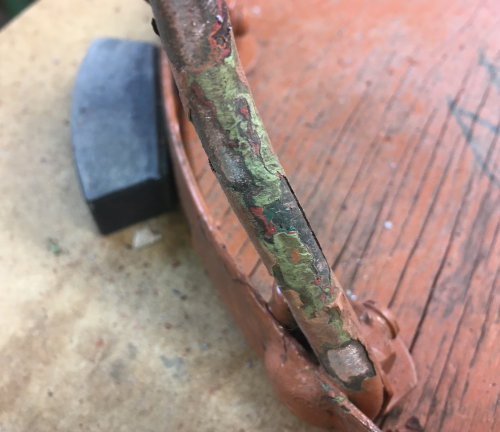
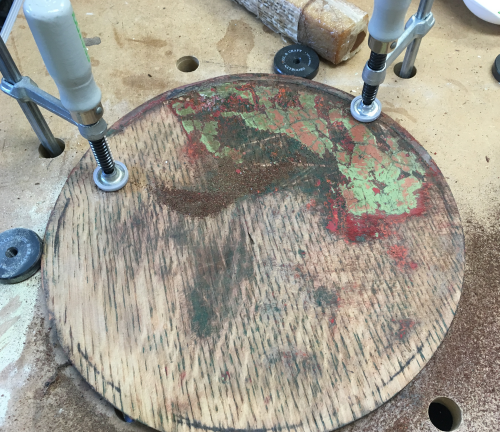
The thin seat was covered in three colors of paint....I belive that the red coat was actually the color of the stool when it was created. |
 |
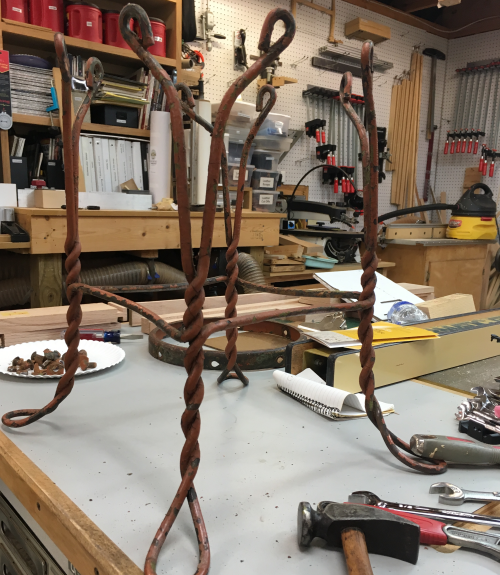
The metalwork of the leg system after the stool seat and upper hardware had all been removed. |
 |
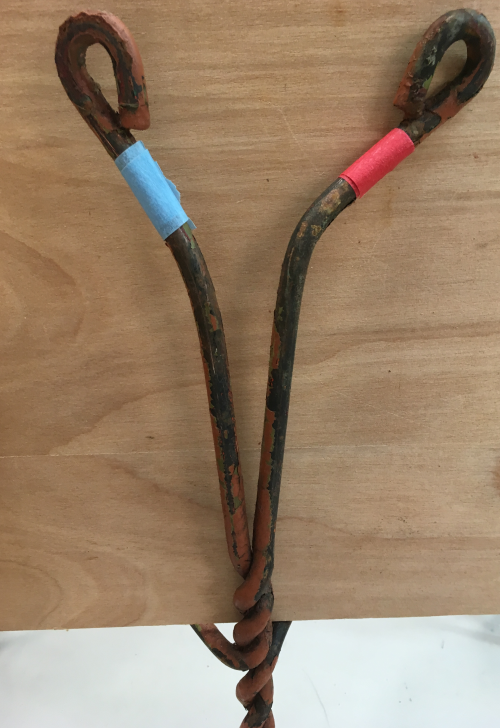
I sorted out the twists and turns of the metal work...there are four pair of bolt connector loops. There are four metal runs that twist and form the leg loops. I identfied the four metal loops by color coding... |
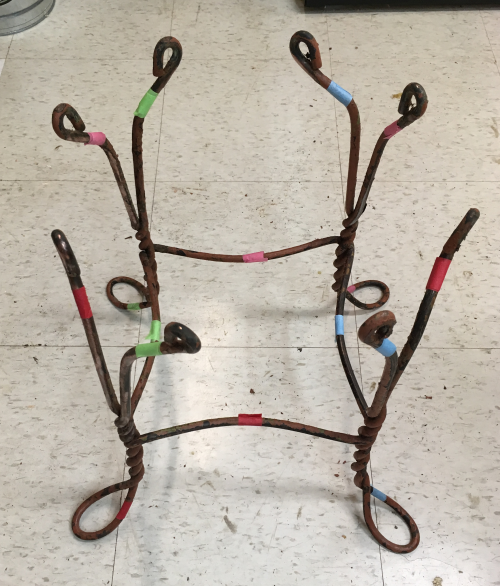 |
Looking at the top connectors, the red run starts on the right connector... |
 |
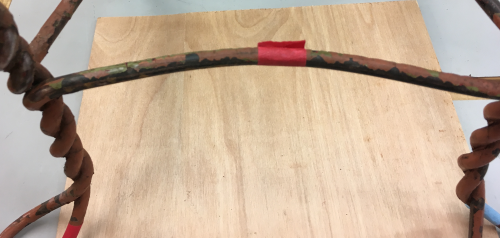
...it then entwines with a second loop about halfway down the leg and then tranverses toward the leg on the left... |
 |
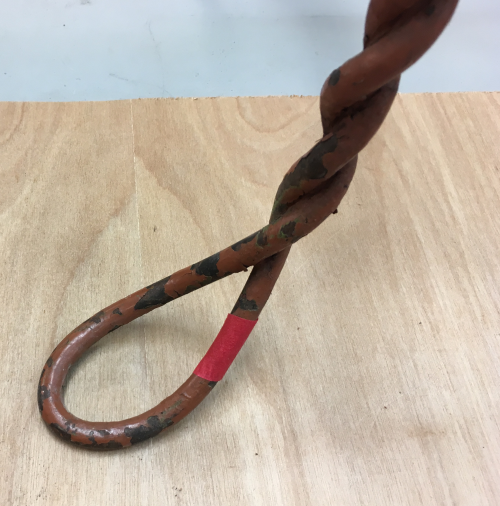
...It then makes the leg loop on the bottom and begins to entwine with itself on the way up... |
 |
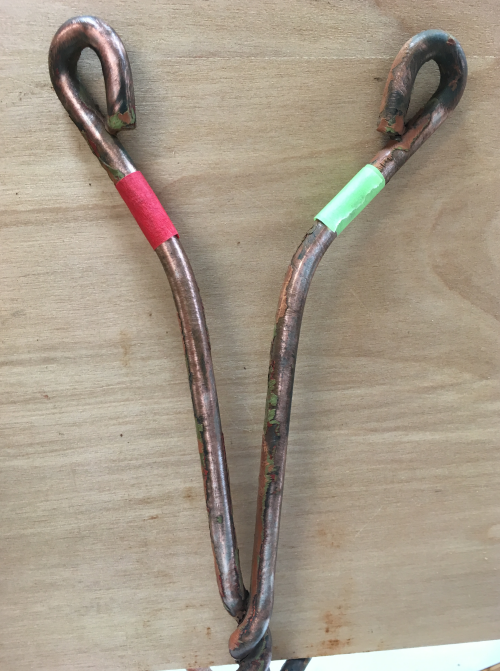
...and then terminating in the upper connector on the left. |
 |
I had a real struggle trying to clean the nuts, bolts and plates with a wire wheel...theses pieces had some rust plus multiple layers of paint. I sprayed on Rust Free by Boeshield. It turned the paint and rust into something of a sludge. After 48 hours it was hard and crusty...but it really came off with a wire wheel. Turns out I should not have used it on the paint due to acidic nature of compound. The dust was itchy...I did a poor job of protecting mysekf and suffered eye and face discomfort.
|
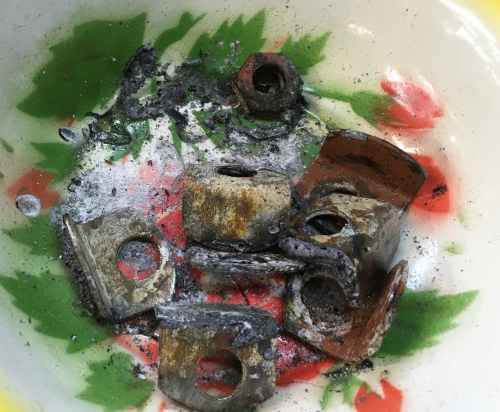 |
After cleaning...I doused all pieces in a bath of a light oil. |
 |
The leg system was cleaned using
a wire wheel...the wire was pretty shot...hard work and poor results... |
 |
Bought a new wire wire...pricey
but a real step up in quality...the difference was staggering... |
 |
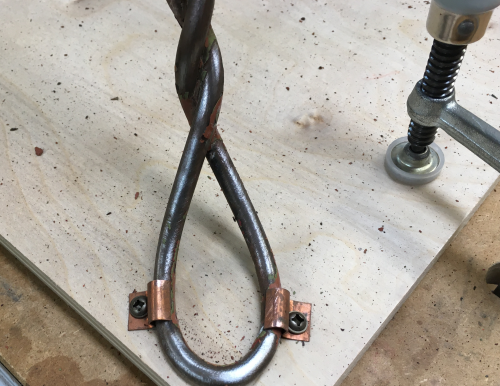
To secure the metal legs while wire wheeling...I used some copper hold downs to connect the leg frame onto a piece of plywood so that I could clamp that down onto the MFT3. |
 |
These hold downs are Reese's Pieces. |
 |
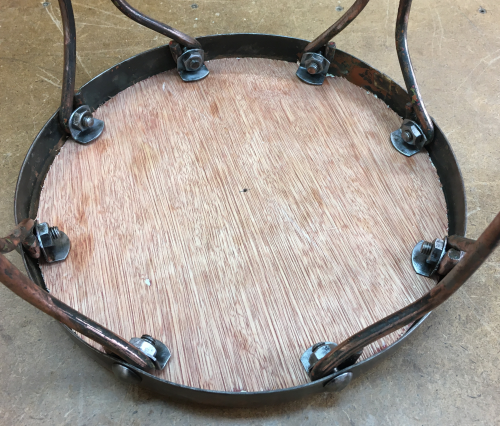
After getting the legs reasonably cleaned up...I recreated the original unit with the wooden seat back in the stool (upside down)...this was to check out the overal function of the hardware... |
 |
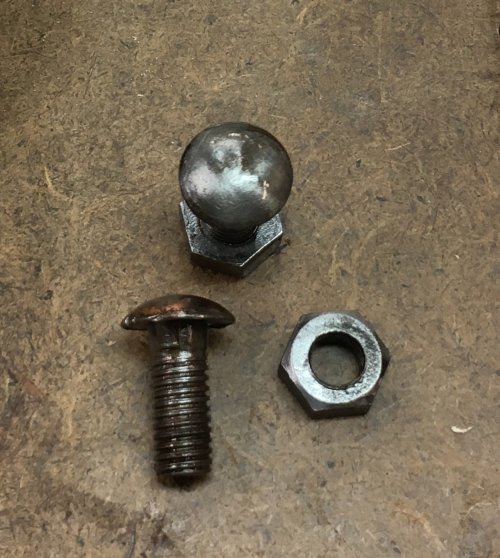
The hardware, now cleaned, consisted of eight bolts 3/16-16 with appropriate nuts along with hold down plates...the carriage bolt head has a flange that matches up with the holes on the metal rim...this locks the bolt. |
 |
The looped ends of the metal leg rods did not easily line up with the holes on the rim...drawbore pins helped... |
 |
The hardware install only allowed for 5/16 inch max...the wooden seat would have to be 1/4 inch plywood... |
 |
...cut out the plywood seat using Carvex jigsaw with the trammel point circle cutting attachment.
|
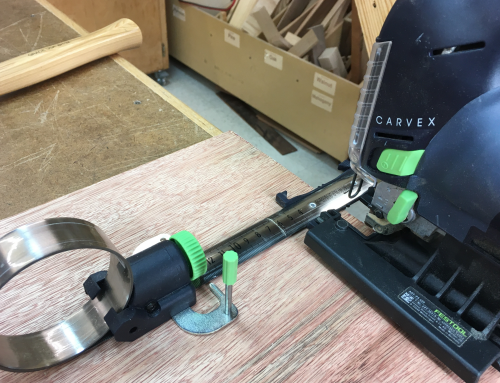 |
...installed with the hardware hold downs. |
 |
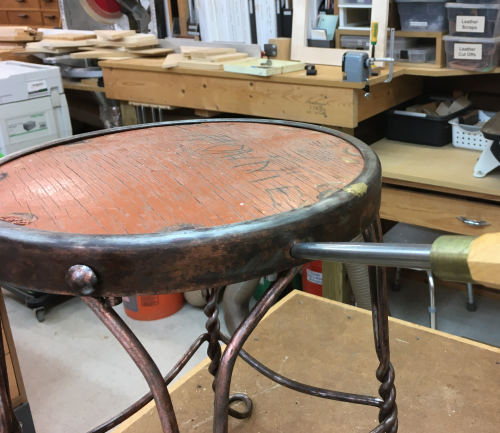
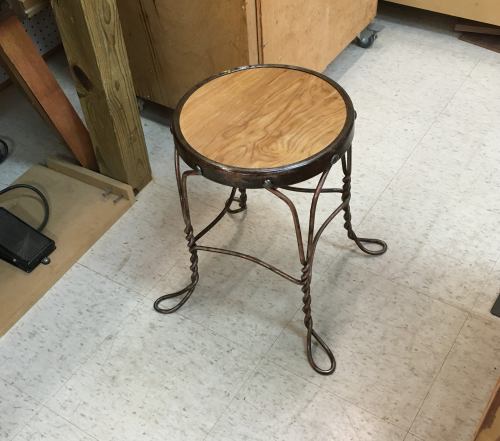
Seat installed... |
 |
Couple of rub on blonde shellac coats...stool in use in shop. |
 |