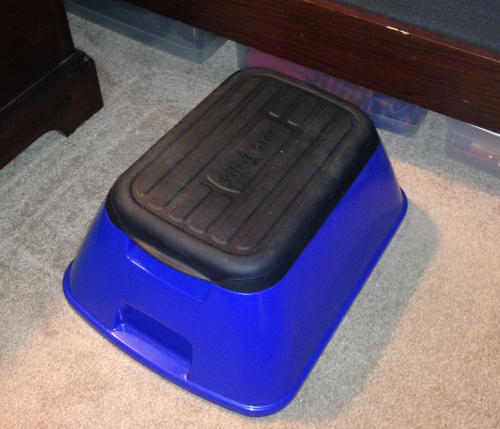
After getting a new, thicker mattress for our bed it became necessary to have a step stool to assist getting into bed due to the extra height from the floor.
|
|
Wood Selection and Milling |
|
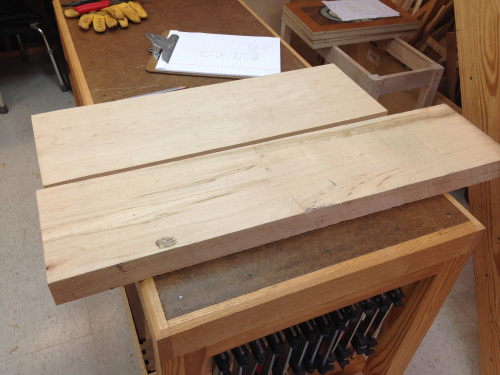
The wood for this stool was maple left over from some previous projects. I had a 1 1/4 inch thick piece that could be the tops of a couple of stools. I also had an 8/4 slab that would be the legs.
|
 |
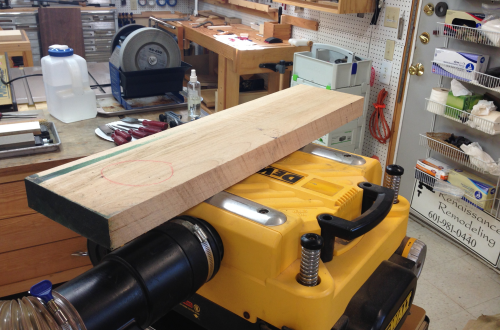
| The slabs were jointed and surface planed. |
 |
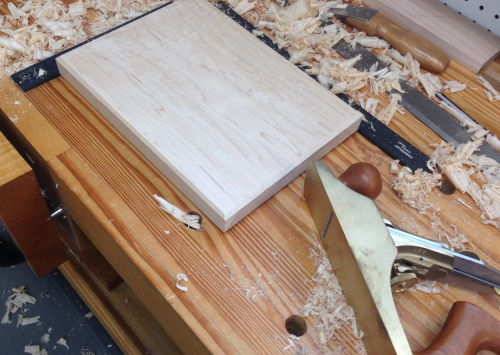
The top was chamfered at the router table...this will keep the sides from spelching during planing. |
 |
The piece that was selected for the top had some winding to it. It was worked with a jointing plane, a jack plane and a smoother. |
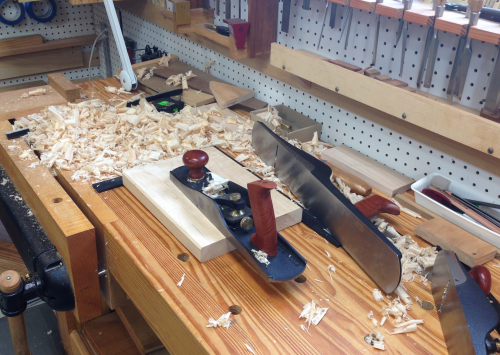 |
The figured maple was really prone to tear out with the different planes. I struggled, no matter which direction I planed. I finally had some succes with a #4 plane.
|
 |
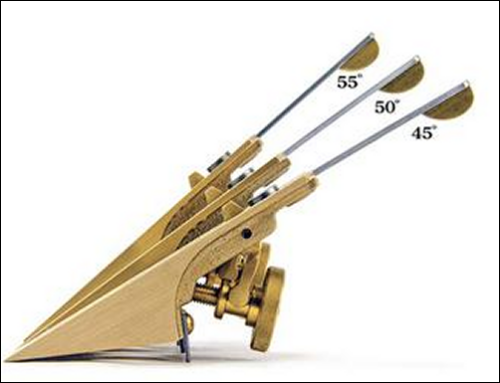
This was the LN #4 bronze with the high frog.This frog is bedded to create a 55 degree (Middle pitch) cutting angle. This gave me a much better smoothing cut.
|
 |
High angle frog... |
 |
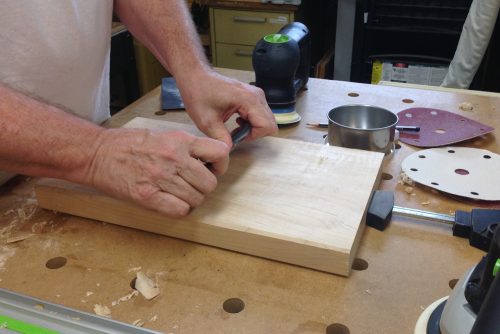
Then the top was worked with a cabinet scraper. |
 |
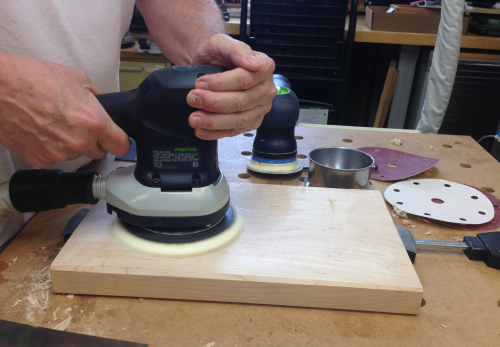
Then sanded with 150mm through grit cycles of 80x, 100x, 220x, to 400x.
|
 |
Legs |
|
The height of the legs was determined by the total height of the stool...designed to be 8 inches. We set this height based on a travel step stool. This stool is a great height but it is too large at the top and has a huge foot print. |
 |
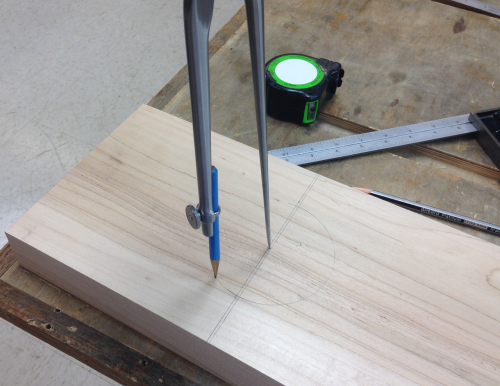
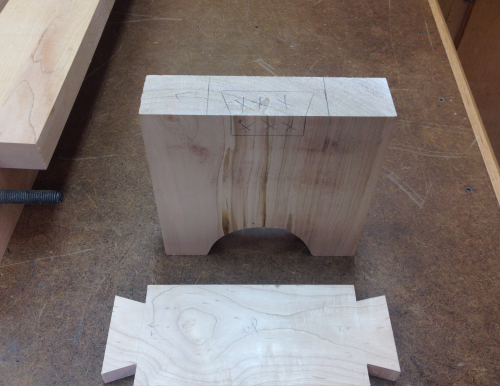
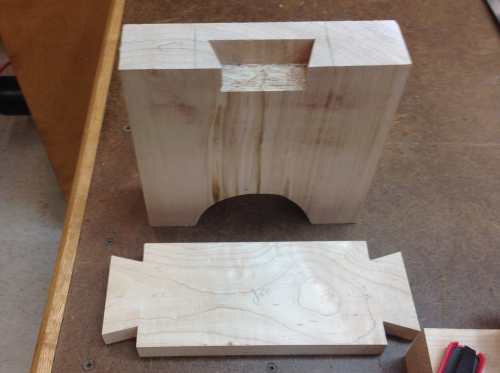
The legs were laid out and a circle was drawn for the arch cut outs. |
 |
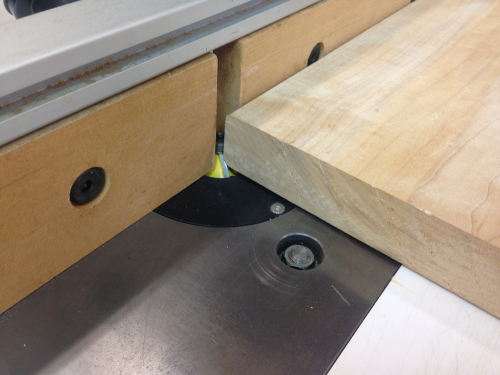
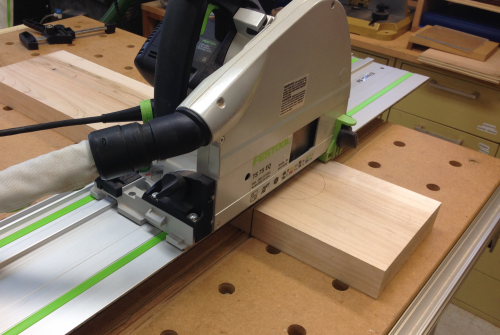
Cuts for the legs were made with the track saw. |
 |
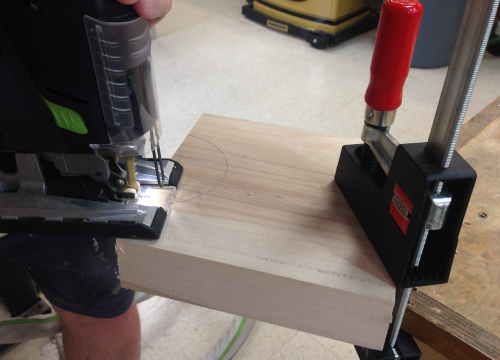
The arches were cut with a jig saw... |
 |
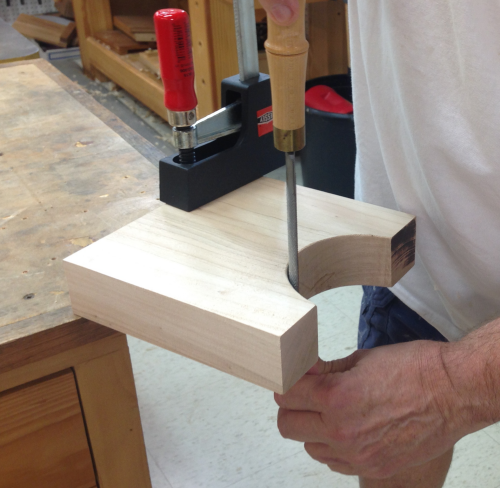
...and then smoothed out with a rasp. |
 |
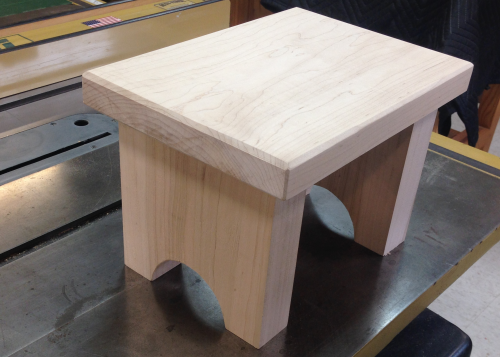
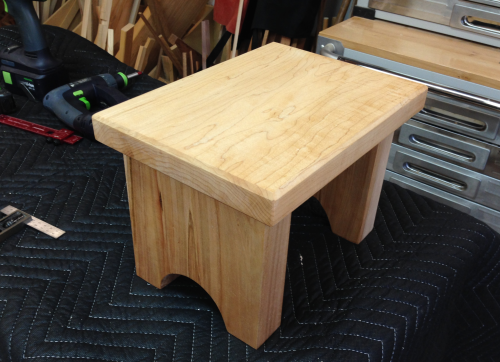
Dry fit...the proportions do not appear great...but the height and the foot print were set for a particular purpose...not to have great proportions. |
 |
There will be a horizontal stretcher that will serve to keep the legs a set distance apart and will allow for a surface for screws to connect the top. Hidden dovetails will be used for a stout joint. |
 |
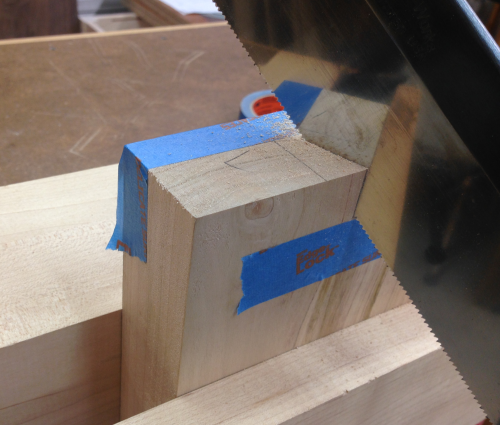
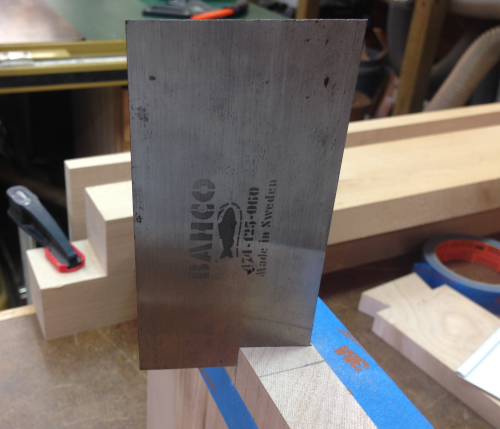
The socket for the dovetail is cut on the angle with BA small tenon saw. |
 |
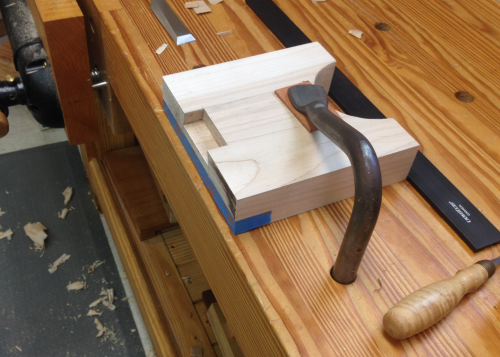
The back corners were put in by beating on the Bahco. |
 |
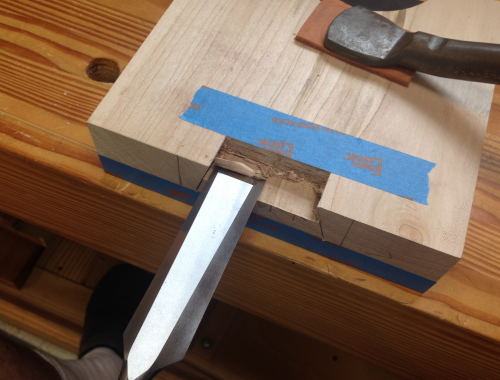
Chisel work was done at the bench... |
 |
...both banging and paring. |
 |
Then the leg went to the Moxon vise for paring the bottom of the socket...brought out the Nishiki Kinara. |
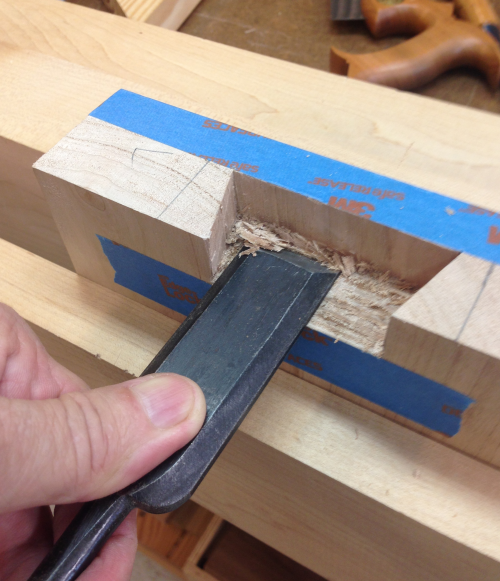 |
Finished socket... |
 |
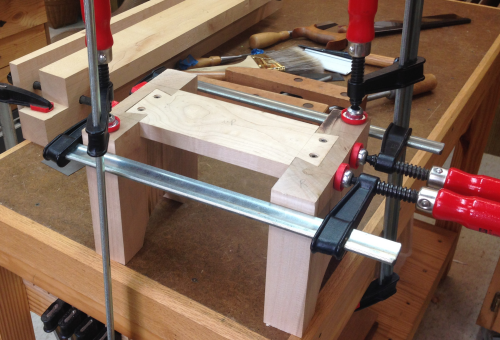
The stretcher is glued, screwed and clamped to the legs. |
 |
Finish Application |
|
The finish is pure tung oil, rubbed on... |
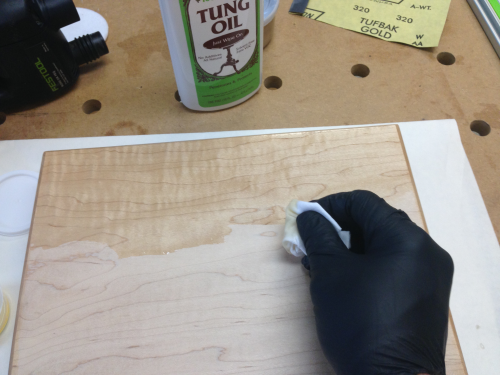 |
Tung oil on lower section... |
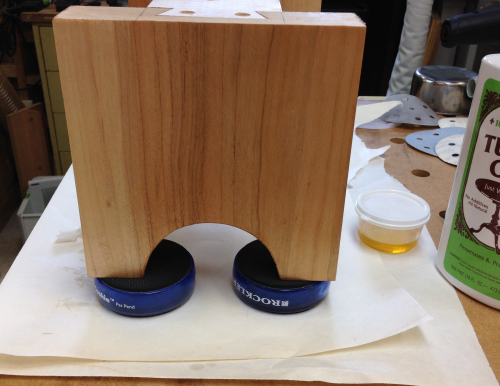 |
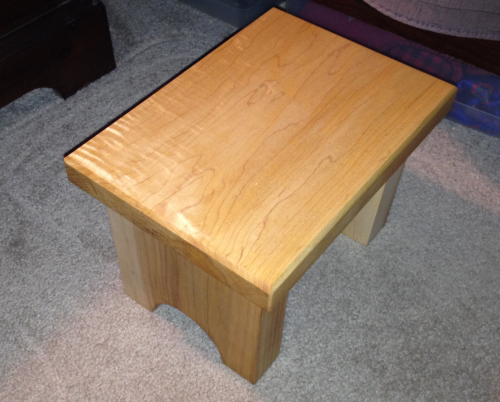
Top attached...screws through the stretcher into the underside of the top... |
 |
Ready for use at the bedside... |
 |