|
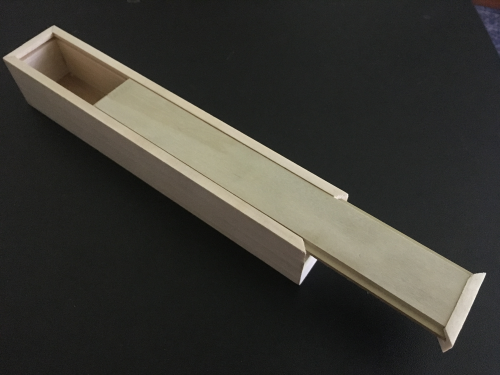
Trying to create a prototype of a sliding top box similar to a pencil box...I hope to then mass produce some as gifts.
|
|
|
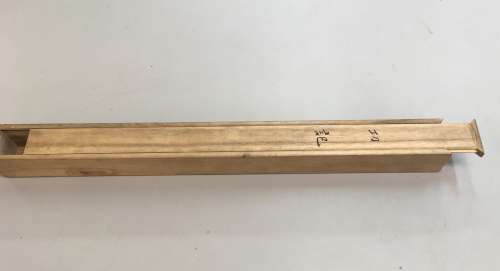
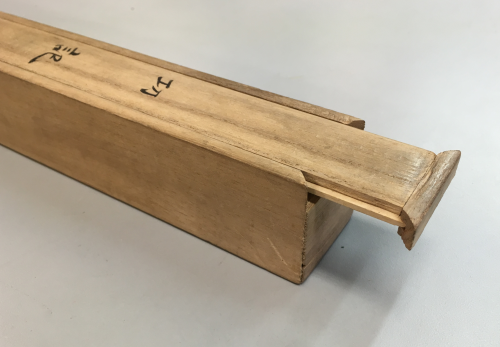
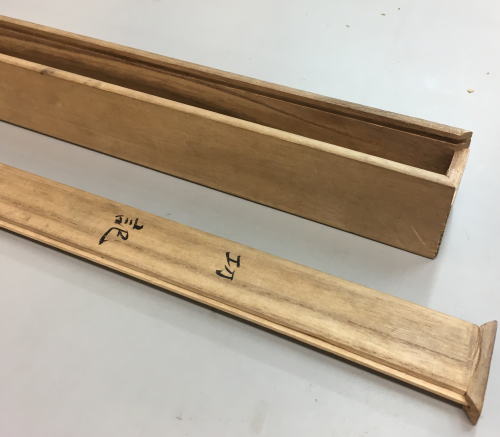
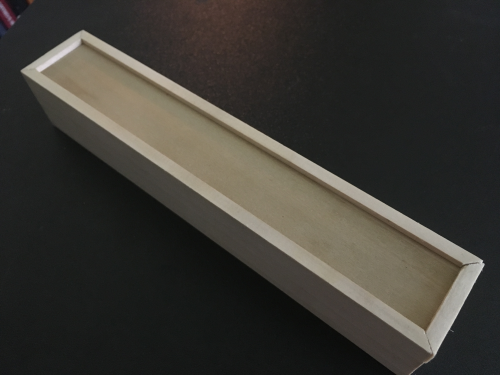
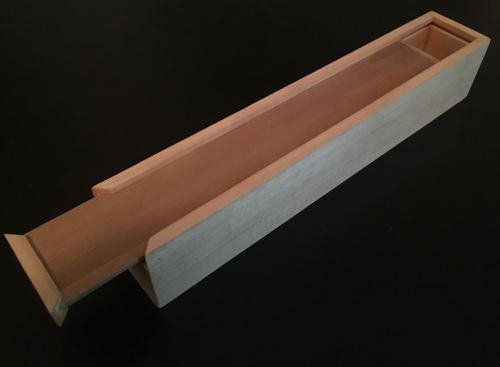
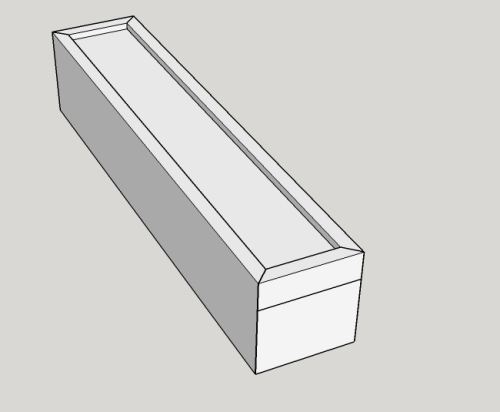
The proto-type will be based on a Japanese presentation box, made of paulownia wood, ~110+ yrs old...this long, narrow box was used to hold a document, a scroll that presented a military award after the victory against the Russians in the Russo-Japanese War in 1905. |
 |
|
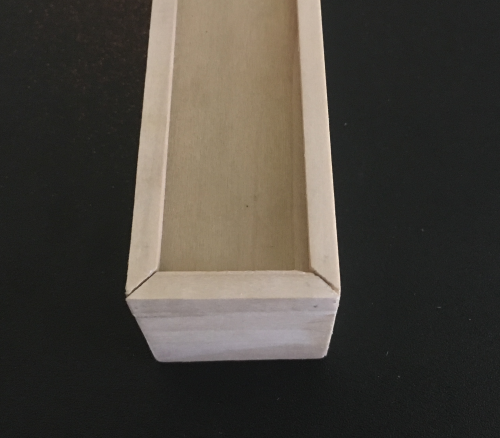
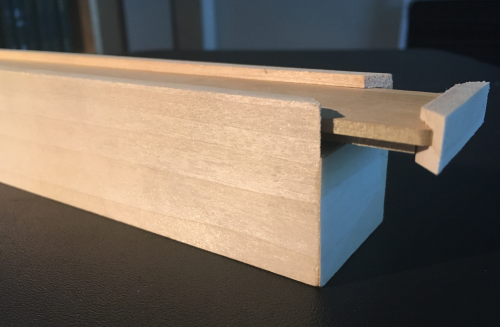
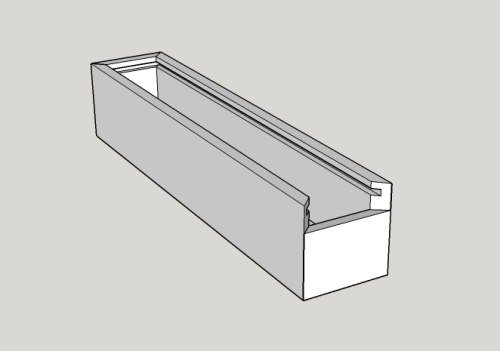
The lid slides into rebates and the lid grab, when closed, hides the joint. This box is 1-11/16 x 1-11/16 height and width and 18-3/4 inches long...our prototop wil be about half that length... |
 |
|
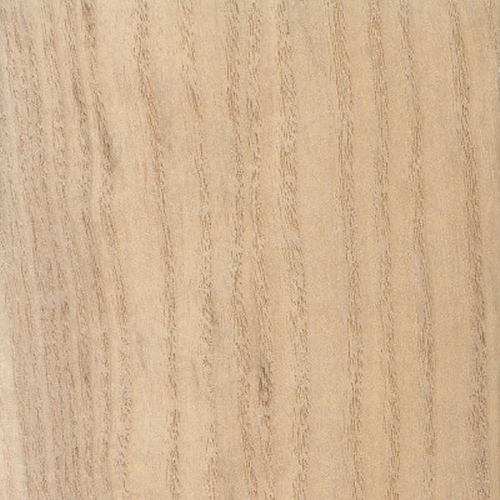
The Paulownia tomentosa is a deciduous tree that is extremely fast growing...called the world's fastest growing in some circumstances...it is also an aggressive invader in the US.
|
 |
|
Paulownia as a wood product...it is a light and porous hardwood, yet it is proportionately strong ... the grain is usually straight with it has a coarse and uneven texture. Paulownia was named after Queen Anna Pavlovna of Russia (1795-1865), and is sometimes called Royal Paulownia or Princess Tree. |
 |
|
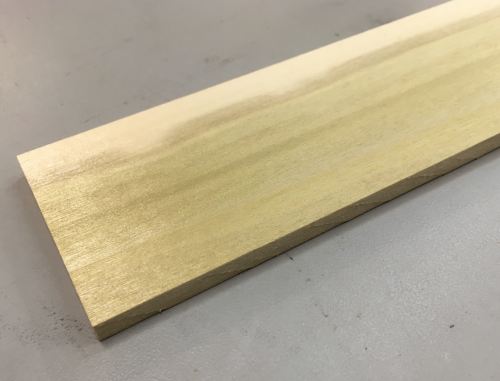
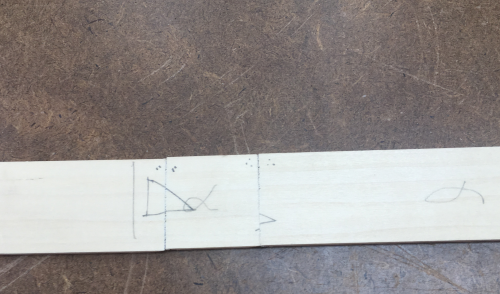
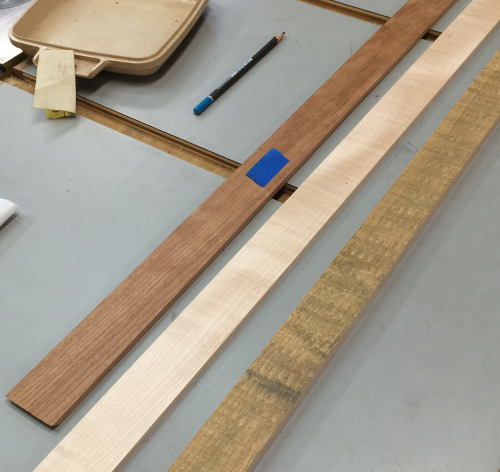
shop cutoffs provided the 3/4 inch
thick poplar blanks...resawn on bandsaw to ~3/8 inch thick and
then thickness planed down to 1/4 inch , ripped to 1 3/4
inches wide...
|
 |
|
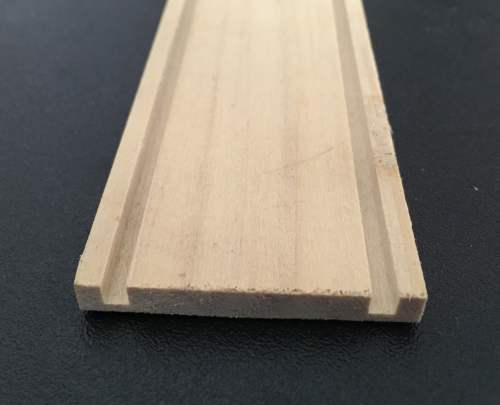
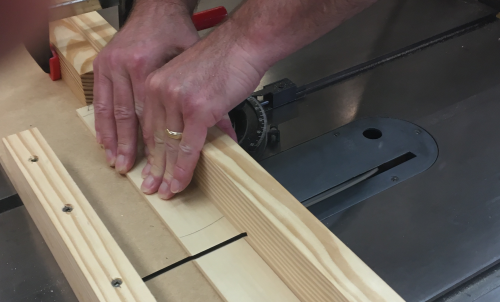
grooved on P66...1/8 inch kerf using a
Freud rip blade that cuts a groove with a flat bottom...1/8
inch deep...1/8 inch off edge...
|
 |
|
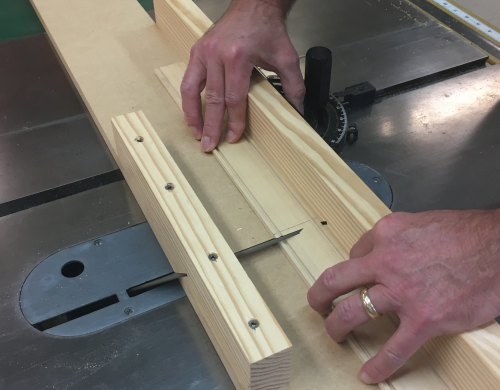
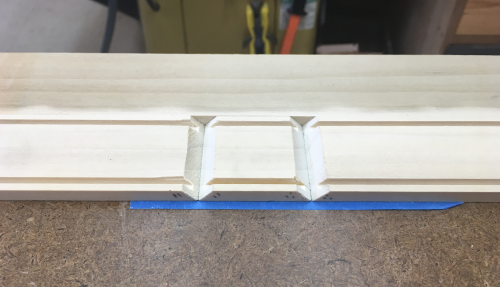
miter cut these sides on the beta
miter cut sled...a long blank, already grooved, is miter
cut fat on one end...
|
 |
|
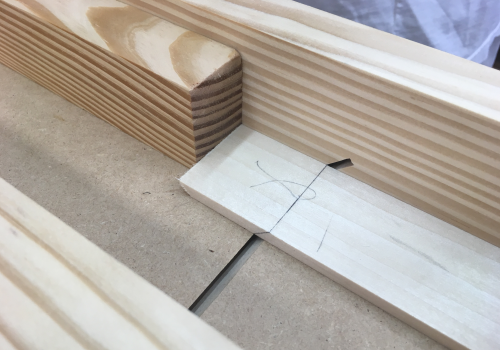
and then flipped with stop block to
mitre the short ends
|
 |
|
...and then the long sides.
|
 |
|
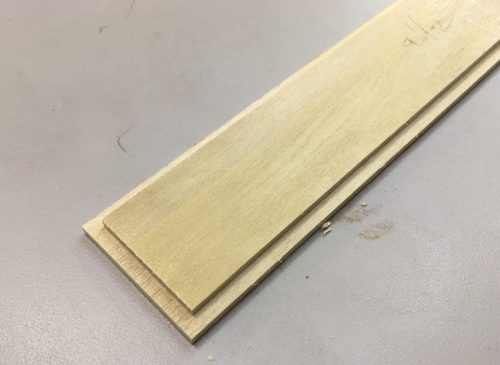
the tongues on the top and bottom were
cut with the Infinity 1/4 blade hidden into a scrificial fence
to make a 1/8 x 1/8 tongue
|
 |
|
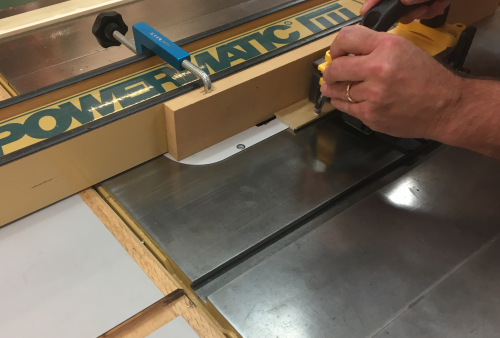
Used a sacrificial backer to cross cut
rebate on the short grain ends...used the Incra Jig
After some minor spelching and the
edges not being co-planar, we tried using the Incra jig with
backer...had some better success.
|
 |
|
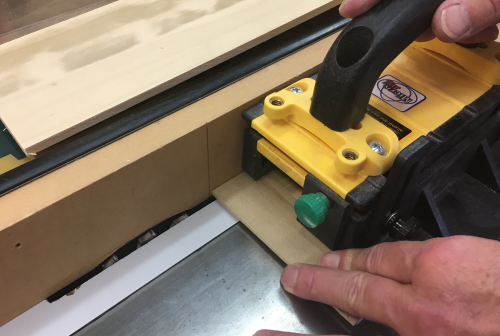
Rebates were cut cleanly...Infinity
blade is great.
|
 |
|
All the pieces were clearly marked...
|
 |
|
Top view
|
 |
|
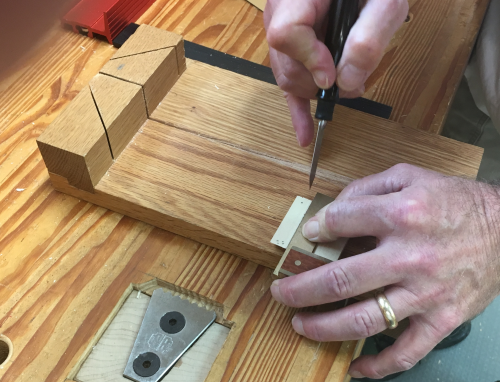
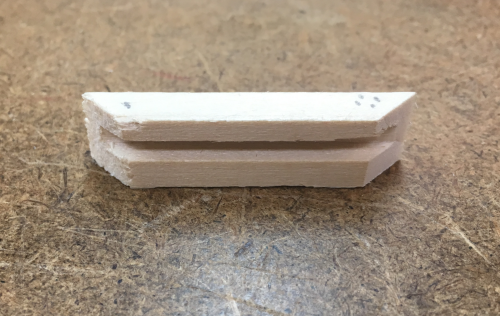
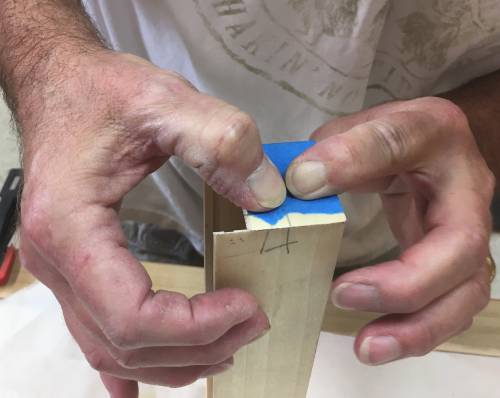
Marking off the tab pull...this was
set at 1/2 inch from the top.
|
 |
|
Deeply scored to help define the
kerf...
|
 |
|
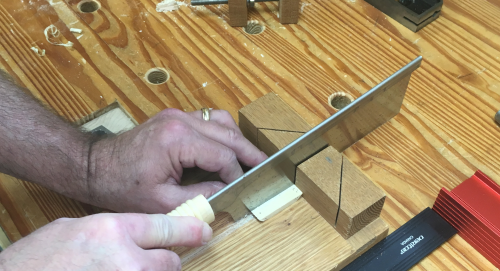
Used the Toshio Odate with a thin 1/64
kerf...
|
 |
|
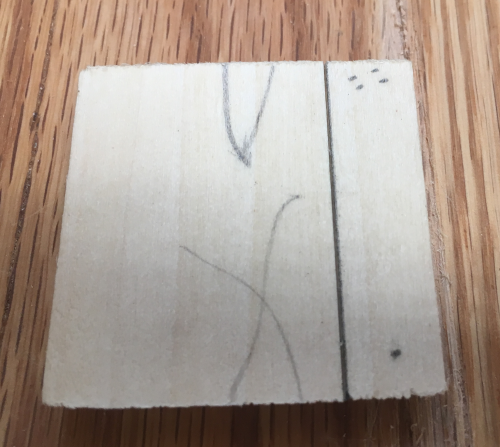
...the pull tab...
|
 |
|
...pull tab placed on the top lid...no
glue at this time.
|
 |
|
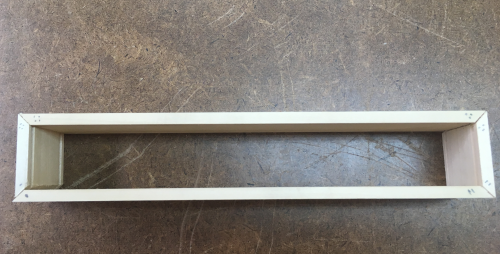
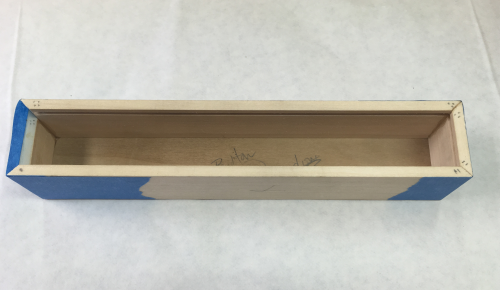
Dry fit...taped as needed...
|
 |
|
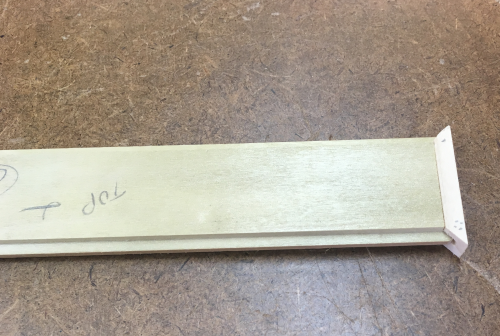
Laid out the four side
pieces...indexed against a stop...laid out onto painters
tape...
|
 |
|
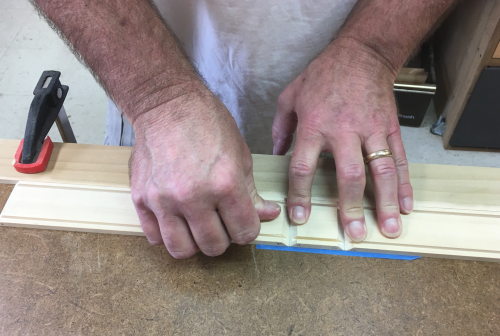
...joint ready for hide glue on the
end grain.
|
 |
|
Tape used instead of clamps...
|
 |
|
...all glued up...
|
 |
|
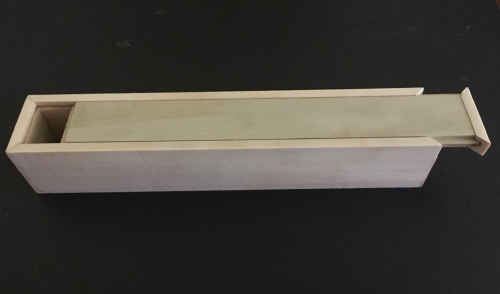
Light sanding with 220x on Rotex 90...box looked pretty good...the pull tab has not been glued yet. |
 |
|
The lid easily slid in the grooves...
|
 |
|
Any variance in sizing or squareness
of the top lid in relationship to the sides and ends was quite
accentuated when viewed from the top...
|
 |
|
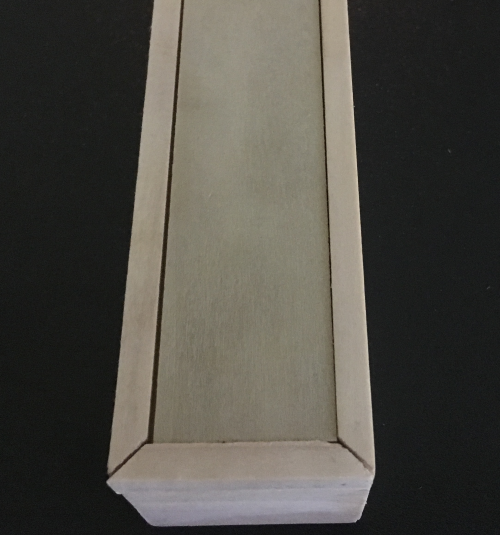
So I reversed the top plate...this made all of the gaps disappear and look much cleaner. End pull tab has not been glued at this time... |
 |
|
Side view after reversal...
|
 |
|
This means the top is no longer
coplanar with the top edges of the sides...but I liked the
cleaner look...glued on the pull tab end.
|
 |
|
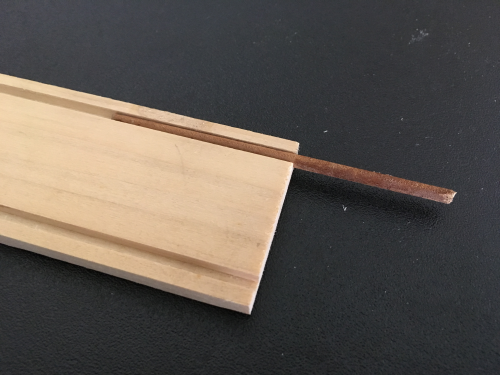
During the prototype milling we
created the grooves first and then mitered the ends...this
miter cut caused some spelching in the grooves...started
putting a 1/8 inch dowel in the slots to reduce
spelching...worked pretty well.
|
 |
|
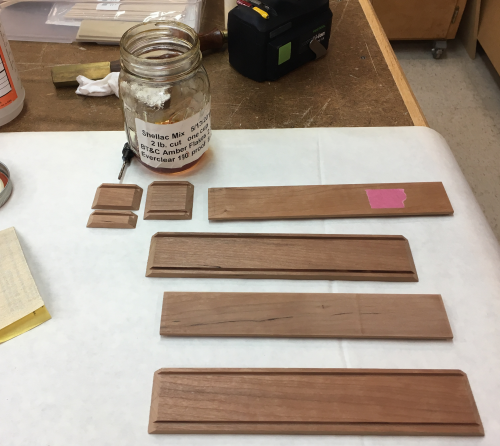
Rubbed on a coat of amber shellac,
shop mix 2#...
|
 |
|
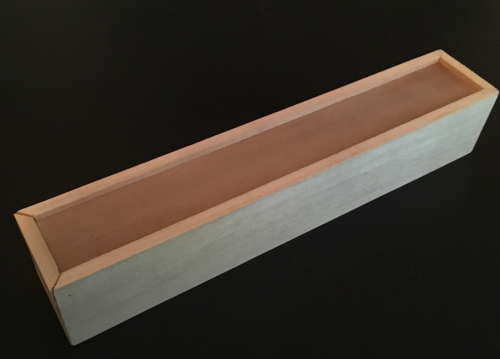
Just one coat left the look that I
wanted...
|
 |
|
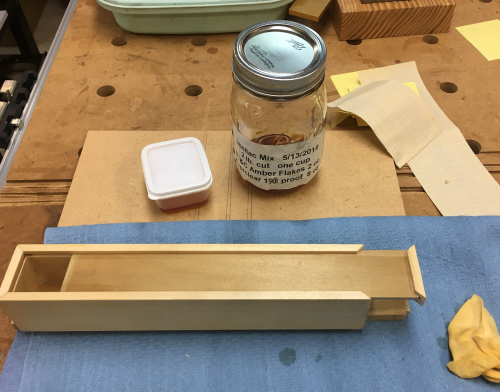
Had to lightly sand off the raised
fibers on the rebate...added bee's wax...slide top was a good
friction fit.
|
 |
| Preparing for production...started gathering scrap boards... |
 |
|
...began planing boards to create
multiple 1/4 inch thick blanks...cherry...maple...poplar...in
the first runs.
|
 |
|
Production models were sanded on
interior surfaces prior to the buid...glued with PVA...joints
filled with a mix of Timbermate colors plus sawdust...after
build finished with amber shellac...several rubbed on coats.
|
 |
|
Trying some variations, trying an
alternate top. ...resawed a 3/4 inch cutoff of
lacewood...given to me by Tom...due to the
shape of the cutoff, a shortened length was required.
|
 |
|
Surfaced the blank with a smoother
plane to see if it would look good with a cherry box.
|
 |
|
Lacewood beside the cherry...I opted
to make both a lacewood top and a cherry top in the event that
the look was not satisfactory after shellac.
|
 |
|
Had to square and thickness the
blank...used #5 plane...held by bench stop and BM batten.
|
 |
|
All the blanks...
|
 |
|
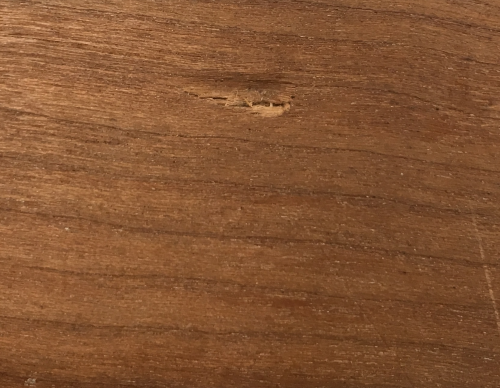
Ended up doing an all cherry box...had some shop production dings due to too much going on in on the shop over a stressful time period. This ding was a pretty deep hit... |
 |
|
...but steaming the wound brought it out...(the slightly dark spot on the near side...see finished box. |
 |
|
Doing some mix and match with various angled pieces...the box setup for the upper tongue and groove joint was way too tight at the back...used LN small shoulder plane and the small LN block, both to great effect...to loosen the tighness but keep it with enough friction to hold the sliding top. |
 |
|
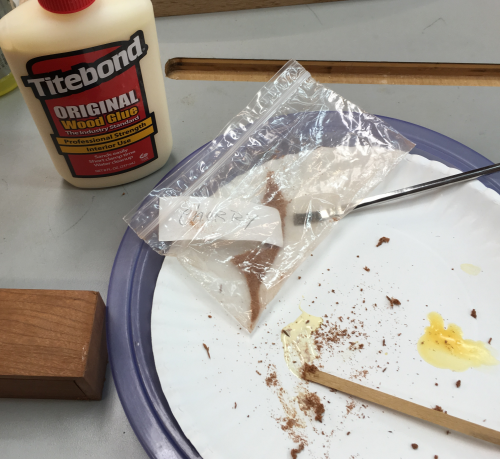
Had some gaps on the mitred
corners...made a filler of PVA glue and some cherry
dust...worked well.
|
 |
|
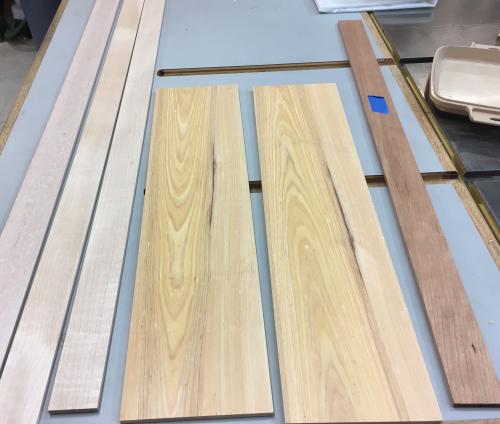
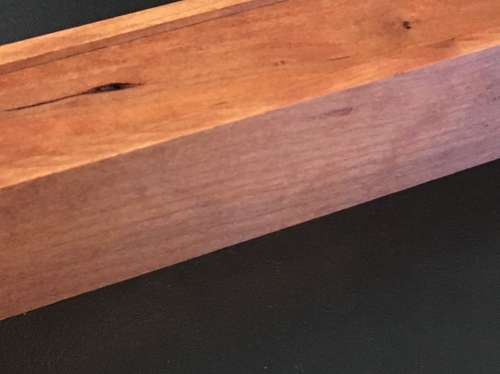
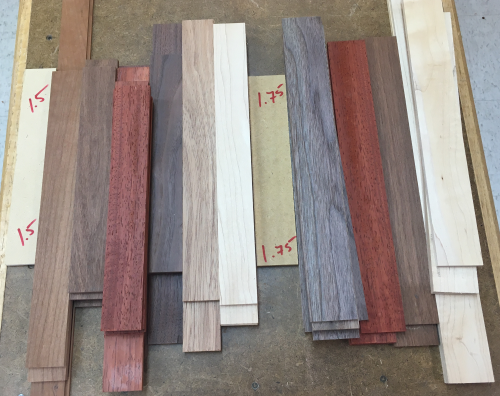
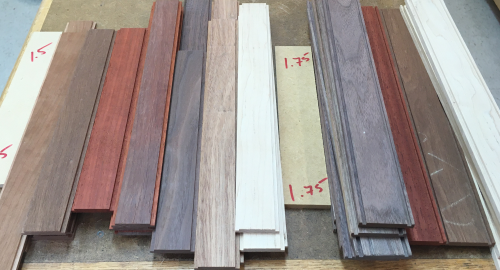
During the lock down of 2020...in an attempt to clear out some shop cutoffs I milled blanks of cherry, walnut, padauk, maple, and mahogany... ...milling involved band sawing stock to ~3/8 inch, jointing and planing to 1/4 inch, ripping to 1 3/4 inch for sides and 1 1/2 inch for the tops and bottoms. |
 |
|
Then the sides had two flat bottomed grooves 1/8 x 1/8 sawn in using Freud ripping blade...the tops and bottoms had two 1/8 x 1/8 rebates on the edges put in with Infinity blade in a sacrificial fence... |
 |
|
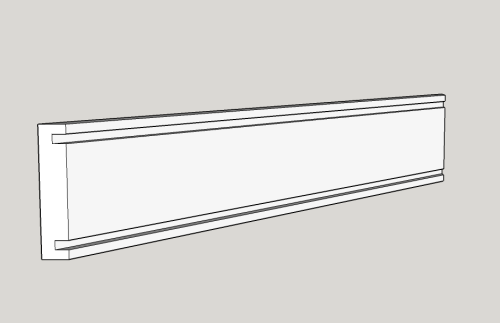
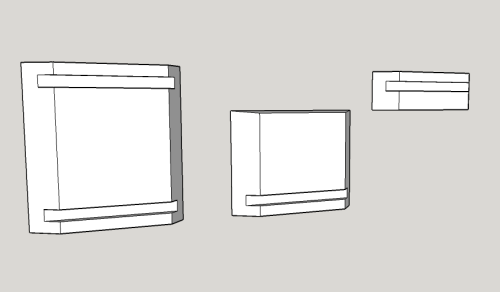
After making the prototype, I drew up
the pencil box in Sketchup...one of the long sides will look
like this.
|
 |
|
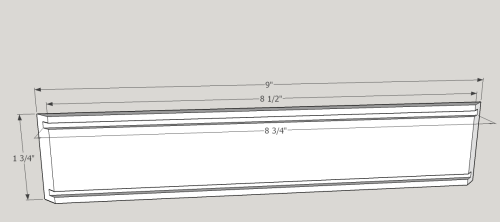
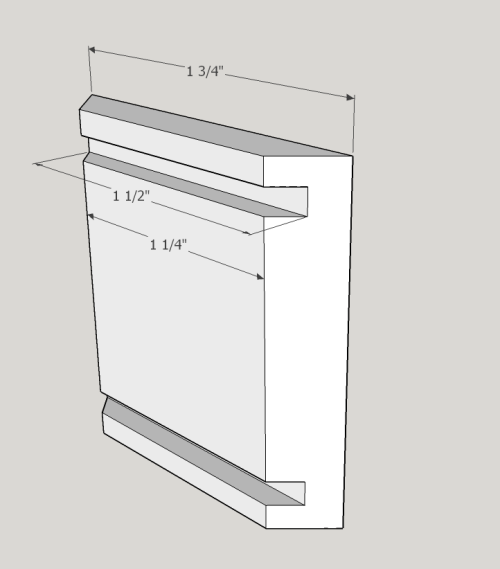
With measurements...
|
 |
|
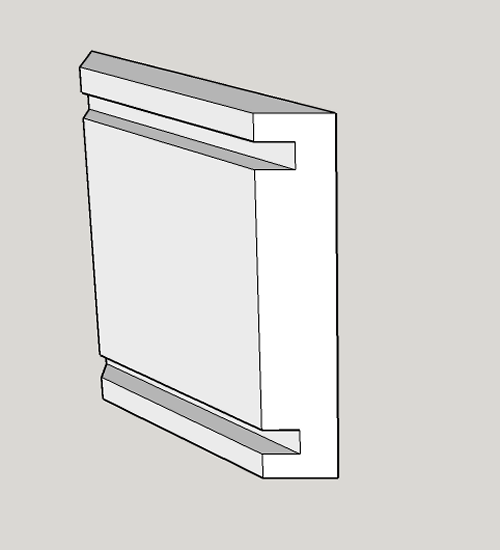
End...
|
 |
|
End with measurements...
|
 |
|
The pull tab end will be sawed at 1/2
inch from the top...creating the short end and the pull tab
for the end.
|
 |
|
The lid plate and the bottom plate
will be 1 1/2 x 8 3/4...each will have a 1/8 x 1/8 inch rebate
to create a 1/8 inch tongue to fit into the grooves in the
sides.
|
 |
|
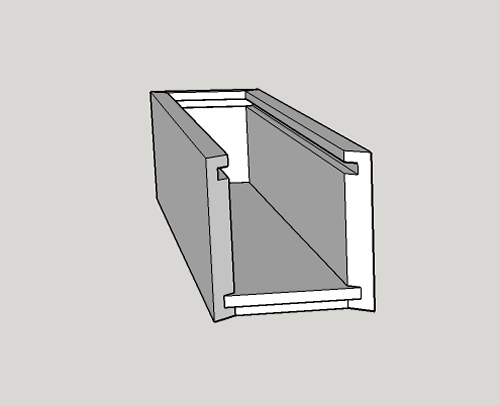
The bottom plate installed into the
three sides...
|
 |
|
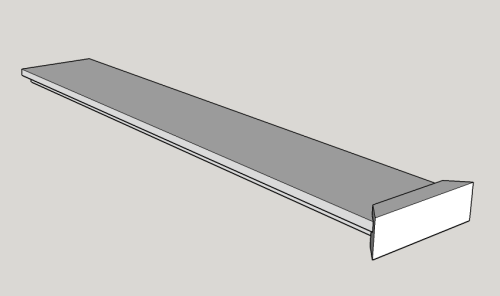
The top plate has the pull tab
attached to it...
|
 |
|
The box with the short end
installed...
|
 |
|
The full Monty...
|
 |
|
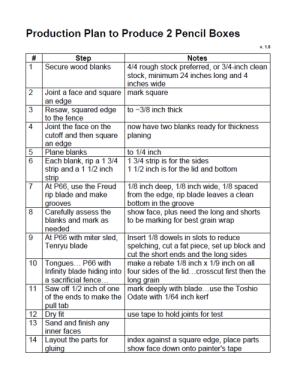
Production plan to make two boxes...
PDF here |
 |
|
Box 1A The original Japanese box |
|
|
Beta...Prototype of poplar...given to my cousin Robert. Box 1B |
|
|
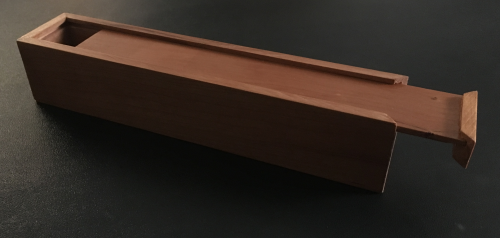
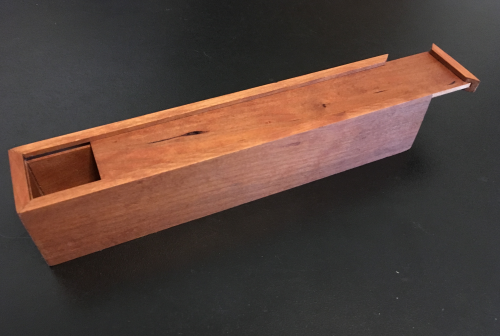
Box 2A First production box...made of cherry...for my Aunt Jerry. |
 |
|
Box 2B Another in cherry...for my Granddaughter, Sarah. |
 |
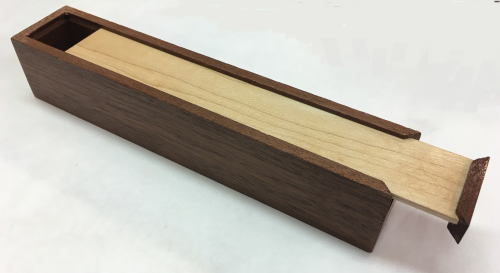
| Box 3
Slide top etui made of mahogany with a slide top of maple...for my Granddaughter, Hannah. Finish was shop mixed amber shellac, 2#. |
 |