Needed a shooting board that would allow for the planing of a long edge. I own a couple of shooting boards, one is shop built and the other is commercial. Neither of these boards will cut the length that I need to complete the walnut slab top for a side table. It will be built for the Lie-Nielsen #51 shooting plane.
|
|
My other shooter boards were made to use at the bench pushing the plane away from you across the bench.
|
 |
This shooting board will be use to square and trim longer edges and the longer dimension of this shooter board will be held parallel to the long dimension of the bench. The #51 will then be worked from right to left along the bench. |
 |
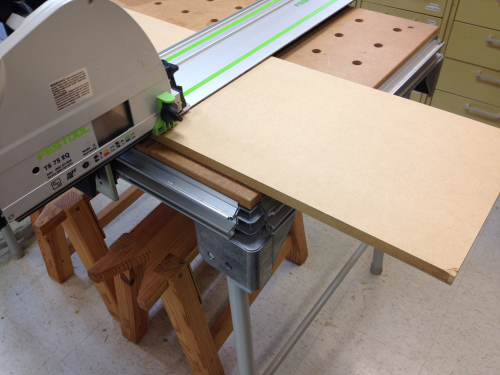
The base was 3/4 inch thick MDF...30 inches long by 12 inches wide. This piece was cut and squared at the MFT3. |
 |
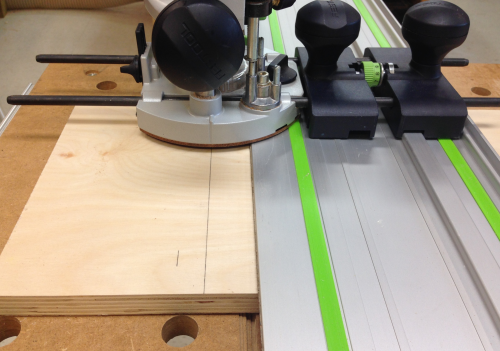
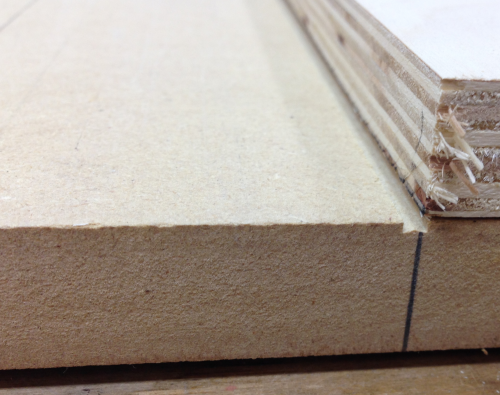
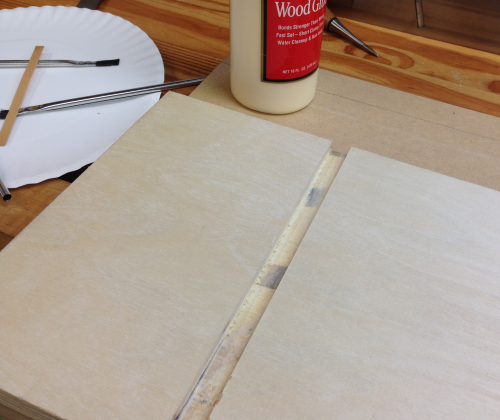
The upper surface was 3/4 thick Baltic Birch plywood...after being sized (30 inches long by 8 inches wide) and squared at the MFT3 a 1/2 inch dado was routed with a down spiral bit. The depth was set at 1/4 inch. |
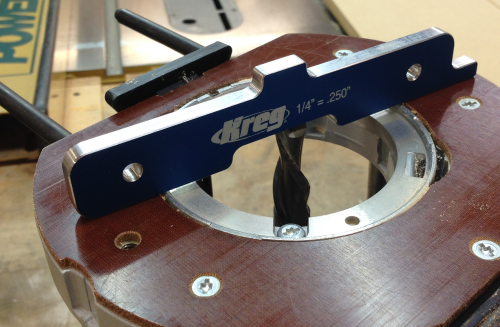 |
This dado had to be as square as possible to the plane-guiding edge of the board. It took two attempts to get it right. |
 |
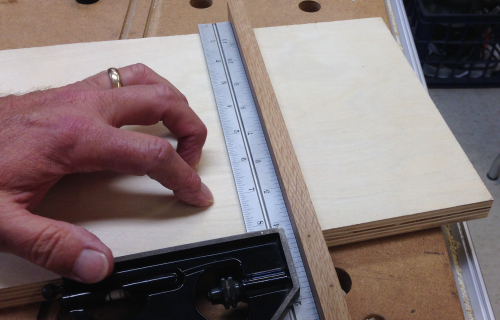
The second run gave us a nice square configuration. Here it is checked with a dry fit with the oak strip. This oak will become the fence anchor strip. |
 |
The MDF base plate had a shallow kerf-cut put into it at the P66. This will provide a dust relief trough. |
 |
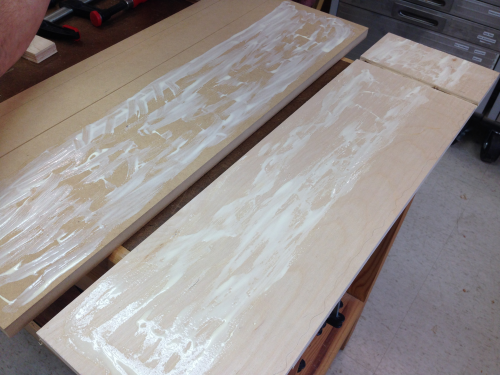
The base and upper guide board were glued tother. |
 |
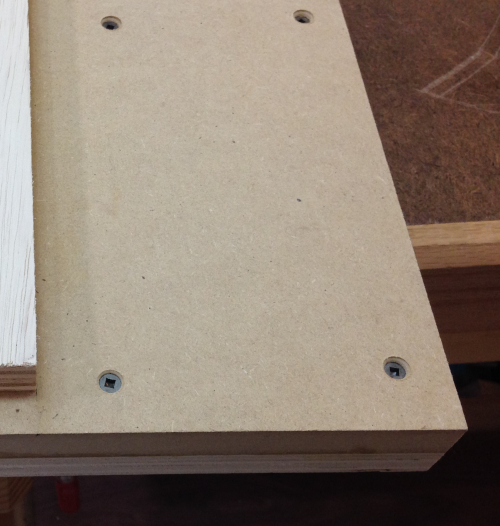
The #8 1 1/4 inch square drive screws were counter sunk from the bottom of the MDF. |
 |
The jig was then put in the double vise at the workbench. After some dry runs to determine the best location, it was decided where the vise strip would go. |
 |
This strip was Baltic birch. It was screwed with #8 two inch square drive screws. |
 |
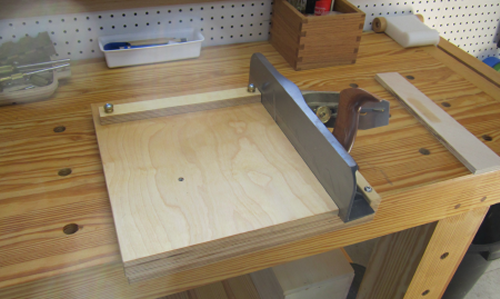
Here it is in the vise. |
 |
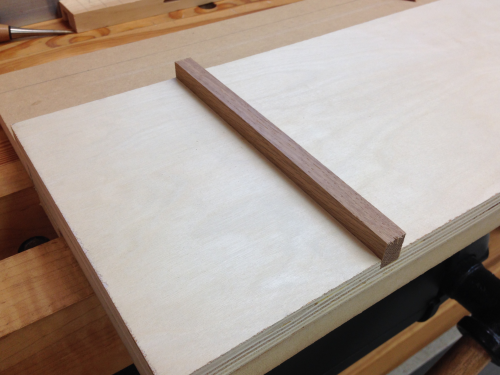
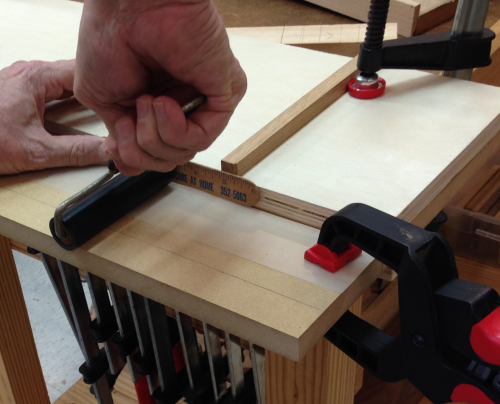
The crosscut dado was prepped lightly with glue...the oak strip is a very tight dry fit. |
 |
The oak strip was pounded into place. |
 |
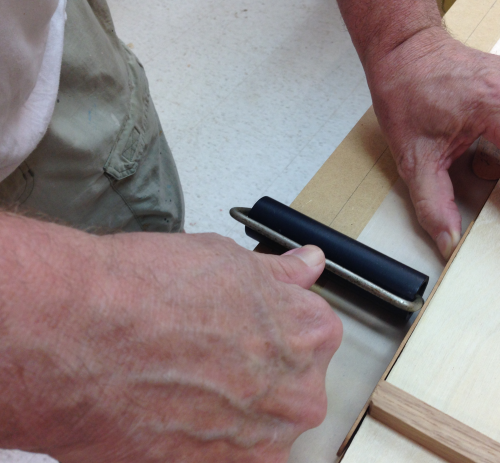
The plane chute was covered with UHMW-PE: |
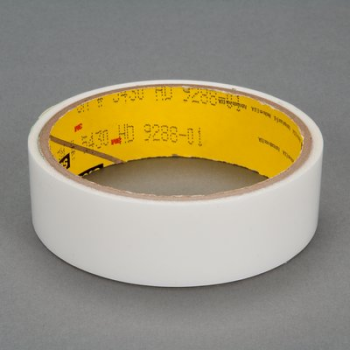 |
Cindy and I worked together to get the strip right. The UHMW was secured carefully with clamps and spacers. |
 |
All the bubbles were rolled out. |
 |
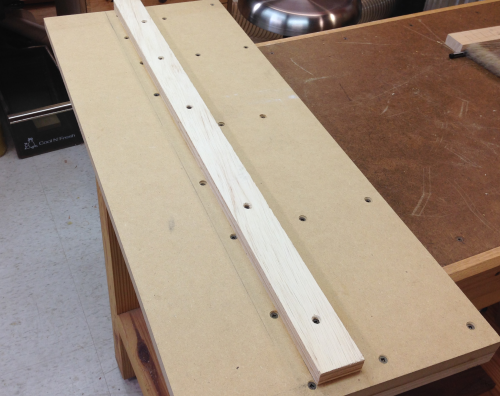
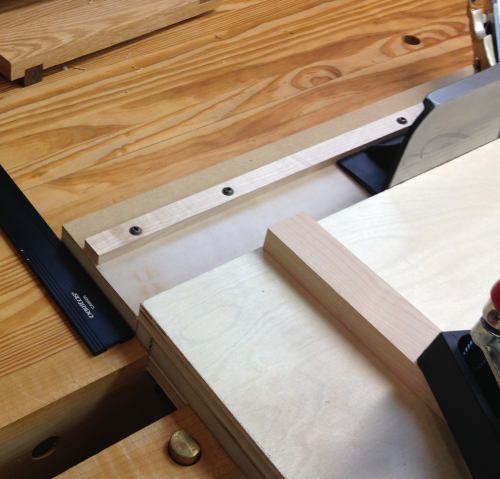
The working fence, which will sit upon the oak fence anchor strip, is maple...the 1/2 inch groove in this maple strip was made at the router table with a 1/2 up spiral bit. This was done in multiple passes to a depth of about 1/2 inch. |
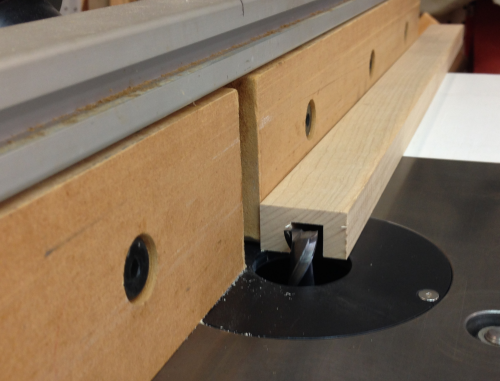 |
I routed this groove slightly off center so that there would be more wood on the front side of the fence. |
 |
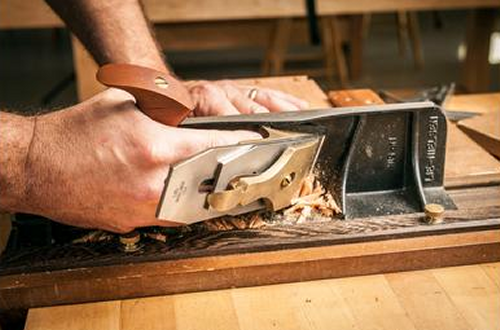
Here is the working end of the fence after it has been trimmed by the LN51.
|
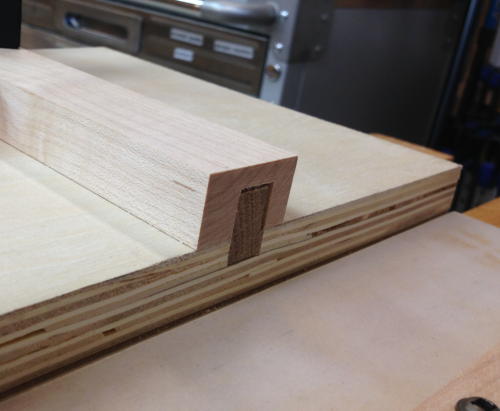 |
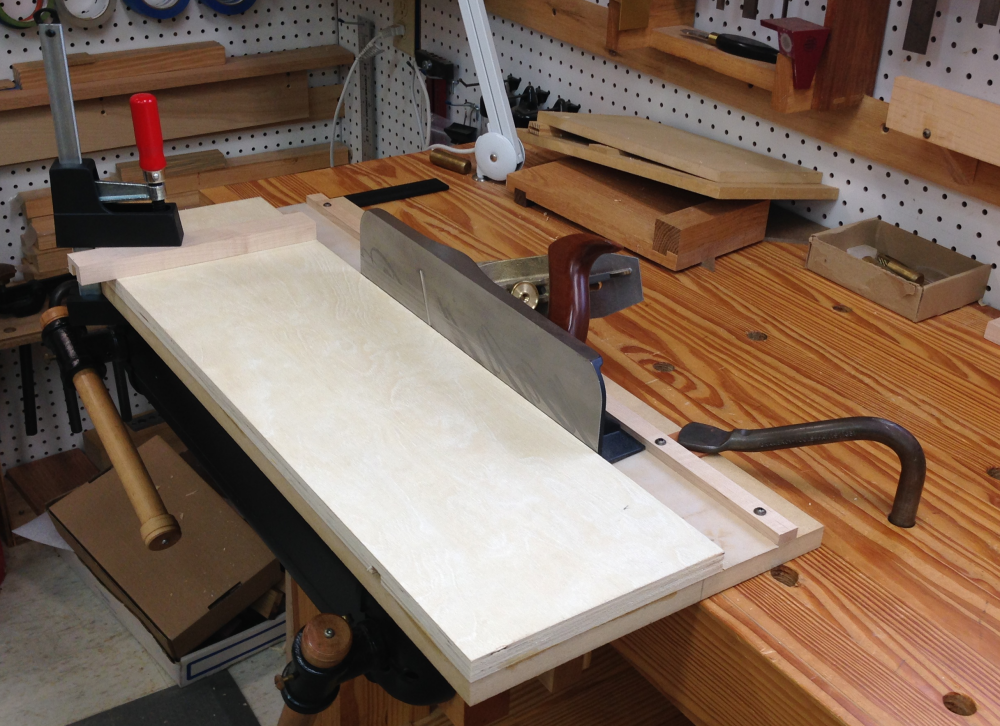
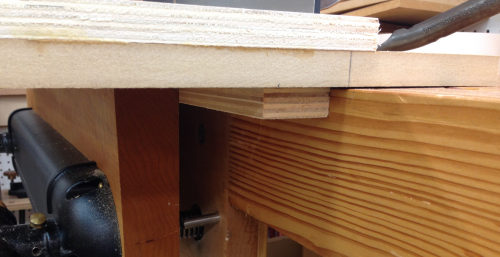
A maple restraining strip was installed with #8 1 1/4 inch round-head, square drive screws. This keeps the LN51 tight to the guide edge in the UHMW-PE chute. Also in this image is the bench stop which helps to secure the entire jig and the clamp holding down the maple fence. |
 |
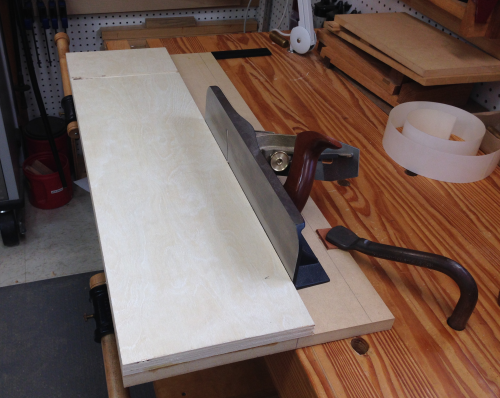
The shooting board ready for work at the bench. It is held securely against a bench stop, clamped underneath in the double vise jaw, and secured at the front right edge of the chute with a hold down.
|
|