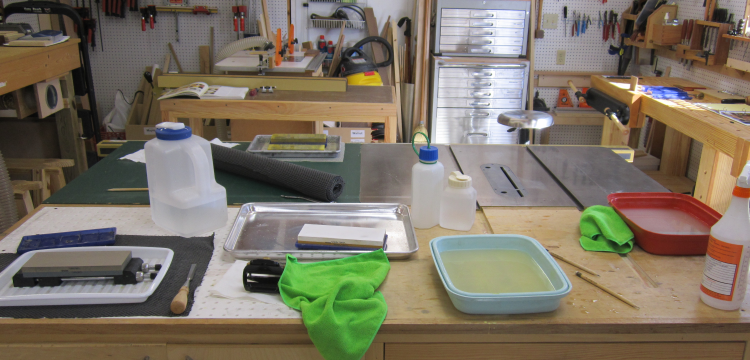
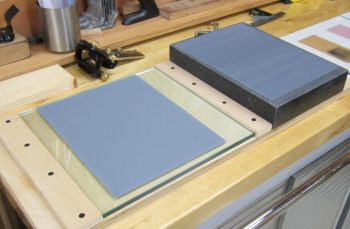
For quite awhile I have wanted to learn the art of using bladed hand tools to improve my joinery skils. To be able to use chisels, card scrapers, and handplanes you must be able to sharpen these blades effectivley. I did a lot of reading and researching to determine a path toward the mastery of the sharpening process. There are many different possibilites but I became drawn to the idea of water cooled grinding followed by using abrasive paper and film products to hone and mirror the bevels. The process of using abrasive impregnated sheets adhered to a hard substrate, in lieu of oilstones or waterstones, is called the "Scary Sharp" method which was developed in the the 90s as abrasive materials improved. We have worked out our own methods which I call the Sun Shop Scary Sharp Protocol or S4P. To master the fine art of a sharp edge you must be able to develop a style that will allow you to grind and put a mirror finish on the back of the blade and on the bevel on the front of the blade. A sharp edge is defined by where these two planes meet.
|
|
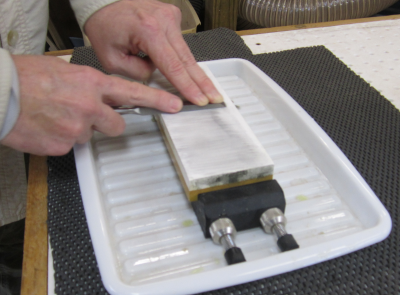
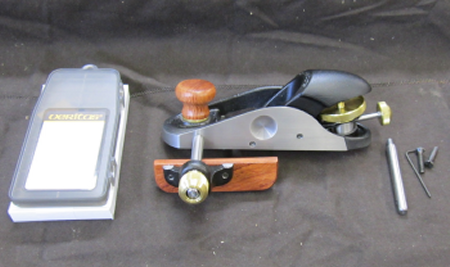
The Tormek T-7
|
|
The Swedish Tomek system is a slow speed, water cooled grinding wheel. There is also a leather honing strop. The jig system allows repeatable grinding.
|
|
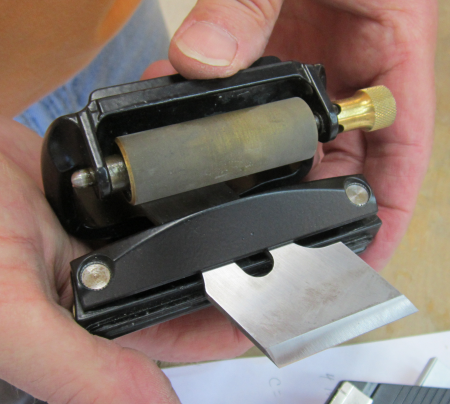
The jigs attach to an adjustable bar that takes the guess work out of the grinding.
|
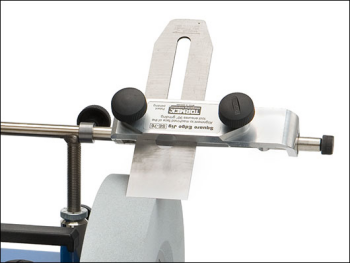 |
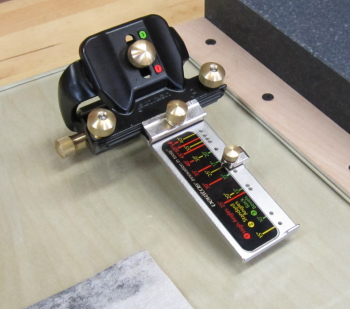
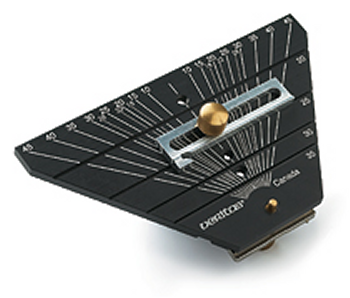
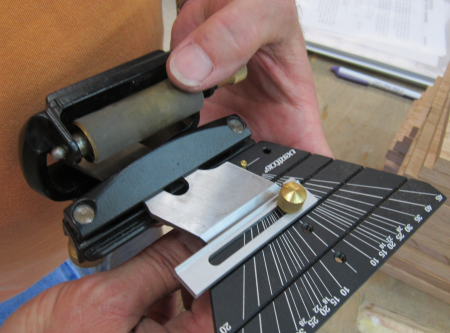
The AngleMaster gauge allows for easy angle selection.
|
 |
Step 1: Hone the rear of the blade
|
|
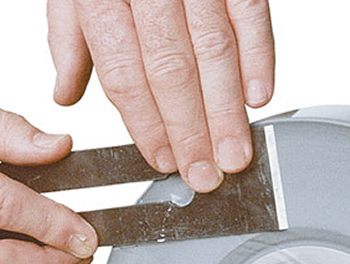
The flat side of the Tormek wheel is used
to provide the first flattening pass on the rear of the chisel or blade. |
 |
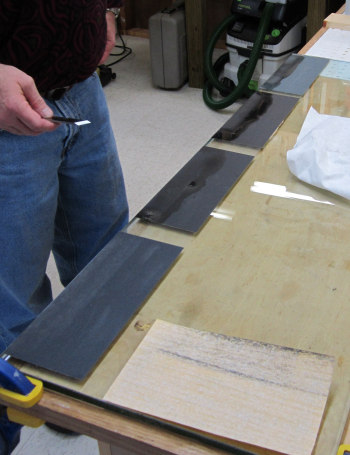
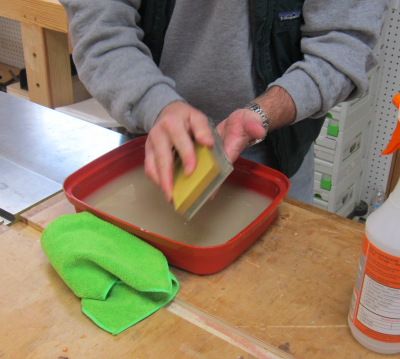
Then the back of the blade is honed and polished
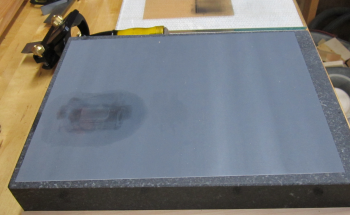
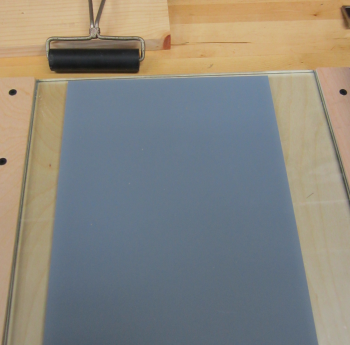
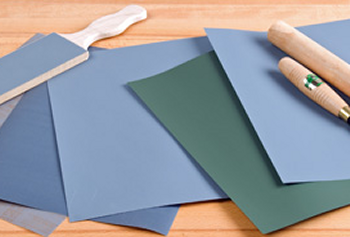
through a succession of wet/dry sandpaper. These sheets are adhered to a sheet of 1/2 inch tempered glass. If needed, I have rolls pre-adhesive sandpaper from Porter Cable in 80x, 100x, 150x, 220x, and 320x.
|
 |
Step 2:
Hollow Grind Bevel |
|
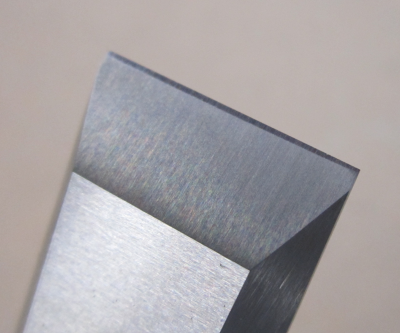
The main hollow grind bevel is performed
on the Tormek with a 22 degree setting. |
|
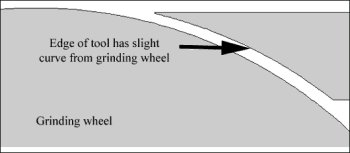
Because this grind is performed on a wheel there is a slight curvature to the bevel. The exaggerated curve in this image shows how that occurs. This is the "hollow grind" bevel. |
 |
Step 3:
Primary Polished Bevel |
|
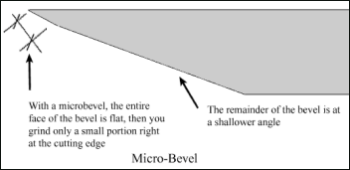
A primary bevel ground on a flat stone would
look like the long flat bevel shown on the right. A secondary bevel
would be the small microbevel at the cutting edge. |
 |
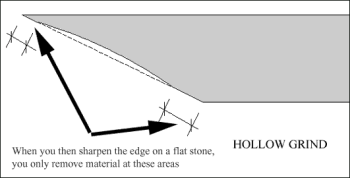
Because our first bevel is hollow ground,
a subsequent flat grinding would only grind at the heel and out at the
toe at the cutting edge. |
 |
Our primary polished bevel is achieved by placing the blade is placed into the Veritas Mk II. The honing guide is set to 25 degrees. This allows us to create a primary bevel at the toe end of the hollow grind bevel without striking the heel of the bevel. |
 |
The blade is then taken through the wet/dry sandpaper run of 400x, 600x, 800x, 1000x.
|
 |
It is then polished on 15µ abrasive film. This is then moved to 5µ.
|
 |
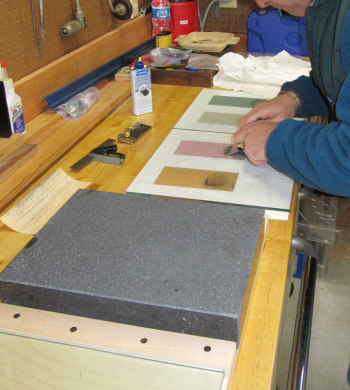
The 15µ film is adhered to a granite
surface plate. |
 |
The 5µ film is set on a sheet of 1/2
glass. |
 |
The 3M Mylar 15µ silicone carbide abrasive sheet translates to about 1200x grit. The 5µ = ~5000x.
|
 |
Step 4:
Micro Bevel |
|
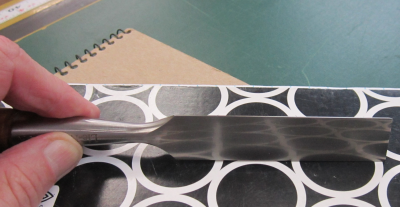
The area marked in this diagram as the coplanar micro bevel is the final touch to this process. This diagram greatly exaggerates the hollow grind. |
 |
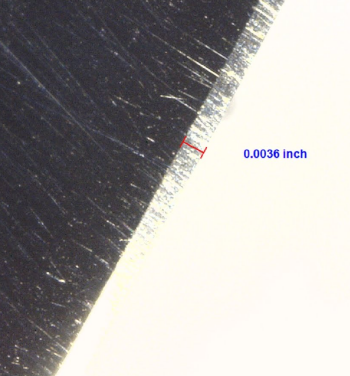
This microscopic image shows a highly polished
micro bevel at a sharp edge. |
 |
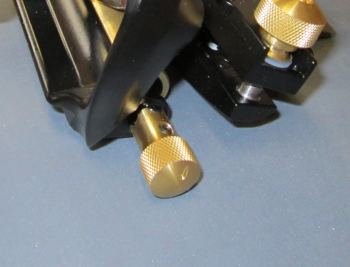
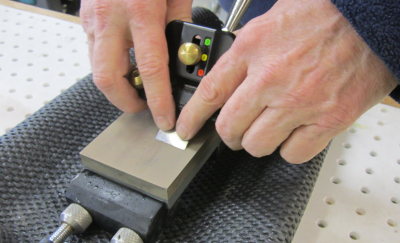
The bevel adjustment on the Veritas jig
is rolled over two detents to change the angle to make it easy to hone
and polish a micro bevel. |
 |
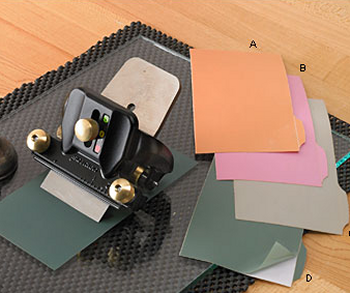
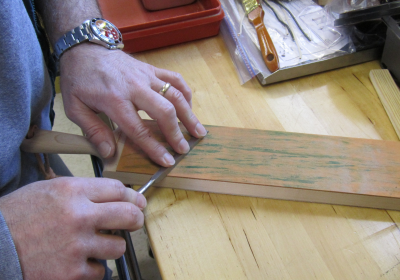
The micro bevel is honed on the diamond lapping film progression to provide a very fine, highly polished bevel. The three successive sheets are 3µ, .5µ and .1µ. These sheets are adhered to 1/4 inch glass panels. |
 |
The four diamond lapping film sheets are all measured in microns...the approximate grits for these sheets are provide below: A. orange 15µ (= 1000x) B. pink 3µ (= 9000x) C. grey .5µ (=x) D. green .1µ. (= 100,000x)
|
 |
|
|
James and I set up a sharpening station and began a marathon session. The goal was to take all of the Lie-Nielsen bench chisels and accomplish three tasks... 1) put a mirror shine on the back faces 2) put a new grind on the 30° primary bevels 3) hone a 2° secondary micro-bevel |
|
The Lie-Nielsen bevel edge chisels arrived over a year ago with very flat back faces and a very sharp edge. We did some banging on them for quite awhile with absolutely no sharpening. They worked great right out of the box. After a year of abuse we were ready to take the time to really get them sharp again. |
 |
Some basic work through the Norton 1000,
4000 and then 8000 grit waterstones put a nice polish on the back face.
|
 |
The Norton waterstones were lapped with
DMT diamond micro plates. |
 |
| Finishing polish was done with Vertitas
green compound paste on a leather strop. |
 |
The Veritas honing guide was used to grind the 30° primary bevels. Here the bevel is marked in red for determining the initial efficiency of the honing angle. |
 |
The primary bevel grinding started on the
1000 grit stone and later honing was done on the 4000. |
 |
Here is an example of the mirror finish
on the back of the LN 1/2 inch chisel. |
 |
This is the same 1/2 Lie-Nielsen... James took this chisel to a 4000 grit honed 30° primary bevel with the mirror 2° secondary bevel (finished on 8000 grit stone). The burr was removed from the rear edge with paste on the leather strop. This chisel is sharp...very, very sharp... |
 |
The Veritas right handed skew block plane blade requires special treatment for honing the bevel. |
 |
The PM-V11 blade is skewed at a 15°. |
 |
Skew reference attachment is added to the MK II honing guide. |
 |
The skew reference guide enables you to set both the primary bevel degree and the skew degree. |
 |
After removing the guide, you are able to hone on stones with the blade set at both of the angles. |
 |