Although I had no real desire to become a saw restorer, I had a couple of vintage saws that I was going to use as "learning tools" to make sure that I could effectively sharpen a saw before I put files to my quality new handsaws.
|
|
Here is my first learner...a vintage Shapleigh Diamond Edge rip saw. As I was jointing and sharpening it was clear that previous filings and setting had made something of a mess of the blade edge geometry. |
 |
|
Saw Restoration #1 Vintage Shapleigh Rip Saw |
|
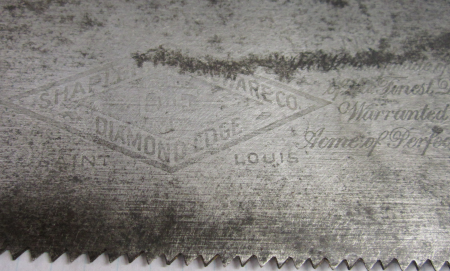
This is a vintage "Diamond Edge" rip saw made in St. Louis by the Shapleigh Hardware Co. This is a model #140. |
 |
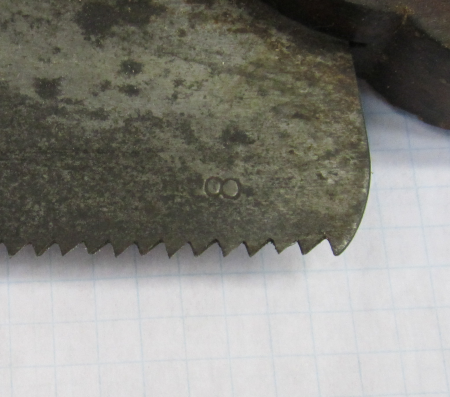
On the heel of the blade was the 8 TPI mark. |
 |
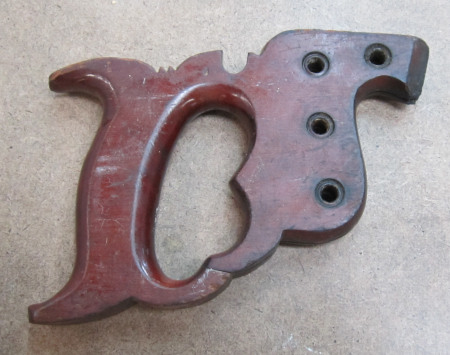
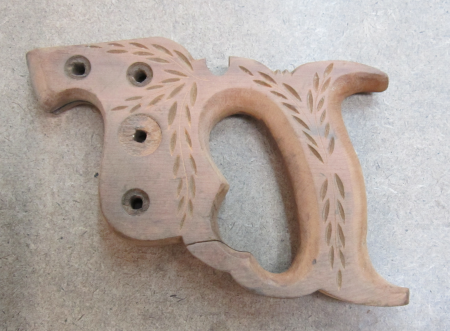
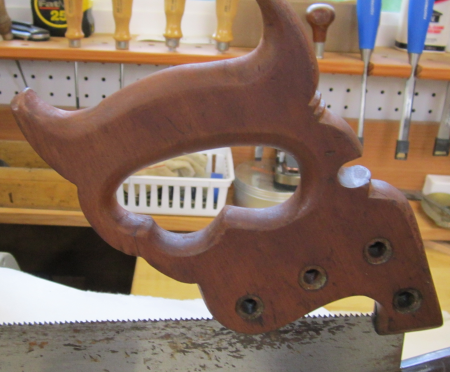
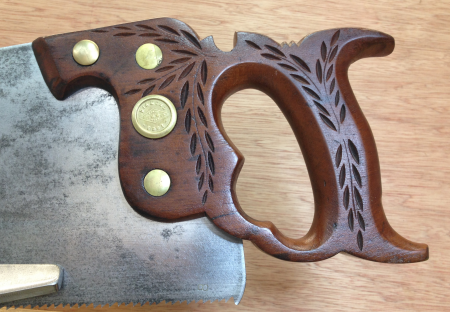
Pulled the handle. The front side is in decent shape. One crack at lower front of handle. Horns both OK. Mainly needs gunk and finish removed.
|
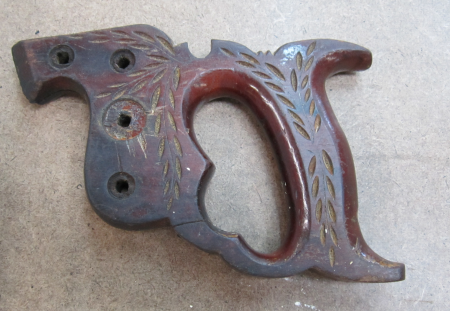 |
Back side of handle. Finish is in better shape. Discoloration where handle was in contact with blade. Back side of the same crack. Top horn is lightly worn.
|
 |
Used a coarse Emery cloth to clean out gunk in the slot. |
 |
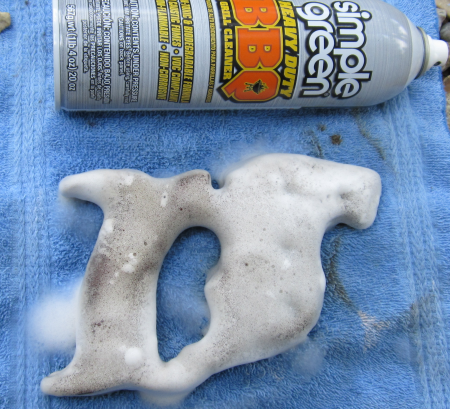
After reading some saw restoration blogs I decided to try oven and grill cleaner. Some old hands swore by it when it came to cleaning off gunk, oil, varnish and shellac. I sprayed it and let it soak for about 5 minutes...but I think that the modern oven cleaners do not have the same powerful chemicals as the older stuff. This cleaned the handle effectively, smoothed it up, but did not remove the old finish.
|
 |
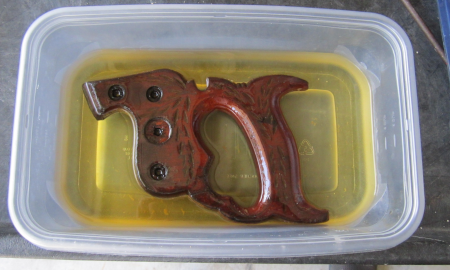
To try and loosen up the finish I soaked the handle for several hours in acetone. |
 |
Then I lightly sanded the handle with 320 grit. Further sanding will occur after repair and before the shellac finish. |
 |
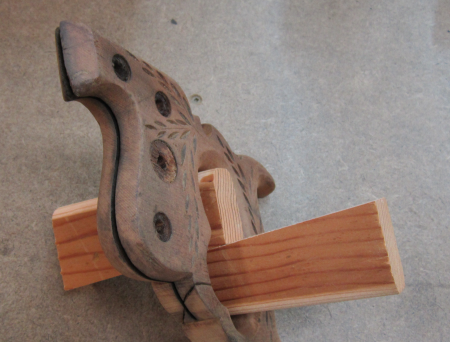
In an effort to glue the crack in the lower part of the handle I used wedges to open up the crack for gluing. The wedges were rounded on the outer edge to fit into the round parts of the handle. By tapping the wedge I was able to open the crack in small increments. |
 |
I used a quick set gel (no drip) cyanoacrylate glue and used very thin wood strips to press the glue into the crack. Then I compressed with the crack with a Bessey clamp.
|
 |
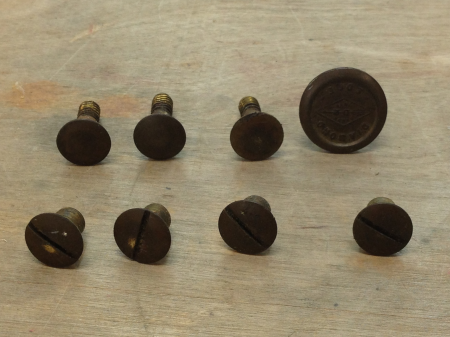
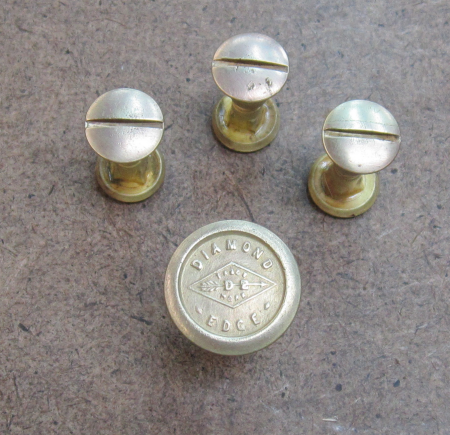
The medallion and saw nuts that were pulled from the handle were very dark but appeared to be in fairly good shape. |
 |
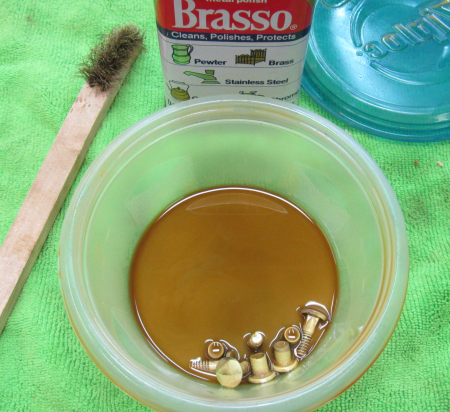
The saw nuts were soaked and cleaned in Brasso. |
 |
The medallion and saw nuts after cleaning. |
 |
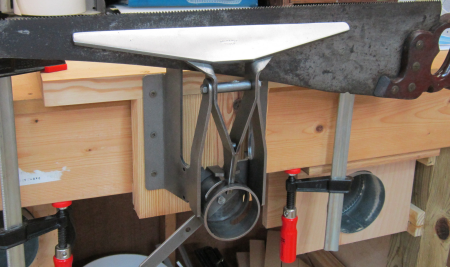
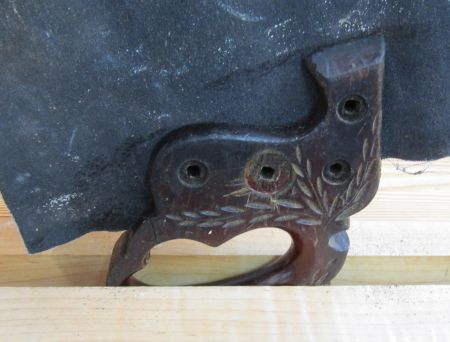
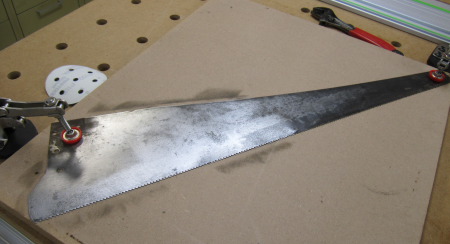
Handle after repair during shellac finish. The slot of the handle is resting on an old saw blade that is held in a vise. Shellac was brushed into the wheat carvings and padded elsewhere. 1st coat is with a quick drying
|
 |
The 2nd and 3rd coats of shellac were 2 lb cut. These were thicker to layer on the finish. These coats took longer to dry and had 320 grit light sanding. The 4th coat, 1 lb cut to provide a quick dry glossy sheen that will be taken down with OOOO steel wool. |
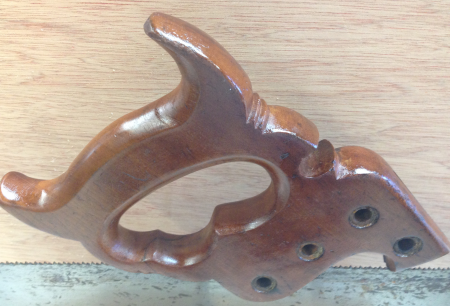 |
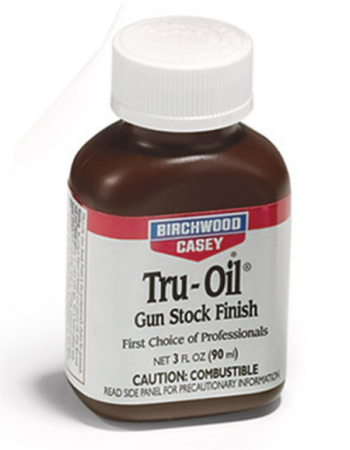
The final finish on the handle was a rub in of Birchwood Casey Tru-Oil gun stock finish. |
 |
Finished handle with medallion and saw nuts installed. |
 |
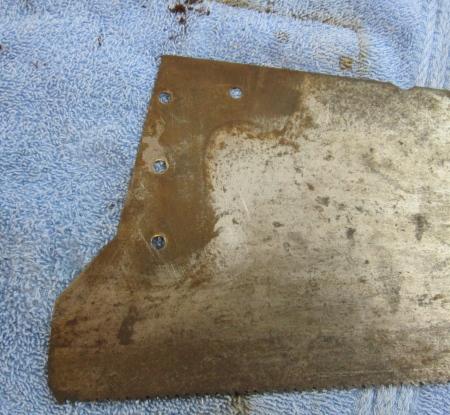
Blade was in bad shape under the handle. |
 |
I scraped the rusted area with a razor blade and then scoured it with a Scotch Brite pad |
 |
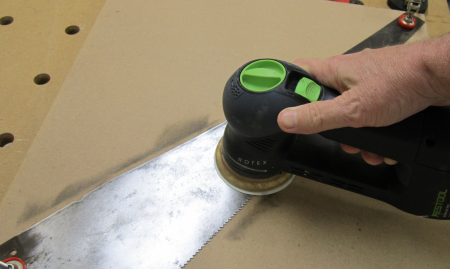
Then I sanded with 100 grit on the Festool RO 90 DX orbital sander. |
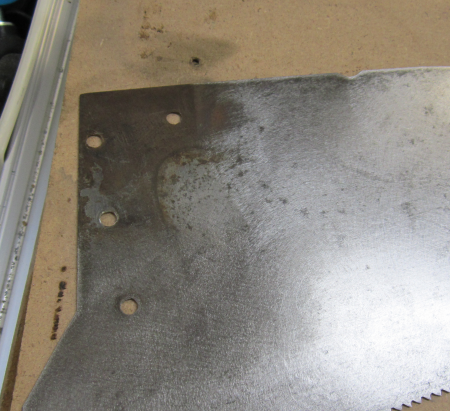 |
Pleased with the result. Anti-rust protection coat was camelia oil. I will paste wax later. |
 |
To do the sanding, I clamped the blade down on a sacrificial MDF board on the MFT3 table.
|
 |
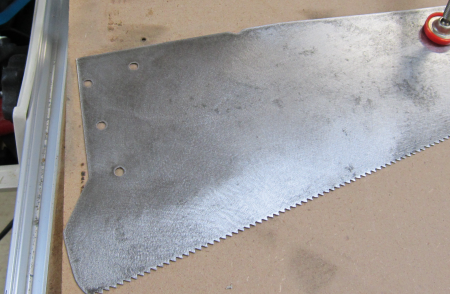
The sanding removed a lot of the discoloration and rust. I sanded the sides of the toothed edge since I was planned to redo the set.
|
 |
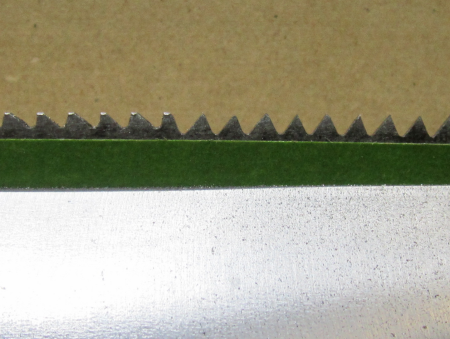
With the blade in the vise, I jointed the tops of the teeth again. This time I was committed to getting as most of the teeth to the same height with clear "lands"...I was able to get every tooth except 2 to be jointed. Then I put a piece of green painters tape to give me a vision of the depth that I wanted for the gullets. I used a 7" Slim saw file and created new teeth. The new geometry is pretty clear in the image.
|
 |
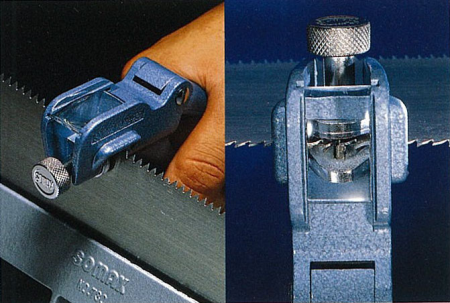
After reshaping all of the teeth, I put a very slight set. Scale on SOMAX fine set was 10.
|
 |
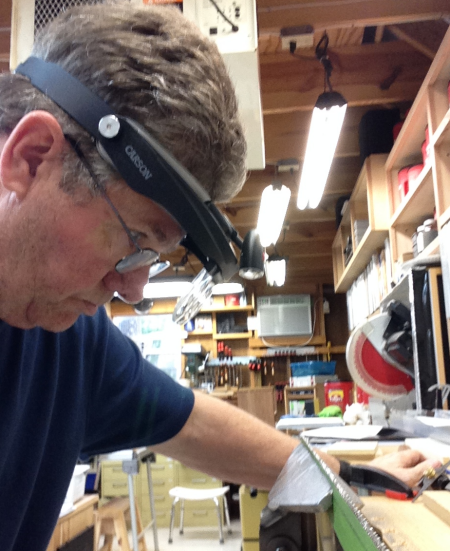
For assessing the new geometry I used a head visor with magnifiers. The LED light helped see the fine details. This blade is now ready to be jointed and sharpened. |
 |