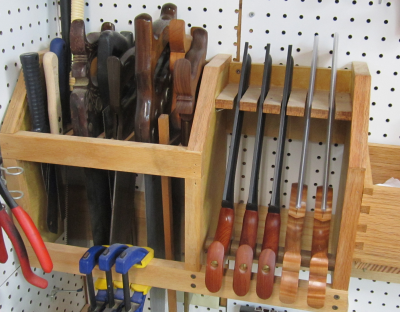
The saw till filled up...
Saw till 2 is being constucted at the same time as plane till 2.
|
|
Looked around for ideas for improvement and decided upon a carcase without a door front. Lower section will have two drawers. Early Sketchup model... |
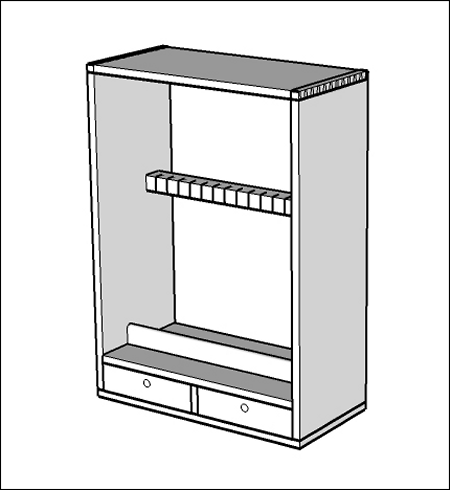 |
Main section needed to hold 12-15 medium length and smaller, both japanese stye as well as western panel saws and back saws. |
Specialty saws and saw tools are to be housed with custom holders or in the drawers.
|
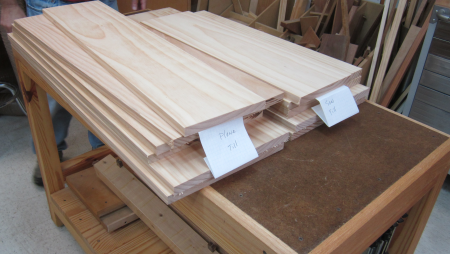
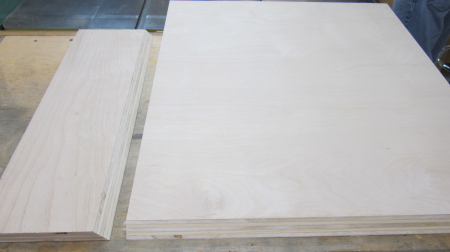
The primary carcase wood selected for the project was radiata pine. Pinus radiata is a natural product of California and is called Monterey pine. In its natural growth range the tree faces serious threats put it is cultivated extensively in many areas of the world. |
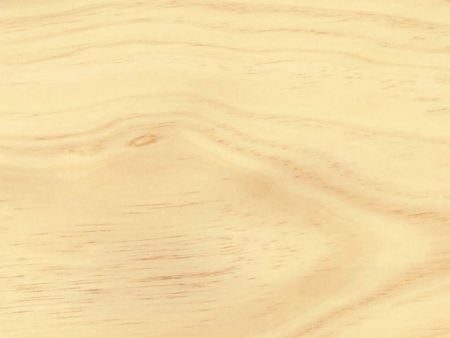 |
These premium grade boards, imported from New Zealand, were purchased at the local BORG. The nominal 1x12 board will provide 11 1/8 width. |
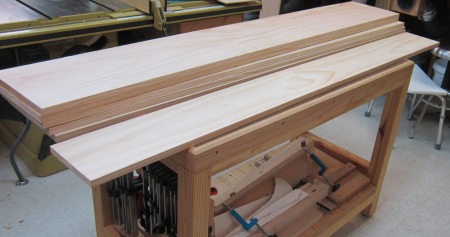 |
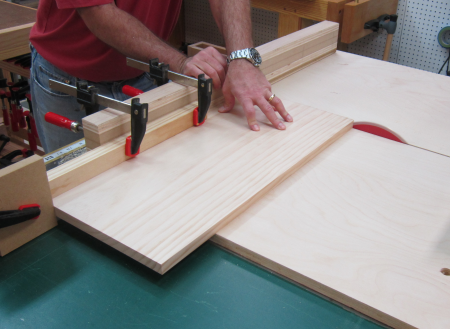
Because the boards were already dimensioned and surfaced they only had to be crosscut to have them ready for joinery processes. The boards were crosscut to rough lengths on the MFT table. |
 |
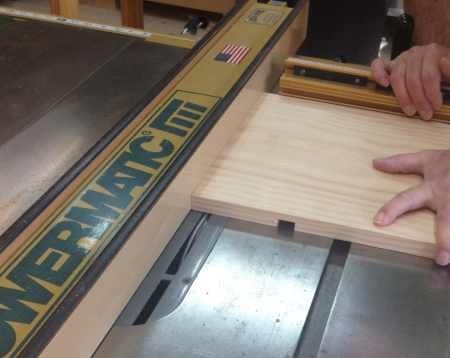
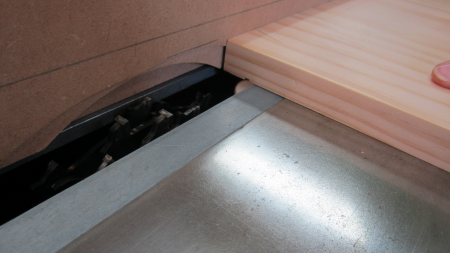
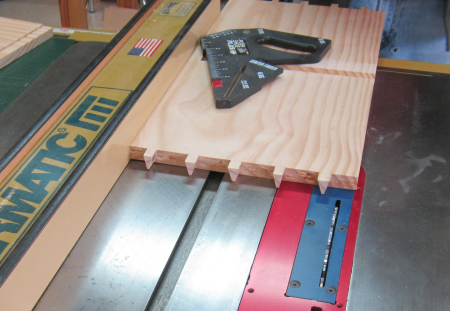
Then the boards were crosscut with the sled on the P66. A stop block clamp was put in place to make repetitive cuts easily. |
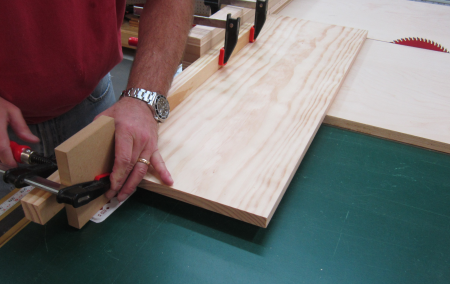 |
The stop block arm was also clamped to the fence to provide a secure hold down during cutoff. |
 |
All of the wood for the saw till, as well as a new plane till, was processed. |
 |
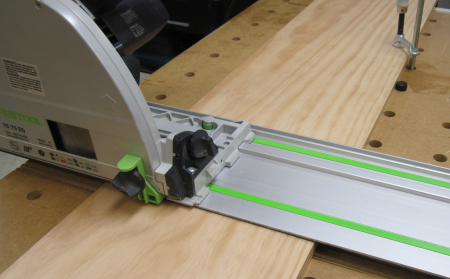
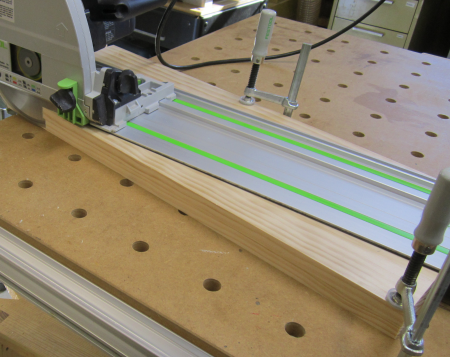
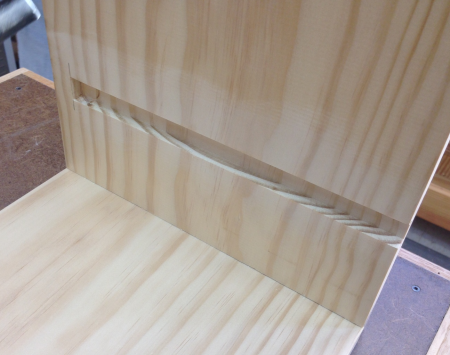
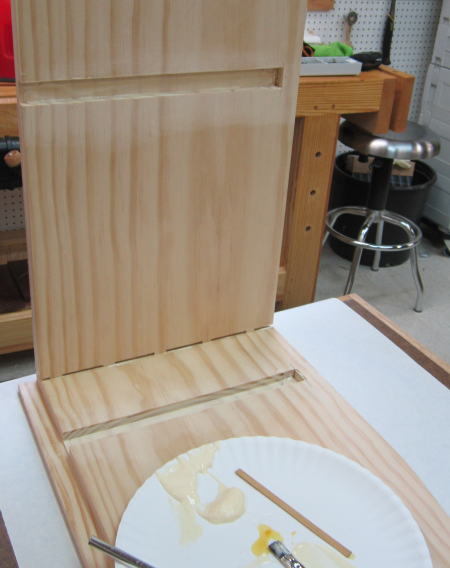
After all pieces were cut to length, the dado grooves were routed. These 3/4 grooves will all be stopped at the front edges of the cabinets. The mirror pieces were cut at the same time to make layout simpler. |
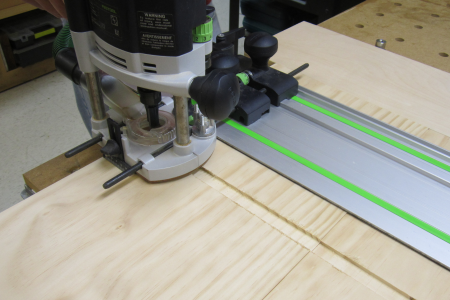 |
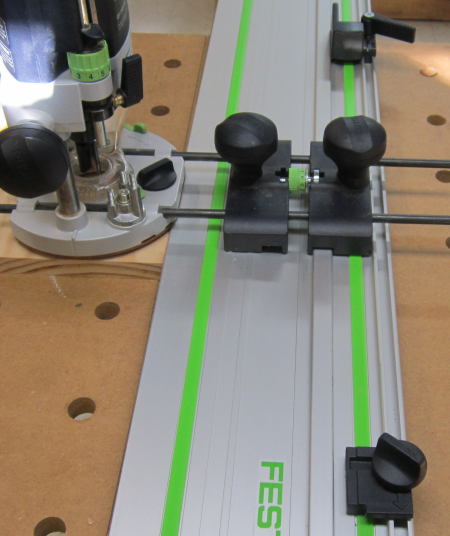
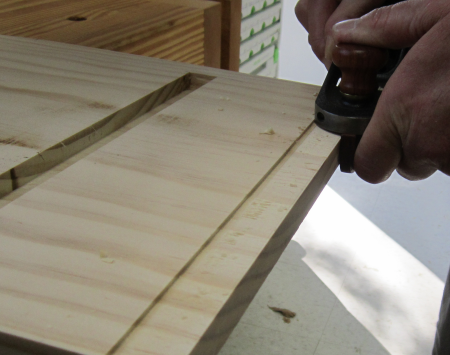
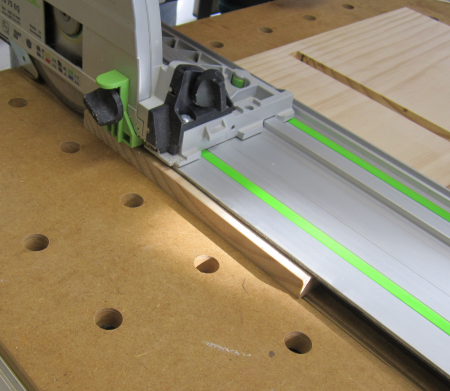
The Festool router was plunged to start the cut and lifted to finish the cut.
|
 |
The start and stop points of the routed groove were determined by two stops on the Festool guide. |
 |
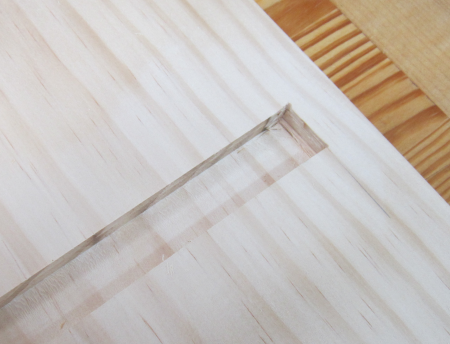
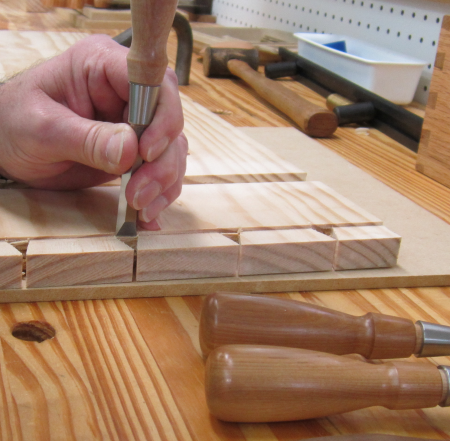
The stopped dadoes were squared off with chisels. |
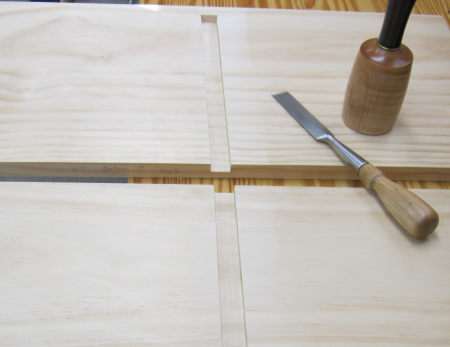 |
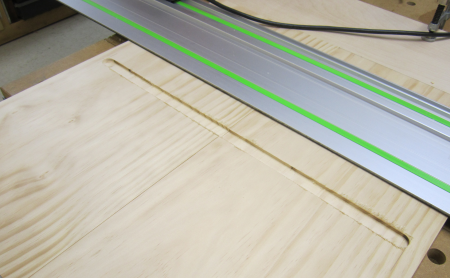
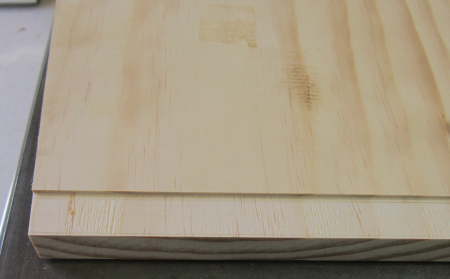
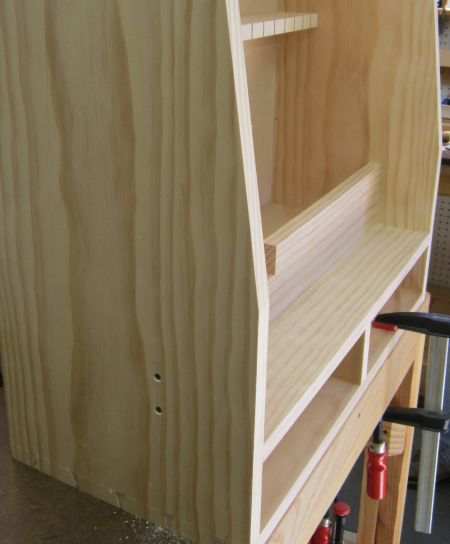
The dado was stopped 3/4 from the front edge so that it will not show. The side of the shelf will have a shoulder that permits the shelf to be coplanar with the front edges of the sides. |
 |
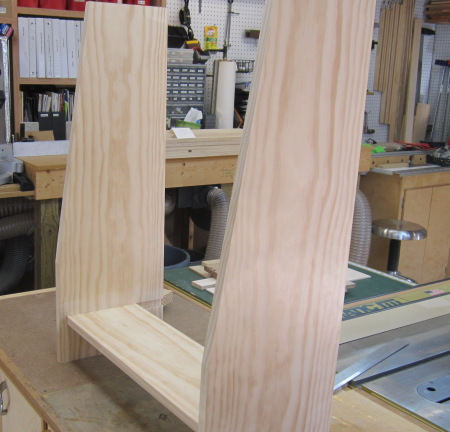
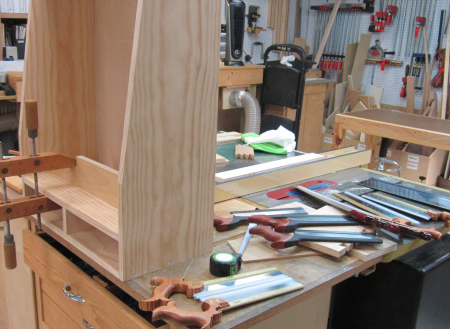
The front edges of the sides of the carcase will have a bias cut. The two sides were gang cut on the Festool table. |
 |
Quick look to see if we liked the angles... |
 |
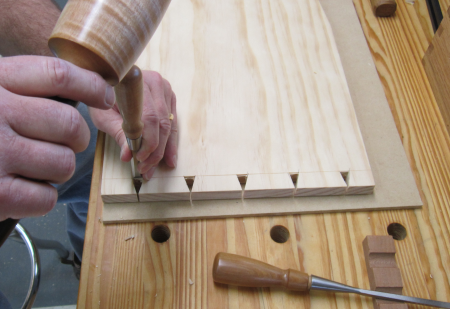
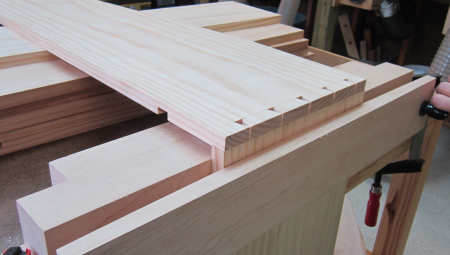
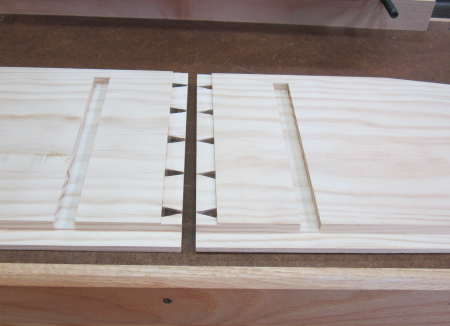
Layout of dovetails...opted for much smaller pins than previous efforts. |
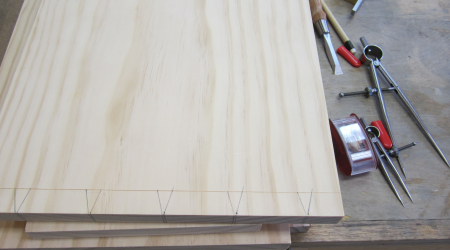 |
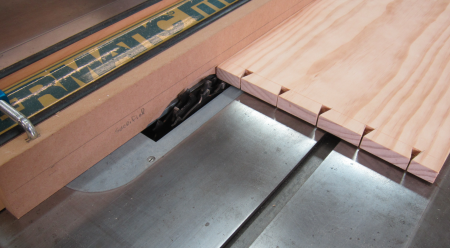
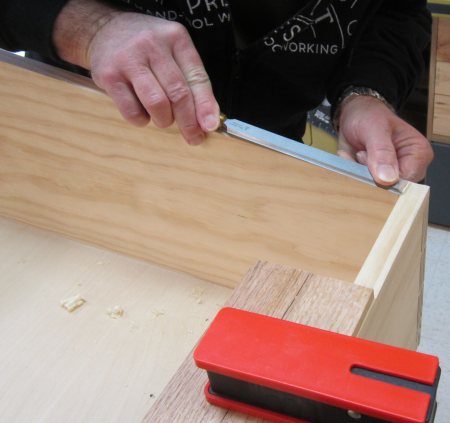
Wanted to make a nice clean 1/16 inch "rebate ledge" to help with dovetail pin layouts.
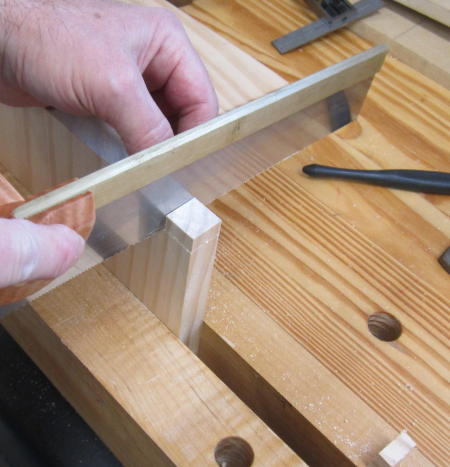
First a defining kerf was crosscut at the proper depth. |
 |
This provided a nice clean edge...with the proper depth. |
 |
We used a dado stack and a sacrificial fence to hog out the rest of the rebate. |
 |
Rebate... |
 |
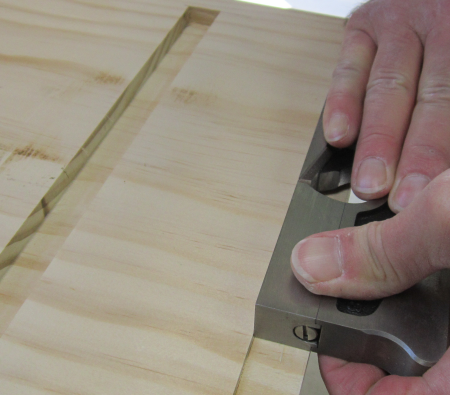
The edge of the rebate was sharpened using the nicker blade of a LV rabbet block plane. |
 |
Then the rebate edge was squared with a LN small shoulder plane. |
 |
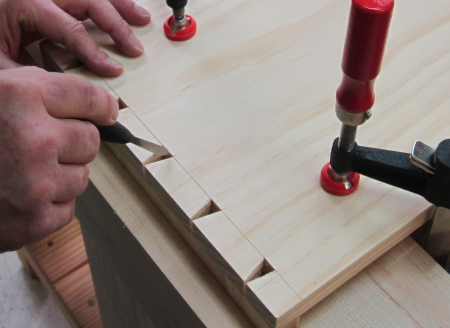
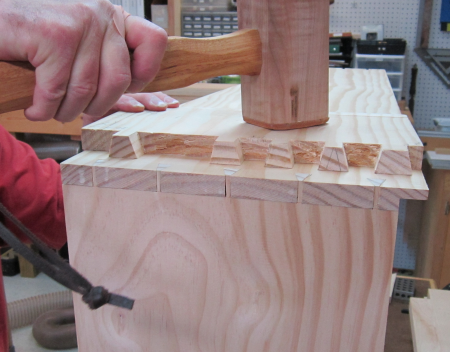
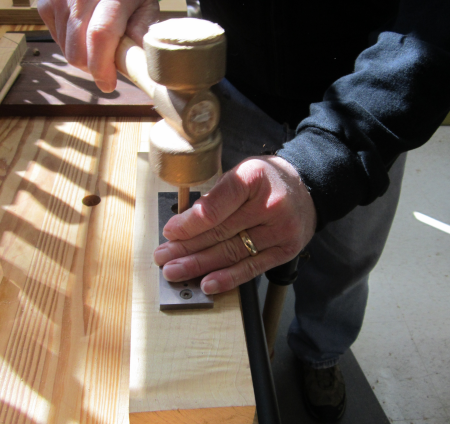
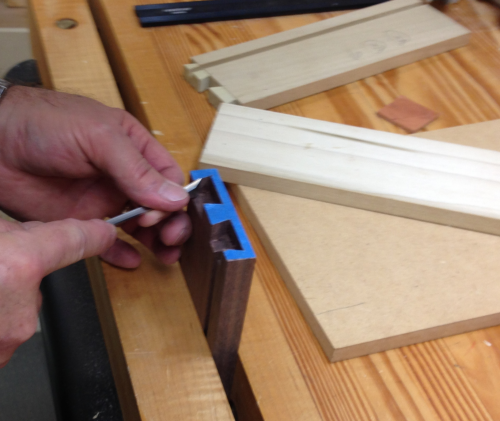
The pins were designed to be 7/16 inch. This is the width of a new Blue Spruce butt chisel that I wanted to try out. Like the BS mallet used here, the maple handles are infused with acrylic and can really take a beating. |
 |
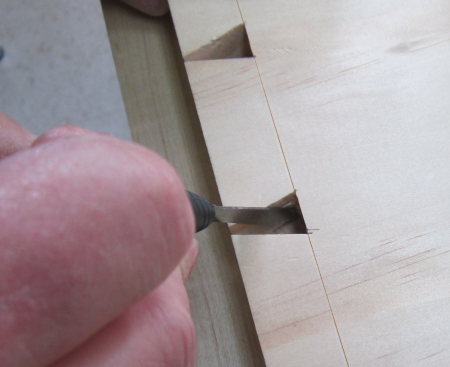
The very short length of the chisel makes it an excellent option at times. Here the inside edge along the rebate is being removed. |
 |
The Moxon style vise clamped down on the assembly table was a better option than using the work main bench due to the length of the side boards. This simplified the layout. |
 |
Pins laid out using tails board as a template. |
 |
Layout of pins has a tight tolerance. |
 |
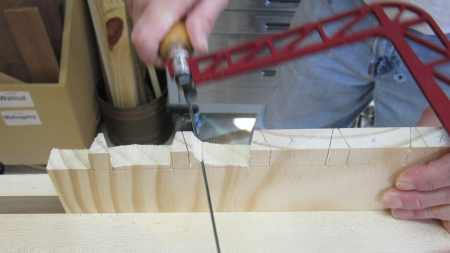
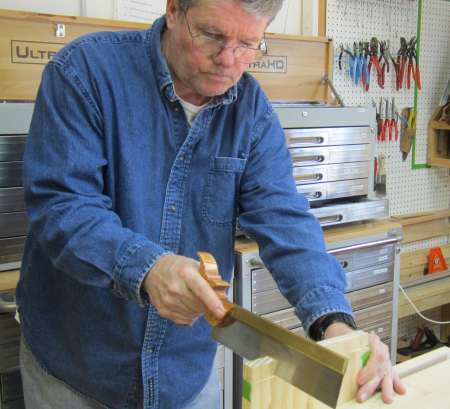
Pins were sawn with a LN dovetail saw and the waste was hogged out with a coping saw.
|
 |
Ready for chisel work. |
 |
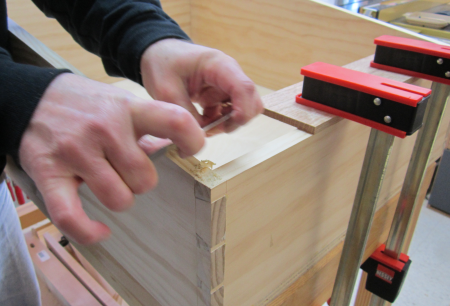
After removal of the waste...a dry fit. |
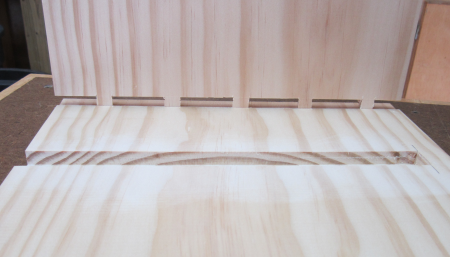 |
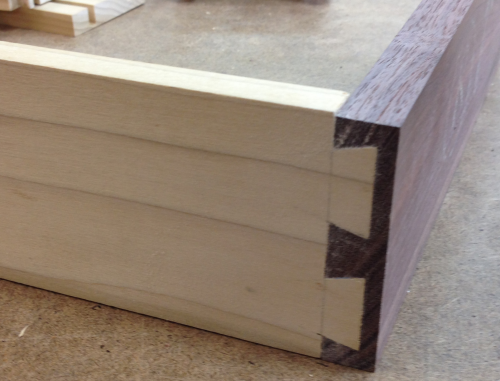
The dry fit dovetails...outside edge. |
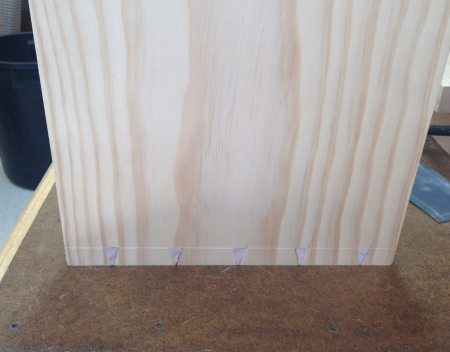 |
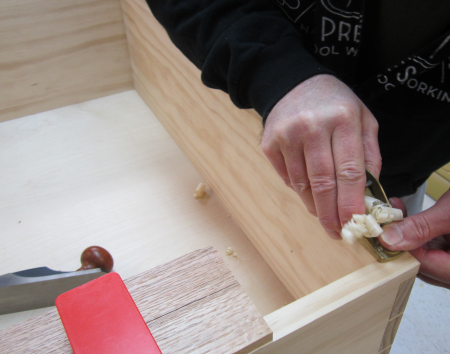
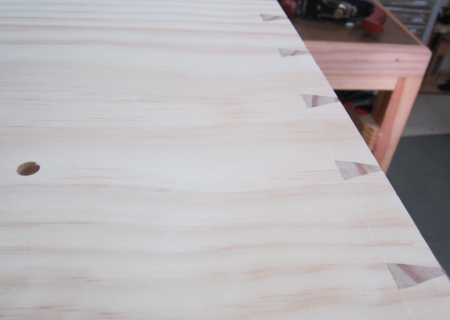
All of the work to produce the clean cut and square "rebate ledge" pays off in how nice this inside corner turned out. |
 |
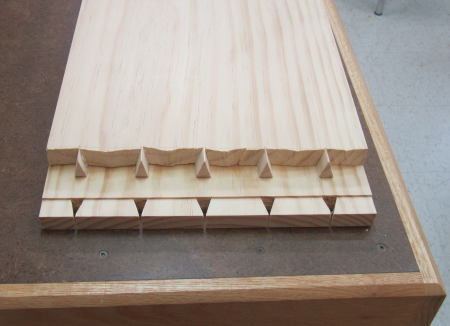
The two side pieces with finished dovetails. |
 |
Making the cuts on the top edges of the sides. |
 |
After finishing the top dovetails...a dry fit. |
 |
Then a rabbet cut on the tablesaw with the sacrificial fence and dado stack. |
 |
The top and bottom plus the shelf were trimmed in the rear side to be coplanar with the rabbet for the back plywood panel. |
 |
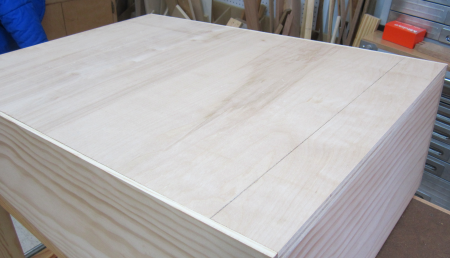
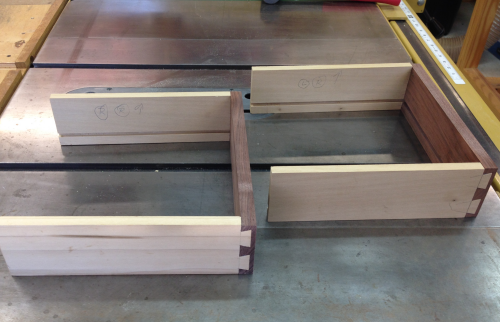
Here are the two milled and prepped sides...dovetails cut with the "ledge rebate"...a stopped dado for the shelf and the rear rabbet for the plywood back. |
 |
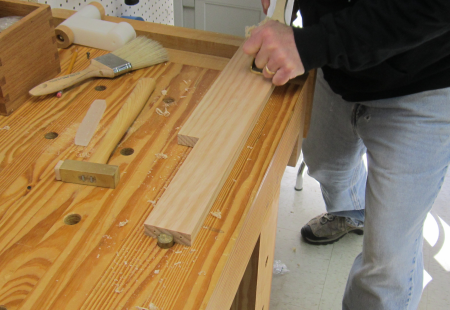
The shelf unit had to be trimmed down to size and then adjusted with hand planing. |
 |
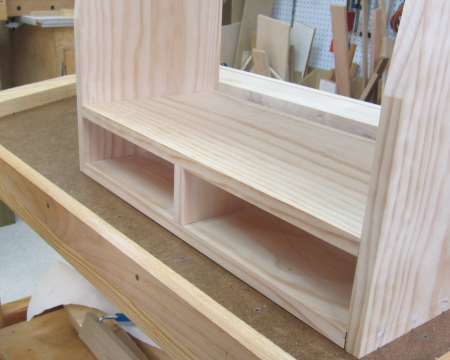
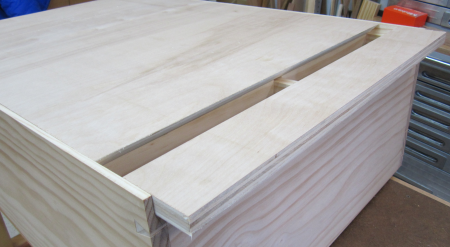
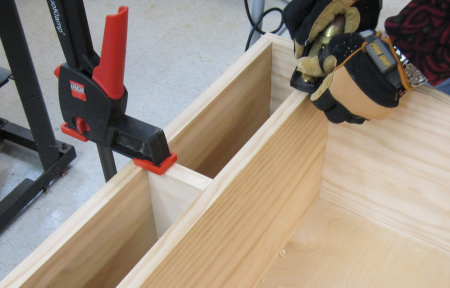
The divider wall will separate the two drawers...it is dual notched to fit in the stopped dado of the bottom and the shelf. |
 |
Plane work to square the notch... |
 |
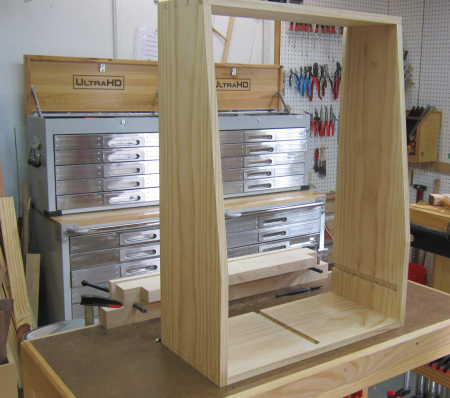
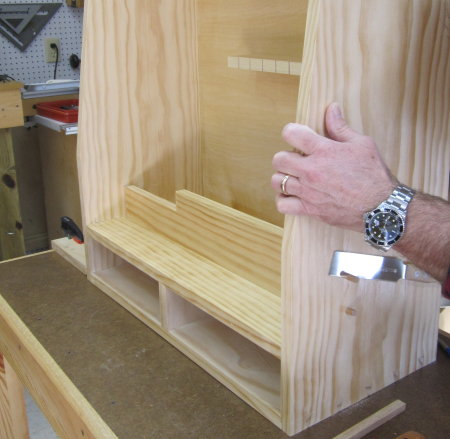
A dry fit to test all of the joints... |
 |
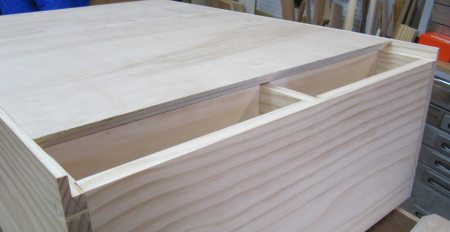
All of the lower section came together well.. |
 |
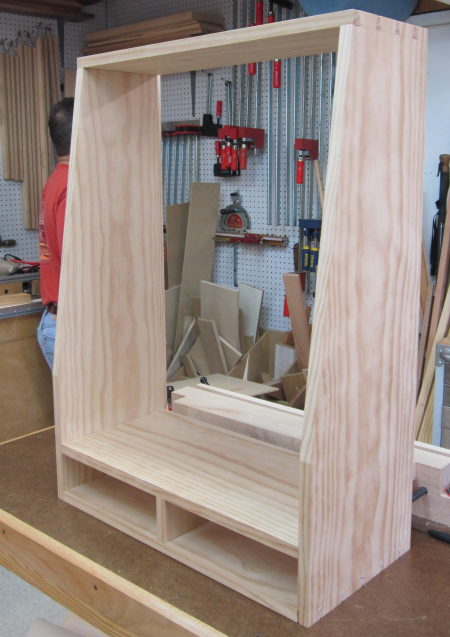
Dry fit...up next, cutting the rear panel to fit in the rabbetts...gluing the entire carcase. |
 |
The back panel is 3/4 inch Baltic birch cabinet grade plywood. Here is the crosscut at 45°. The miter joint will be the French cleat wall mount. |
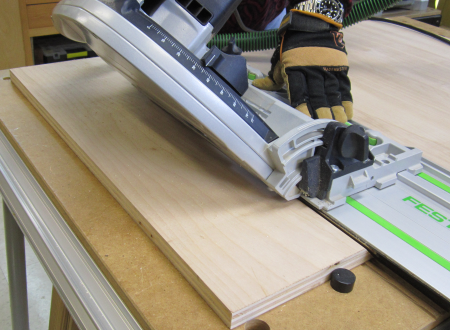 |
The larger panel is the back of the saw till. The smaller panel will be mounted on the wall. Both panels fit into the rebates on the back of the carcase. |
 |
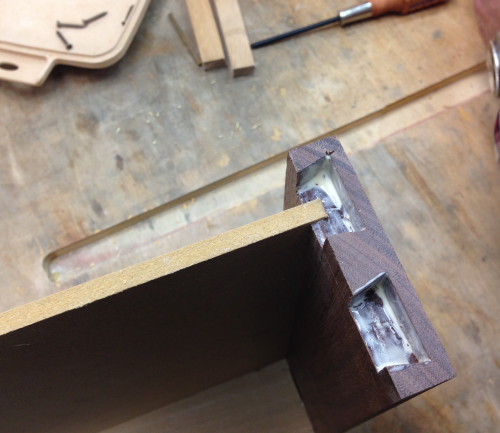
Rear panels snugged into the rebates in the carcase. The rear panel will not be visible from the side of the carcase. |
 |
The large panel shown with the mating French cleat panel moved aside. |
 |
Rear of carcase without the French cleat. The edges of the rebates are clearly shown in this image. |
 |
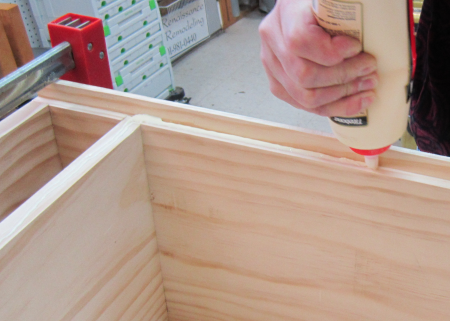
The glue up begins. |
 |
Cauls were used over the the dovetail joints. |
 |
Prepping to glue the back panel. |
 |
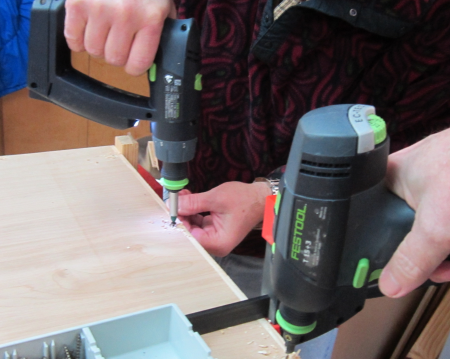
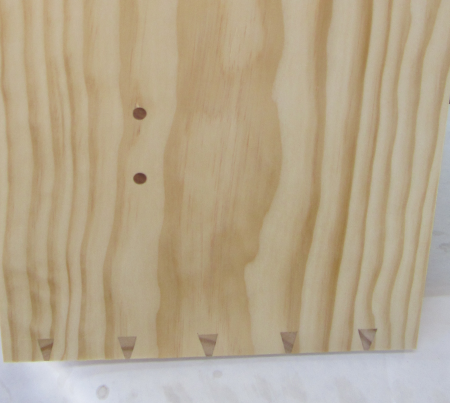
The back panel was tacked on with 18d brads. |
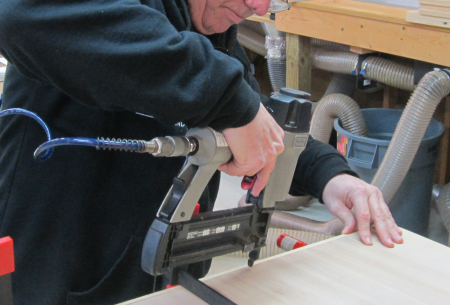 |
Then the panel was pre-drilled and countersunk to accept the #6 1 1/8 inch square drive screws. |
 |
And as always...every glue up requires numerous and various Bessey clamps. You can never have too many clamps. |
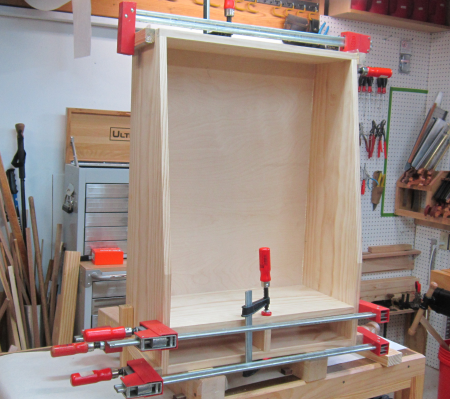 |
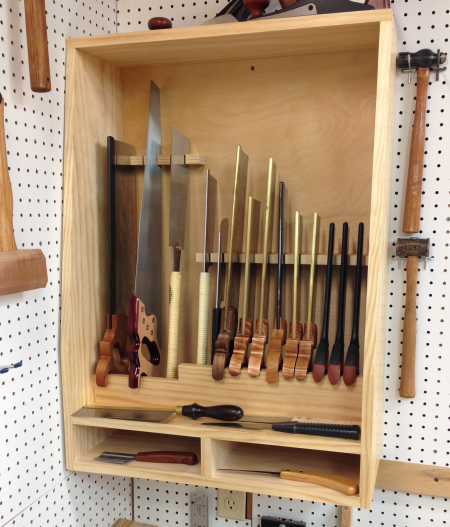
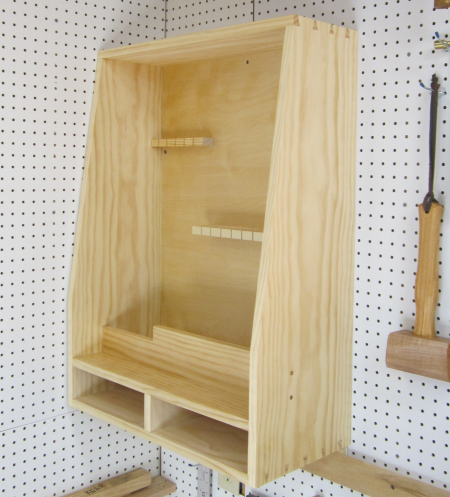
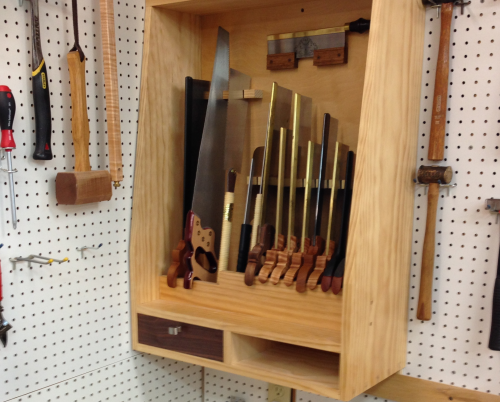
Clamps off...carcase complete...ready to mount saw guides and build drawers. |
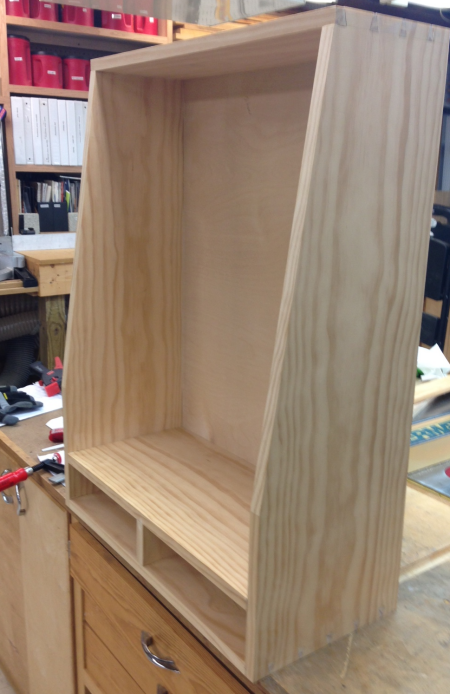 |
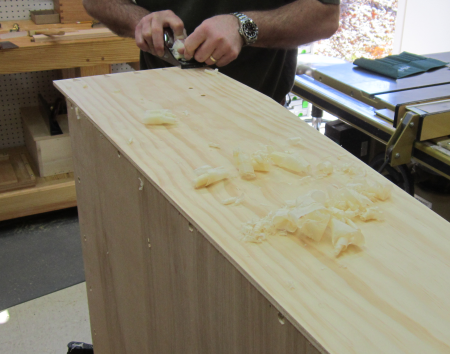
Carcase face edges were planed... |
 |
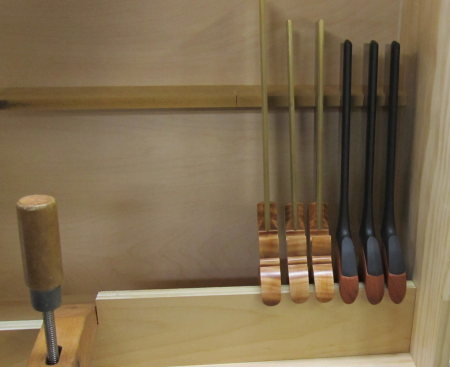
All the saws that will be housed in the saw till were gathered... |
 |
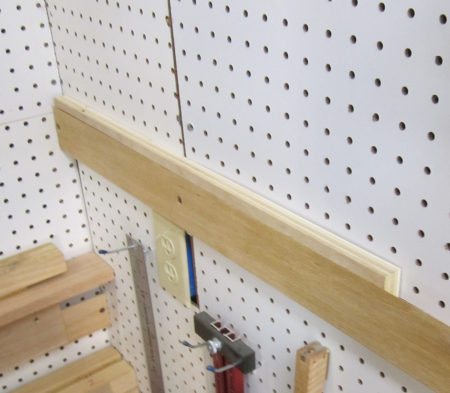
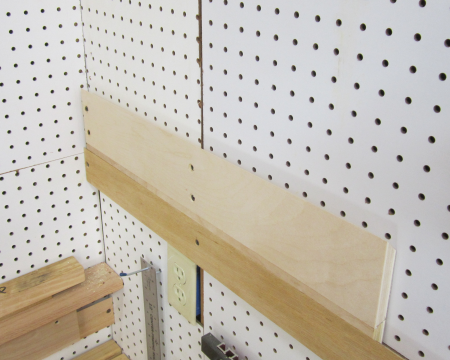
Mock kerf bars were tested...a mock tote bar was set up... |
 |
The kerf bar was created using a cross cut sled on the Powermatic. |
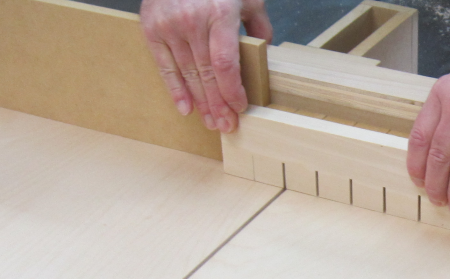 |
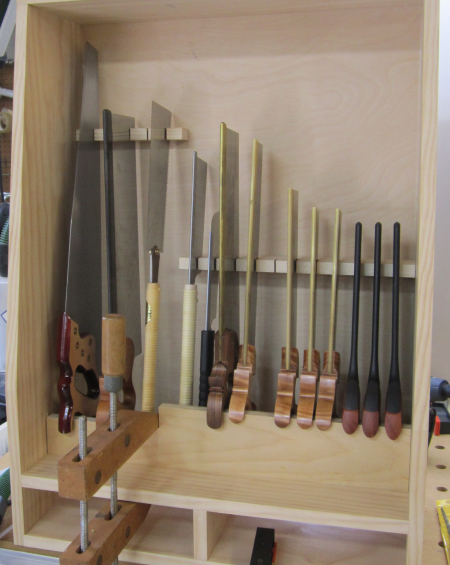
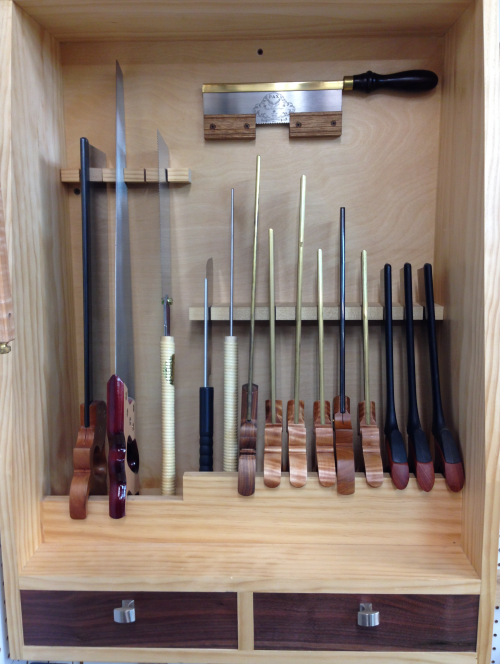
After the two kerf bars are installed...these bars were screwed in from the backside of the rear panel... A test fit for the the taller panel saw and tenon saw on left... Japanese saws and western backsaws on the right. Everything fits...the final caracase work needs to be done.
|
 |
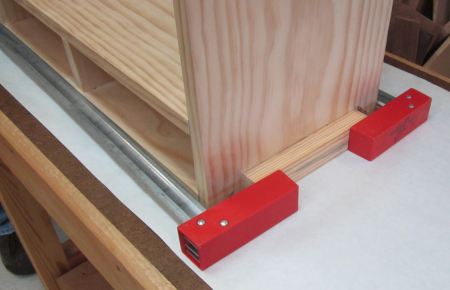
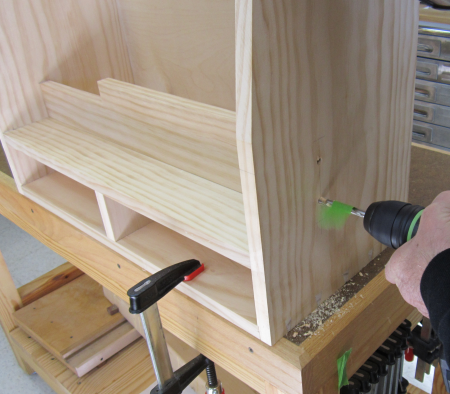
On the side that will face a wall a couple of 1 1/2 #6 screws were used to connect the tote bar. |
 |
On the side that will be visible we used dowels.
|
 |
The 5/16 dowel holes were bored to 1 1/2 inches... |
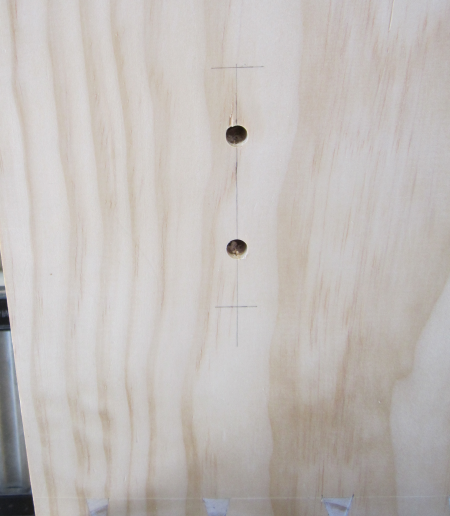 |
Dowels were cut from 5/16 inch oak stock... |
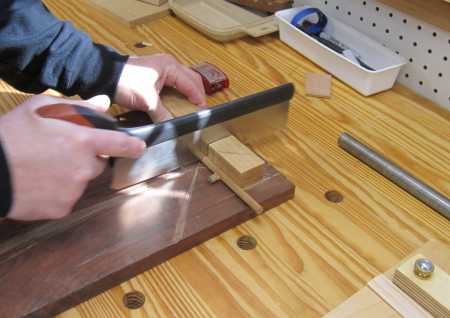 |
and then tapped through the LN dowel plate... |
 |
The tote bar was planed smooth.. |
 |
On the carcase there was a trick angle to plane...this was where the sides met the top... |
 |
This spot was finished out with cabinet cards... |
 |
...and BS long paring chisels... |
 |
A low angle block plane (WR) and a #3 smoother plane (LV) were used to finish the sides. |
 |
The planes did a good job of smoothing out the dovetail joint. |
 |
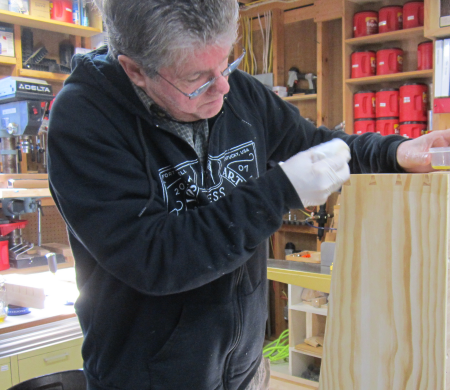
The finish involved the application of three coats of #2 lb. cut "Super Blond" shellac. |
 |
Between coat 2 and three the kerf bars and the tote bar were re-installed...the dowels were pounded in then trimmed flush. |
 |
Final coat of shellac was added. |
 |
The old saw till was pulled and the corner space is prepped. |
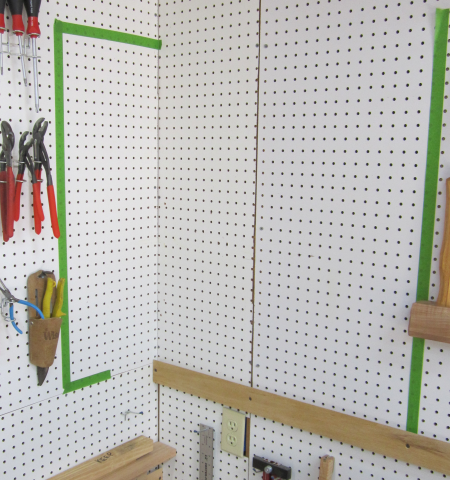 |
The existing French cleat will be used as part of the hang...it is a stout unit... |
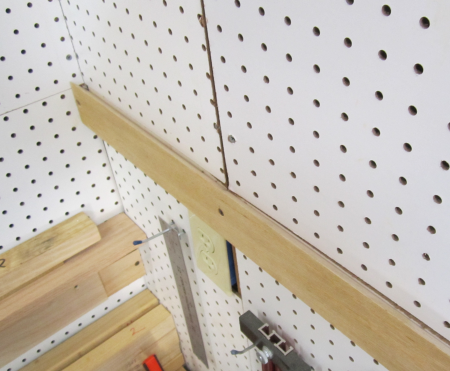 |
A mitred piece was dropped into the exiting French cleat to make a flat resting ledge. |
 |
The lower portion of the French cleat was mounted to the wall... |
 |
The till was mounted on the cleat and a couple of screws were placed at the top... |
 |
saws in till left to right Bad Axe, 16" tenon saw
|
|
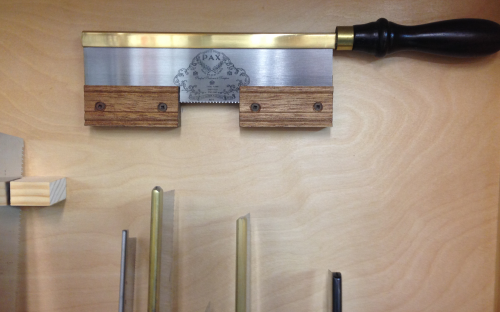
Specialty saw placements... at upper rear of till Thomas Flinn Pax dovetail |
 |
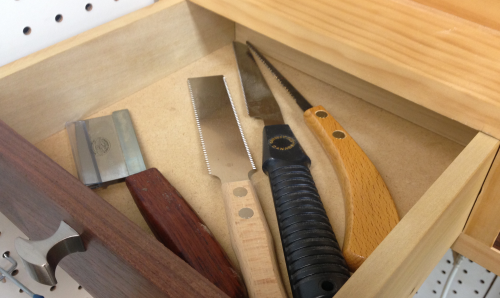
in drawers... Mawashibiki Nokogiri Kataha keyhole |
 |
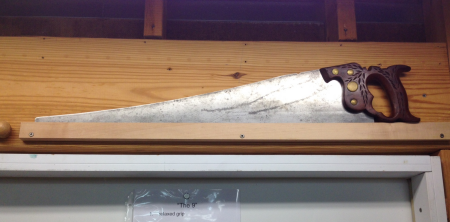
There were a couple of saws that really had no place in the saw till...a Shapleigh rip saw was mounted above the door.... |
 |
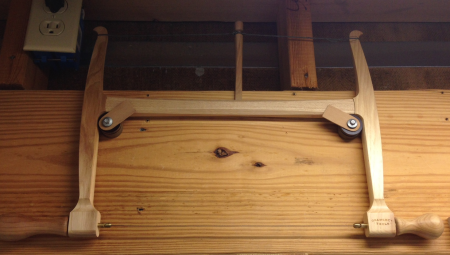
...and a Gramercy bow saw. |
 |
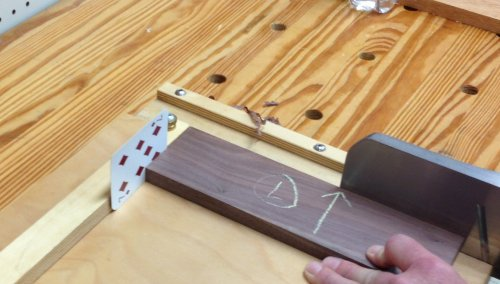
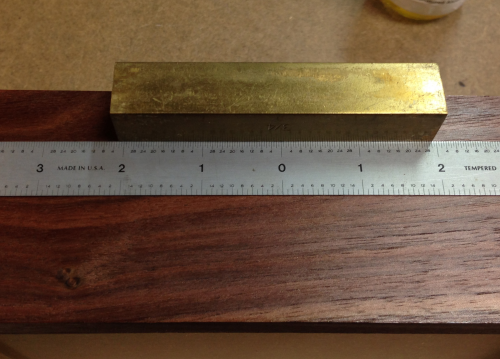
Drawers will have fronts of Black Walnut......the fronts were marked against the carcase. |
 |
The top edge of the fronts were then planed to tight tolerances with LN51... |
 |
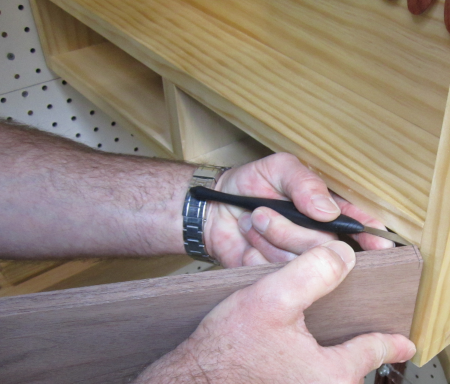
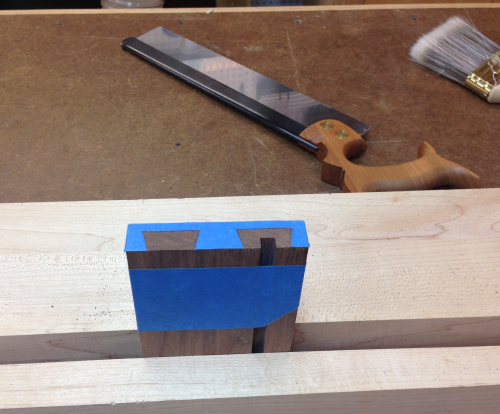
After the tails were cut into the side pieces the half blind pins were laid out in the front pieces. |
 |
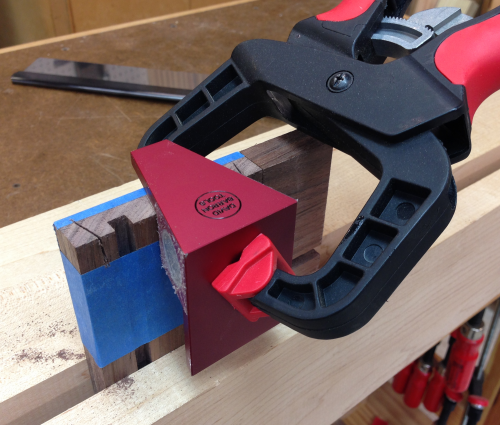
A new saw assist, the David Baron dovetail saw guide, was used to get the angle ratios right as well as guarantee the cuts were square. |
 |
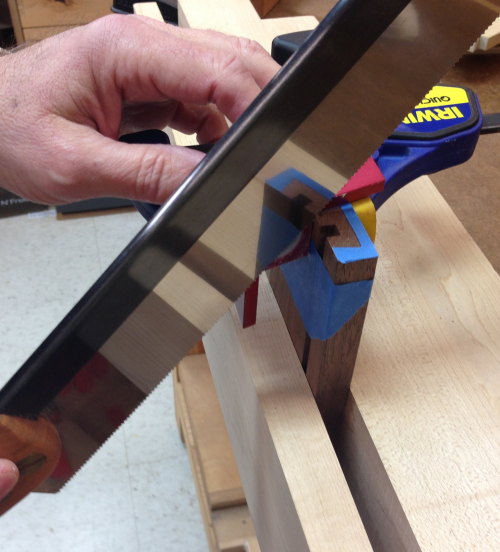
Here the angled cuts are made using the guide and the Bad Axe Stilleto saw. |
 |
Then the blind sockets were chiseled. |
 |
A dry fit joint... |
 |
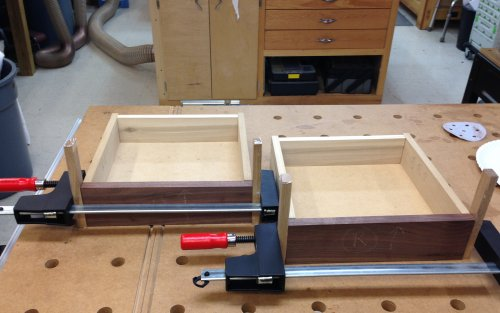
Both drawers ready for glue-up. |
 |
Glue in the sockets...but the 1/4 MDF bottom was rides in the groove without glue. |
 |
Clamped the fronts at the dovetail joint...the rear was put in screwed, not glued. |
 |
After drying, the drawer was planed on the sides, the front, and the tops. After numerous fittings, this left drawer fits into the space. |
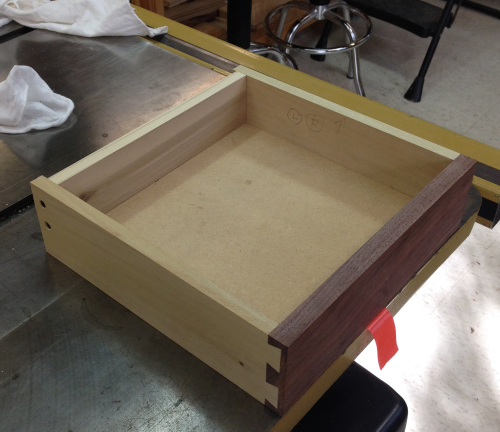 |
After the back end was sawed and planed, the drawer fit with a slight reveal on all edges. The orange plastic tab was duct-taped onto the bottom of the drawer to allow the drawer to be removed. |
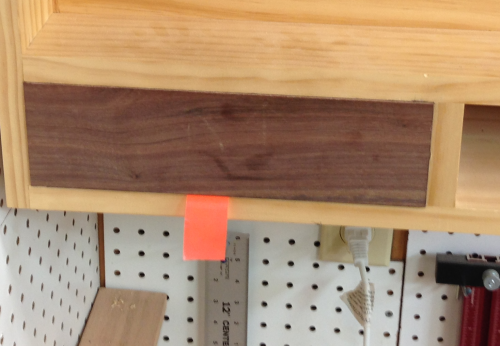 |
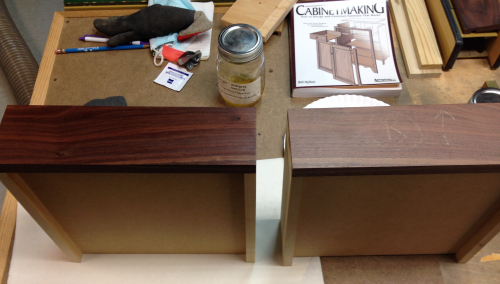
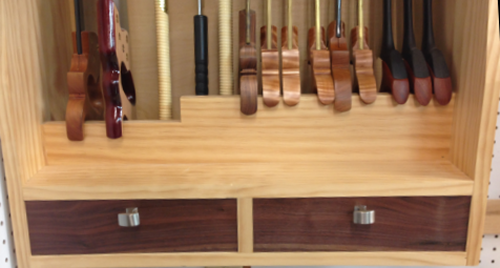
The black walnut that was milled for the drawer fronts had been in attic storage for many years. It was extremely dry. A padded on layer of 2 lb Super Blonde shellac really made the wood grain pop. |
 |
Here is a contrast of the left drawer with finish and the right drawer without shellac. |
 |
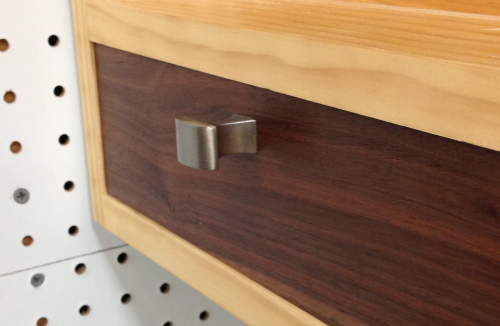
The 5/32 hole for the pull was centered and put down 3/4 inch from the top of the drawer. |
 |
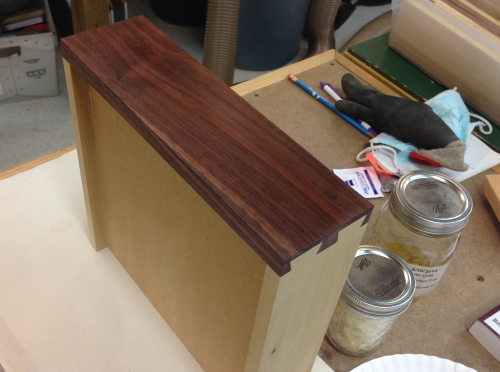
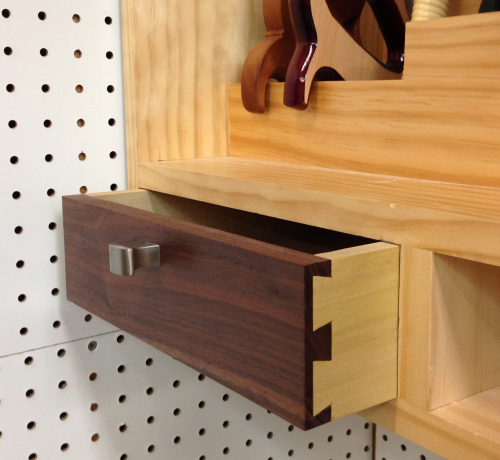
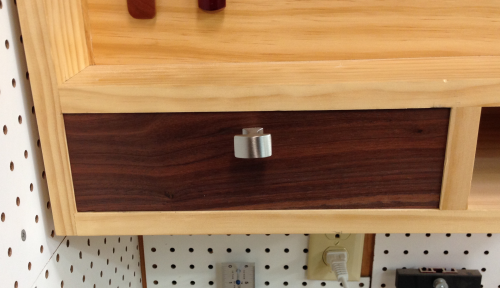
Here is the drawer in place, blind dovetails have a nice contrast. |
 |
Front view. |
 |
Side view of pull. |
 |
Left drawer is in...awaiting its mate. |
 |
Second drawer installed... |
 |
Left drawer...dividers, trammel points. |
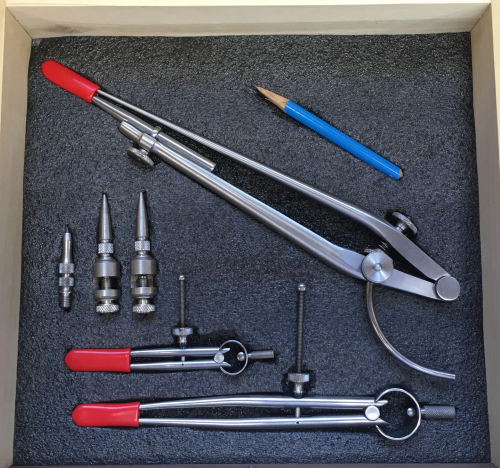 |
Right drawer...marking knives... |
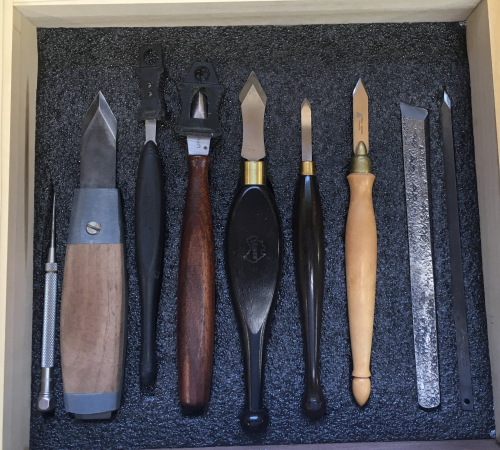 |
Finished...front view. |
 |
Finished...side view. |
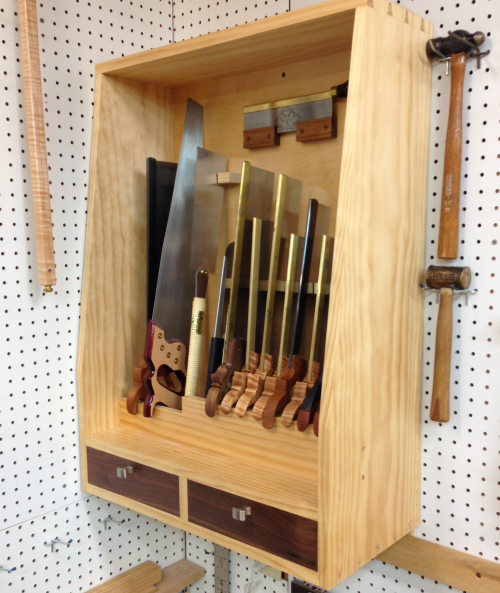 |
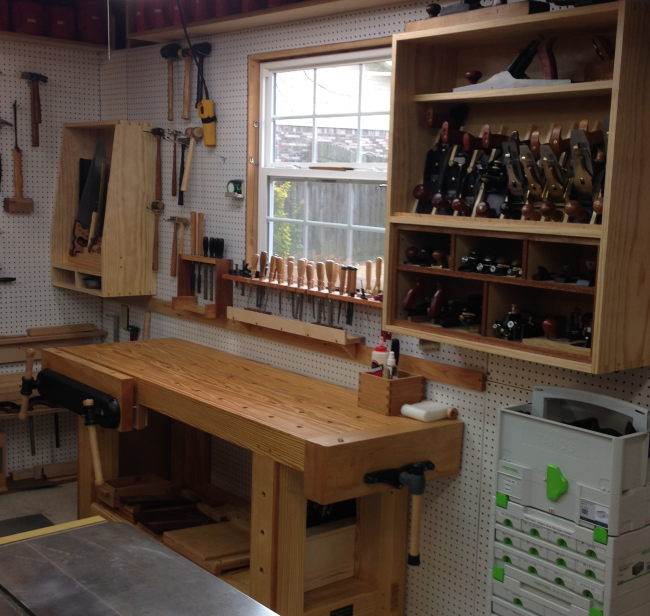
The two new tills on either side of the workbench...
|
|