Samsung RF267 Refrigerator
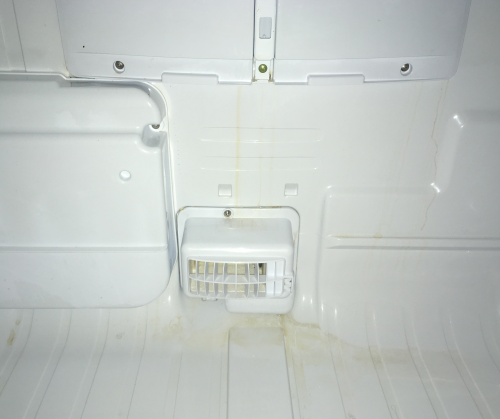
The problem first became evident when water pooled at the bottom left side of the unit. Traced the water and found an ice glacier under the crisping tray. Online, Cindy and I found many others had the same problem...there had even been a class action suit over the issue.
|
|
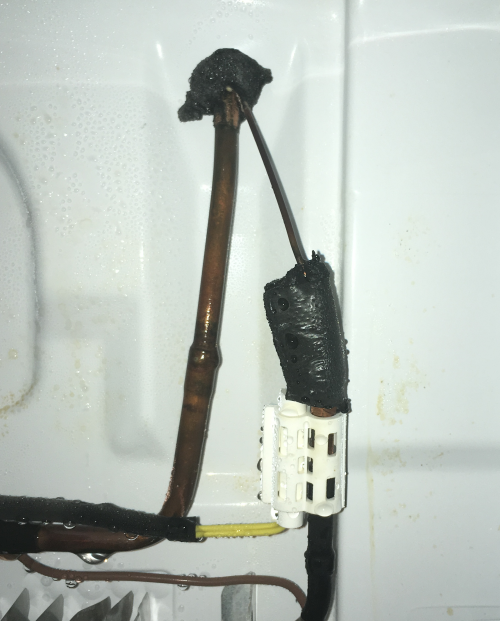
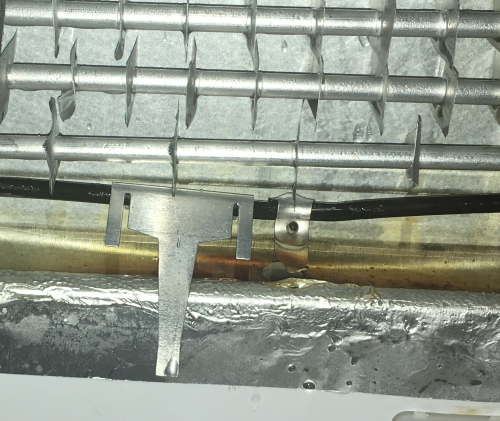
Problem is that ice clogs the defrost drain tube and water overflows. This was a design issue as the heater clip that was to keep the drain hole free of ice was simply too short and could not keep the drain from icing over. The clip is a small aluminum piece that is held on with a rivet and is attached to the heater element. |
 |
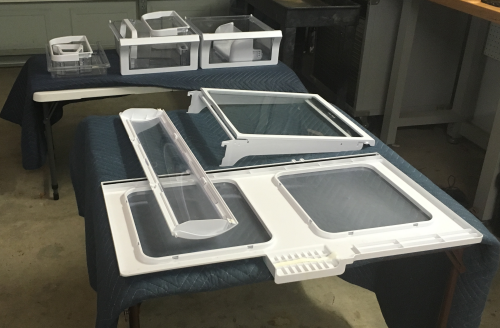
To get to the unit, you must pull out all of the shelving. |
 |
Shelving was stored in garage...it will be thoroughly cleaned before reinstalling... |
 |
At the rear of the refrigerator there was a clear rust trail that shows how the water overflowed at the drain opening and then came down the rear and pooled at the bottom of the refrigerator crisper section. |
 |
The panel at the rear may be removed by taking out the three Phillips head screws seen at the bottom of the panel. There is a screw hidden under a plastic cover just below the TwinColling Logo. Once the screws are out you must carefully remove the panel...it is plastic clipped into plastic...and there is insulation in the rear. |
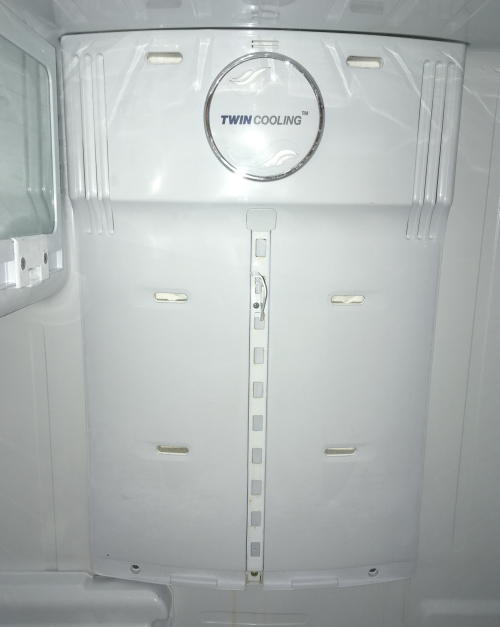 |
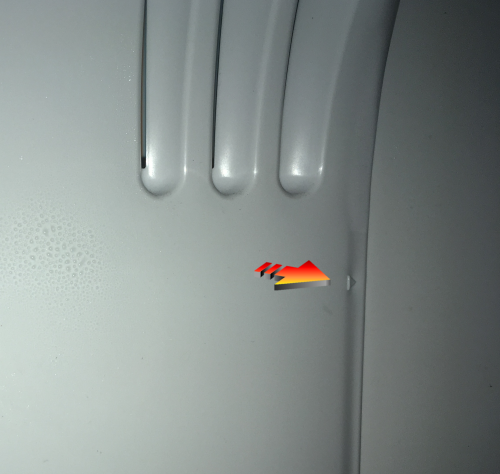
It is easy to get the panel loose at the bottom...there are six connecting points (under the arrows, three per side)...they should be pulled on at a time...starting at the bottom and then alternating sides...the plastic raised arrows are barely visible...but they are there...this one is pointed out with the red arrow... |
 |
After the panel is loosened, it should carefully be moved to the left so that you can unplug two electrical connections in the upper left corner. Once the connectors are pulled the entire rear panel may be removed. |
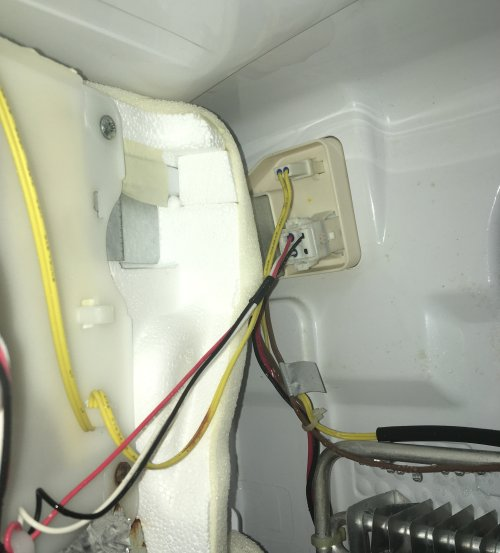 |
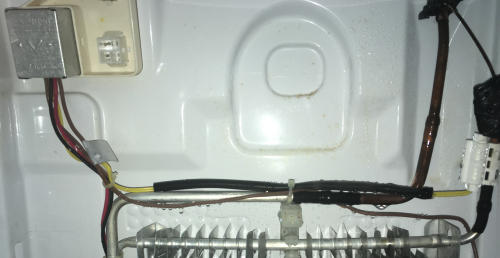
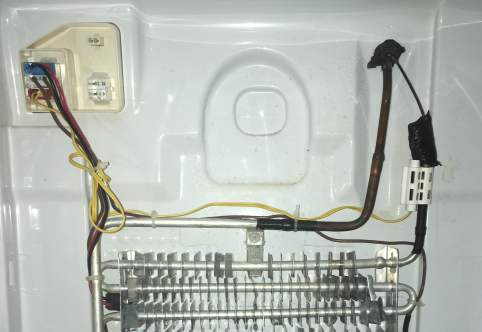
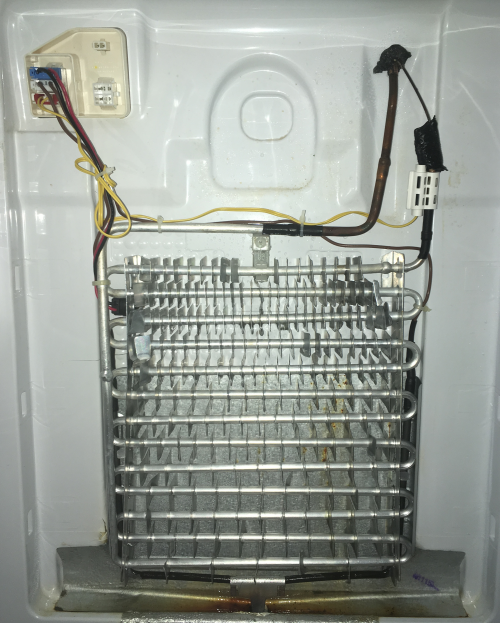
The business end...under the panel. |
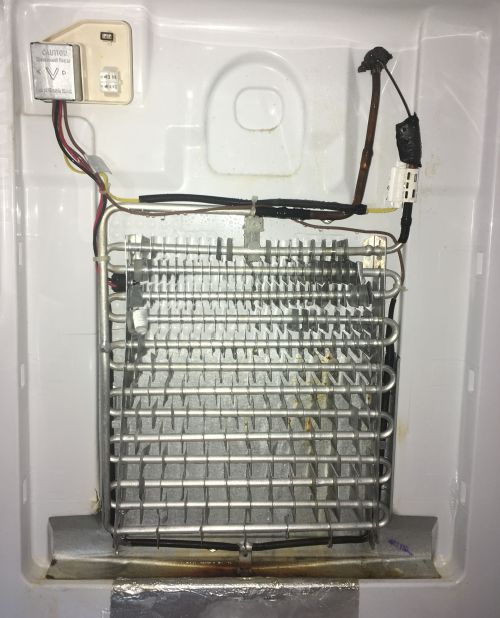 |
The electrical run along the top of the condsensor. Cindy and I are going to replace the temperature sensor.
|
 |
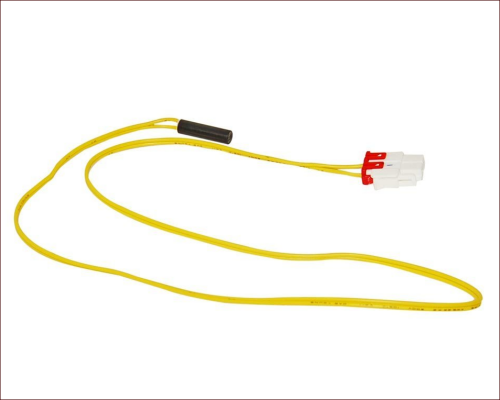
It is unlikely that this is the cause of the problem...but it could have an effect and the part was not overly expensive...#PD00001973 Samsung Temperature Sensor...we got ours from PartsDR.com. |
 |
The metal box over the electrical connection is removed by pusing in the two sides of the box to unclip it. |
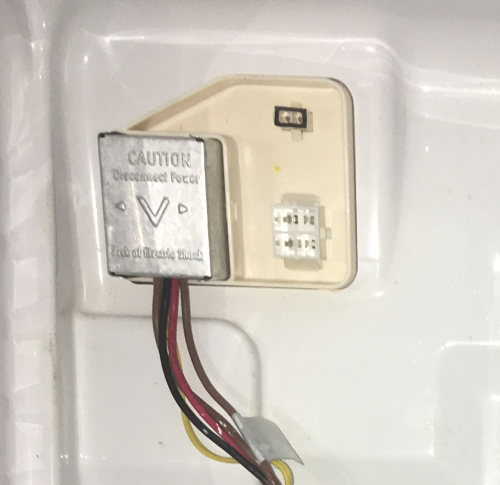 |
The temperature sensor is held in the clip on the right side. |
 |
After removing a few wire ties...the new sensor was put in the appropriate place, a few wire ties back on and a reconnect of the clip. |
 |
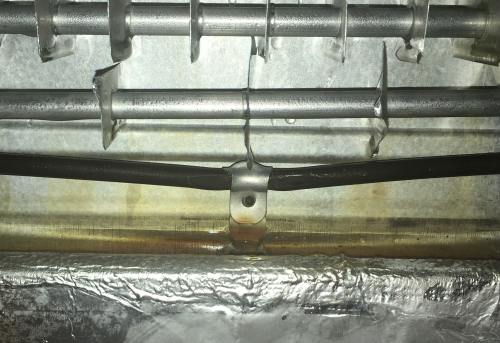
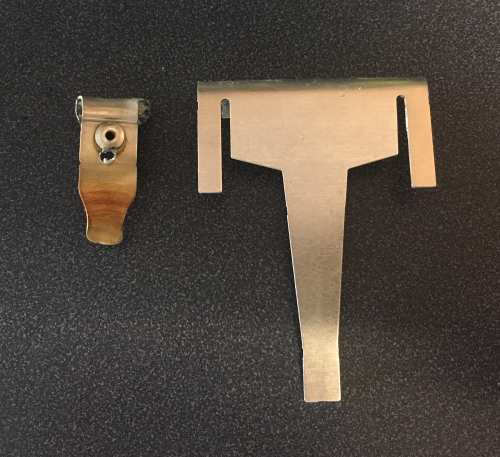
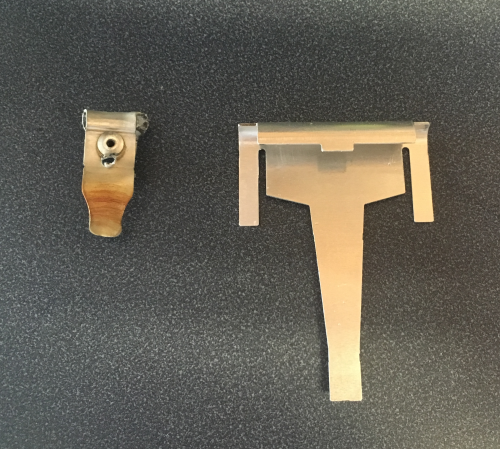
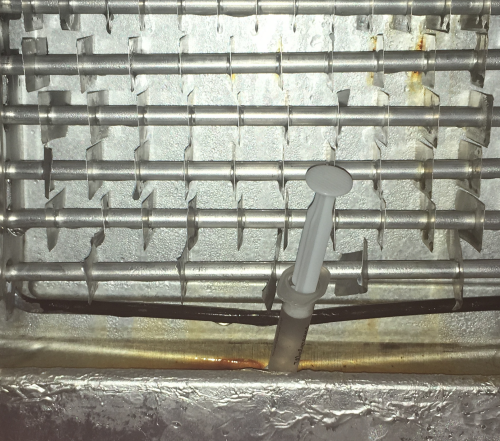
In the Samsung repair kit that we purchased for this fix, there was a new version of the heater clip. This is at least version 3...because version 2 was a little longer than version 1 but was also a to be riveted model. Here is a comparison of the new, much larger v3 clip next to the original v1. |
 |
After removing V1 clip, it is quite obvious the new model is much larger with a much longer stem, which is the part that goes down into the drain hole that ices up... |
 |
There were no instructions as to how to attach the new v3 clip...so Cindy and I opted to have the face shown on the right be facing the rear at install. The clip would have to be pushed behing the heating element, pushed as high as possible so that the long stem could then drop down into the drain hole. |
 |
To speed up the melting of the ice plug, hot water was syringed into the drain. Cold water was sucked out. After doing this for awhile, along with the entire defroast effect of the electricity being off to the unit, the plug broke out...we poured water in to test it and it went away...ready to install the clip. |
 |
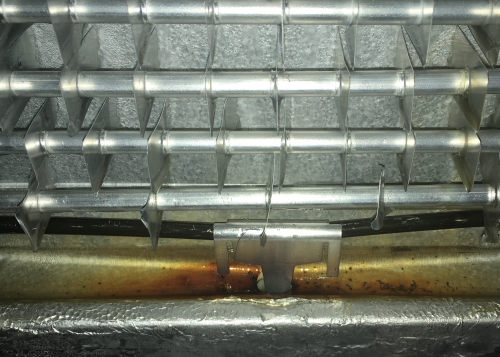
Here the v3 clip is attached to the heating coil...and the two outer arms are bent in slightly to hold the clip to the coil. Online many people have said that the heater coil itself does not get hot enough...but for sure the heat has not be transferred down into the drain hole in an appropriate manner...hopefully this will fix the problem... |
 |
All is done...everything will go back after a good cleaning. |
 |