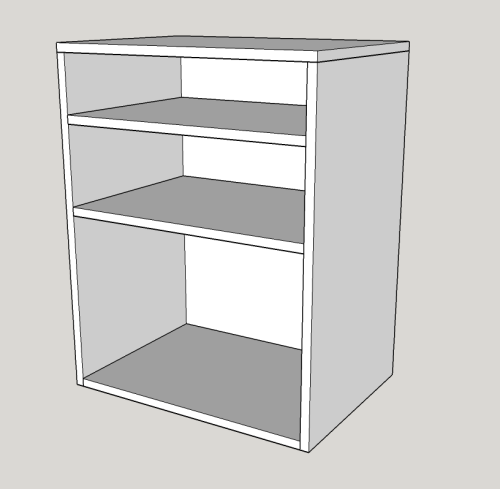
This tool cart was designed to hold some tools in cases in a vertical position as well as some screw inventory and Kreg materials in horizontal shelves. The top will be laminated. A cutoff piece of dove gray Formica will be used. The sides and shelves will be constructed from 3/4 oak ply and 3/4 inch MDF that was available in the attic. Some leftover casters will provide mobility. The entire cart must fit under the maple work table (the hole is 35 inches tall by 29 inches wide.)
A working plan was created in Sketchup.
|
|
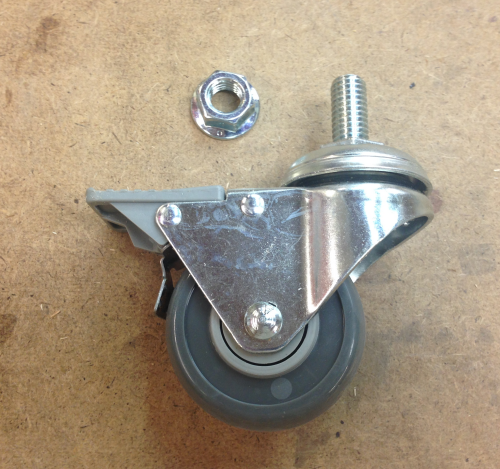
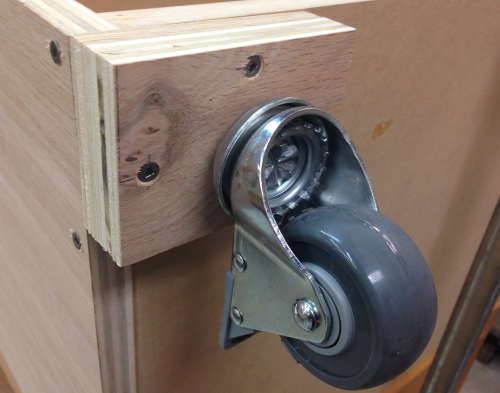
The casters were a type with a 1/2 threaded bolt that needed to go through the bottom of the carcase.
|
 |
Rather that having the nuts in the bottom section I put together some caster pads. A sandwich of 1/2 inch Birch ply and 3/4 inch ply was counterbored and screwed with #6 x 1 square heads. These will be chopped later into 3 inch wide by 4 inch long pads. |
 |
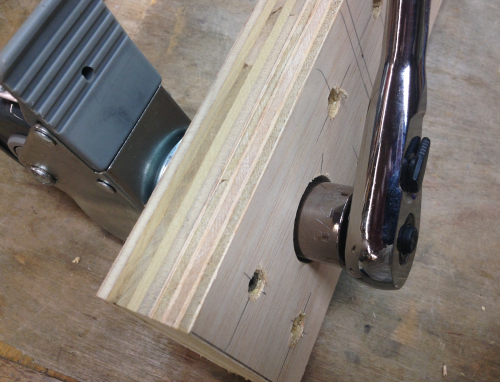
A 1 1/8 hole x 7/8 deep was drilled in the center of the rectangular pad...this will accomodate a 3/4 inch socket to tighen the nuts down. |
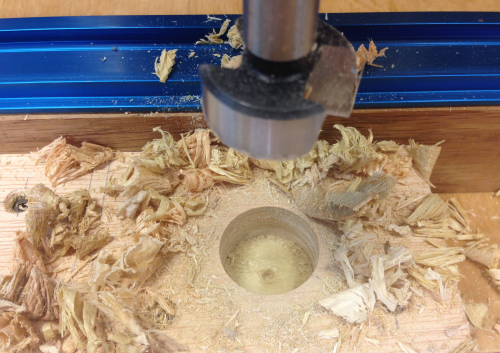 |
Then a second Forstner (1/2 inch) drilled through the rest of the pad. |
 |
This accepted the bolt... |
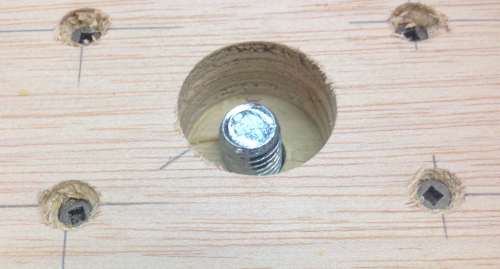 |
Then the locking nut could be tightened. |
 |
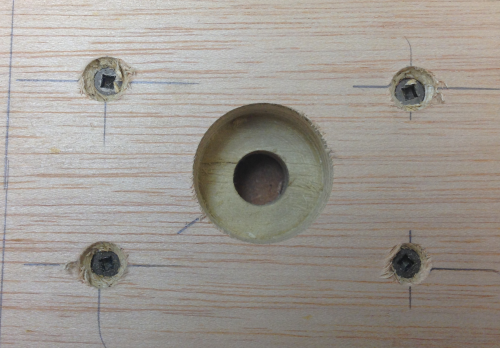
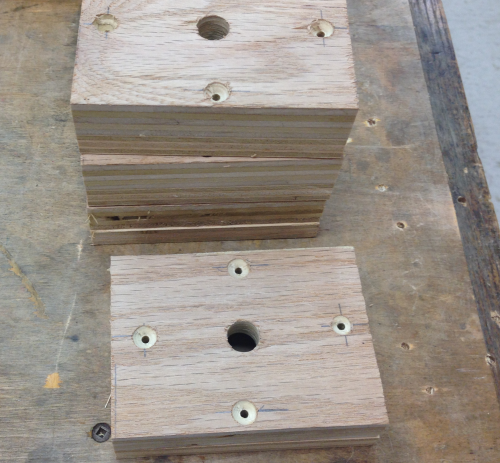
Holes were laid out to be counterbored from the opposite side to accomodate #8 x 1 3/4 inch square head screws. |
 |
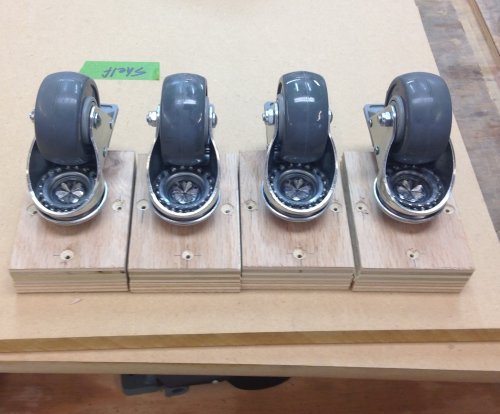
After the holes were counterbored, the plates were chopped to final dimensions... |
 |
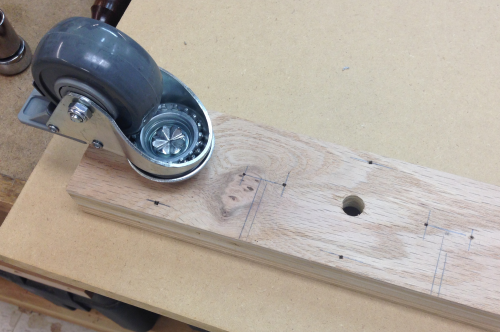
...and the casters were secured to the plates. |
 |
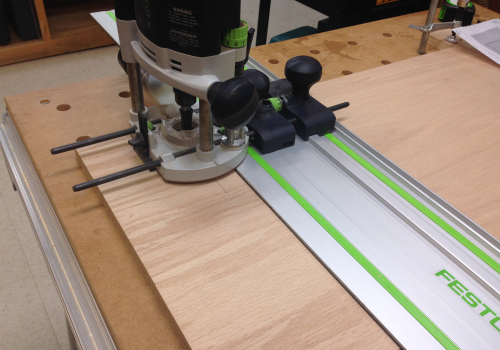
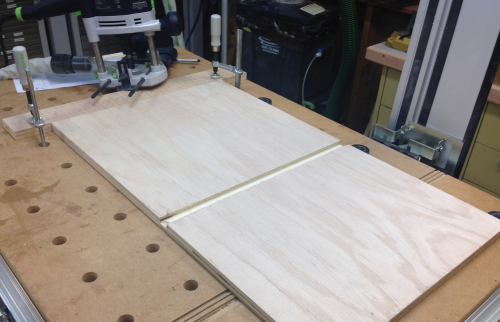
The sides of the cabinet were 3/4 oak ply...they were grooved for shelves at the MFT2. |
 |
To reproduce this groove in the other side without measuring the board was locked down... |
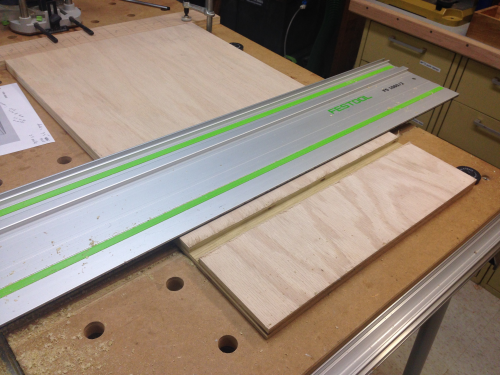 |
...and anchored at the end with temporary fence board and the bench dogs kept everything square. |
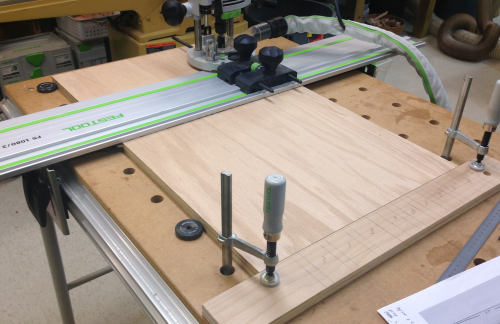 |
Here is the setup for the second groove. |
 |
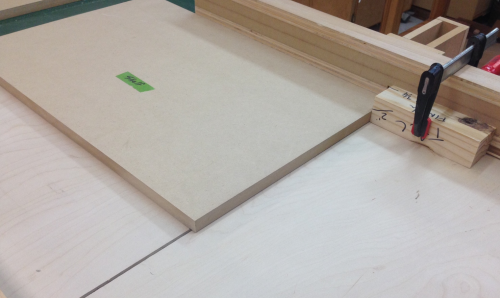
The grooves were perfect...but the MDF shelves that were supposed to go in the 3/4 grooves had apparently swollen over the years and would not fit. So I took the shelves to the P66 using the crosscut sled...raised the blade to about a 1/32 cut and proceeded to nibble off the edges until I pushed the shelf to the stop block. |
 |
Here is a closeup of the rebate that was made. |
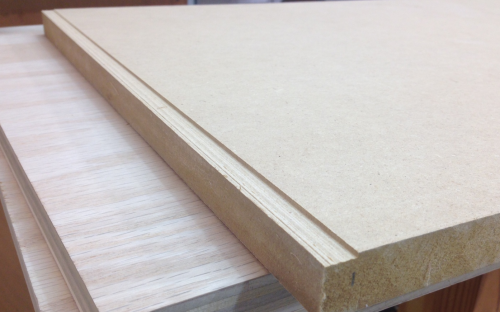 |
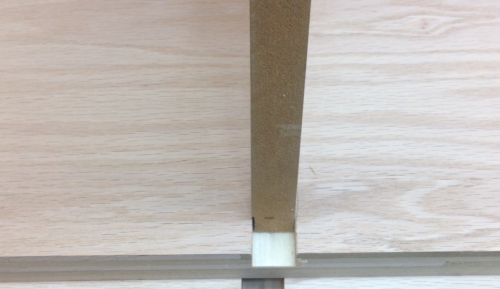
This enabled an easy fit into the grooves. |
 |
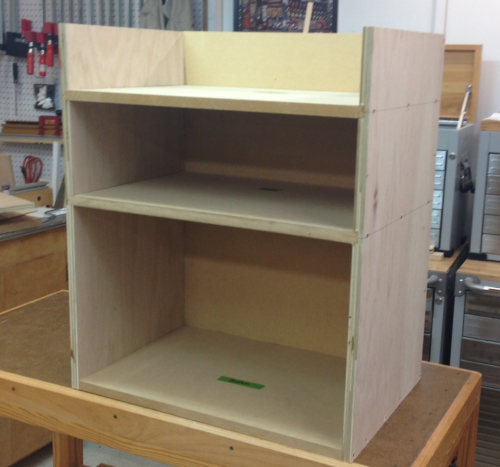
The carcase was glued and screwed...counterbored #8 x 1 1/2 square heads... This carcase will get a laminated top ...all exposed edges will be banded.
|
 |
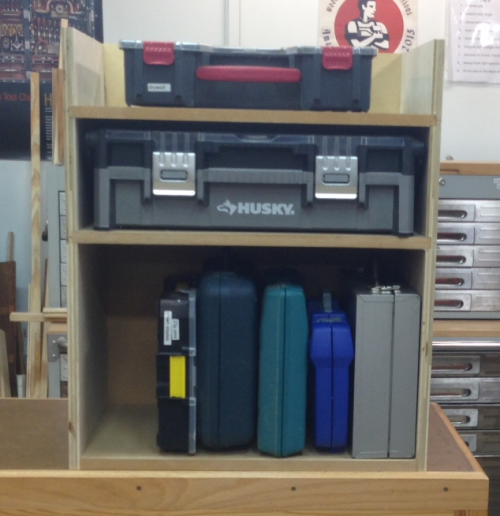
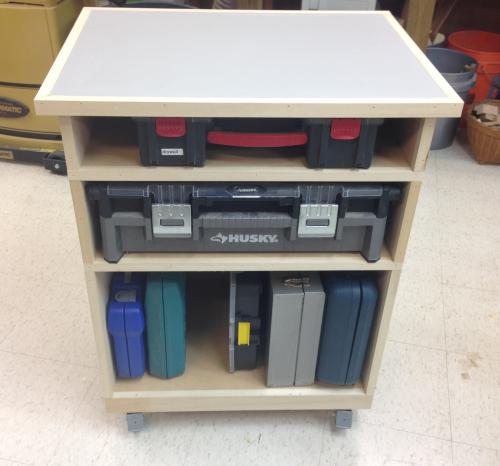
Tool box dry fit into the carcase...horizontal at top is screw assortment, Husky horizontal in middle shelf is Kreg jigs and screws, bottom shelf veritcally holds air gun 23 gauge pin assortment, Bosch jig saw, Makita 1/2 drill, Kobalt 3/8 inch drive set, Porter Cable laminate router set. |
 |
The caster pads were secured to the bottom of the cabinet. |
 |
The front edges of the cabinet and shelves were banded with poplar...shown here with casters. |
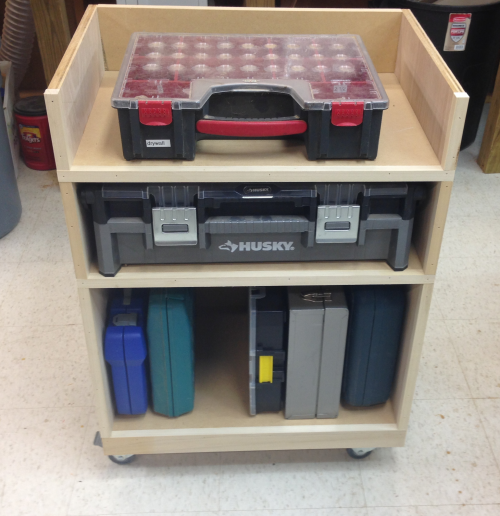 |
With laminate and upper banding. |
 |
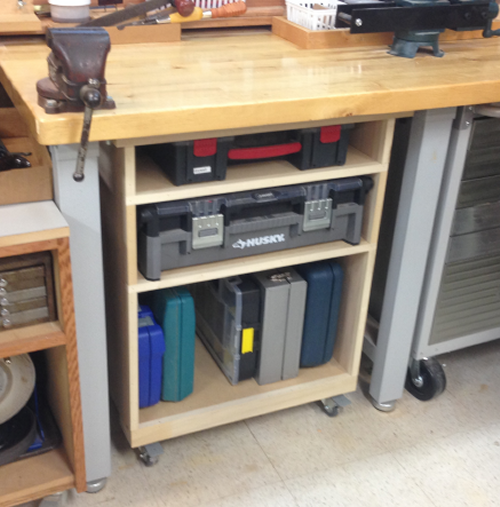
Finished and in service in its cubby hole. |
 |