|
In preparation for making some staked
furniture...I need to drill 1/2 pilot holes that are angled. I need to alter some drill press
appliances so that I can achieve this easily and hold the
stock secure.. |
|
|
One option is a fixed-angle
appliance.
This would require two appliances for the
build...one for the front legs and one for the back legs.
|
 |
|
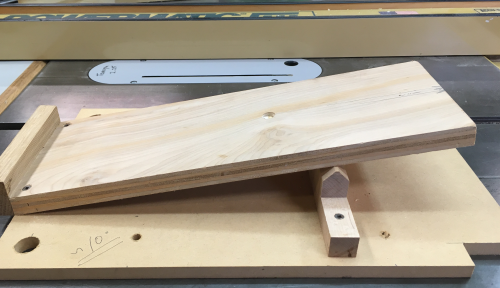
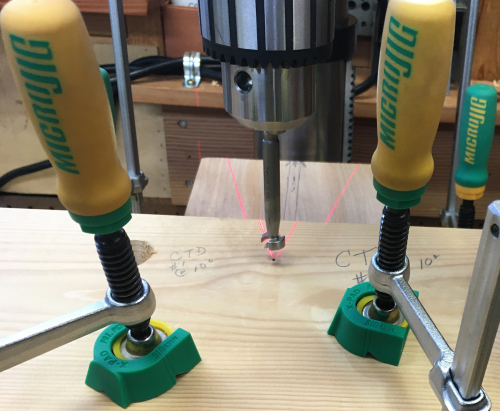
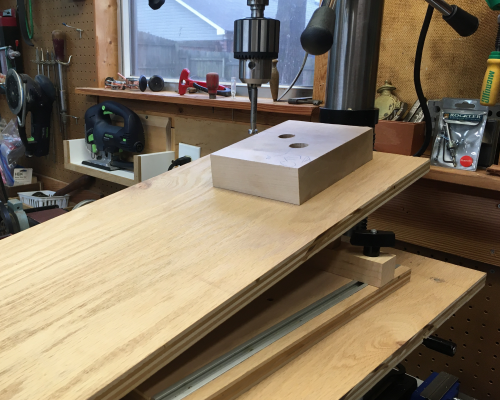
My CTD appliance was a
fixed-angle slant board that was already built for angled
mortises on a step-stool project...this appliance is about
10°.
I had to cut out corners at
the back to enable clamping to the shop built Nova drill press
table.
This design allows a very
secure control.
|
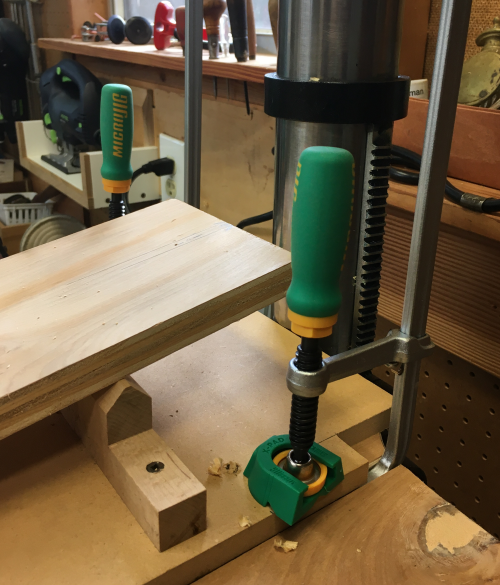 |
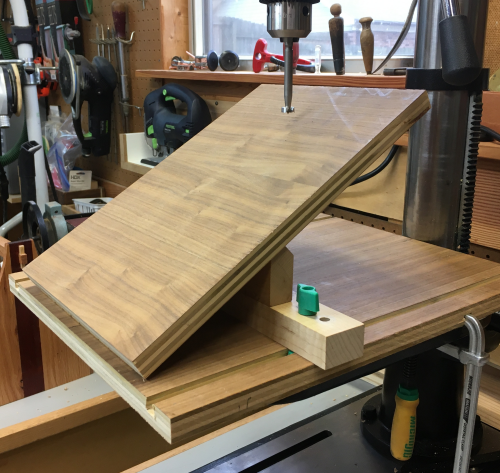
| The alignment of the slant table is such that it will be square to the drill press pillar at the rear. | 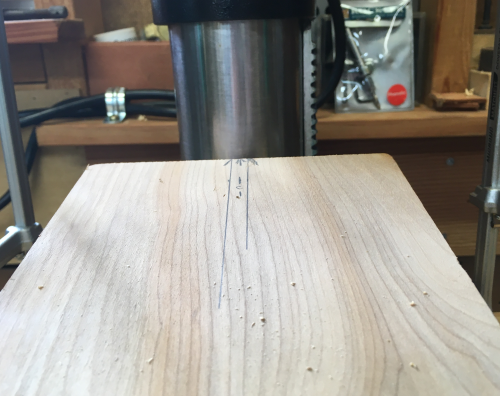 |
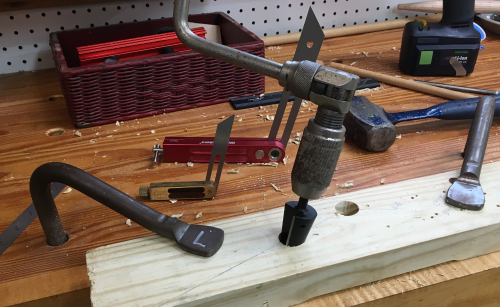
| All clamped up, ready to
drill...had to make a minor adjustment regarding laser centering
on a tilted board. |
 |
| 1/2 inch CTD drill hole was made
with a FAMAG Forstner bit...speed 600rpm was about right.
Had to pull bit from wood often to clear chips. |
 |
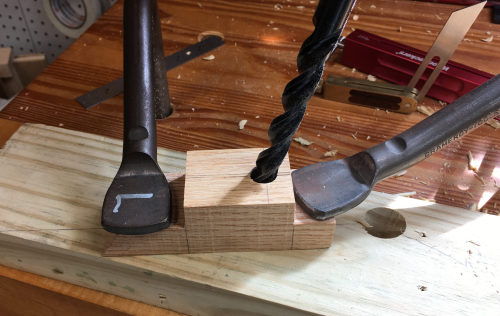
| ...and then the angled pilot hole was reamed. | 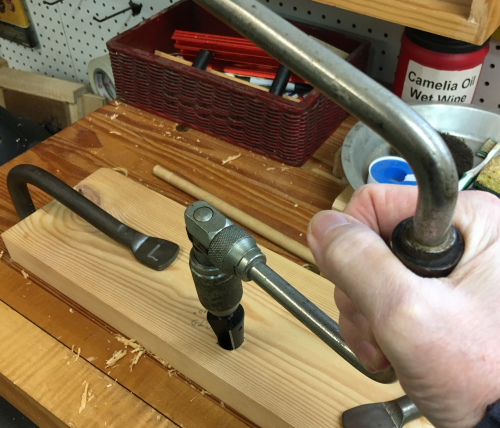 |
| Angle was off a couple of
degrees. As I experienced in my square CTD trials, I tend to push the hand brace and reamer away from me...apparently. |
 |
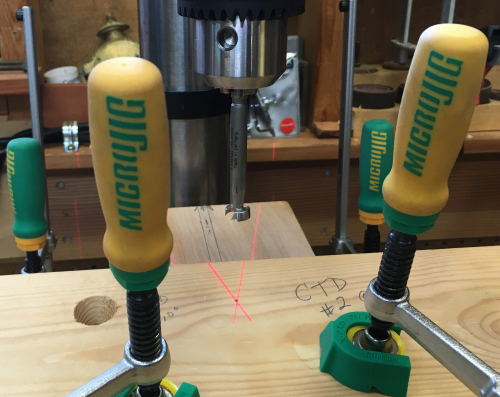
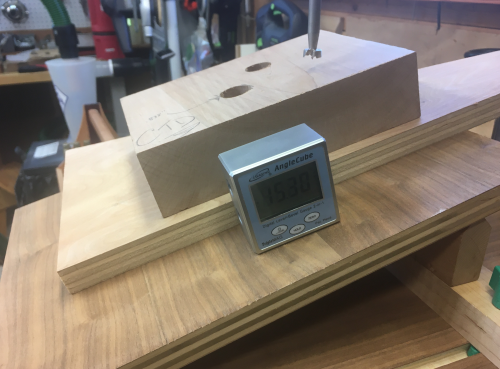
| Second CDT hole...verified that
table was close to 10° |
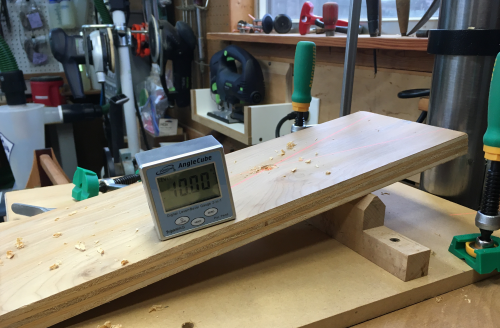 |
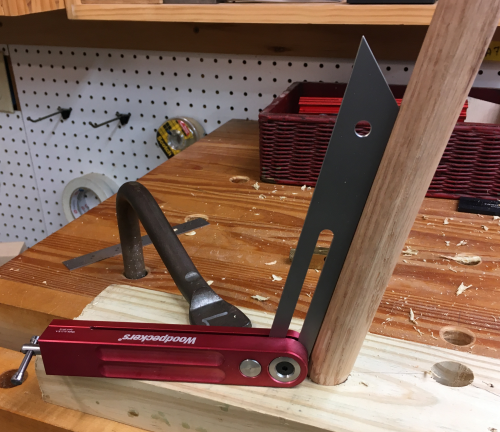
| Put a 1/2 dowel in the hole to
confirm actual angle of hole...10.25°. |
 |
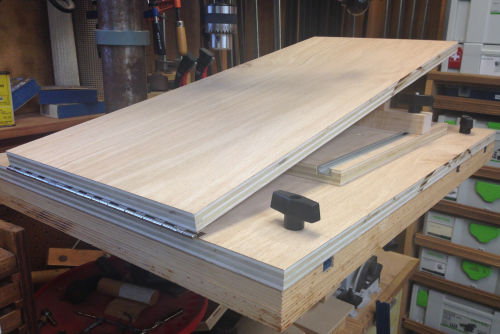
| I already have a shop built
variable-angle appliance...but it is a bit large and bulky for
this task...it was originally created to fit on the shop built
drill press table of the Delta... appliance in use has the hinge on the left and the upper end of the appliance on the right. For this task, the appliance has to turn 90° so that the high end of the slant is at the back next to the pillar. This unit will be difficult to use...space between the bit and the work piece will be a potential issue. |
 |
To allow this appliance to be secured in this way, I relocated the knobs to allow the t-bolts to fit in the t-tracks in the the shop built drill press table for the Nova. |
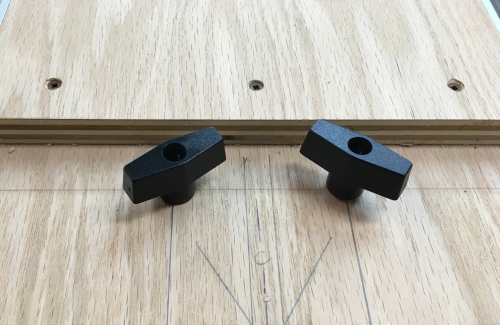 |
| These knobs are way in the back of the appliance right at the pillar. This makes the appliance very secure. | 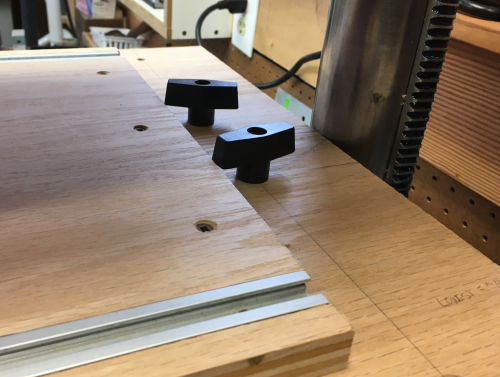 |
| But it is crowded here at the back... |  |
| ...and the feared issue of
spacing became a reality. This shorter Forstner bit will not have room to clear a 1 1/2 inch thick work piece. |
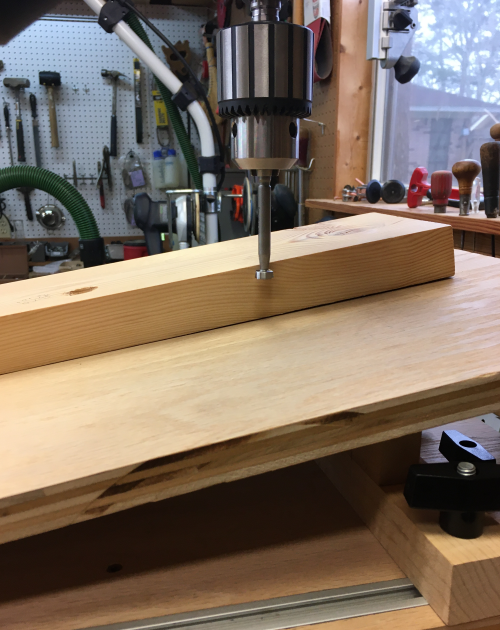 |
| Second option is to attach the
appliance directly to the OEM metal drill press table
and thus bypassing the 1 1/2 inch sandwich of ply and MDF that
is the bottom of the shop built table. I added a MatchFit dovetail groove on the bottom of the appliance...this allows direct clamping to the metal table. |
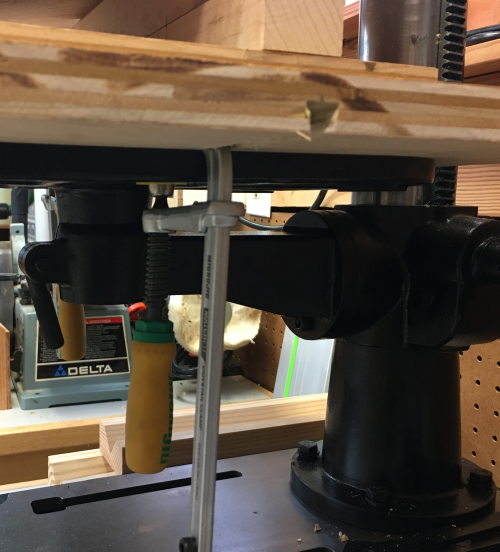 |
| This appliance, once clamped to
the metal table, is very sturdy. The setup allows the use of the large appliance...set at 10°...with ample clearance of the bit above the 1 7/8 inch stock. However, this appliance maxed out at ~13 plus degrees. |
 |
| Option A Make smaller fixed-angle appliances. This would require two units, each set to one of the two required angles. For the staked chair plans, these angles would be 13° and 25°. |
Option B
Make a shorter, variable-angle appliance that will cover the range of angles desired... ...anticipated that the range
will be 5° to 30°.
|
| Opted to do the variable-angle
appliance first...see build here. |
 |
| Resultant Angle Drill Tests |
|
| The drill test was conducted with
a 15° angle. This is the resultant angle for the raked sawbench that will be the first build. Wood Owl bits had been secured for drilling these holes. However, the bits will not fit in my hand brace and they are too long to be used at the drill press. They will only work in the 1/2 power drill. |
Test #1: at drill press with 1/2 inch FAMAG,
then taper with Veritas in hand brace Test #2: with Wood Owl bit in Festool drill...create a jig...then taper with Veritas in hand brace Test #3: along sight line...at drill press with 1/2 inch FAMAG, then taper with Veritas in hand brace Test #4: along sight line... with Wood Owl bit in Festool drill...then taper with Veritas in hand brace |
| Test
#1 Step 1: at drill press with 1/2 inch FAMAG Forstner bit...verified that there is room at 15° angle on the slant board with a 2 inch thick stock plus a 3/4 inch sacrificial board Result: the angle and the thickness of the material made it difficult to drill the hole due to overheating from chip accumulation. This method does create a clean hole...it can be used for making a jig but it is not ideal for production drilling. Test #3 Test canceled due to issues that arose in test #1. |
 |
| Test
#2 and Test #4 Step 1: Create a 15° angle jig at drill press with 1/2 inch FAMAG Forstner bit...created a hole in oak stock. Made some modifications to simplify securing the jig. Step 2: Used this jig to create 15° hole in stock at the proper location along the sightline. Then drilled the hole. |
 |
| Then tapered the
mortise with bit in a hand brace... |
 |
| Test results for angle along a
squared line or along a resultant angle were well within range
of success. This will be the method going forward. |
 |