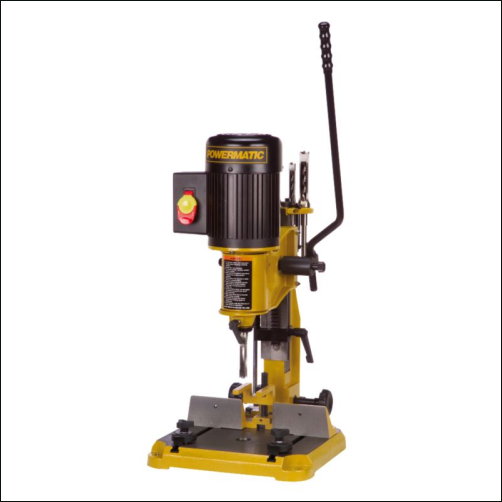
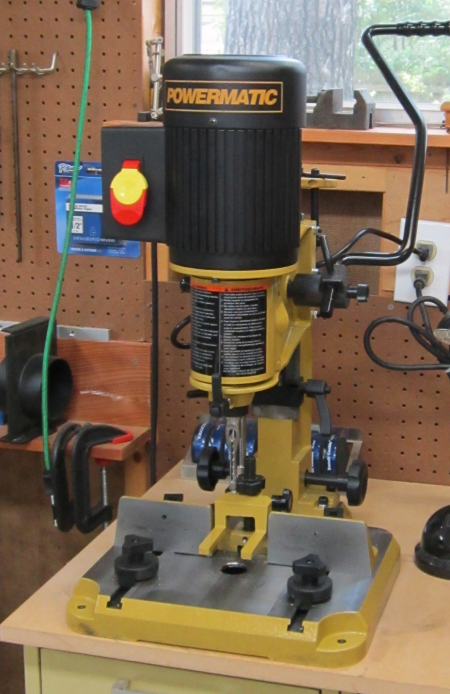
The Powermatic 701 is a dedicated mortiser. This benchtop model has a 3/4 HP motor running on 110v AC. I plan to convert this to 220 V.
|
|
Setting Up the Unit
|
|
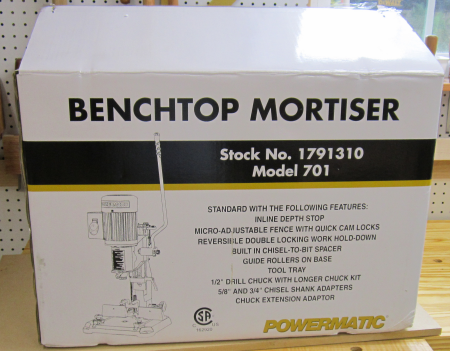
I picked up the unit at the dealer. Shipping package was about 100 lbs. |
|
For the most part the mortiser is fully assembled. The only steps to prep the unit are to clean the shipping grease off the metal parts, release the locked-down shaft, and install the operating handle.
|
 |
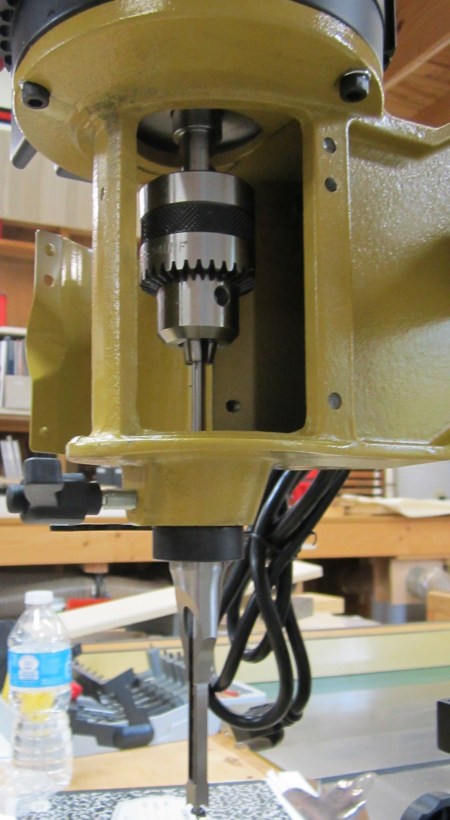
I installed a Japanese made Star mortise
chisel and bit...1/4 inch. |
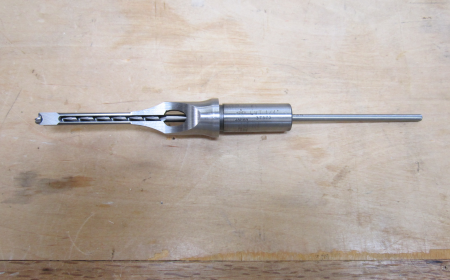 |
Mortise chisel installed into the mortise bushing...and the auger bit in the chuck. The chisel to auger clearance at the bottom of the bit must be set to match the size of the chisel. Powermatic provides two swing out positional spacers that make this setting simple.
|
 |
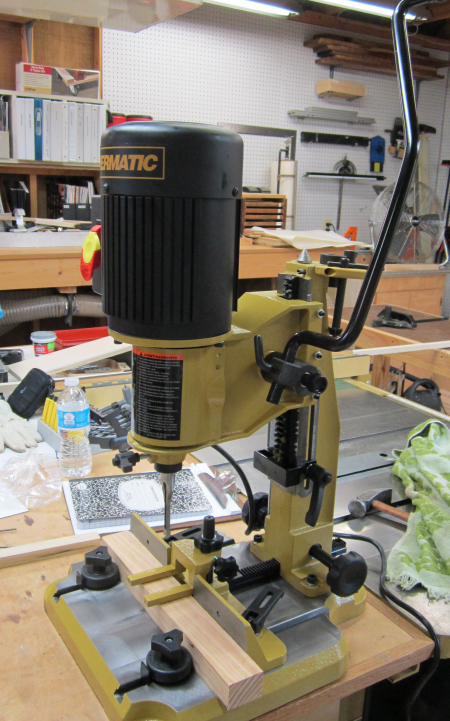
Here is the fully assemble unit ready for
the power up maiden run. |
 |
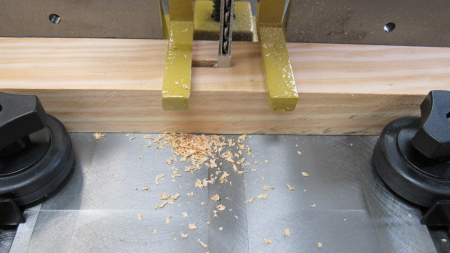
First test mortise...wood is secured to the table by the top hold down clamp...the work piece is held to the fence by the front roller guides |
 |
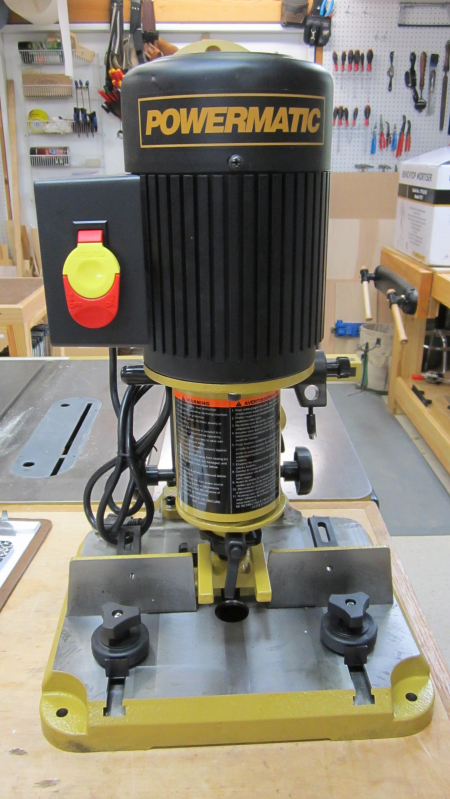
Here is the unit on the benchtop. A mounting plate will be designed and added to make sure that the device will not tip forward. |
 |
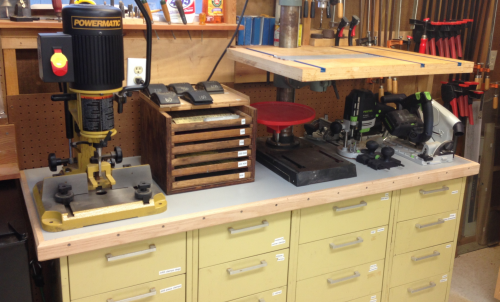
The mortiser shares a cabinet top with the Delta benchtop drill press. |
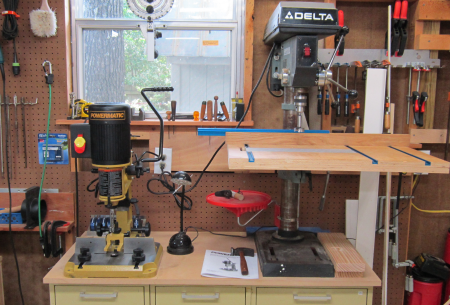 |
Enlarged bench area with a new top. |
 |
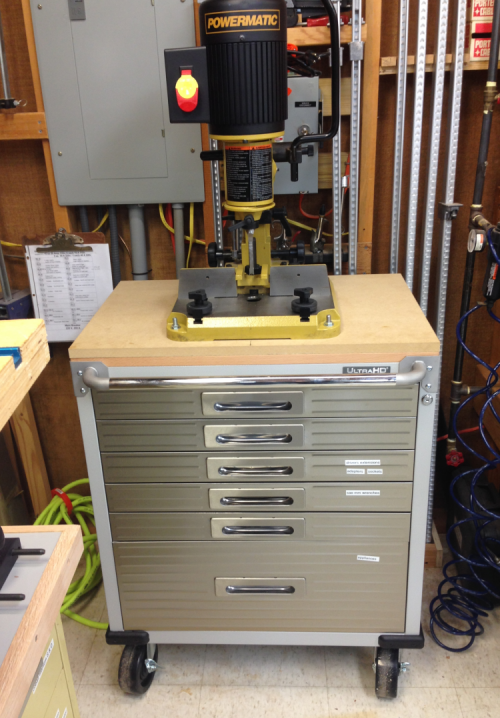
After tiring of moving heavy mortiser to a user friendly location...mounted it onto a rolling stand. |
 |