I purchased a planing stop to retrofit into my workbench. The stop is made by Benchcrafted.
I have loved every product I have gotten from Benchcrafted...I have Krubber, the Skraper, the and the Paring Skraper...but it was the two Moxon vises that built with their hardware that made me a believer. I also had the chance to meet Jameel Abraham at Handworks in Iowa. I think highly of Jameel, Handworks, his company and all of his products.
|
|
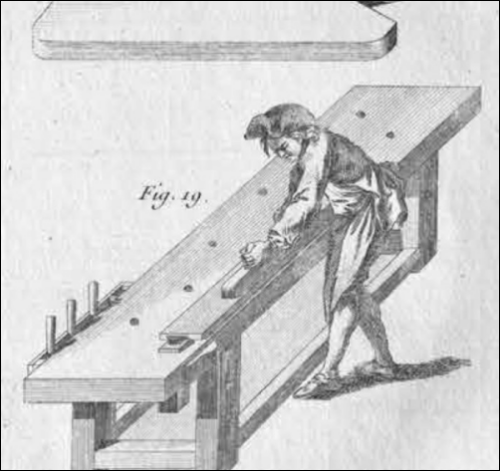
Planing stops have been used as long as there have been benchs...here is a Roubo plate (18th century) showing a planing stop in use... |
 |
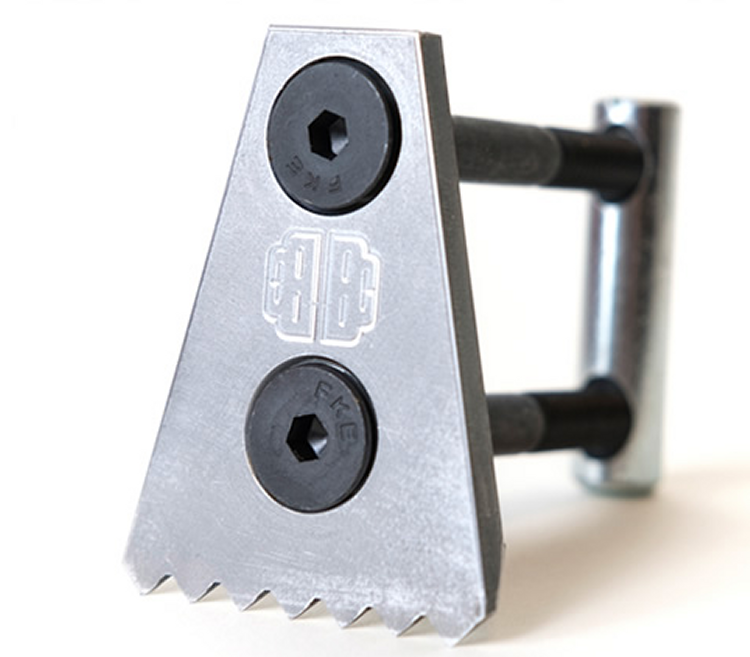
Example of the Benchrafted stop which can be raised for use and then lowered beneath the benchtop. |
 |
Benchcrafted PDF instructions for installation of the planing stop. |
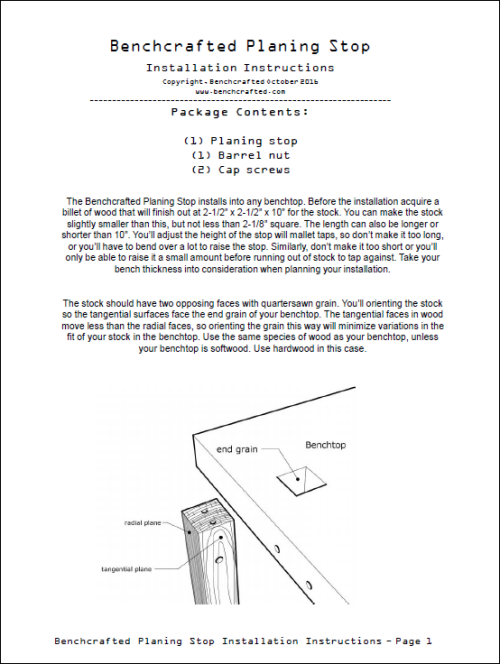 |
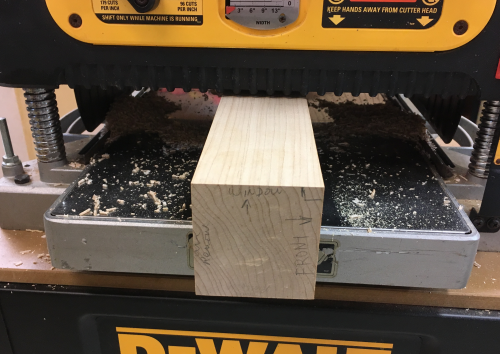
Benchrafted recommends a billet of wood that will finish out at 2-1/2” x 2-1/2” x 10”...I selected a 12/4 piece of hard maple that I had laying around...at bandsaw trimmed off enough to get the billet onto the jointer... |
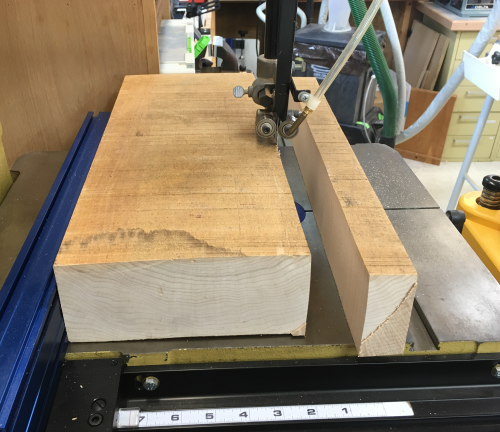 |
Jointed an edge and a face... |
 |
...planed a face... |
 |
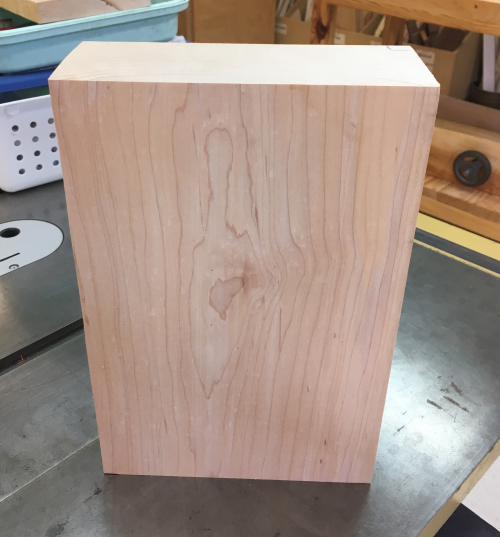
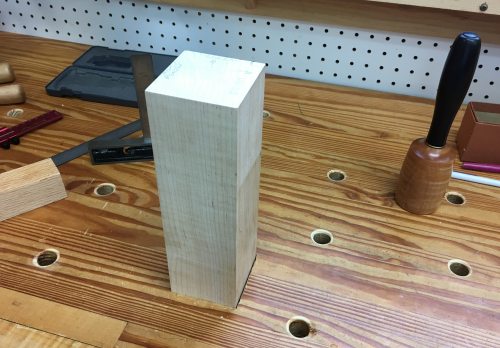
...and had a large billet to work with...this will allow me to really check out the grain. |
 |
Preparing the Hole |
|
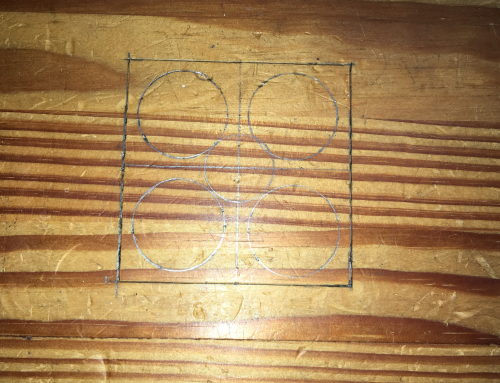
Layout...location near front edge, near the double vise...a hole designed to be 2 1/2 x 2 1/2 inches square. |
 |
Laid out for one 3/4 inch hole and four 1 inch holes to hog out a lot of the material. |
 |
Used the Veritas lipped HSS bits... |
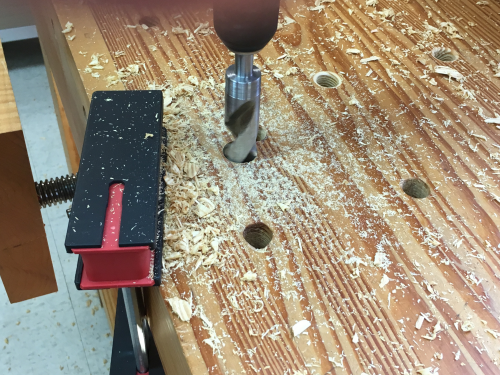 |
A drill bit pullout caused some spelching...so we realigned the hole...changing the size somewhat. |
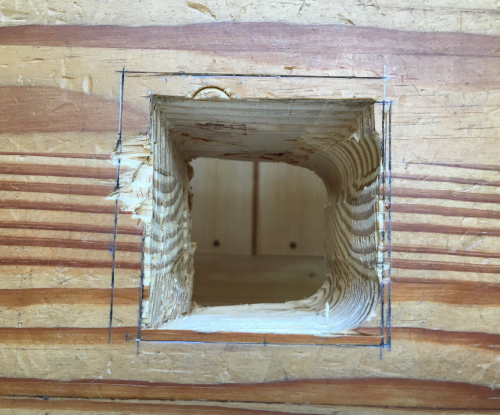 |
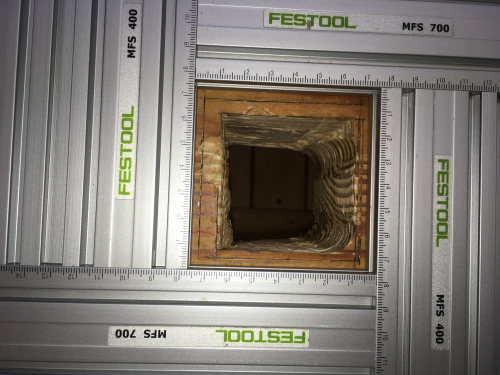
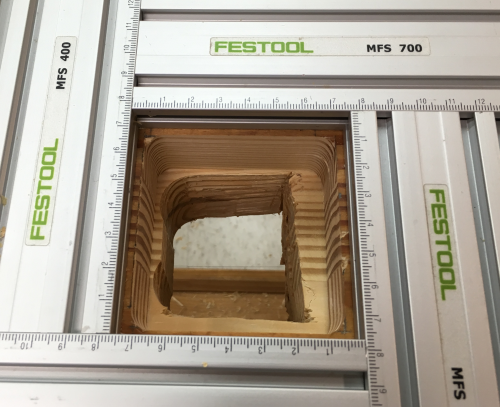
Used the Festool routing template to create a 77 mm template hole that would create a routed 70 mm square hole. |
 |
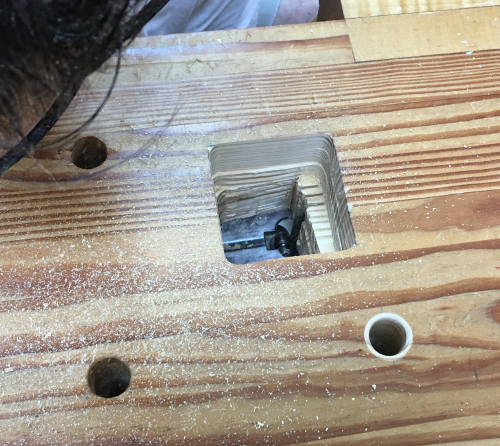
Used a Whitestone 1/2 up spiral bit. Made some nice walls...after that bit could go no further we tried a longer bit that did not work well... |
 |
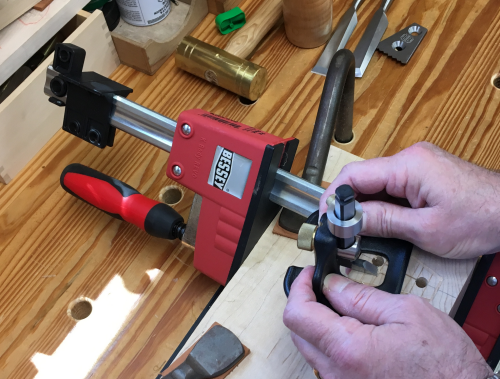
So James got under the hole with the Bosch jig and cut some slots... |
 |
Now ready to chisel out the sides...with LN bench chisels |
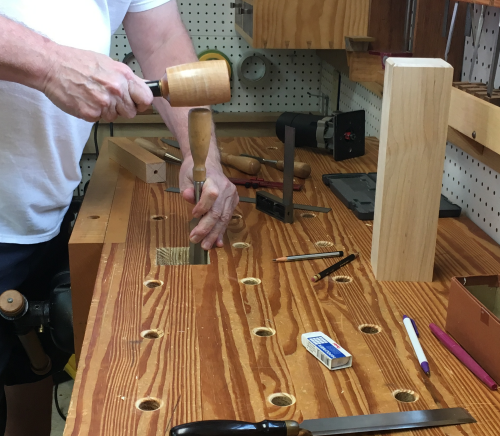 |
...Blue Spruce and Nishiki Kinari paring chisels... |
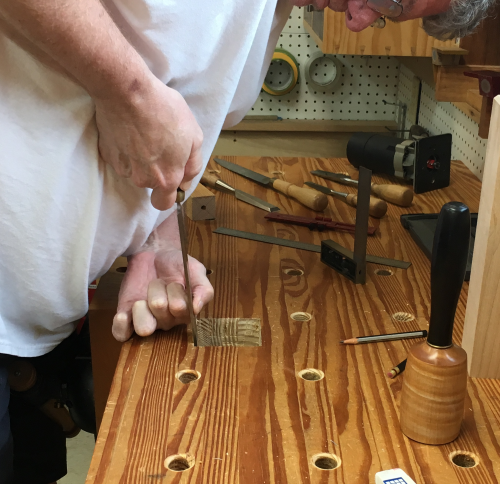 |
...a huge Sorby corner chisel... |
 |
...and finishing with Auriou rasps. |
 |
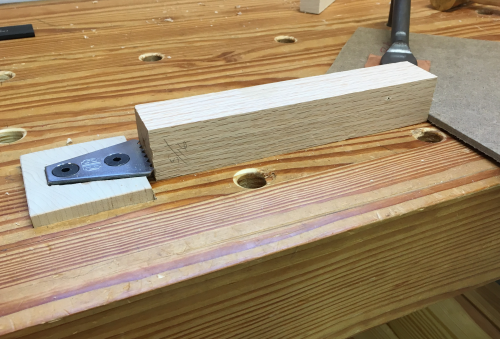
Final Billet Work and Bench Fit |
|
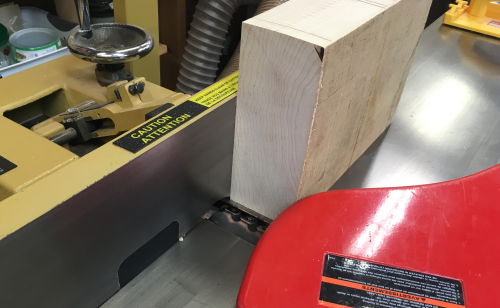
After the hole was roughly sized...the maple billet for the block was trimmed down at the bandsaw...realigned square at the jointer... |
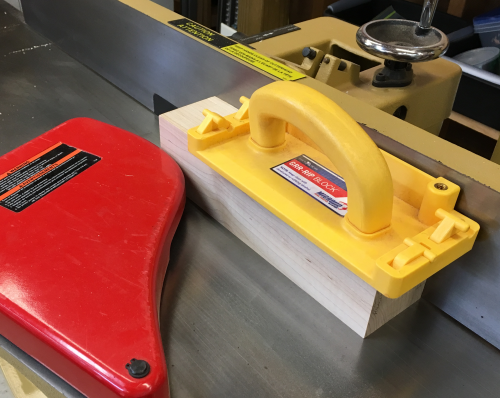 |
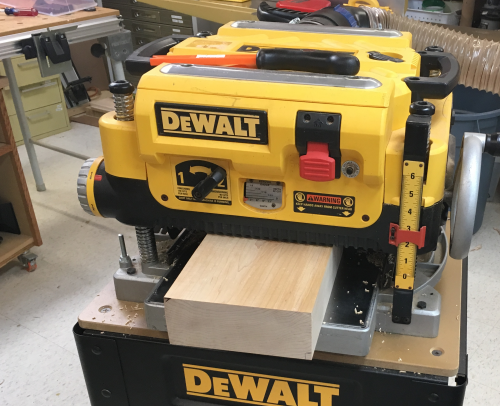
and sized at the planer. |
 |
The bottom edges of the block were chamfered to prevent spelching. |
 |
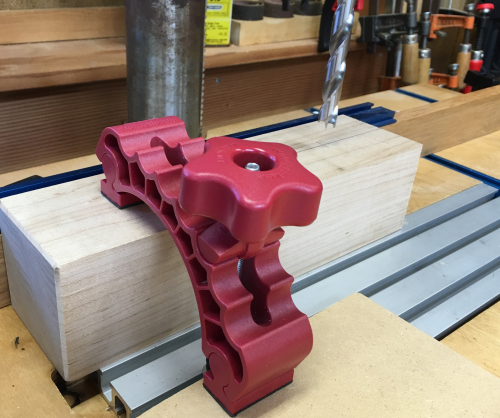
Test fit...then the walls of the hole were further worked to make for a good fit. |
 |
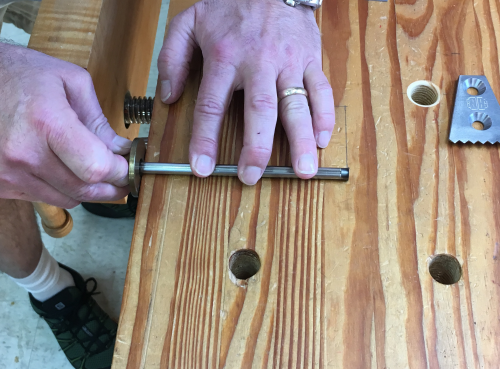
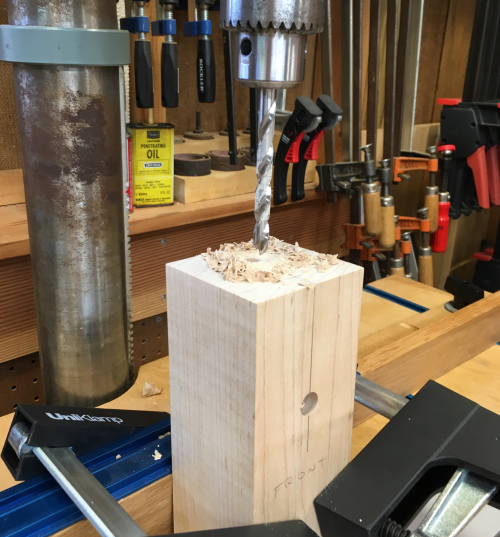
Billet needed a 1/2 inch horizontal hole to accept the threaded rod. Done with a lipped HSS bit at the drill press. |
 |
|
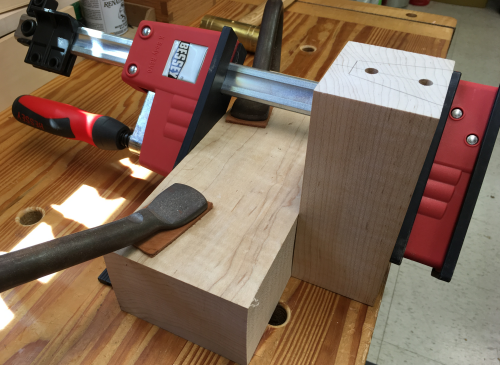
With the billet on end, two 5/16 holes had to be drilled to accept the bolts. Done with a lipped HSS bit at the drill press. |
 |
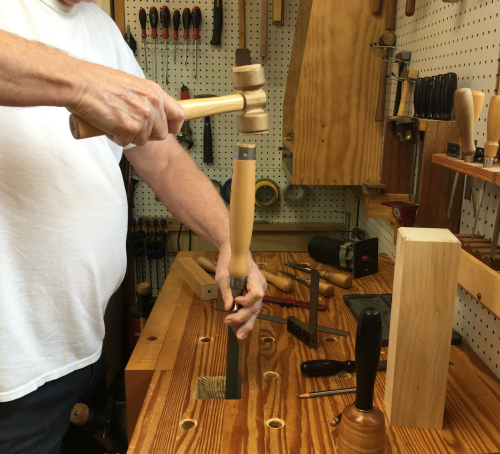
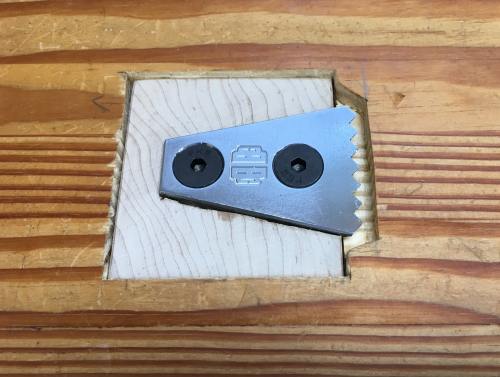
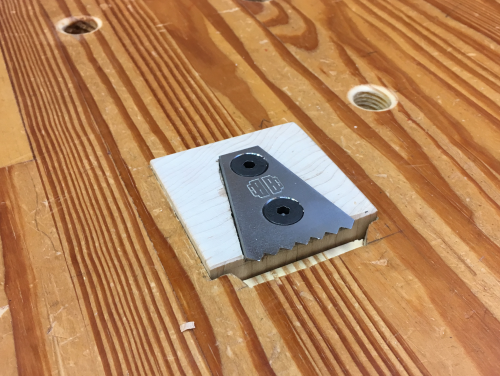
The billet was secured to the bench so we could countersink the plane stop...about 1/8 down... |
 |
The plane stop outline was marked with a bench chisel... |
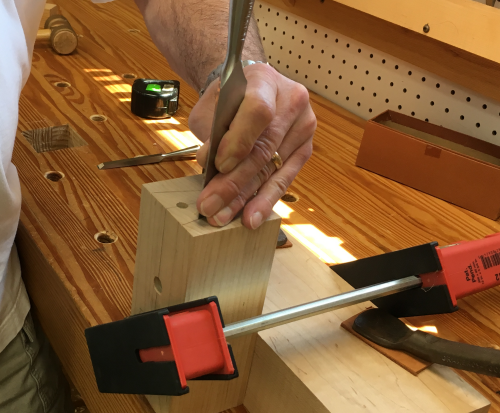 |
...then that edge was beveled. |
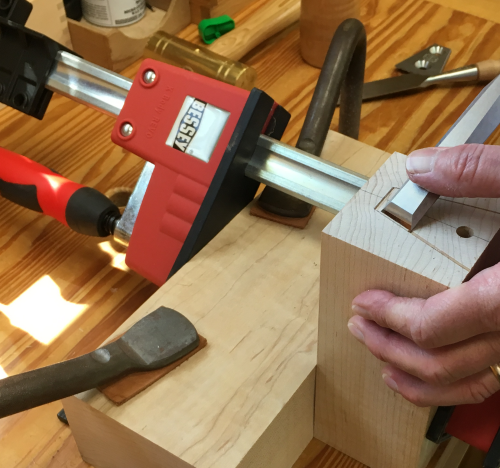 |
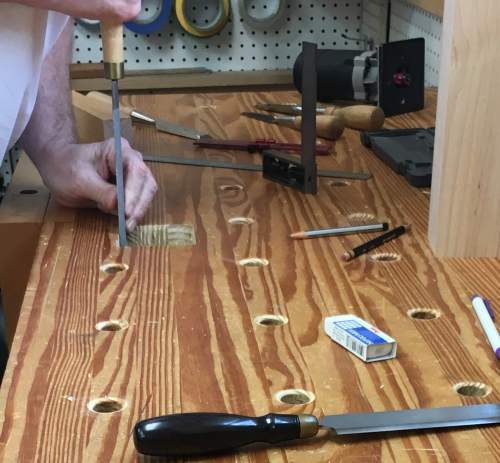
Bench chisels made depth marks... |
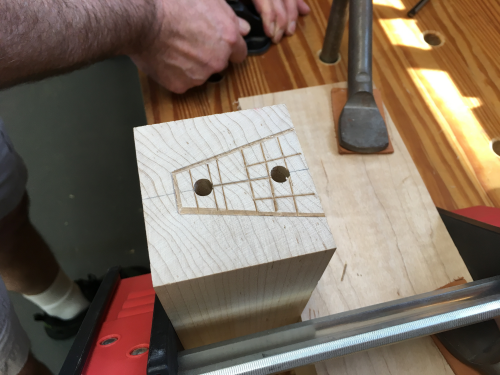 |
...and a variety of router planes were used to acheive the depth. |
 |
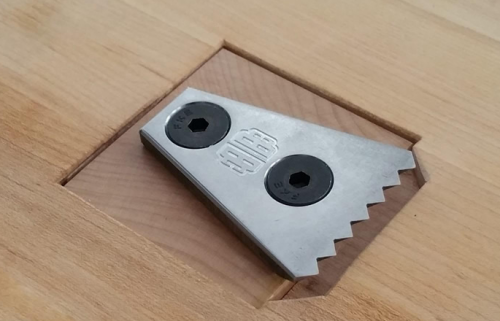
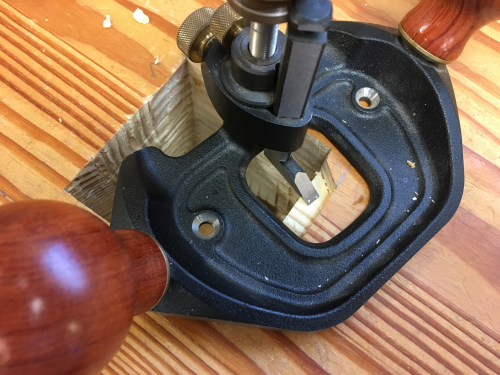
With the plane stop installed in the billet...a bench test. |
 |
With chisels and a router plane an area was created to accept the front teeth edge of the plane stop and allow the entire unit to be be below the top of the bench. |
 |
Side view... |
 |
...front view. |
 |