A friend, Bob, wanted to make a chest out of reclaimed pallet wood. The wood selected was nominal 1 x 6.
The basic design was to be rail and stile outside frames with panels attached to the inside of the frame.
The top will be made of similar materials and design...
|
|
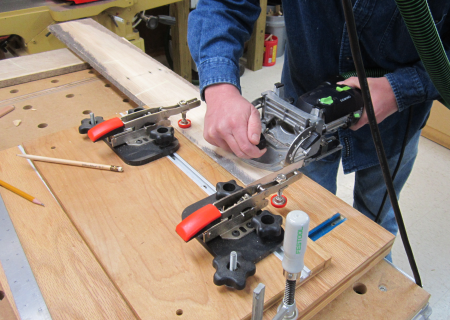
The frame joints will have a Domino to keep the pieces coplanar and will be joined on the backside with pocket screws. |
 |
The bottom will be a frame with plywood and will be covered with cedar planks.
|
 |
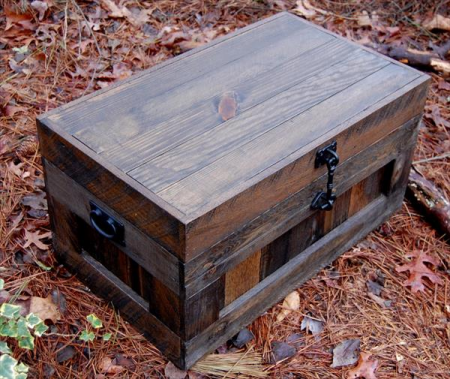
A "working image" off the internet is shown here. |
 |
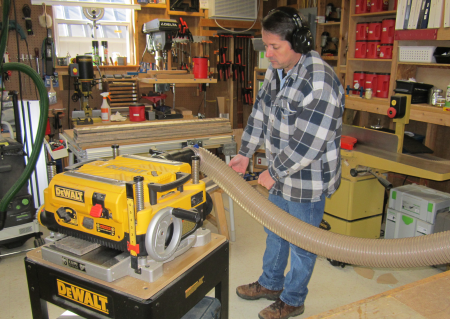
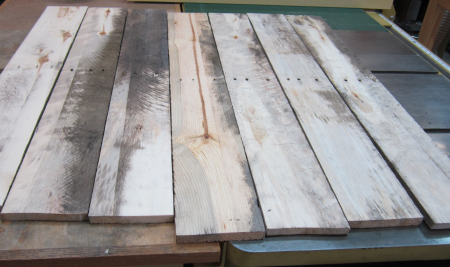
The reclaimed wood was run through the planer to take off some of the rough spots to create the desired effect. |
 |
the effect... |
 |
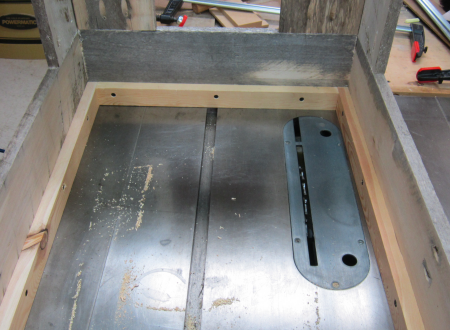
The bottom interior frame was made with 3/4 thick x 1 1/2 tall materials. |
 |
Appropriate rails and stiles were selected and the layout was configured.
|
 |
The boards were then chopped to length. |
 |
Semi-milled pallet planks...ready to become rails, stiles, slats and top boards...plus the base... |
 |
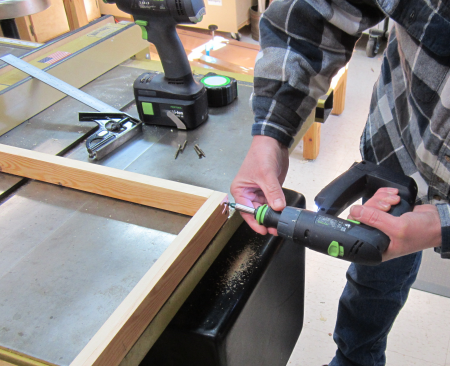
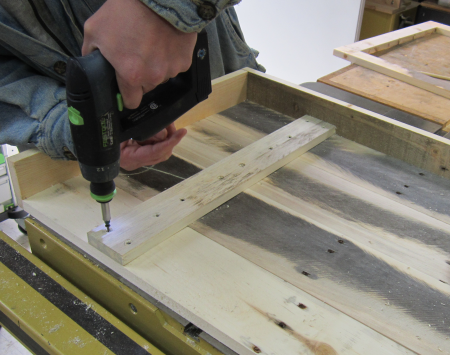
The short stiles were drilled with Kreg pocket holes.
|
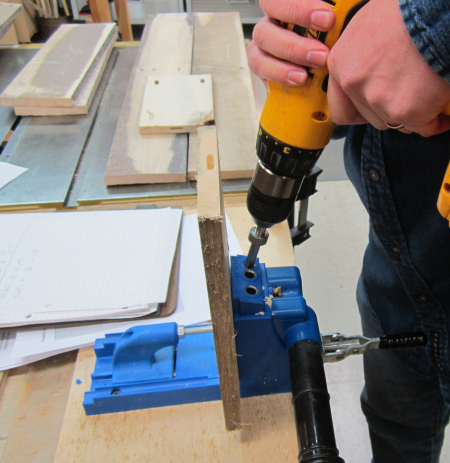 |
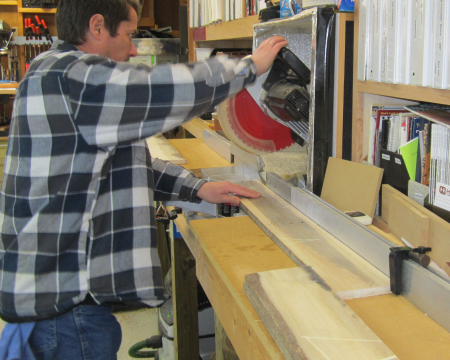
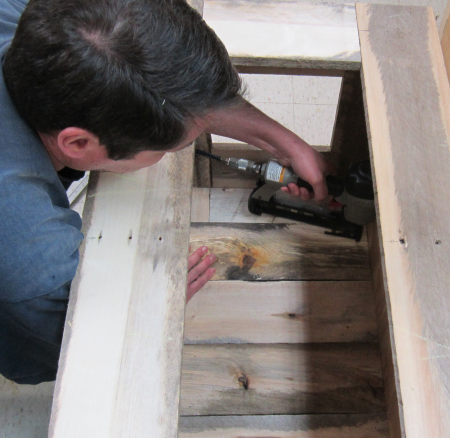
At the rail/stile joints Domino floating tenons were put in to keep the boards coplanar. Here Bob is cutting a mortise. |
 |
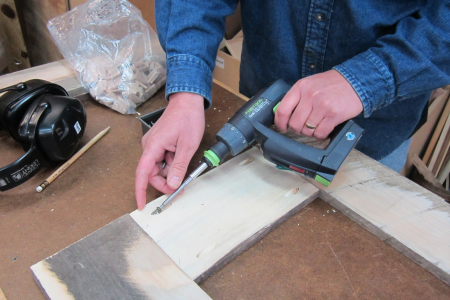
Pocket hole screws secured to the stiles to the top and bottom rails. |
 |
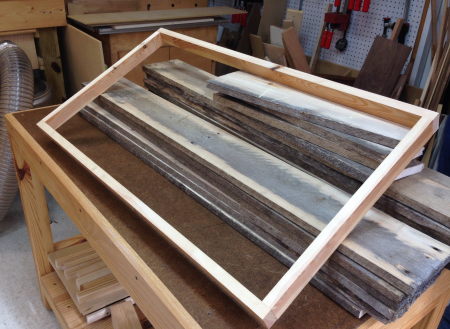
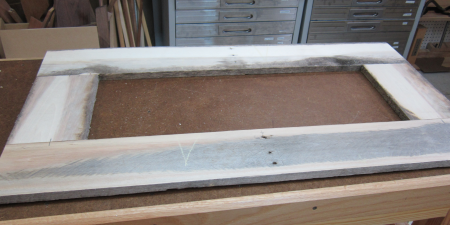
The front panel...rails and stiles. |
 |
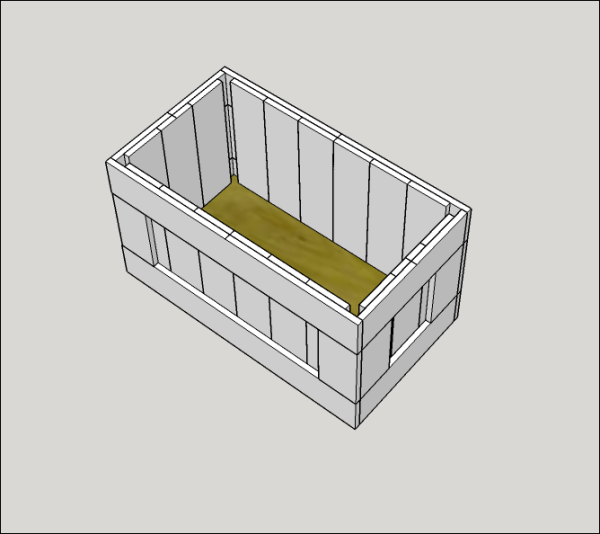
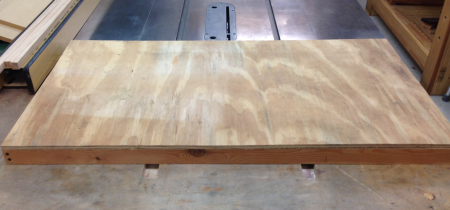
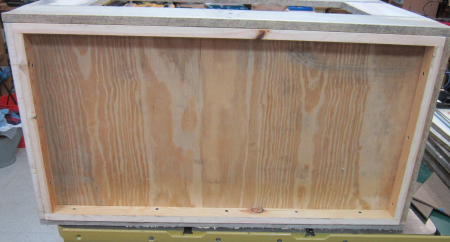
The base unit with 1/2 inch plywood on top...the side panels will be screwed onto the base, from the inside of the base...the platform will form the interior bottom of the chest and will be finished as desired by Bob's SWMBO. |
 |
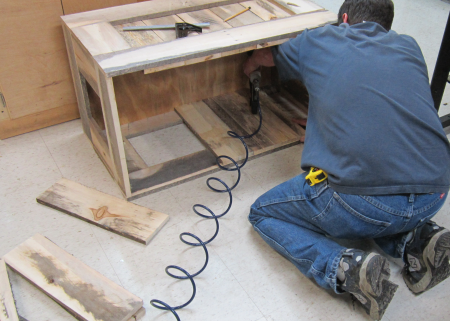
Interior of base...the sides were attached with drywall screws from the inside of the base into the rails... |
 |
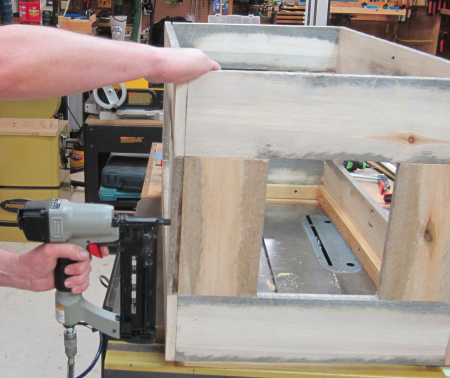
Then the butt-jointed sides were nailed off with 18d brads... |
 |
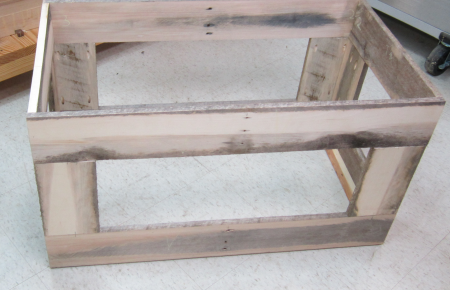
The external frame... |
 |
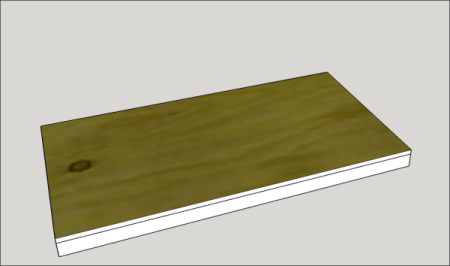
The bottom of the unit after the 1/2 plywood floor was attached with brads... |
 |
Then the 18" slats were installed with brads... |
 |
These slats were centered in the panel and installed by working towards the corners... |
 |
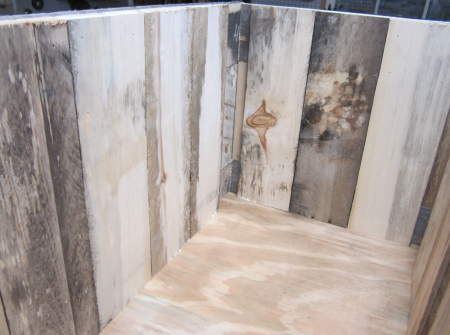
The interior... |
 |
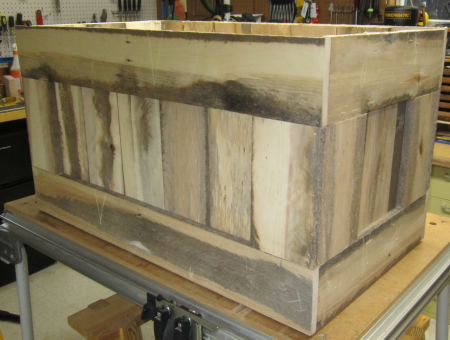
The completed lower chest section... |
 |
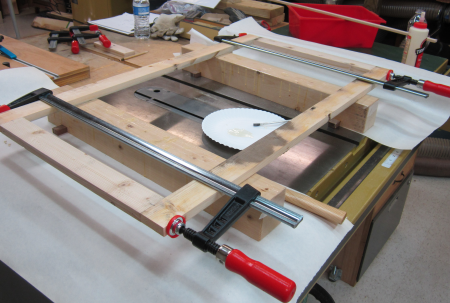
The plate that will sit on top of the carcase was glued with Dominos... |
 |
In most instances the wood was not overly milled...but the planks for the top were jointed so that they would close up nicely... |
 |
The ends of the frame for the top were nailed to the planks. |
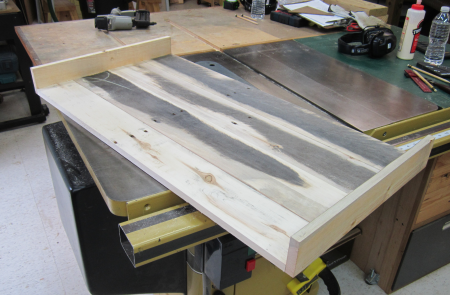 |
Then battens were secured from the inside with screws...the three battens did a pretty good job of making the boards coplanar. |
 |
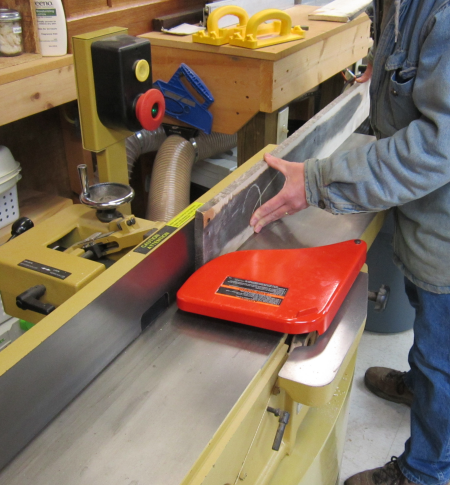
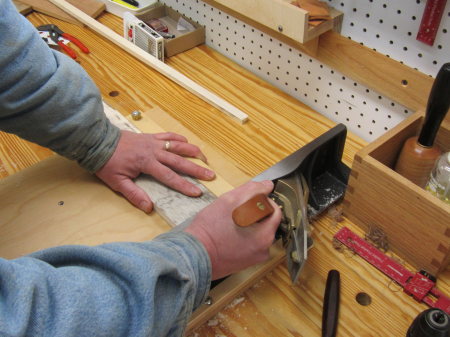
The ends of the battens needed to be square and precise...they were shot with the LN 51. |
 |
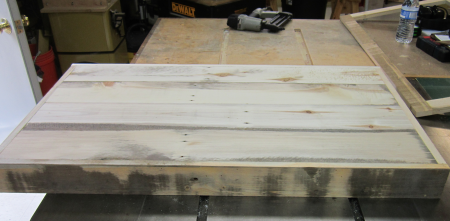
The finished lid... |
 |
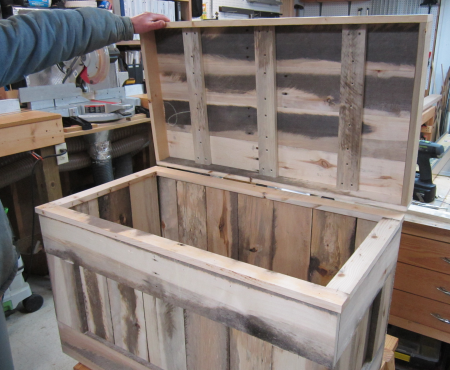
Dry fit to align... |
 |
The hinges had to be bent in a vise and then installed onto the lid... |
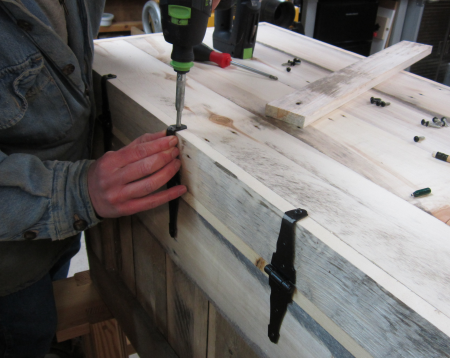 |
Then attached to the carcase... |
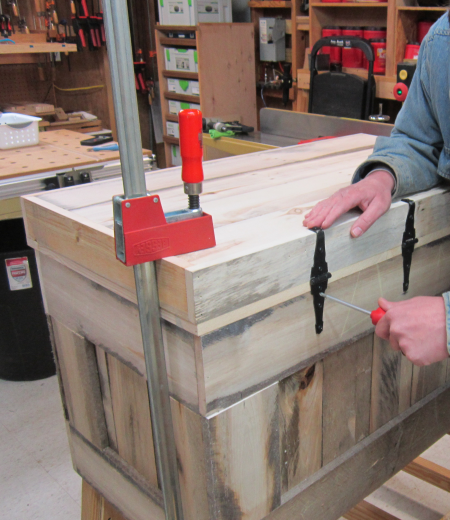 |
Lid function test...more hardware will be added later... |
 |
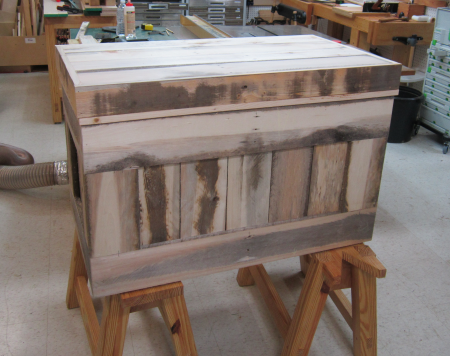
The finished build...finish and stain to be determined later...
|
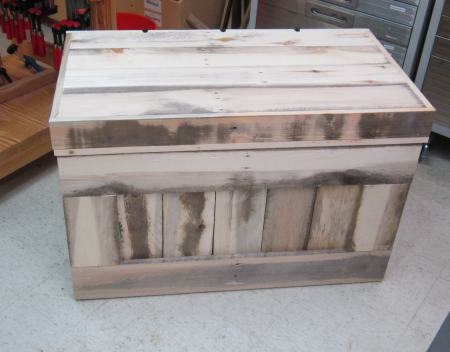 |
The done deal... |
|