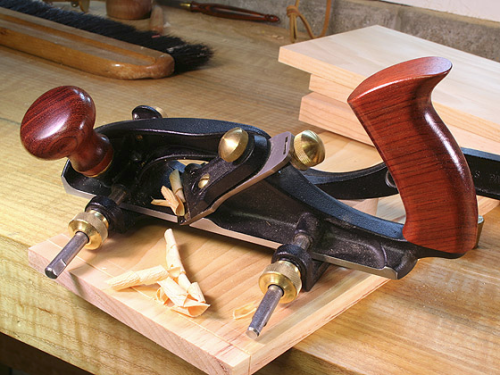
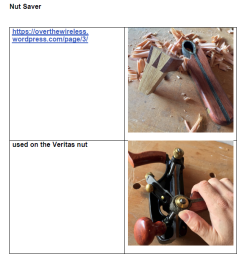
I read a Christopher Schwarz blog about how badly he stripped the brass nuts on his Veritas planes because they were so difficult to turn by hand and using a wrench destroyed the beauty of the nuts. He spoke of a strap wrench that was custom made just to turn those nuts...the "Nut Saver"...made by Bern Billsberry, a professional woodworker in Wales. I decided to make one myself...I could really use one of these on brass knobs on both the Veritas skew rabbet plane (moving filister plane)...
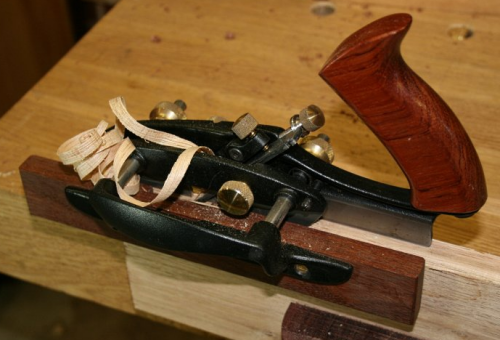
and the Veritas small plow plane...
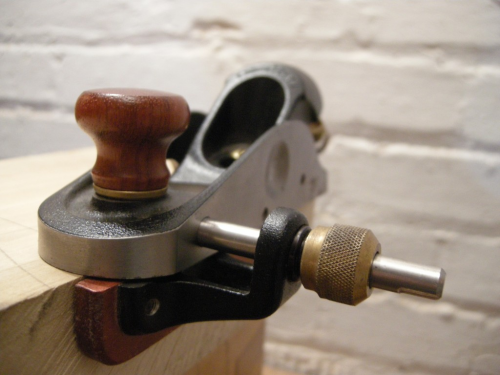
and I thought that it would work with the Veritas skew block plane, but it turns out that the knob is slightly smaller...I will have to make another cusomized leather strap wrench...
|
|
On Instagram, Billsberry published the steps to making a Nut Saver. I downloaded general information about the strap wrench and some of the pictures and instructions and put them in a PDF... |
|
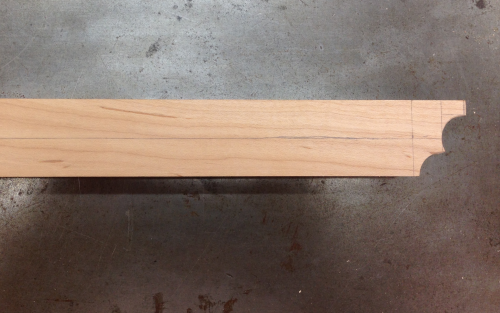
I selected a scrap piece of hard maple...I made it 1 1/4 inch wide by 5/8 inch thick...I would trim the length later. I laid out the curved edges as described by Bern...I cut mine out on the drill press with a 20mm Forstner bit. |
 |
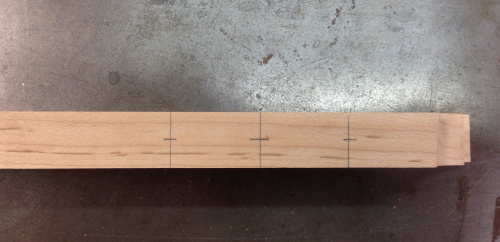
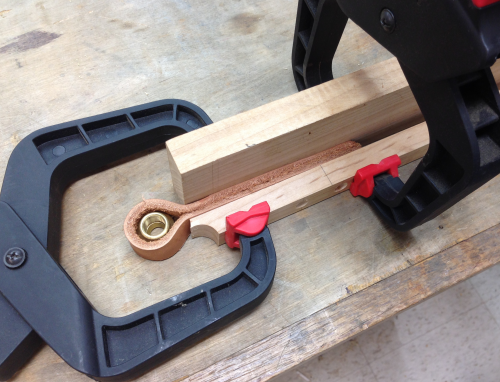
I decided on three screws...I opted for #8 square drive at 1 1/4 inch...by the time the double thickness of leather is put into the sandwich the width of the device will be ~1 5/8 inches. The markout... |
 |
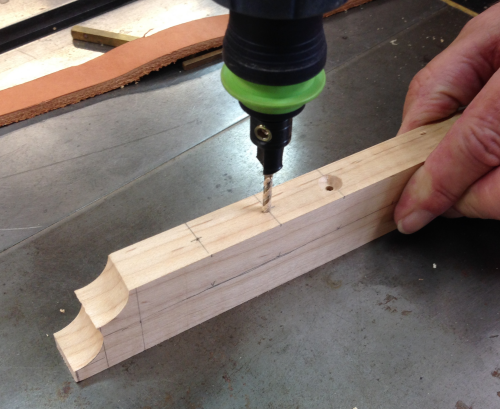
Pre-drilling the #8 holes and the countersinks... |
 |
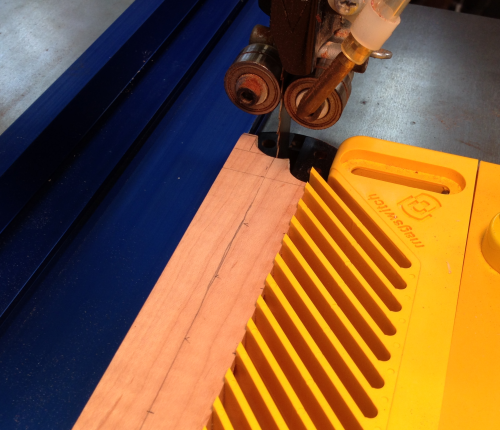
The blank was then cut in half at the bandsaw... |
 |
A leather strap 1/8 inch thick x 5/8 inch wide by 13 inches long was specified...I had an off cut that Hoot, my leather working friend, had given me...I straightened out a rough edge... |
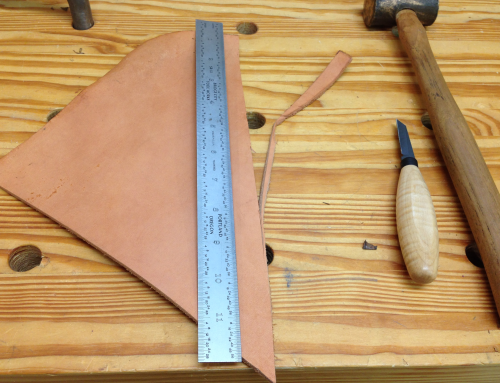 |
Marked off 5/8 inch... |
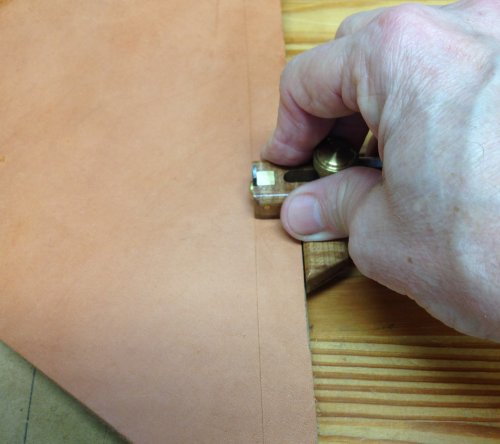 |
Cut the strip... |
 |
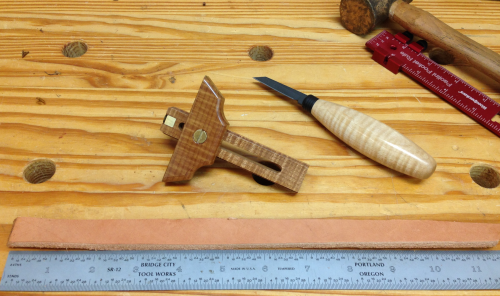
Ended up with a 11.5 inch piece...it will have to do...plus my leather thickness was ~5/32... |
 |
We decided to make all of the adjustments with a waste board on the back side...here the leather was wrapped around a brass nut off of the skew rabbet plane...then the unit was clamped to the sacrificial board... |
 |
Then holes were drilled through the leather... |
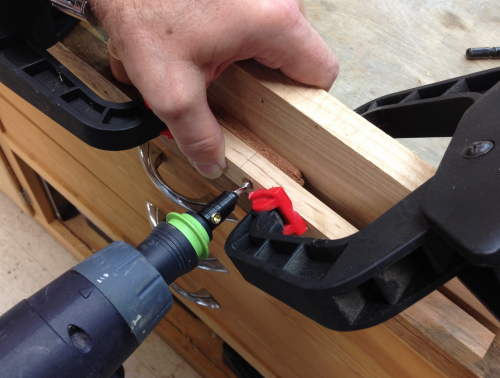 |
And screws were installed...here the unit is attached to the sacrificial board... |
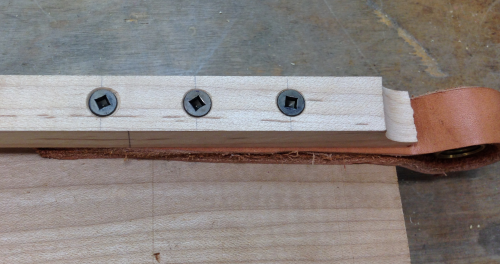 |
Then the two pieces were screwed together... |
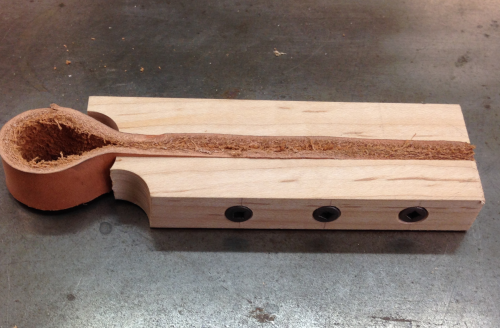 |
A paring chisel was used to remove the rough leather edges... |
 |
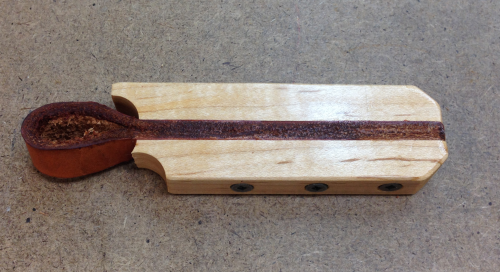
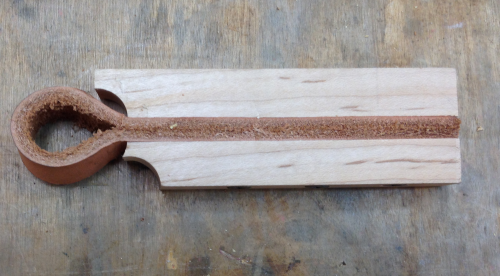
Unit was tested...it works great...and it is now ready for some final shaping... |
 |
cut off the ends... |
 |
Knocked off the edges with the Auriou rasps...and got down to this...ready to apply some finish... |
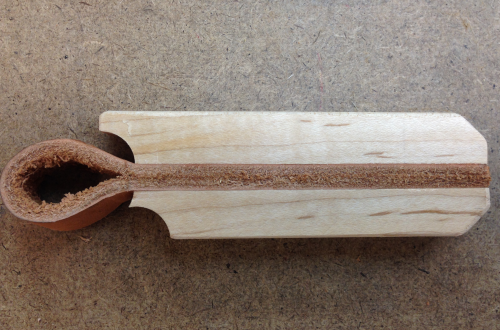 |
Padded on some #2 weight "Super Blonde" shellac to the maple and to the leather... |
|