Wood Selection, Milling Wood and the Box Joints Sanding, Finish Application and Final Product
|
|
This is a two unit prep...one napkin box for Cindy and one for her Aunt Ester. Once, while visiting Ester, we noticed a lot of wood on the street at the end of her driveway. Cindy and I loaded it into the car and transported it back home. It turned out to be Honduran mahogany...dry and stable after being on the wall for forty years. |
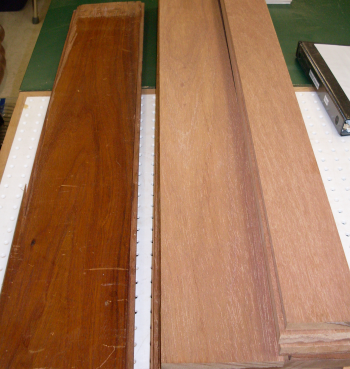 |
I used this mahogany to make my machinist chest and some other projects. I recently came upon the last of these mahogany boards...and I decided to use my new box joint jig and make some boxes out of this wood. |
 |
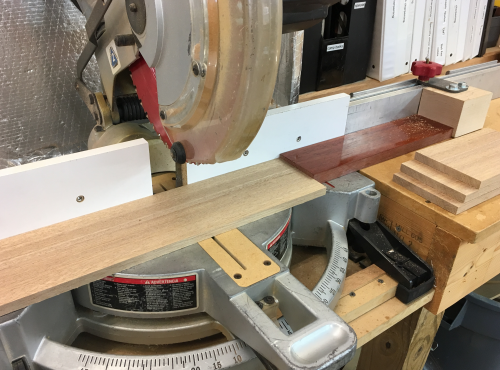
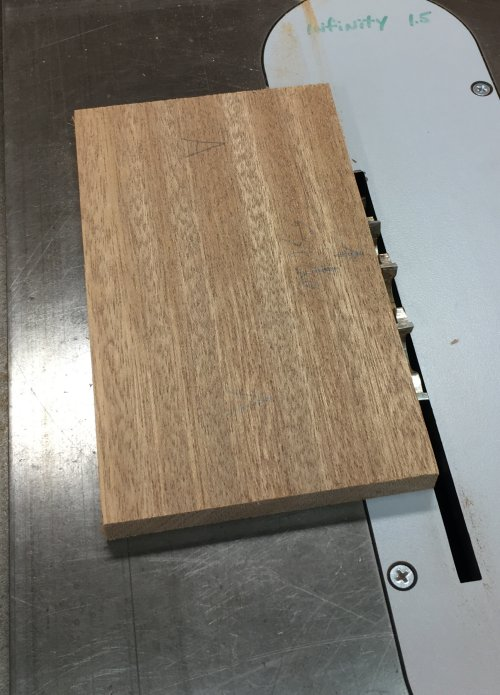
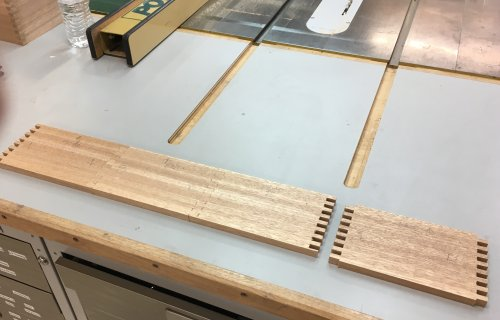
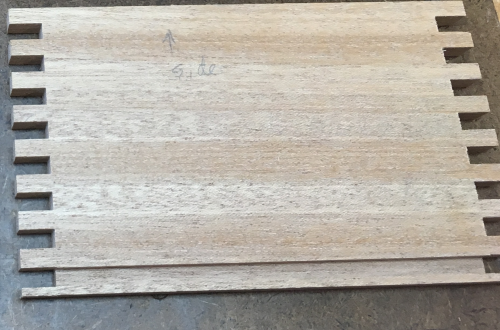
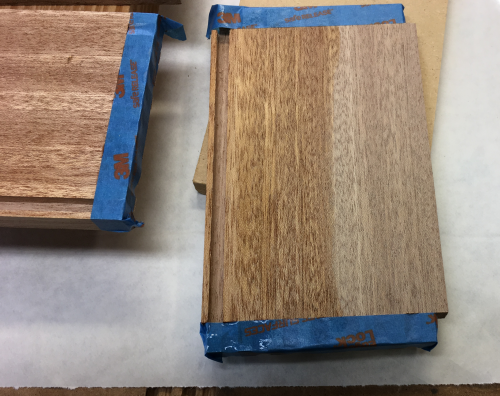
These pieces were milled down to 1/2 inch thick...this was at the jointer and planer...then ripped to 4 5/16 inches wide (this will be the height of the box). Working around the nail holes the boards were matched up for grain and then the four sides were chopped at 7 1/4 inches, this will make the inside dimension of the box at ~6 inches...the size of typical napkins. |
 |
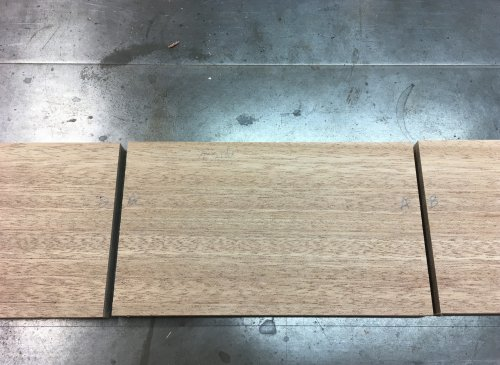
The four sides were examined for show faces and the show tops were all marked. |
 |
The grain pattern was examined again for sequencing and the joint patterns were selected.
|
 |
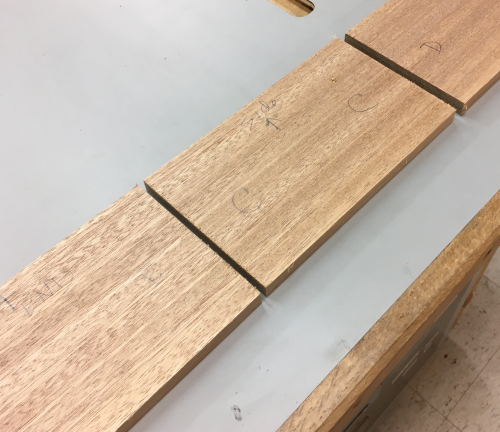
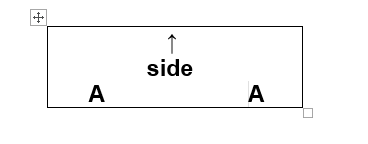
Although all four sides of this box are equal, they were designated as sides and ends to facilitate the joinery. |
 |
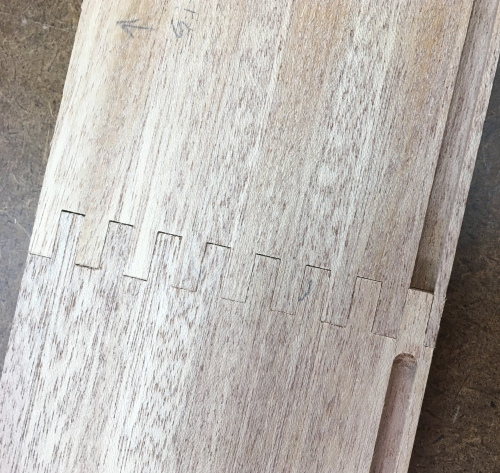
The layout marking pattern of one side... |
 |
The full marking pattern for all four sides... |
 |
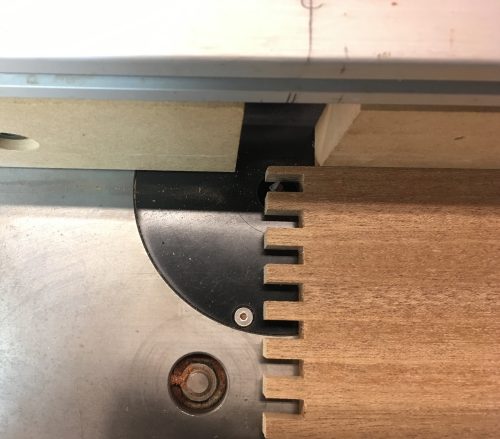
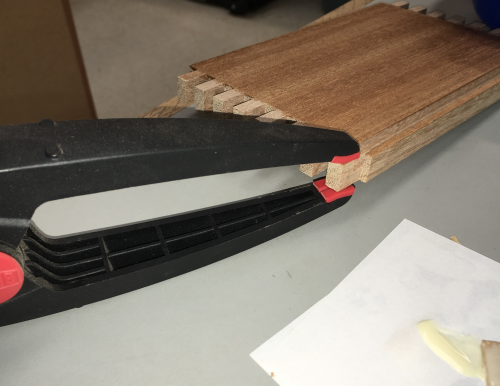
The Infinity blade height was set at slightly above the thickness of the material. This will make the finger ends slightly proud. |
 |
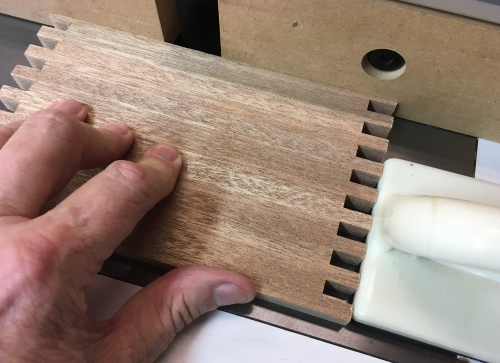
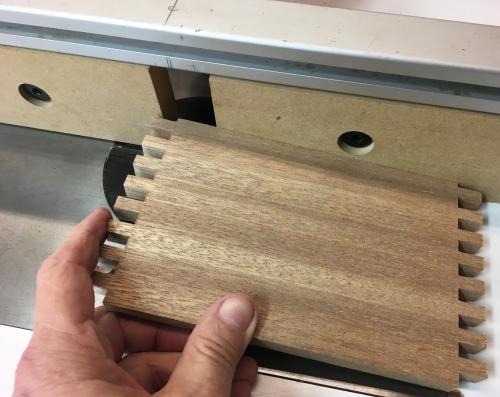
Finger cutting at the box joint jig...the width of the cut is 1/4 inch which is the thickness of the Infinity blade. The height of the cut is slightly higher than 1/2 inch. |
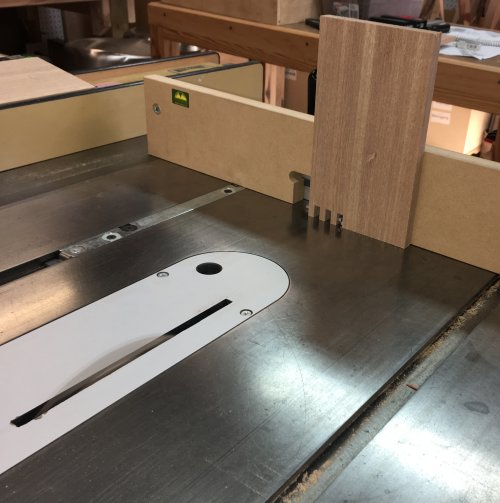 |
Critical to always make sure the top marking arrow is pointed to my right. |
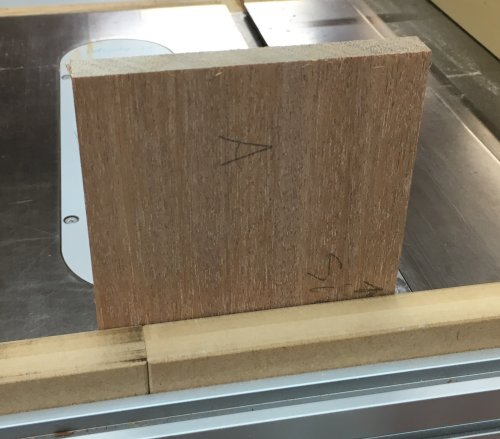 |
Test fitting... |
 |
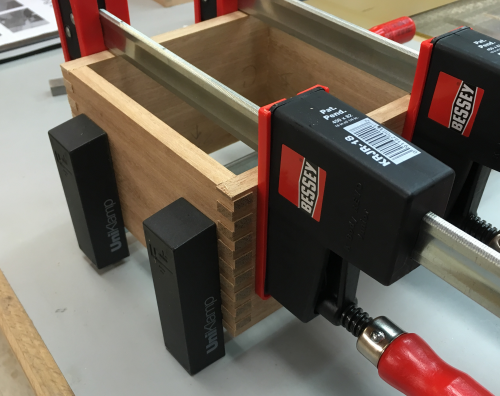
Clamp up dry fitting. |
 |
I decided to create a 1/4 inch groove in the bottom of the box to accomodate a piece of MDF for the bottom. Through grooves in all four sides would show...so I made a 1/4 inch by 1/4 inch groove at the router table (with an up-down spiral bit). I took the two sides and aligned the groove to be in the middle of the bottom socket...These two sides can both be done as through router passes. |
 |
The through pass is made very simply...just held down to the fence and pushed... |
 |
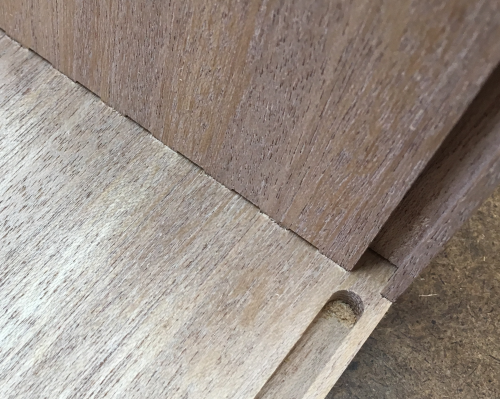
The through groove...this will not show in the finger joint. |
 |
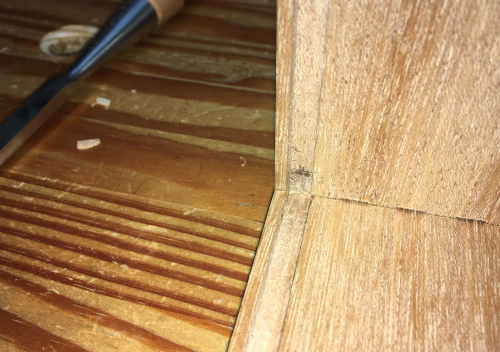
However, the two ends can not be done this way...a through groove would show as a void in the box joint. So I created a stop dado...by dropping the piece down onto the bit to start the groove at the appropriate location... |
 |
...and by having a stop block to halt the dado at the appropriate location on the other end of the dado. |
 |
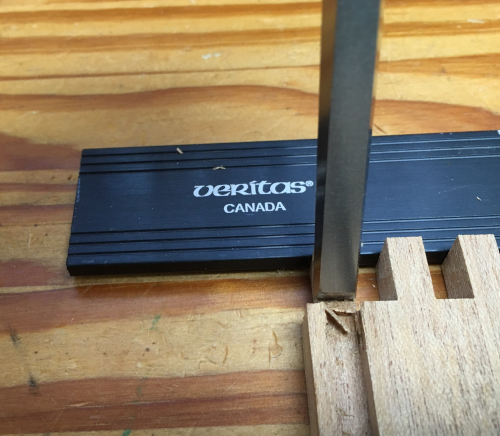
Here is an example of the stopped dado... |
 |
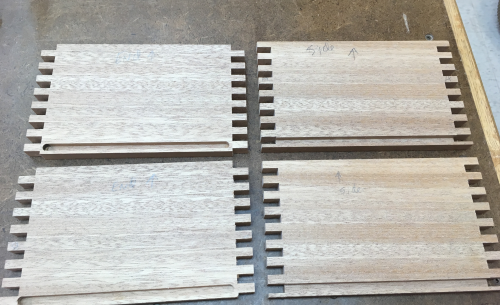
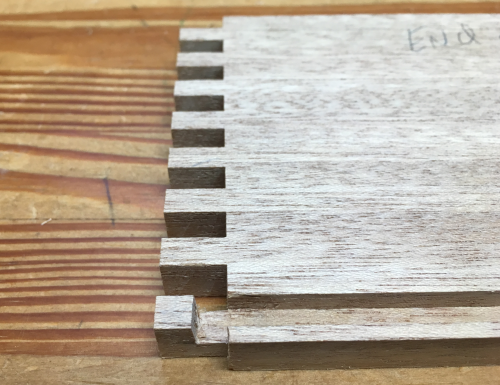
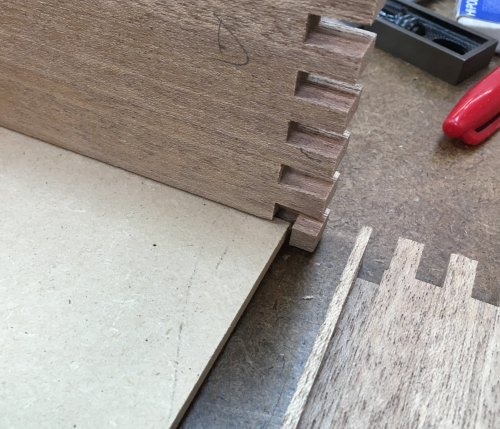
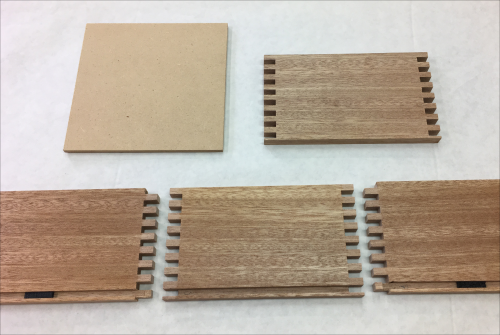
The two grooved (through) sides on the right and the two grooved (stopped )ends on the left. |
 |
This makes the 90 degree joint looks like this... |
 |
So I removed the appropriate amount of the finger chopping with bench chisels...
|
 |
...and leveling out with paring chisels. |
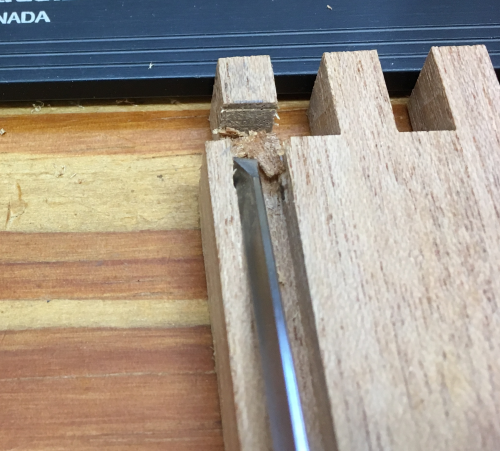 |
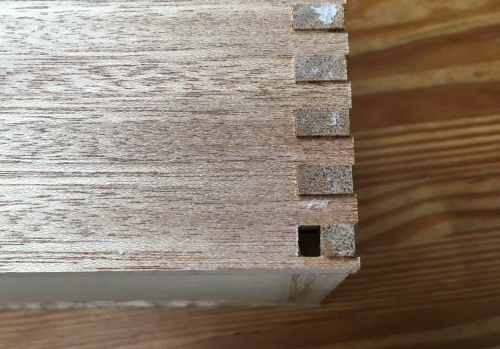
After chisel work...the notch... |
 |
The joint... |
 |
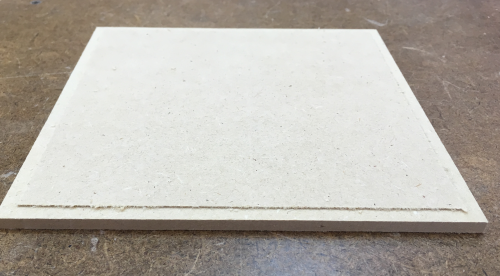
After the grooves were all finished, I had to deal with the fact that 1/4 bit cuts a groove so tight that 1/4 inch MDF would have to be pounded into the groove...this will not do so I made a pass on the underside edges of the bottom panel. |
 |
This rebate was let in about 3/16 inch and the depth of cut was only about 1/32 inch.
|
 |
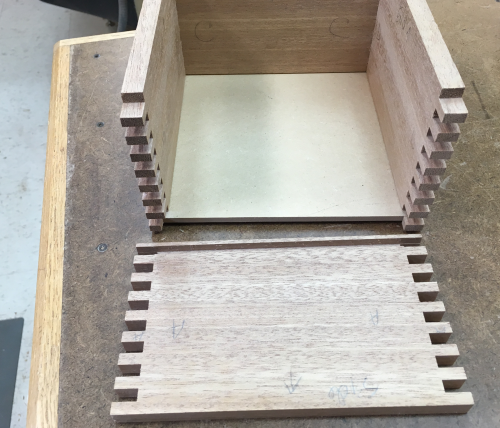
Dryfit the bottom to make sure that the notches that I had chiseled worked well... |
 |
Dry fit with the bottom panel... |
 |
During dry fit one of the fingers that had a notch put in it popped a piece off...some glue and a clamp put it to right... |
 |
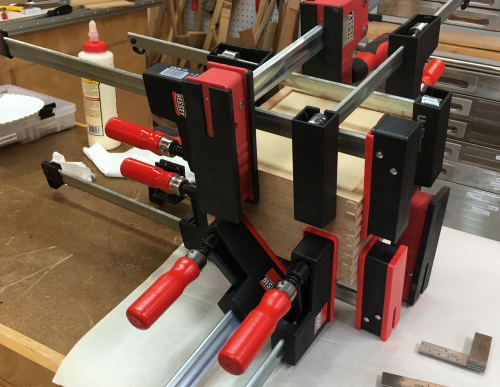
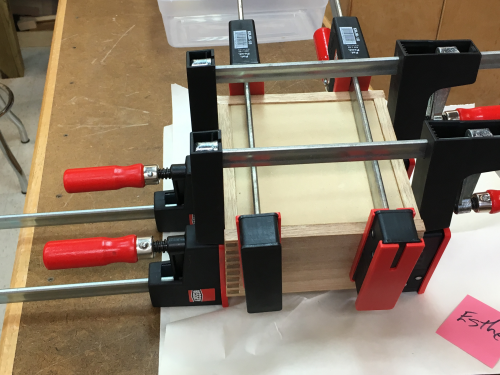
Cindy helped me with the glue up...there were so many glue surfaces that by the end of the glue up some of the fingers had expanded and it was hard to put in the last piece. Such a small box...so many clamps. |
 |
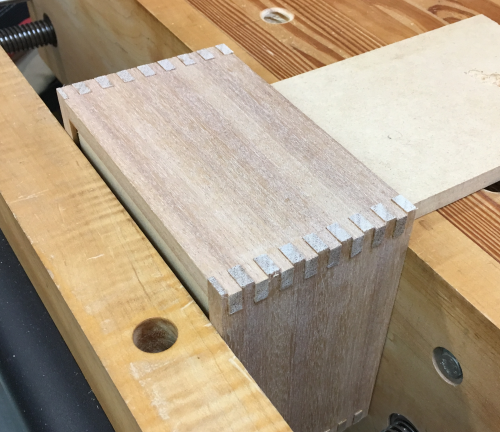
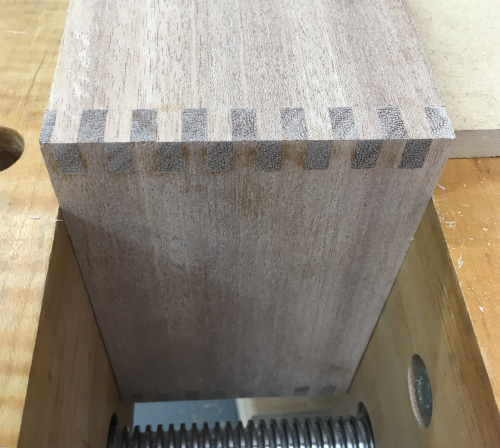
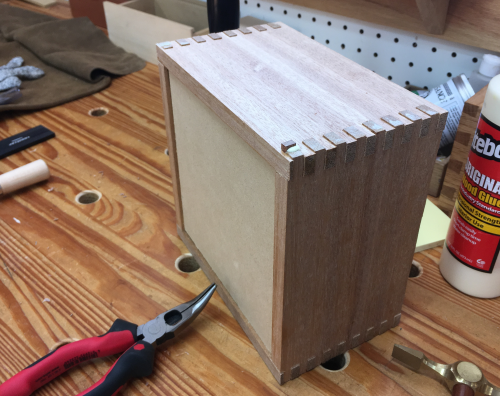
After the box was pulled out...joints looked pretty good, box pretty square, fingers slightly proud...ready to plane. |
 |
Put into the bench vise... |
 |
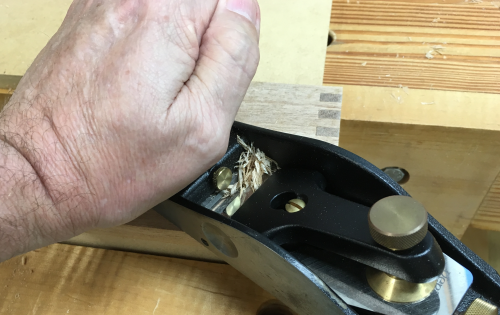
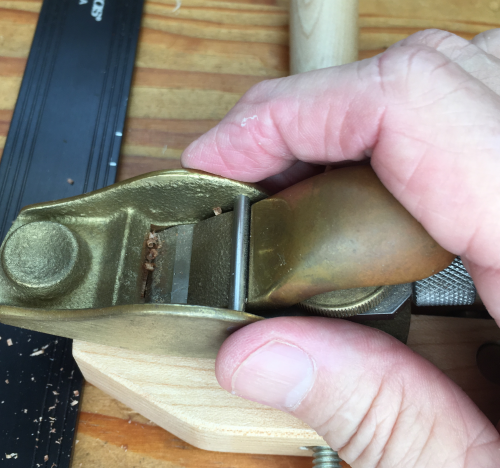
Block plane to knock down the proud fingers... |
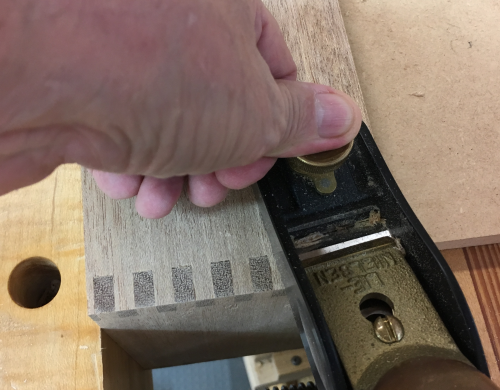 |
Smoothing plane to finish off the joint. |
 |
Cabinet scraper... |
|
Ready to sand... |
 |
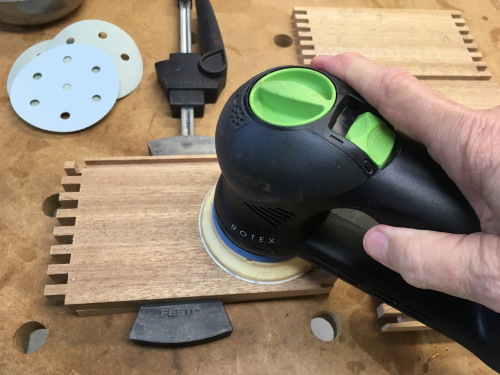
Sanded the inside surfaces before glue ups...used Rotex 90...150x, 220x, 320x, to 400x. |
 |
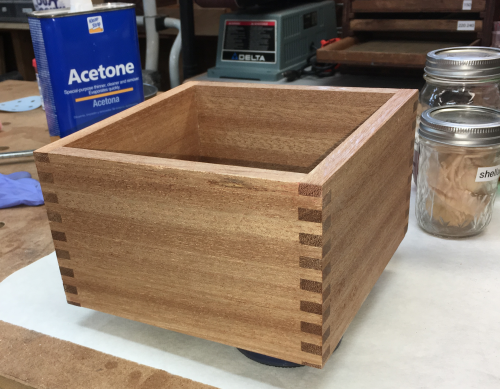
After sanding, cleaned with acetone and covered fingers with tape to prevent future glue surfaces from getting shellac on them... |
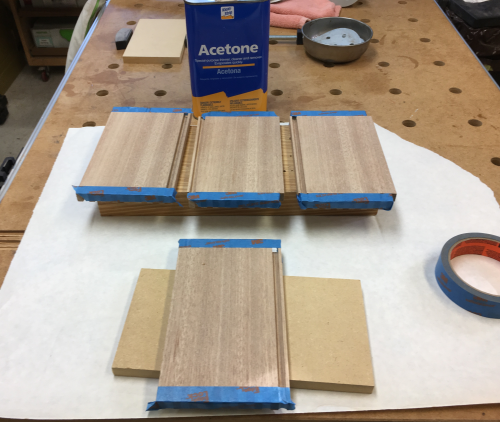 |
Padded on amber shellac...a two pound mix of shellac crystals and 190 proof Everclear. |
 |
Finished box exterior...same sanding protocol as above...removed dust with acetone...rubbed on a coat of shellac.
|
 |
3 coats of shellac... |
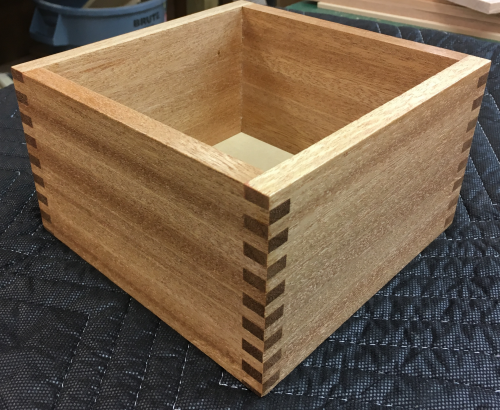 |
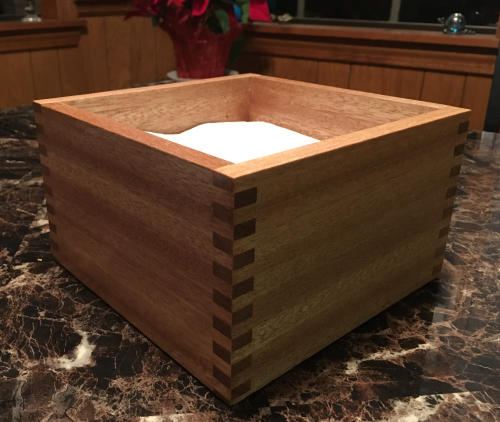
Finished box...on the table. |
 |
Second box went pretty much the same process as box number one...I had some issues with the glue up on number one...worked those out on #2...one change was placing trimmed Panaligns in the groove to prevent any noisy movement of the MDF bottom in the groove. |
 |
The glue up process went better and the clamp up was fine. |
 |
During the dry fit one of the notched fingers broke...it was easier to simply glue up and then deal with the gap... |
 |
A small piece of end grain was removed from a CTD piece of mahogany...it was chiseled, carved and then planed to fit... |
 |
...dry fit... |
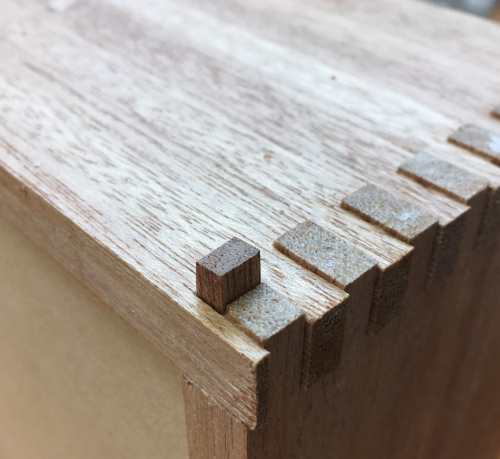 |
...glued and tapped in. |
 |
After drying, the finger fix was cut off with a flush cut saw... |
 |
...this went so well that I used the saw to cut all of the proud fingers... |
 |
and then worked them with planes...this minimized tear out. View here shows the plug fix...grain was a little off. |
 |
The finished boxes... |
 |