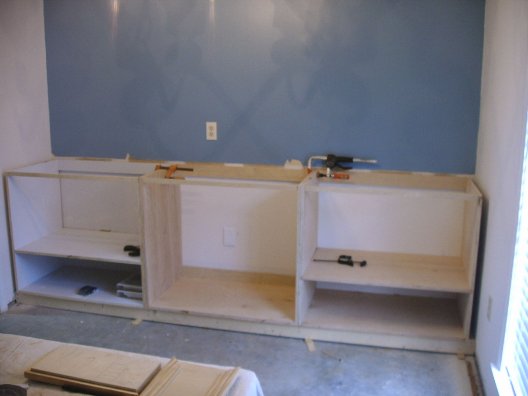
The remodel project in the living room included bookcases and cabinets on the east end of the room.
|
|
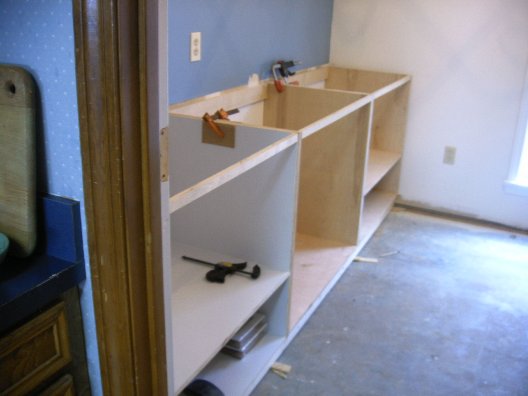
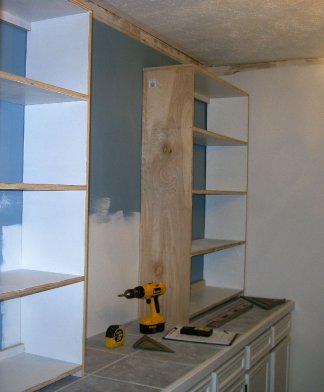
The carcass was made in three sections. The outer units had a rigid shelf divider, the inner unit will have large storage drawers built in. All materials were 3/4 inch Birch cabinet grade plywood. |
|
|
|
Because of the continuous line of vision from the
kitchen to the bookcases, the basic style and balance of the kitchen
cabinetry was copied to the new unit, though the new section will be
painted rather than stained. |
The face frame for the lower cabinets was made from
poplar. Rails and stiles were secured with pocket hole screws. |
 |
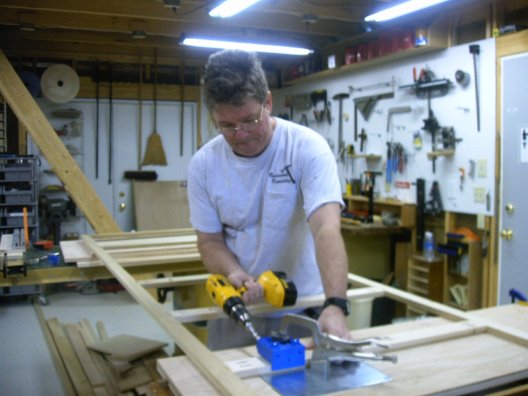 |
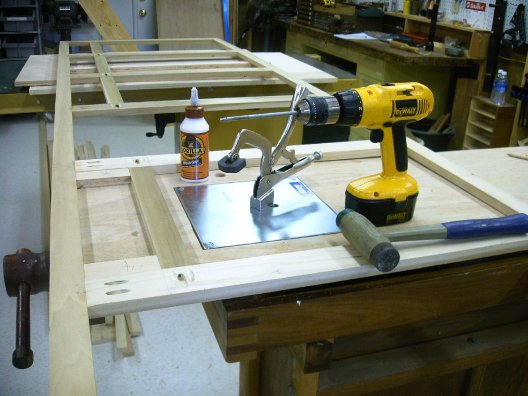
Pocket hole construction was greatly facilitated by using the Kreg pocket hole jig systems. Here I am using the mobile unit of the Kreg master jig utilizing the Kreg hold down clamp plate. |
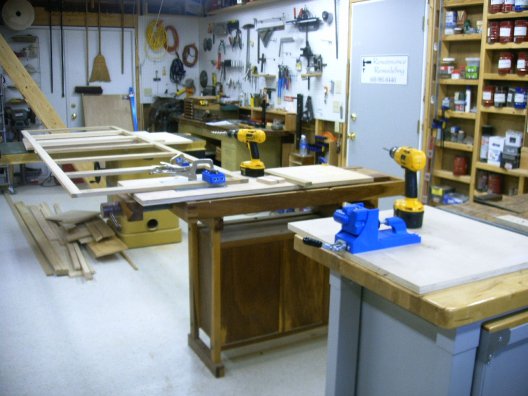
Having the right amount of room and the proper tools is so critical to success. Here the face frame is horizontally balanced on the tablesaw and the workbench. The workbench has the portable section of the Kreg master set which is held in place by the Kreg clamp plate. The Kreg assembly line unit is mounted onto the maple top workbench. One drill was set up with the jig drill bit and the other with the square head screw driver bit. |
 |
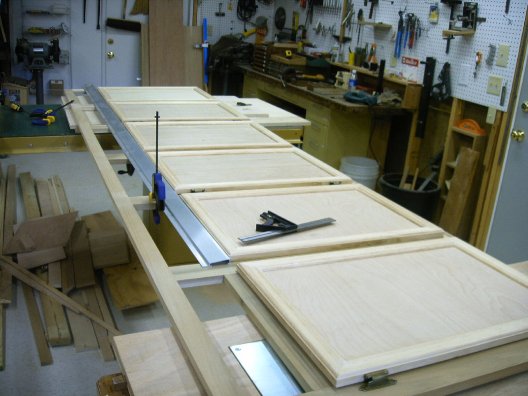 |
Here the six cabinet doors are being installed onto
the face frame. After they were all properly mounted they were then
removed and stripped of all hardware. They will be painted and re-attached
to the vertical frame once the lower carcass has been assembled and
painted. |
| The drawers were built and installed into carcase. |  |
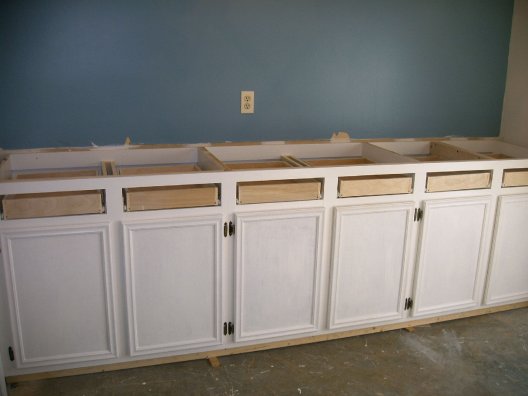 |
The cabinet doors installed. |
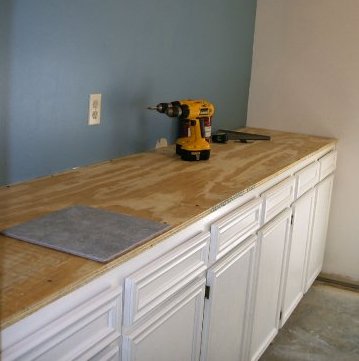
The drawer fronts are glued onto the drawers. The cabinet top (3/4 inch AC plywood) is installed.
Ready to do tile layout. |
 |
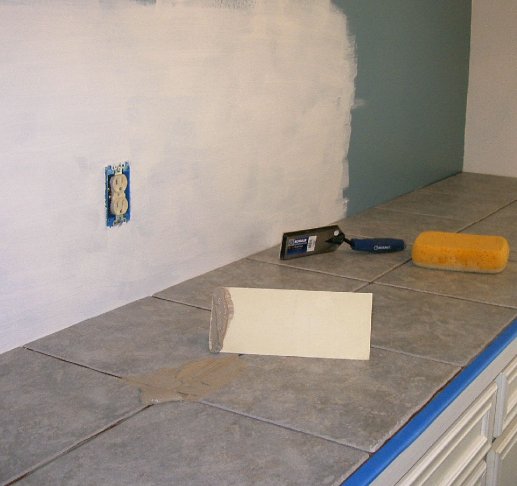 |
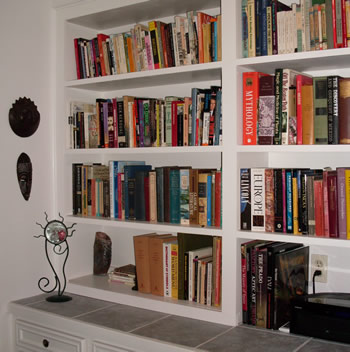
Tiles were laid out and any needed cuts made. Front trim piece is installed. Grouting begins. |
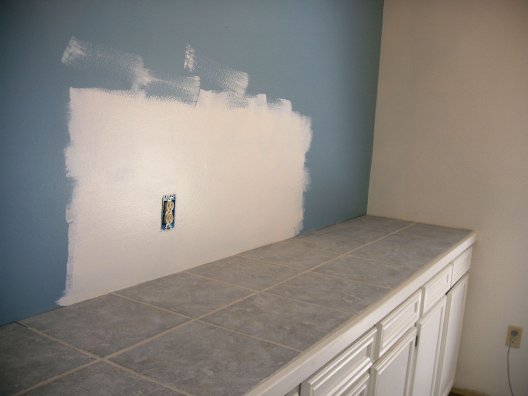
Front trim is painted. Tiles and grout lines are cleaned with cheesecloth. |
 |
 |
Bookshelf units are constructed in shop. |
Shelf units are squared up and installed. |
 |
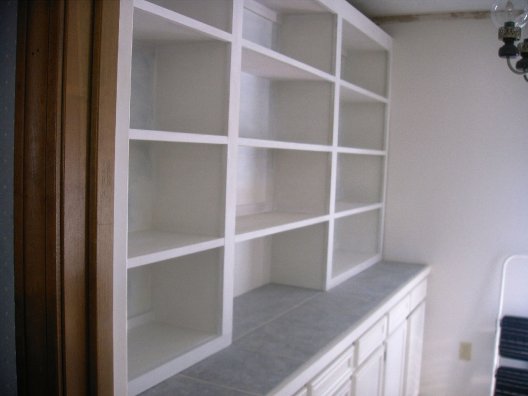 |
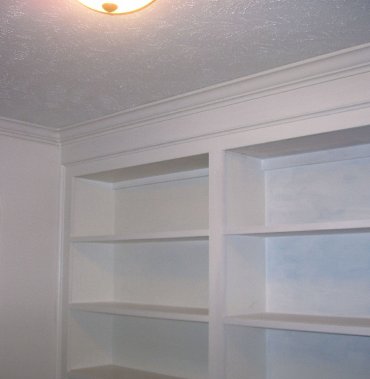
Framed out. Only upper facade, trim, paint and hardware remain. |
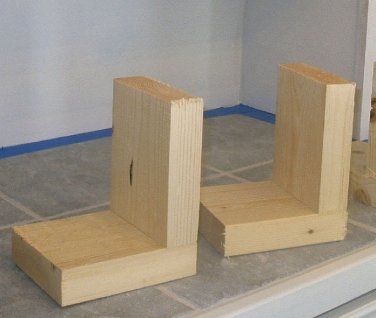
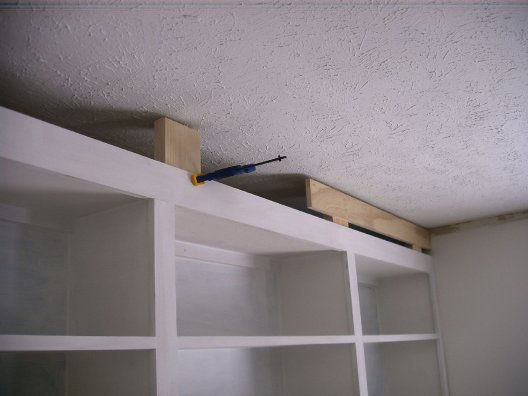
The upper case supports for the fascia were built and installed. The ell shaped bracket allowed for a nailing surface to be added.
|
 |
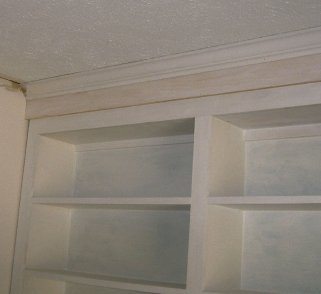 |
A fascia board was attatched to that sub-structure. Then crown molding and cove molding were added to the fascia. |
With the crown molding, horizontal and
vertical cove molding, and base shoe in place, everything was caulked,
spackled and painted a coat.
A new light fixture is installed. |
 |
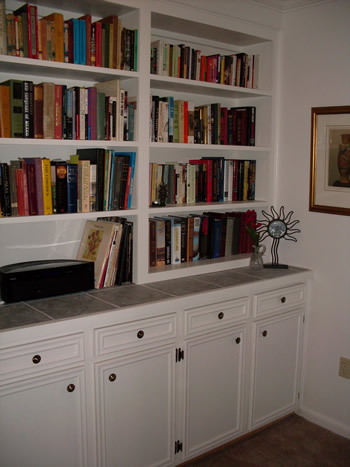
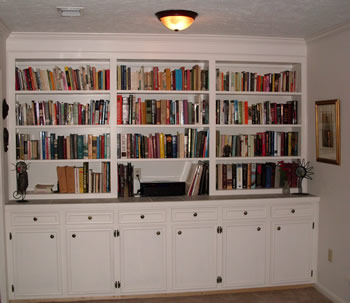
Final coat of paint is put on...books go in... |
 |
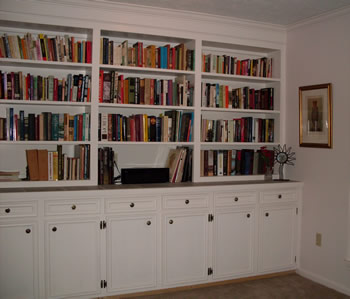 |
Hardware on doors and drawers...
The bookcase project is completed. |
 |
|