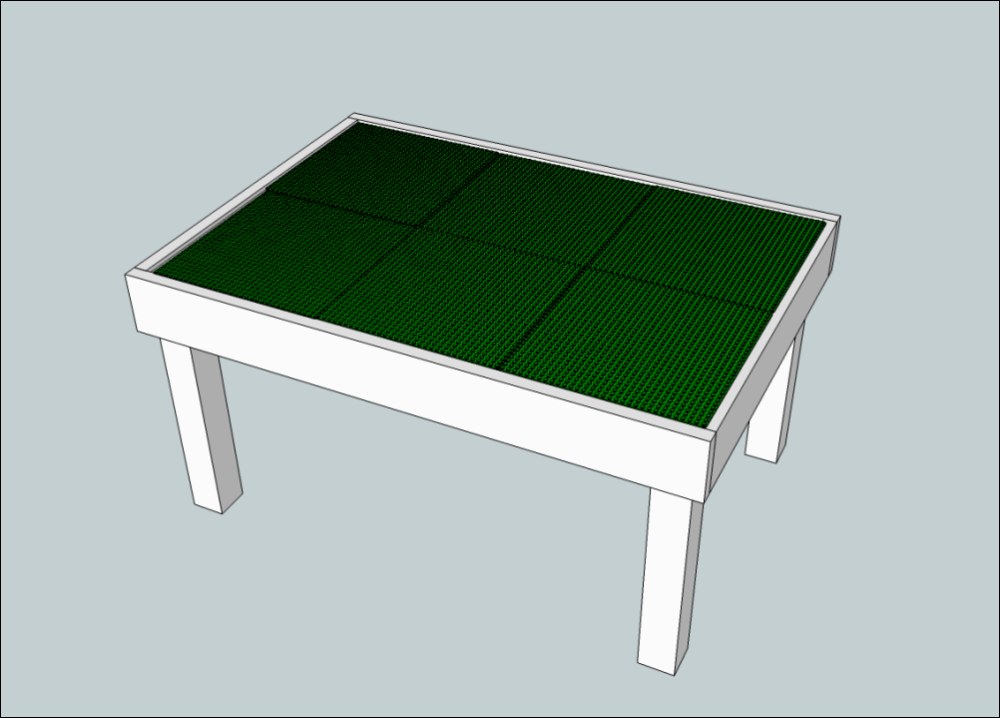
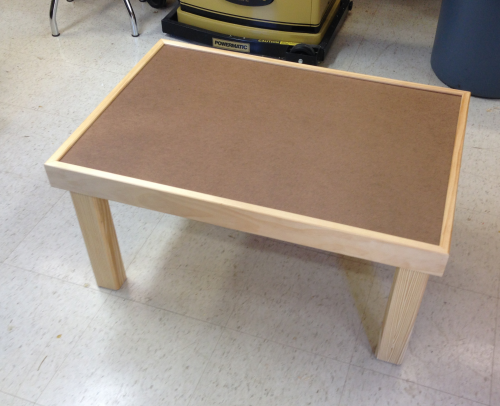
My grandson, Silas, wanted a table dedicated to building Lego® creations. The height will allow him to comfortably sit on the floor for his work. The other dimensions will allow for the best use of Lego® base plates.
|
|
Total height of the table will be 16 inches. This is based on the height Silas prefers to work at... the table top size will be designed around the size of the Lego® base plates that he wishes to use.
|
|
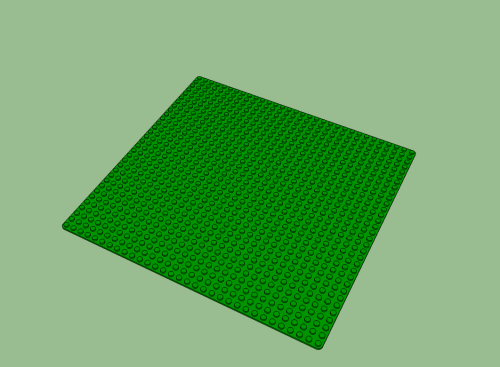
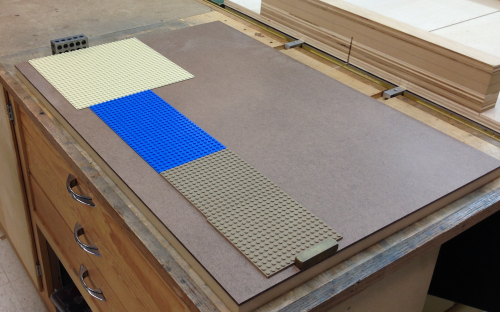
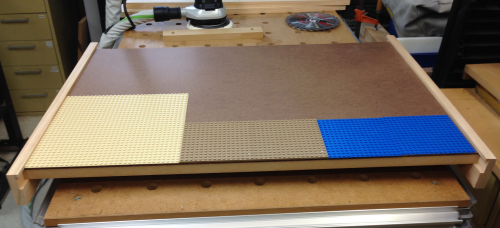
The table will long enough to accomodate three plates and wide enough for two plates. |
 |
The surface will be melamine, 3/4 inch stock. |
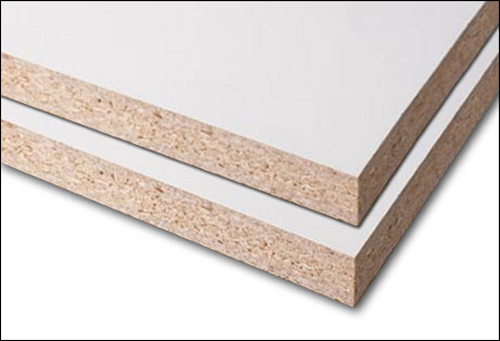 |
The skirts of the table top will be made from radiata pine. Pinus radiata is a natural product of California and is called Monterey pine. In its natural growth range the tree faces serious threats put it is cultivated extensively in many areas of the world. |
 |
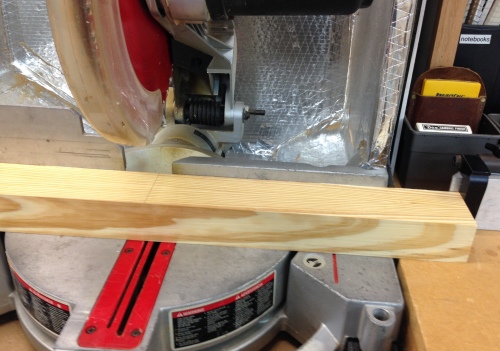
These premium grade boards, imported from New Zealand, were purchased at the local BORG. The nominal 1x 4 board will provide 3 1/2" width for the skirts. |
 |
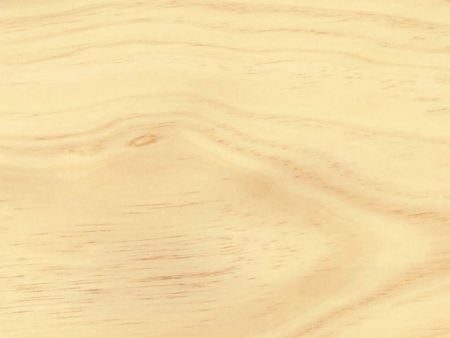
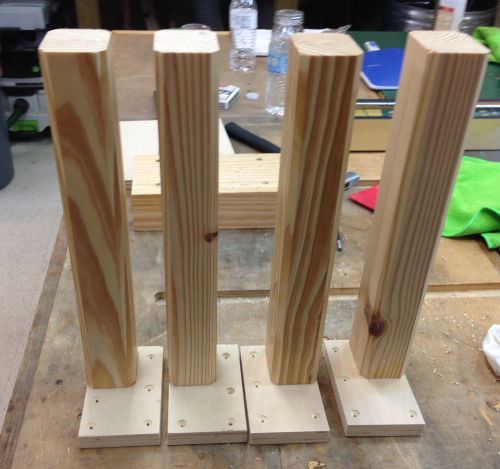
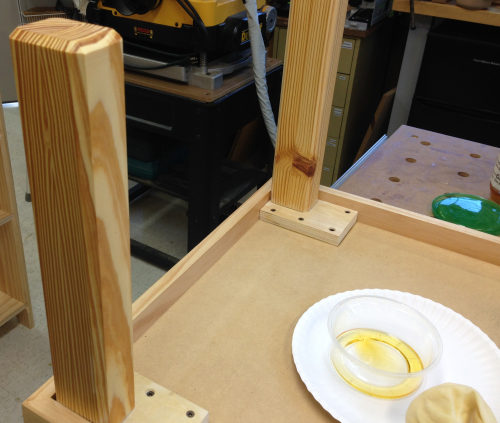
The legs will be roughly 2 inches x 2 inches. They will be made from yellow pine left from the bench project. This wood, stored for several years in the shop attic, is well aged, dry, hard and stabilized. |
 |
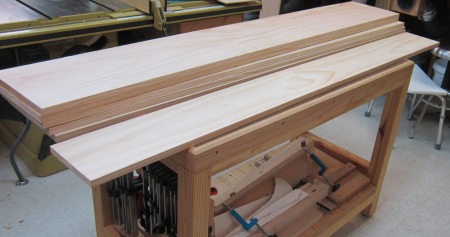
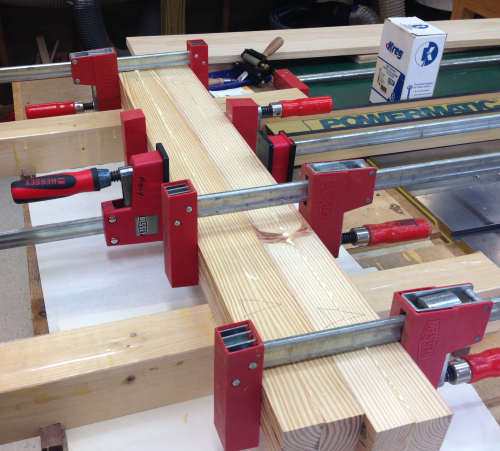
| The wood blanks for the legs were selected, ripped to rough size, and the stock was glued up... | 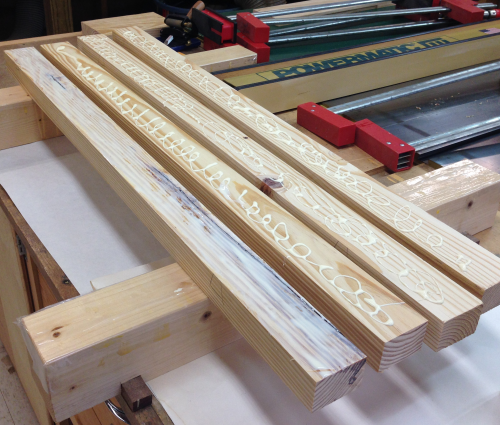 |
...then clamped to make the larger leg blanks. |
 |
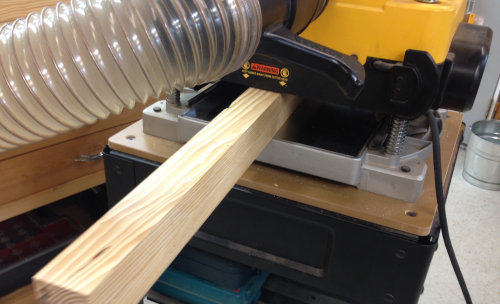
After the blanks had dried overnight they were removed from the clamps, the glue lines were scraped off, and then two surfaces were worked at the jointer to provide a square edge to work from. |
 |
Then the other two surfaces were planed. |
 |
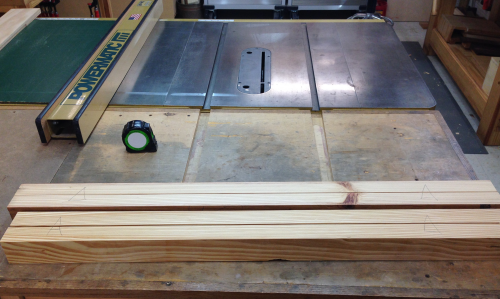
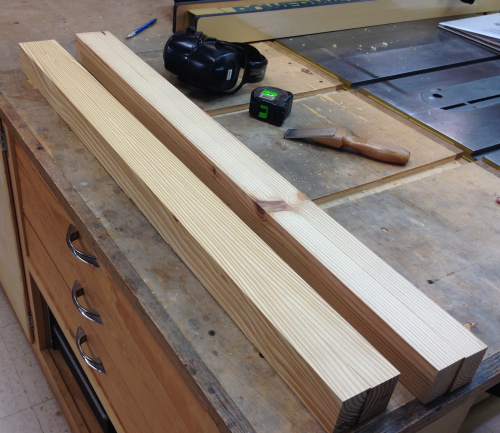
This left two leg blanks approximartely 2 x 3 x 35 inches. This will allow for any configurations needed. The anticipated leg sizes will be 2 x 2.25 x 14 inches. |
 |
The leg blanks were all chopped down to 14 inches. |
 |
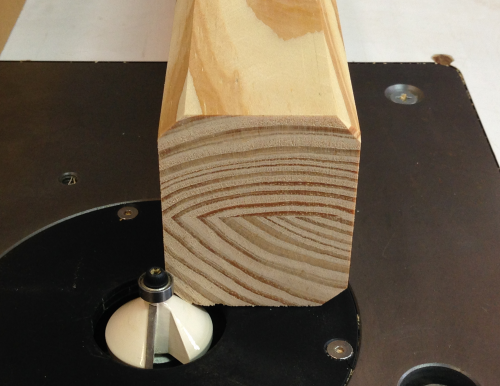
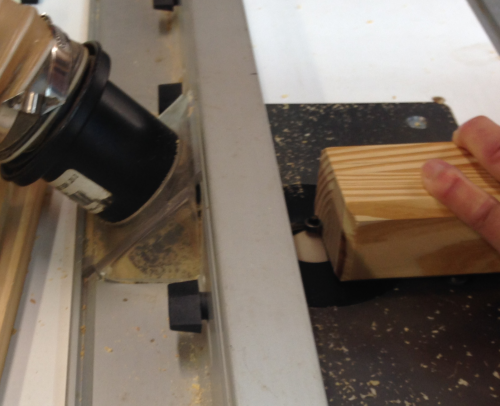
The sharp edges were all broken down with a chamfer bit on the router table. |
 |
Legs blanks... |
 |
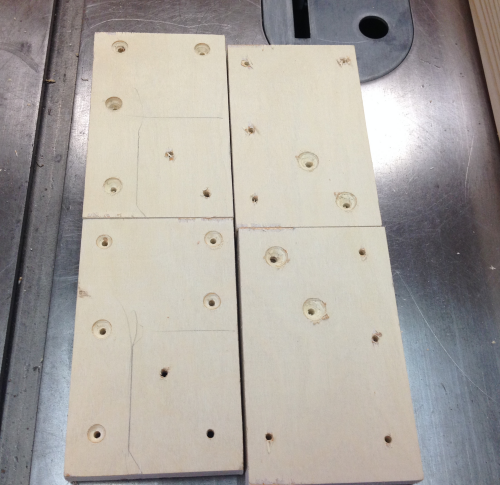
Legs were topped off with a glue plate...these plates were cabinet grade Baltic birch plywood. The screw holes were pre-drilled and countersunk. |
 |
Two #10 x 2 1/2 inch screws were put through the plywood into the legs. Glued and screwed. |
 |
The leg and glue plate assemblies. |
 |
Chamfer put on bottom of legs at router table. |
 |
| The final chamfer look on the bottoms of the feet. | 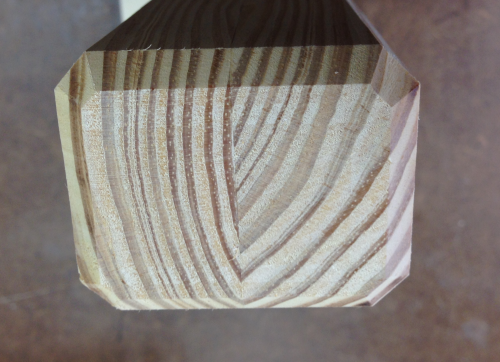 |
The glue plates are screwed down...#2 screws x 1 1/4 inches. |
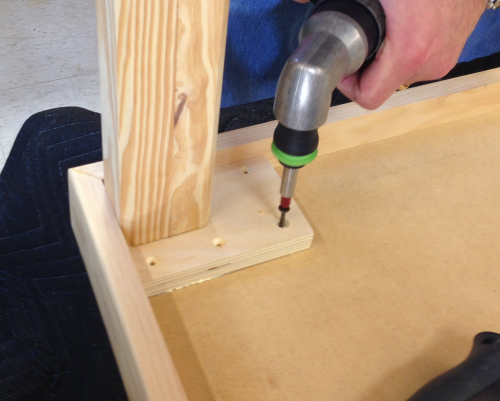 |
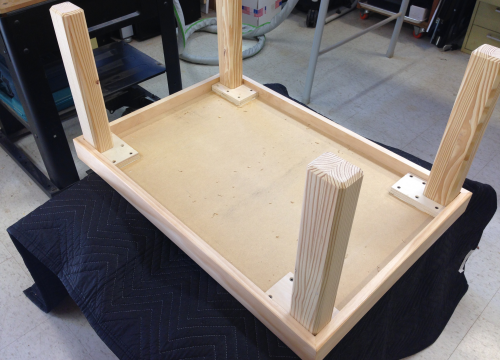
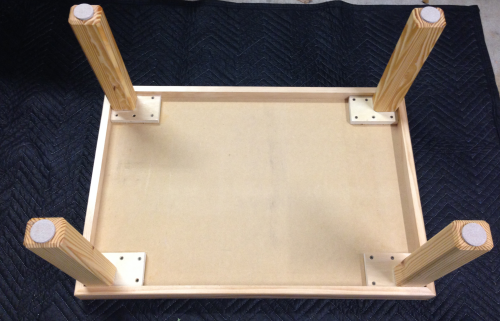
Under-assembly with legs glued in... |
 |
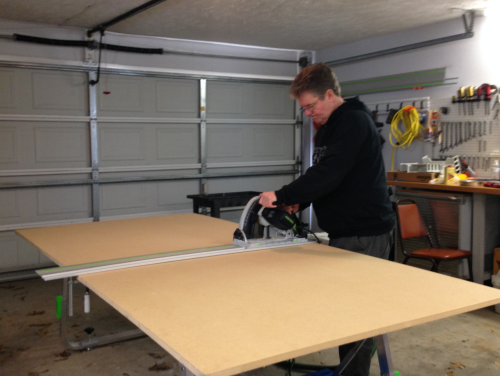
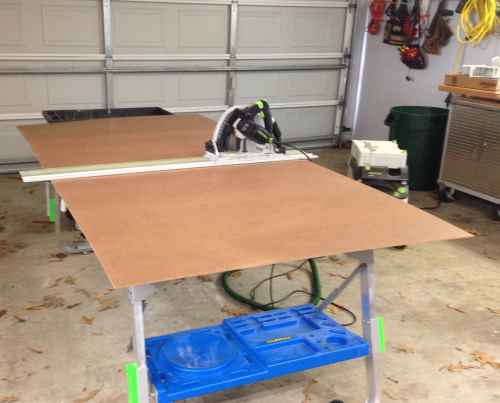
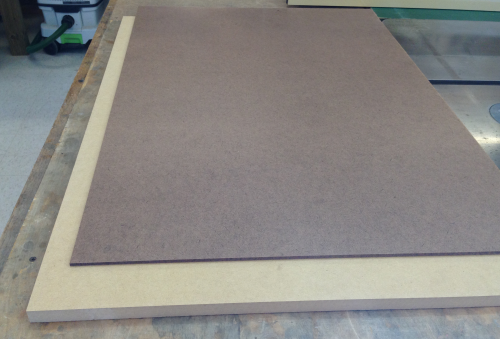
The top of the table will be a sandwich of MDF and Masonite®. Here the 3/4 inch MDF is being crosscut in the garage. |
 |
Next the 3/16 inch thick Masonite® was cut into smaller parcels. |
 |
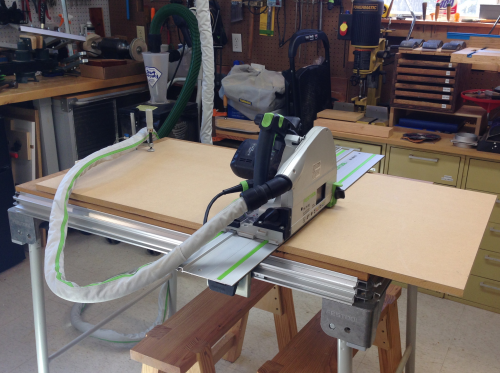
Then the panels were further trimmed to size on the MFT3 table. |
 |
Here are the two panels that will be glued up... |
 |
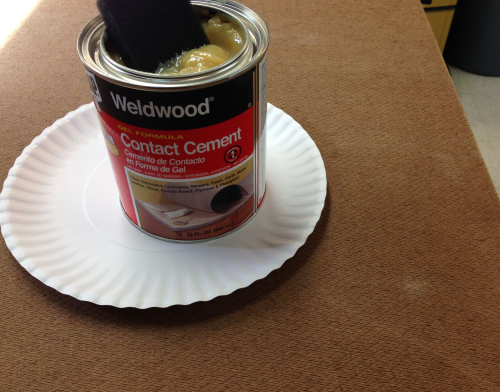
Contact cement gel was brushed onto both of the mating surfaces. |
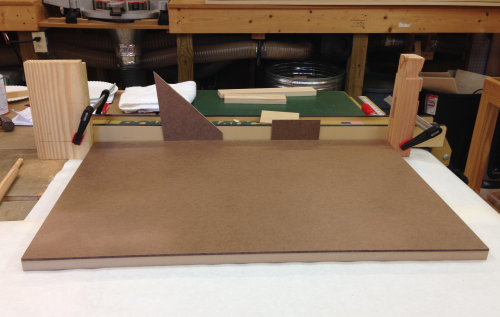
 |
A temporary "alignment jig" was made using the tablesaw fence and clamped blocks. The two layers were held apart by dowel rods, aligned in the fig, then the dowels were pulled and the surfaces mated appropriately. |
 |
Air bubbles were then rolled out. |
 |
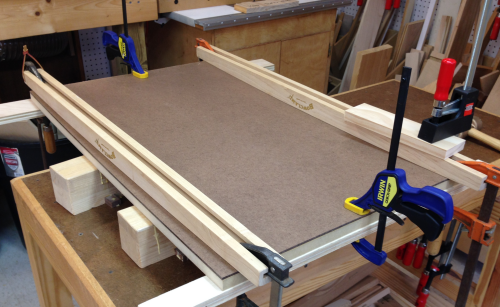
The table top was then held down with cauls for even pressure.
|
 |
The top slab was oversized and had to ripped on the table saw to the exact size...and the ends were squared to the exact size using the crosscut sled.
|
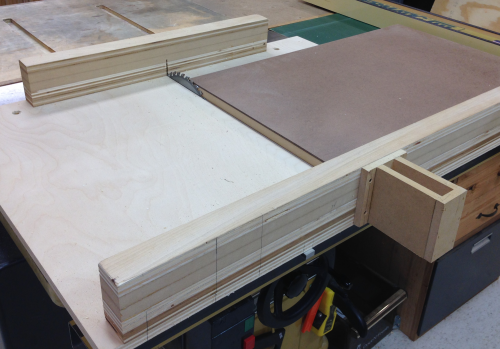 |
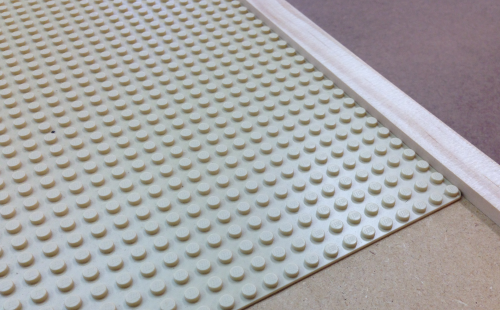
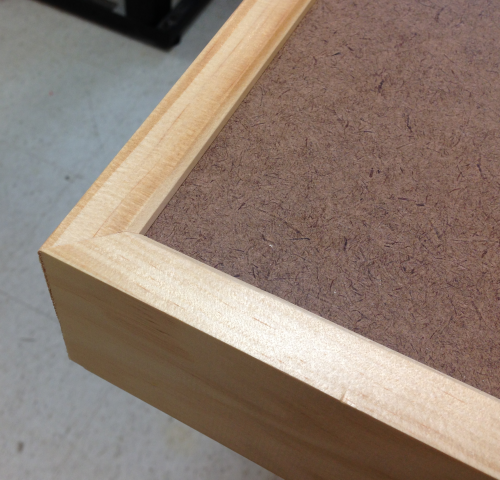
The final slab size was calculated to hold three widths of Lego bases...the base dimension is 10 1/32 inches square. The smaller base units add up to the same square size. Here the Lego base units define the size with an extra 1/2 inch to fit into the two 1/4" grooves in the apron boards. |
 |
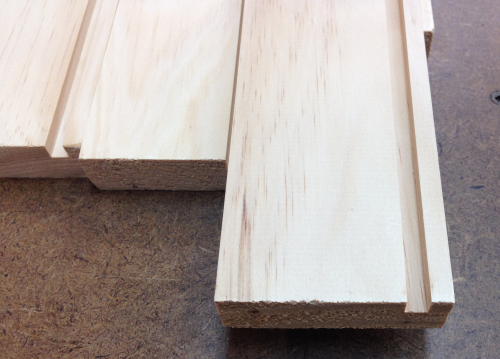
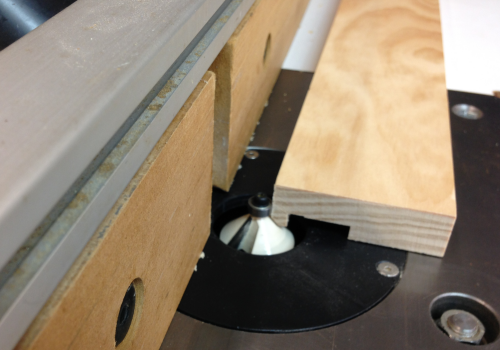
The apron boards had to have a groove of 15/16 wide by 1/4 deep to have the slab fit. The width is accomodate the top slab sandwich of 3/4 inch MDF plus 3/16 inch Masonite. The Freud dado set that I use on the P66 does not cut that far...so I started with a 1/4 wide groove that was done on the router table with compression spiral bit. The groove was 1/4 inch from the top edge of the apron board. |
 |
Then the groove was widened at the tablesaw with the dado head. |
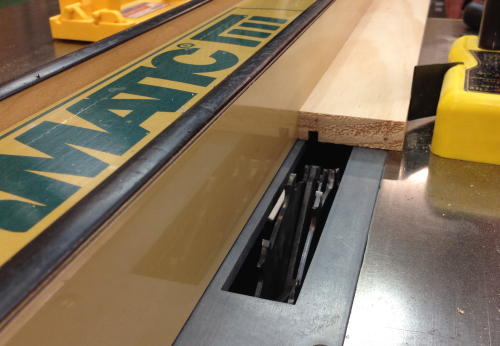 |
Then a dry run to make sure the width depth of the apron cut is appropriate. |
 |
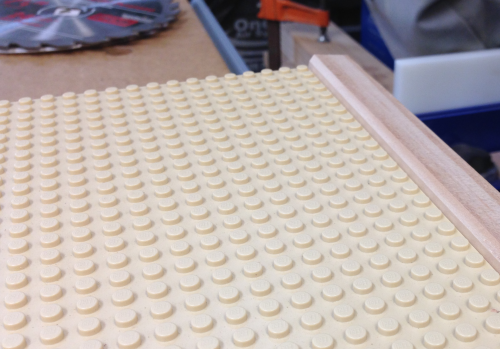
The 1/4 inch top edge was to allow for the Lego base unit to move easily but have a restraining lip. |
 |
After determining that the fit was good everywhere... |
 |
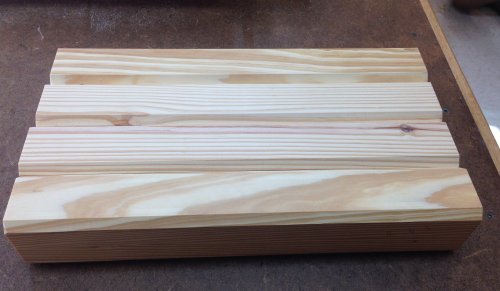
...the final milling prep to the apron boards was to put a chamfer on the top inside edge to knock off the sharp edge. |
 |
Here is how the chamfer looked. |
 |
Prior to cutting mitre corners and securing the aprons, I put on a couple of coats of shellac...this will make it easier to finish the table without getting shellac on the Masonite top. |
 |
Fitting the mitred aprons... |
 |
Due to the tight fit of the groove and the chamfered edges of the apron there was some difficulty of marking out the mitre cuts. Due to the tremendous amount of mill work we certainly wanted no short pieces.
|
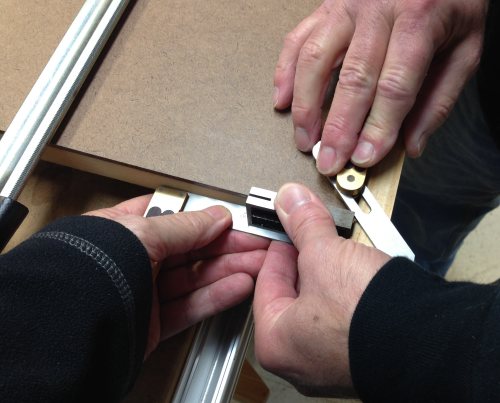 |
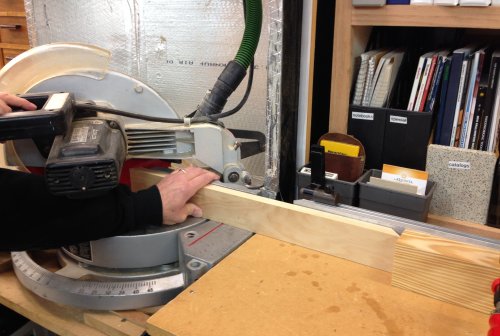
Once we got one long side and one short side correct, we tested and found the opposite sides needed to be exactly the same. We set up a block and cut clones of the first two on the chop saw. |
 |
Then we glued up... |
 |
Pin nailed (23 gauge) at the mitre joints. |
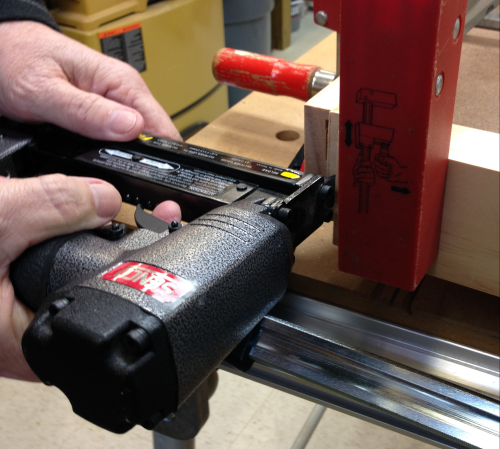 |
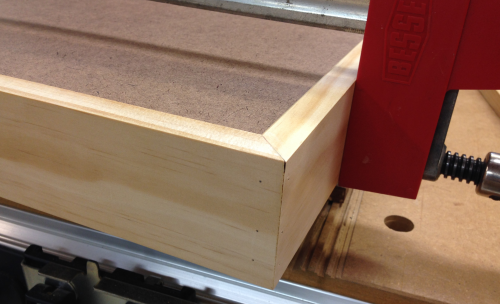
Clamping and pin nails got the corners looking pretty tight. |
 |
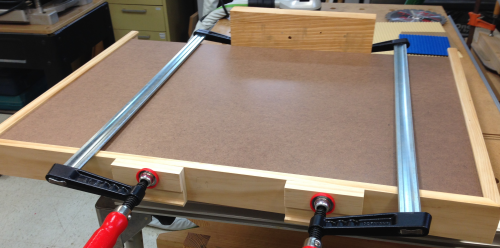
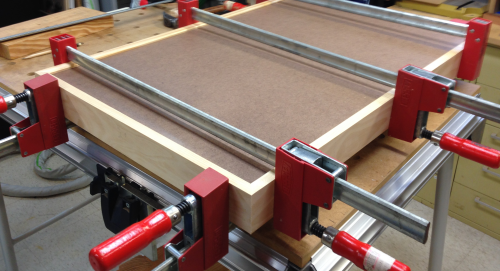
Final clamp assembly...as always, you can never have enough clamps...and I love Besseys! |
 |
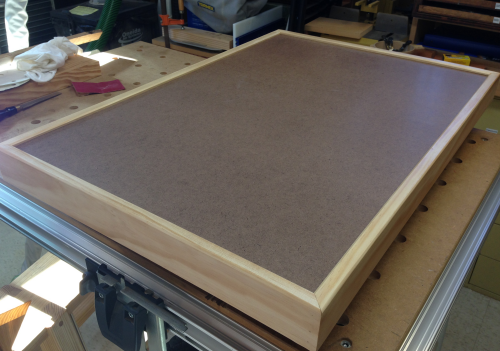
Finished top assembly. |
 |
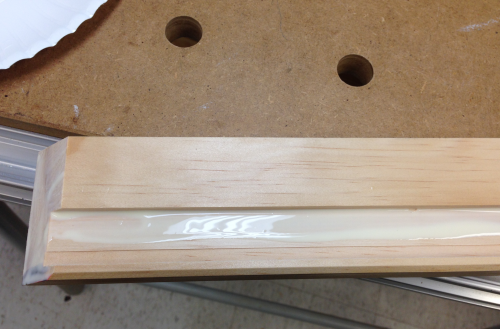
Apron of radiata pine...looked good with "Super Blonde" shellac. |
 |
The yellow pine legs also got a couple of coats of shellac. |
 |
Final touch on the bottom of the table was cushions placed on the bottom of the legs. |
 |
The finished table. |
 |
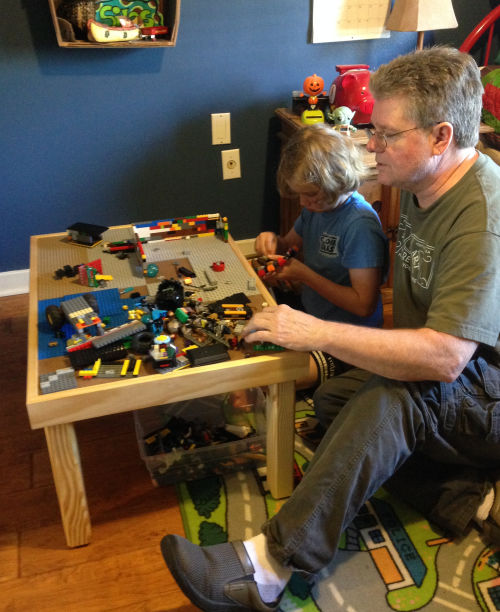
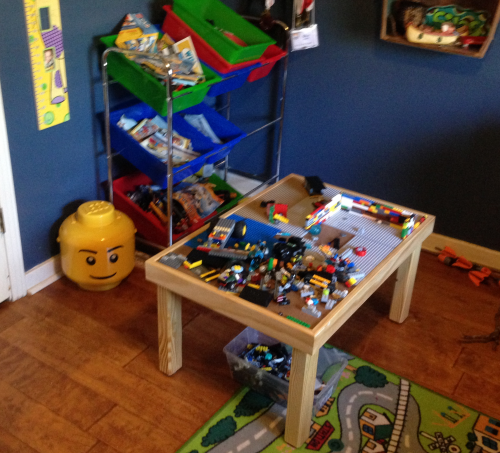
The Lego table in Silas' room...situated out int the floor so that he can move around it...near to the rolling cart full of Lego pieces. |
 |
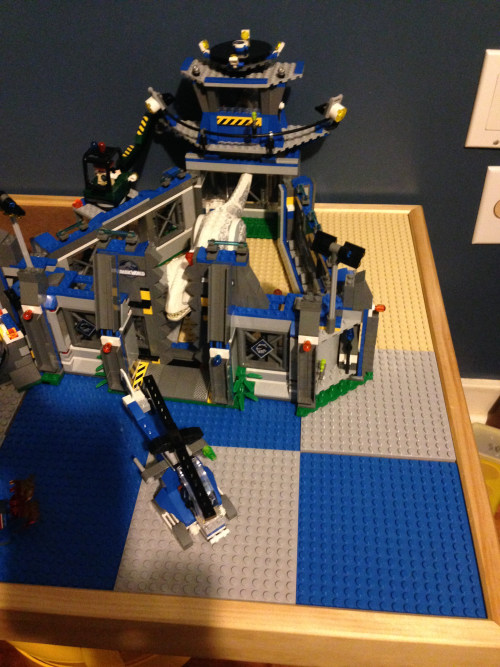
Silas at his table, showing Grandad how the Lego universe works... |
|
...a tyrannosaurus rex in a Jurassic World. |
 |