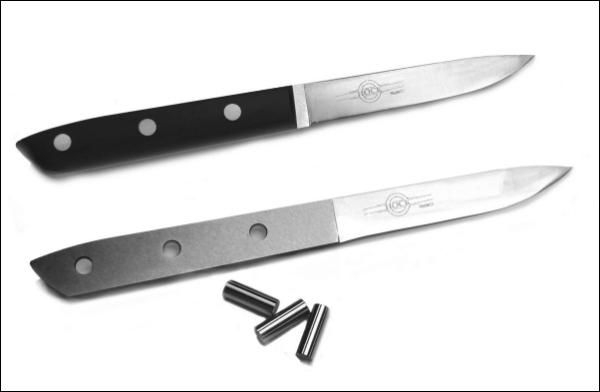
I ordered this Hock Paring Knife Kit from Hock Tools. The 3.5 inch paring knife kit consists of a wonderful Hock blade and the necessary pins. The kit is Model #KP350.
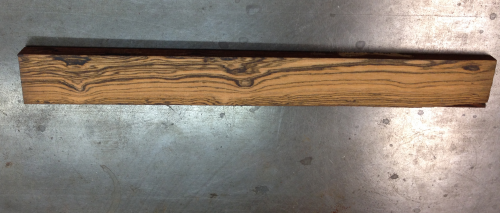
This knife is for my brother, Bill. It will have handle scales from bocote that my brother, Tom, gifted me 20 years ago...I had used the block as a stand for measurement rules until recently...I decided to cut the block up and recycle the pieces. For the most part, all of the steps in this process are identical to the first knife. The entire knife 1 build process can be seen here.
Info about knife kits is available at Hock site
|
|
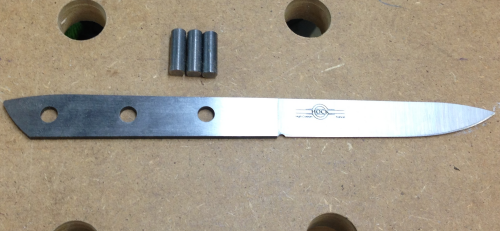
The #KP350 blade is made from high-carbon tool steel. It was forged in France and sharpened by Ron in California. |
 |
|
|
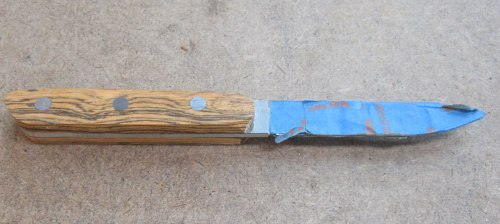
First cut on the blank was made on the band saw. The extremely dark wood was wildly figured when cut. |
 |
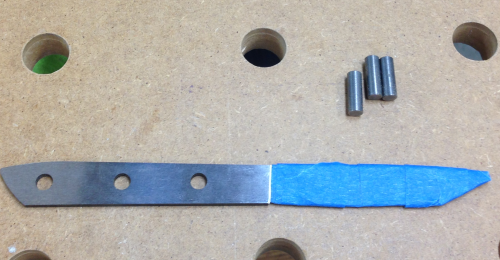
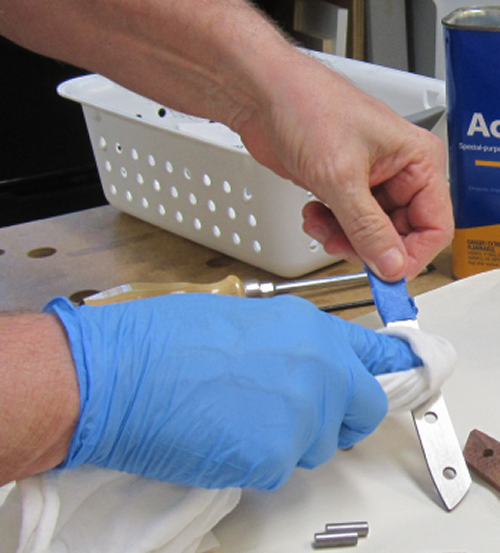
The blade was covered in tape for protection. The blade comes incredibly sharp. |
 |
|
|
|
The inside surfaces of the scales and the tang of the blade were sanded to 150x to provide a better adhesion surface. Then the mating surfaces and the pins were cleaned with acetone. |
 |
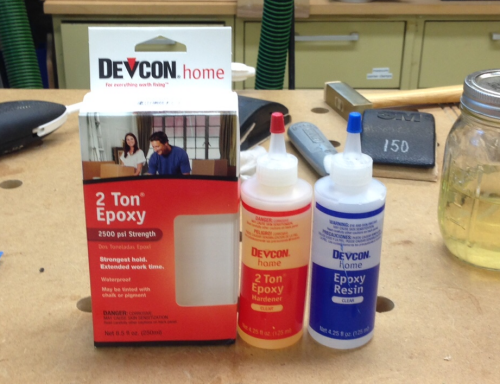
I chose a strong, water-resitant epoxy adhesive, Devcon 2 Ton® Epoxy...comes in two 4.5 oz. bottles. |
 |
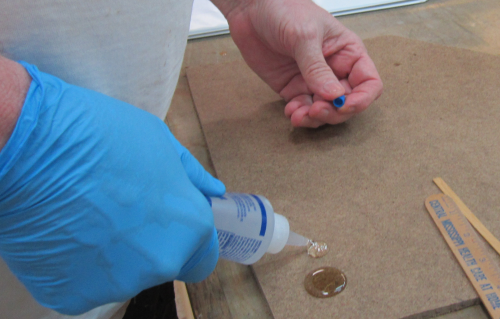
To mix...equal dollops of the resin and the hardener were squeezed out. |
 |
then mixed... |
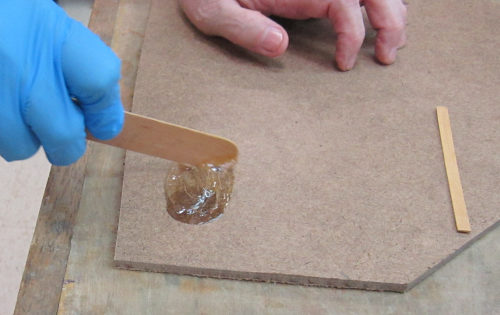 |
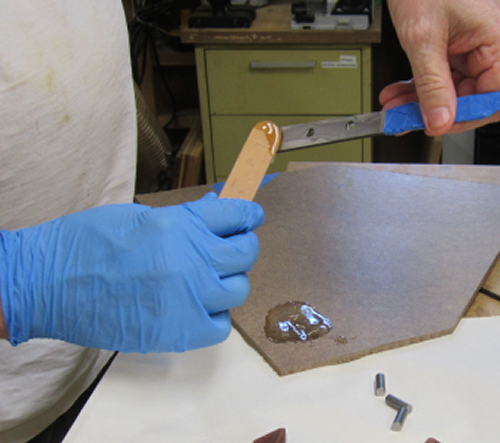
The adhesive was then spread on to one side of the tang...then the knife tang and scales are clamped overnight. |
 |
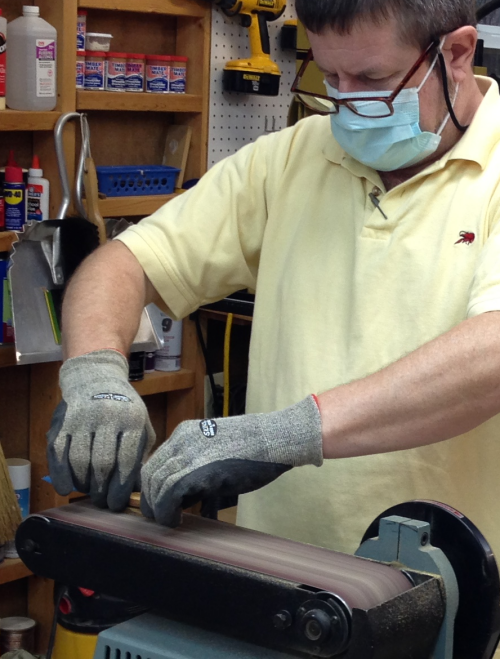
After glue up, the first shaping phase of the grinding of the wood and the metal was done on a belt sander with 80x paper. My brother Tom was in from Virginia and did some of the grinding on this knife. The bocote dust is fairly caustic so we ran both shop air filter systems and wore protective masks.
|
 |
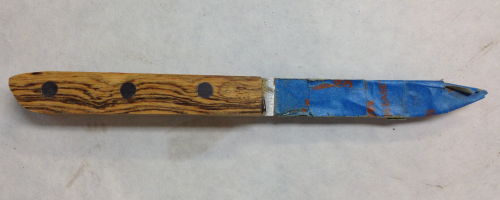
Here is the knife after the grind down. |
 |
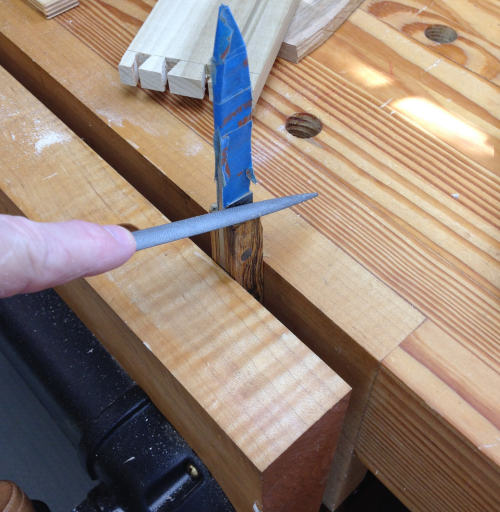
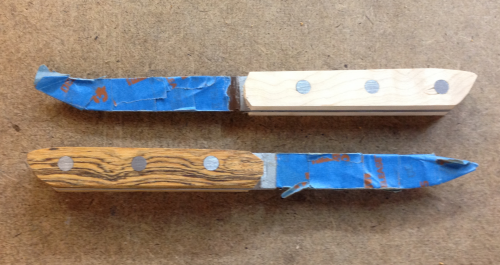
Normally I prep the wood scales at the blade end before I glue up...I experimented during this #9 build and #10 build. In the image above the scales are still square at the end. I freehanded the end using a Auriou rasp.
|
 |
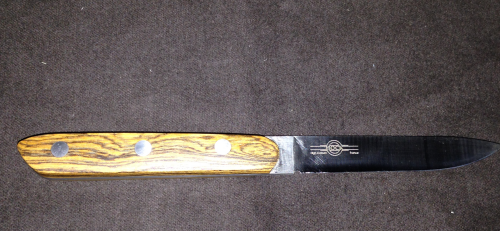
Here the unit is shaped and ready to be sanded.
|
 |
The maple #10 knife is also shown. |
 |
Secondary grinding the pins was done on the 1 x 30 belt sander with 80x paper. Further removal of metal and wood was done with the Rotex 90 sander with 40x paper. |
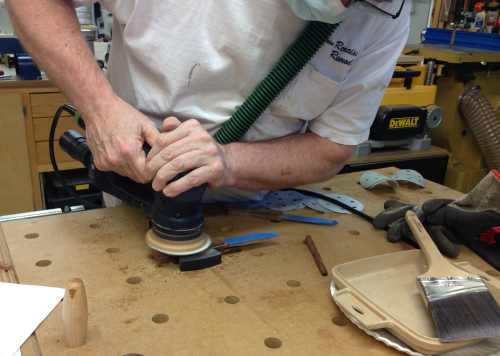 |
After all the metal and wood was taken down to proper size, the grits were progressed on the Rotex 90 from 80x-120x-220x-320x-400x. |
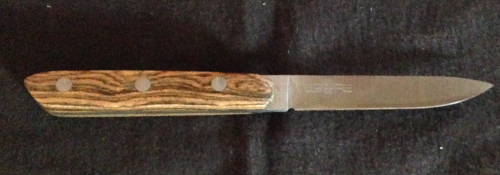 |
The finishing cycle consisted of multiple coats of Waterlox wiping varnish. Each coat was saturated and then dried using wet/dry sandpaper. Two saturations and rub-ins were done at each grit from 400x-600x-80x0 and then single saturations at 1000x and 1500x. All of the sanding and finishing The finish was extremely smooth. |
 |