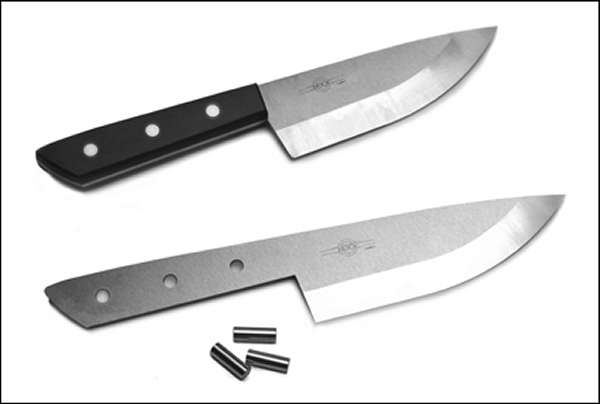
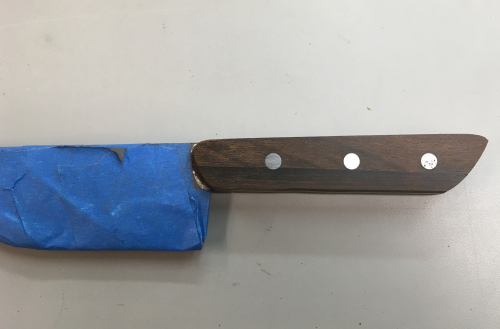
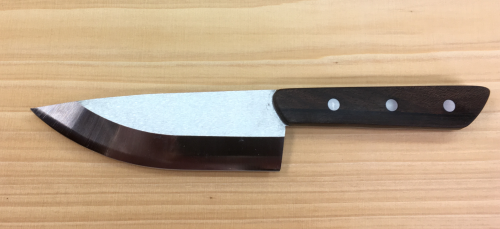
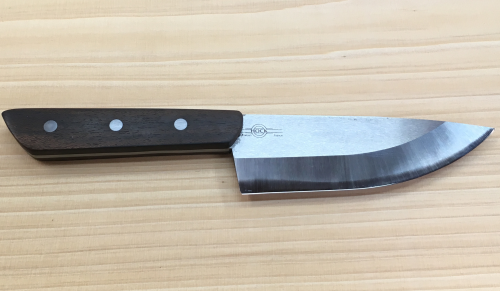
I ordered this Hock Chef's Knife Kit from Hock Tools. The 5 inch Chef's knife kit consists of a wonderful Hock blade and the necessary pins. The kit is Model #KC500.
This knife is for my niece Darrington and her husband, Lud. It will have handle scales from a piece of cocobolo that Tom gifted me. For the most part, all of the steps in this process are identical to the first knife. The entire knife 1 build process can be seen here.
Info about knife kits is available at Hock site
|
|
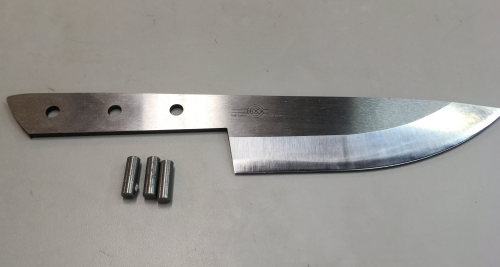
The #KC500 blade is made from high-carbon tool steel. It was forged in France and sharpened by Ron in California. |
 |
|
|
Wood selection for scales...cocobolo, maple, African padauk, Brazilian rosewood, bocote, or purpleheart. |
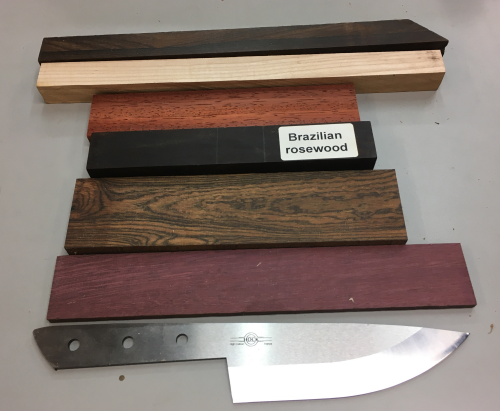 |
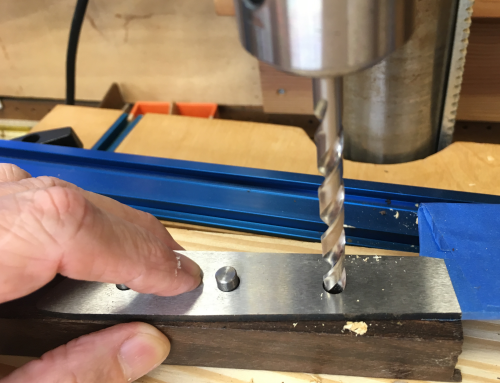
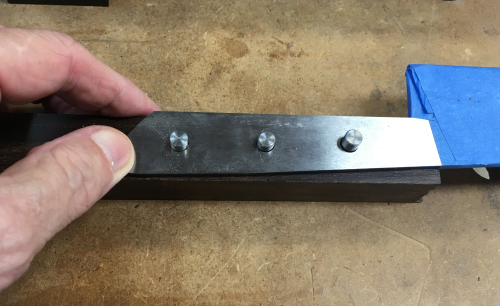
Cocobolo was chosen...blade was covered for protection and then holes were drilled in cocobolo blank for the scales...one was marked then drilled...put pin in to index the next hole... |
 |
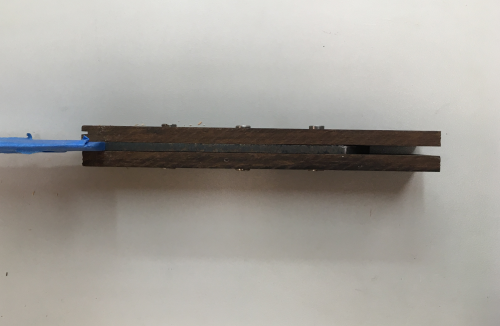
Lineup...all fit and all are tight... |
 |
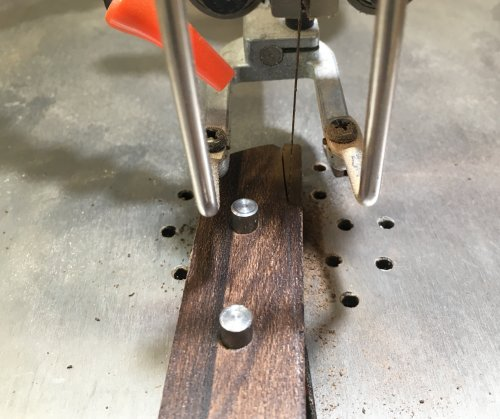
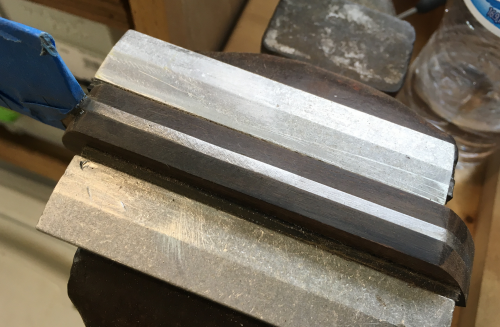
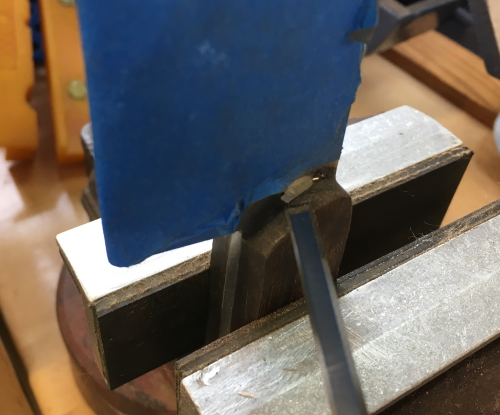
Blank ready to be cut into two 1/4 scales...used Carter F.A.S.T. setup block... |
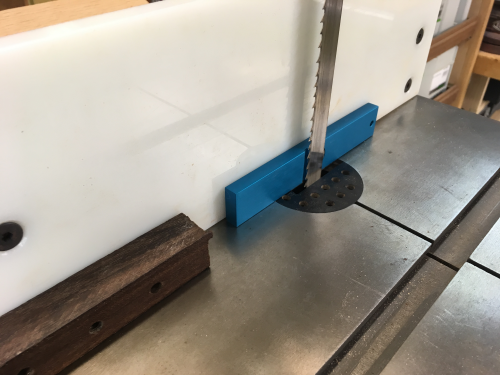 |
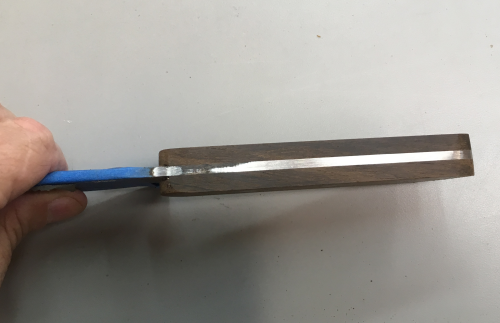
Cut went well...new blade and new Carter guides tracked great. |
 |
Blank tested for overall fit... |
 |
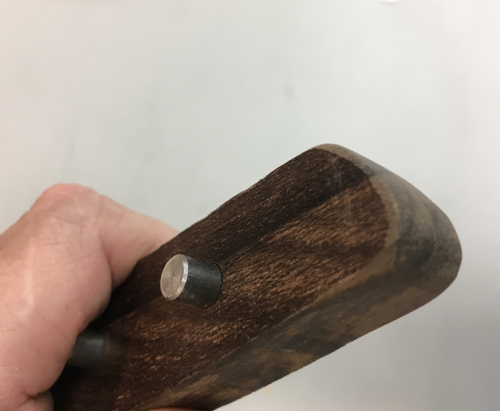
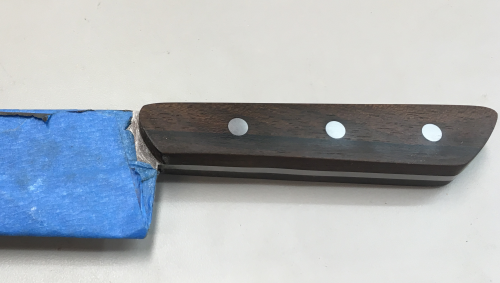
All pins were tight and slightly proud of the scales...as desired... |
 |
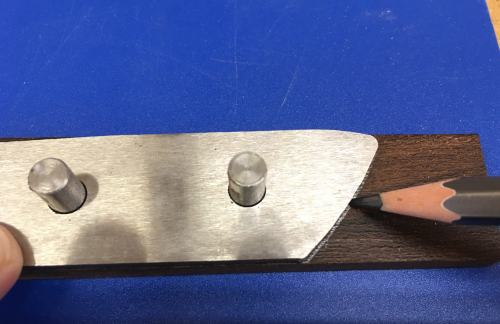
Blade blank shape then was then scribed onto scales as a pattern for scroll cut...because this is the first chef knife that I have done the front edge will be guesswork... |
 |
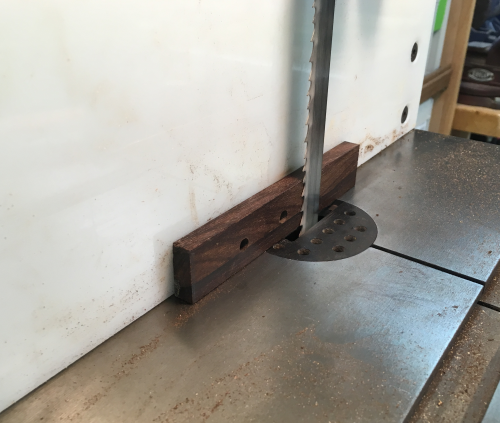
The general shape of the scales was cut at the Jet scroll saw...slightly fat... |
 |
All shaping of the front edge has to be done prior to epoxy...it is not possible to sand the front shape after the knife is assembled...final shaping on the blank was done with 100x at the belt sander. |
 |
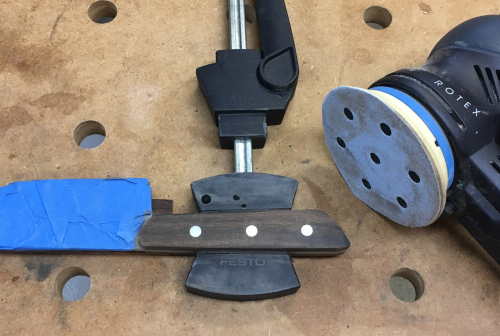
Final tactile sanding of the front was done with the 90mm sander...120x, 220x, 320x to 400x. |
 |
Front edge is ready... |
 |
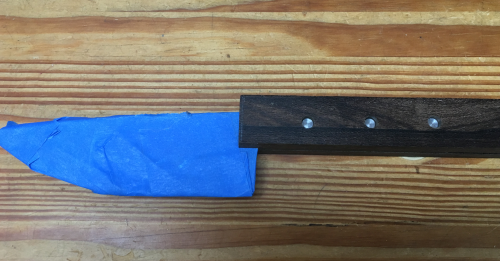
Last dry test...ready for epoxy.
|
 |
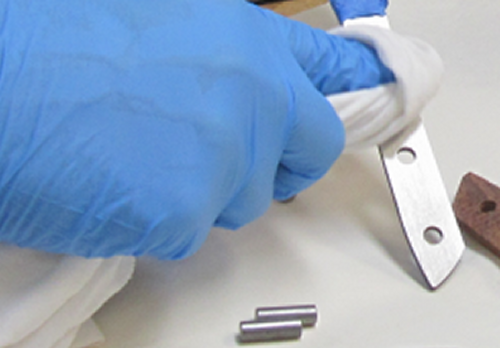
The inside surfaces of the scales and the tang of the blade were sanded to 150x to provide a better adhesion surface. Then the mating surfaces and the pins were cleaned with acetone. |
|
I chose a strong, water-resitant epoxy adhesive, Devcon 2 Ton® Epoxy...comes in two 4.5 oz. bottles. |
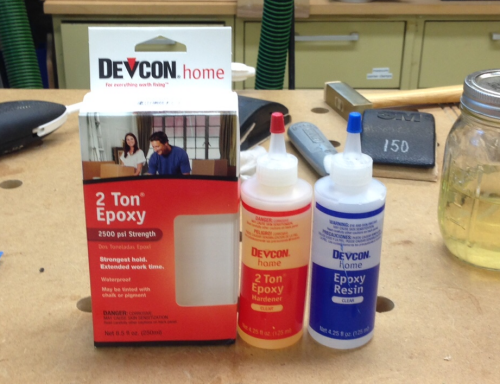 |
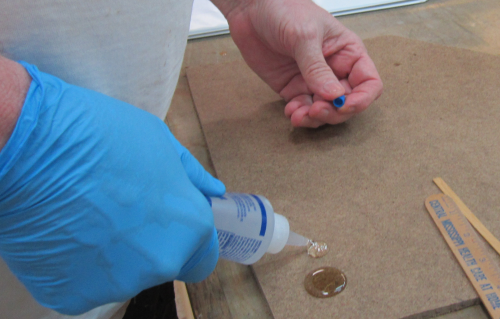
To mix...equal dollops of the resin and the hardener were squeezed out. |
 |
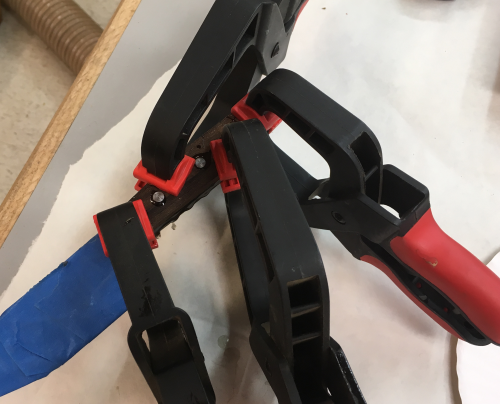
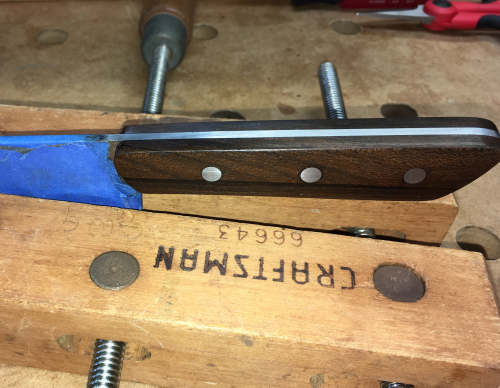
The scales and the blade were epoxied...the pins put through and epoxied...then all was clamped down tight...will set overnight. |
 |
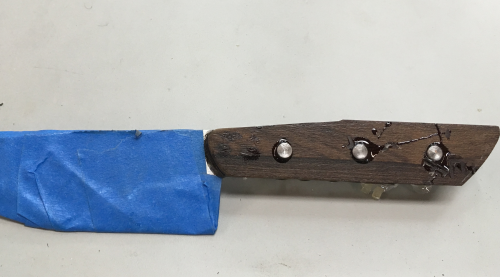
Out of the clamps...reading for the grind... |
 |
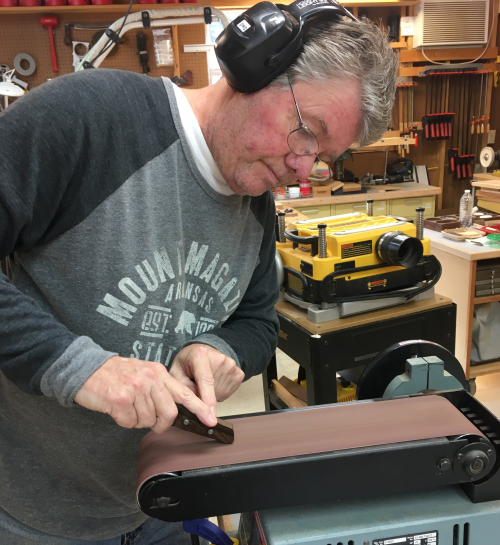
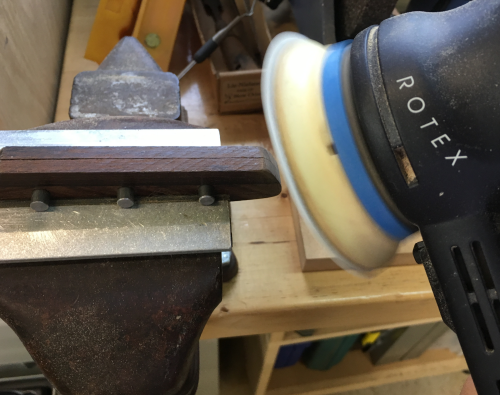
The next phase was the grinding to shape the wood and the metal. This shaping was done back at the belt sander with 80x paper. The grind on the flats of the scales went great. |
 |
However, on the top and bottom edges the grinding phase was a little more difficult than normal due to the oversized blade. It was hard to work the area near the blade. |
 |
So after the session at the belt sander, I took the 90mm and went to 80x...it worked wonders on the handle top and bottom edges... |
 |
I removed the epoxy squeeze out near blade with a chisel. |
 |
The handle is now ready for the tactile sanding...this will be done through a progression from 100x, 220x, 320x, to 400x. |
 |
Now finished with all of the machine sanding...ready for varnish wet sanding by hand. |
 |
The finishing cycle consisted of multiple coats of Waterlox wiping varnish. Each coat was saturated and then dried using wet/dry sandpaper. |
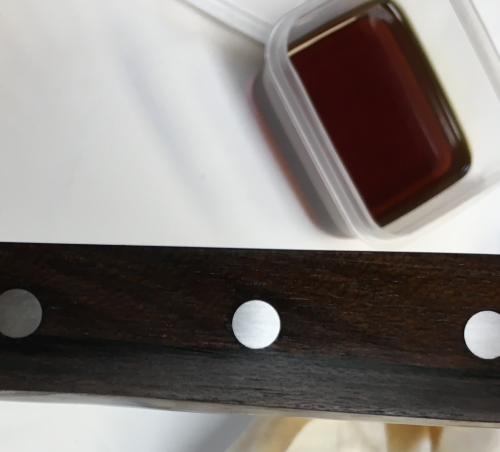 |
Two saturations and rub-ins were done at 400x, 600x, 800x, 1000x and 1500x. Final coat of varnish was rubbed with clean cotton cloth and allowed to dry. |
 |
The finish was extremely smooth. |
 |
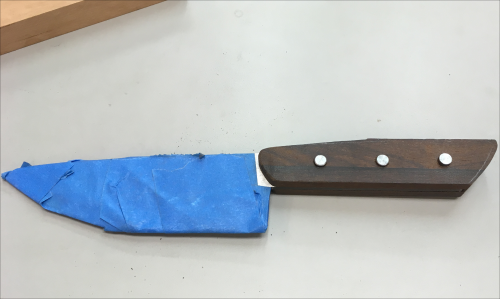
Knife had a good feel and is ready for cutting. |
 |