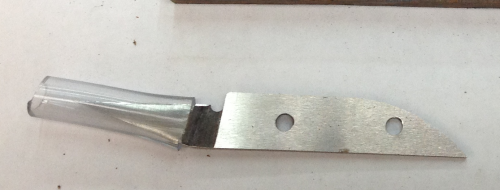
I ordered this Hock carving knife blade from Hock Tools.
It is model CKB125, a 1 1/4 inch carving knife blade made from high carbon steel and hardend to Rc62. This carving knife will be worked with my son-in-law, Max, to give to his father at Christmas.. It will have handle scales from a piece of cocobolo (Dalbergia retusa) that my brother, Tom, left me when he moved to California. For the most part, many of the steps in this process are similar to an earlier carving knife that I made...knife #5. A more in depth series of photos on the build of #5 is available here. Info about knife blades is available at Hock site
|
|
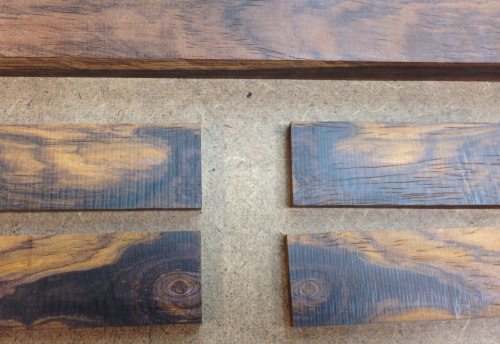
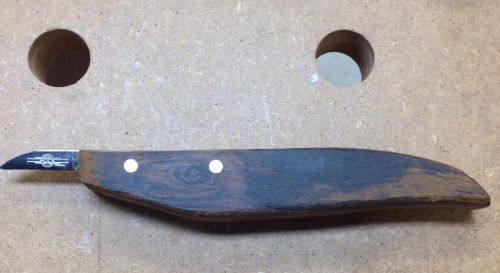
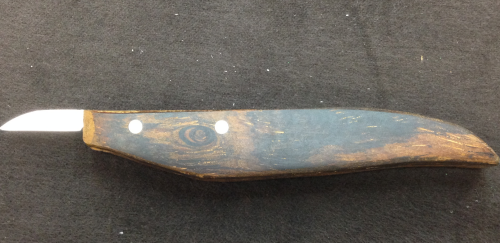
This knife will have a cocobolo handle. This blade did not come in a kit and the tang is short. So the knife scales will not be coplanar with the tang. I decided that the spine of the blade will be visible at the top of the handle.
|
 |
The blade was covered with a piece of surgical tubing for protection. The blade comes incredibly sharp. |
 |
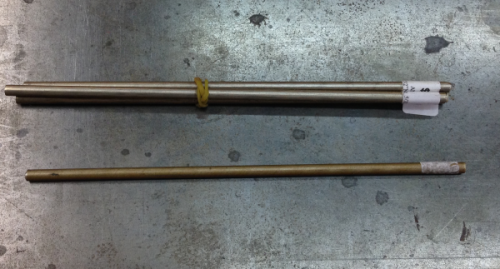
There were no pins with the blade...the holes in the tang are 5/32...locally I could only find 5/32 rods in brass...I wanted the pins to match the blade in color so I ordered some 5/32 rods in nickle off the Internet. |
 |
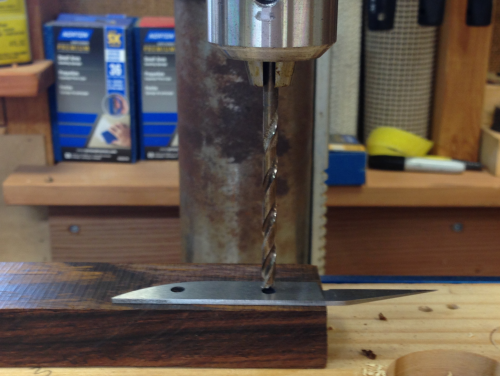
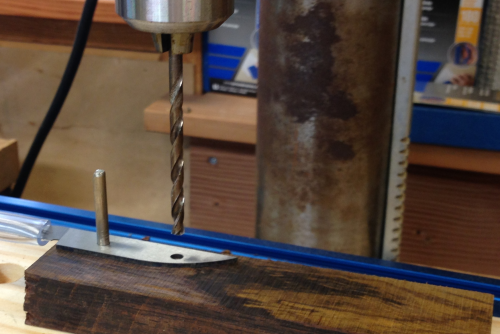
The blade would have to sit in a recess that was properly aligned with the holes. The process started with a 5/32 drill bit in the press...this marked one hole...the hole was then drilled through the scales blank... |
 |
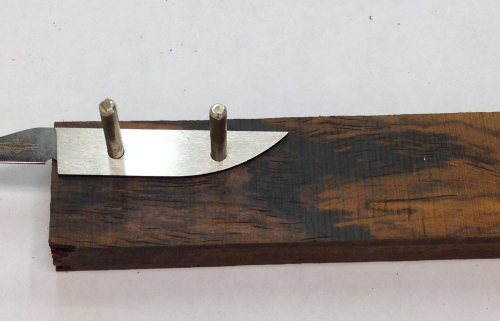
One of the nickle pins was placed in the hole as an index point and the other hole was marked and drilled. |
 |
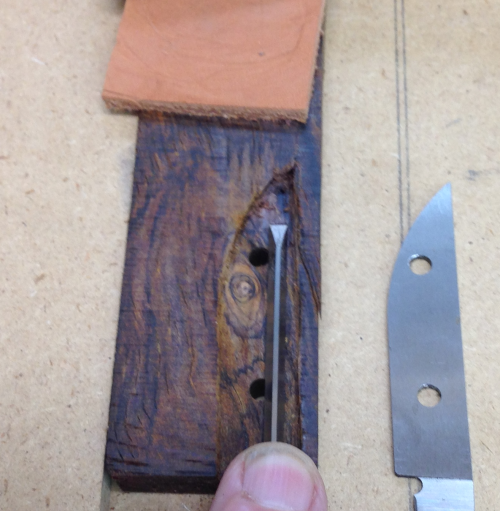
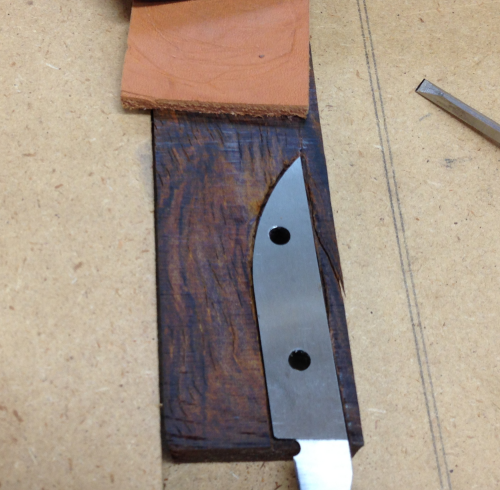
Then two pins were placed in the holes to test the fit...and the outline of the tang was marked. |
 |
The blank was cut into the two scales. |
 |
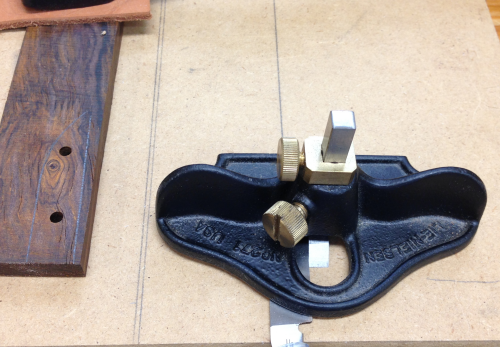
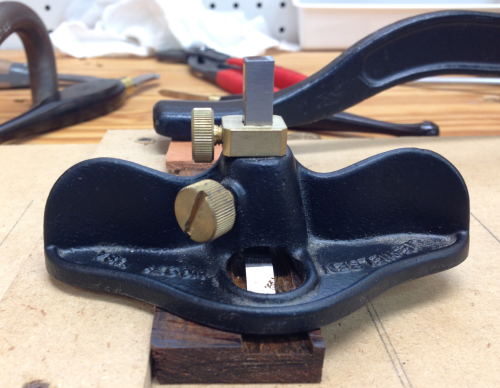
The scale that would receive the recess was clamped down on the workbench...the small LN router plane was set to a depth to match the thickness of the blade. |
 |
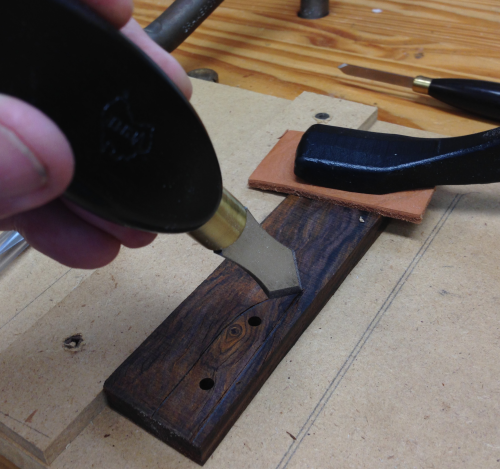
The outline of the recess was scored with a marking knife. |
 |
The recess was routed to depth. |
 |
A 1/8 inch paring chisel was used to finish out the bottom of the recess in the area where the router blade was too large. |
 |
The recess is done and tested... |
 |
|
|
|
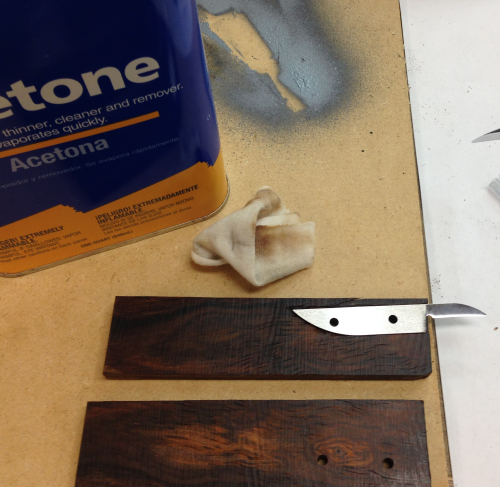
The inside surfaces of the scales and the tang of the blade were sanded to 150x to provide a better adhesion surface. Then the mating surfaces and the pins were cleaned with acetone. |
 |
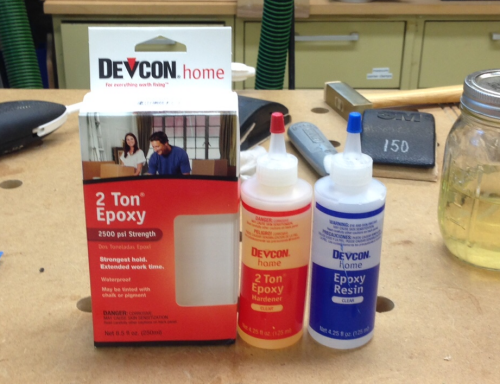
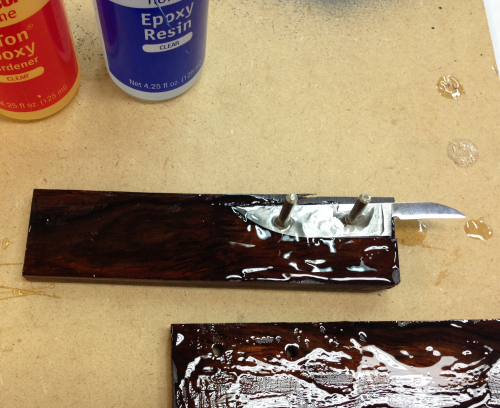
I chose a strong, water-resitant epoxy adhesive, Devcon 2 Ton® Epoxy...comes in two 4.5 oz. bottles. |
 |
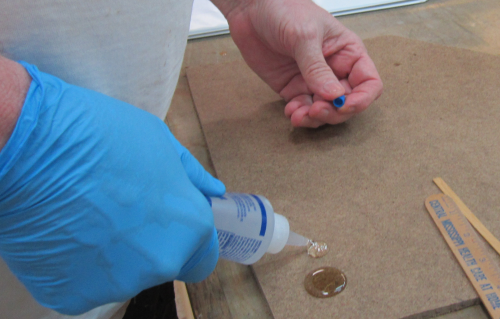
To mix...equal dollops of the resin and the hardener were squeezed out. |
 |
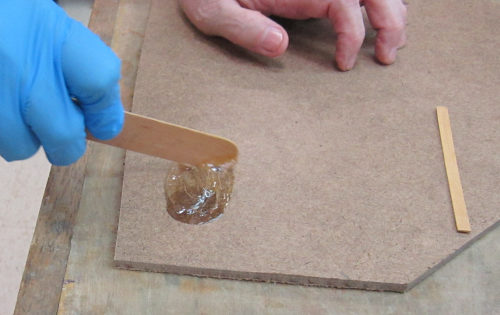
then mixed... |
 |
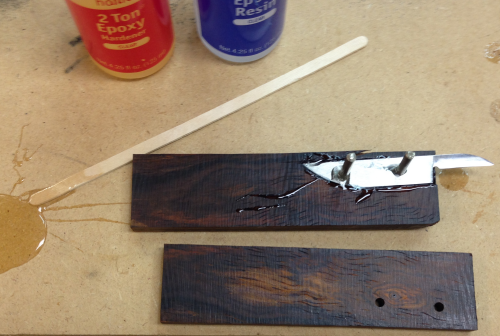
The adhesive was then spread on to one side of the tang...and into the recess...on to the pins and the pins were tapped into place. |
 |
Then the epoxy was placed onto the insides of both scales... |
 |
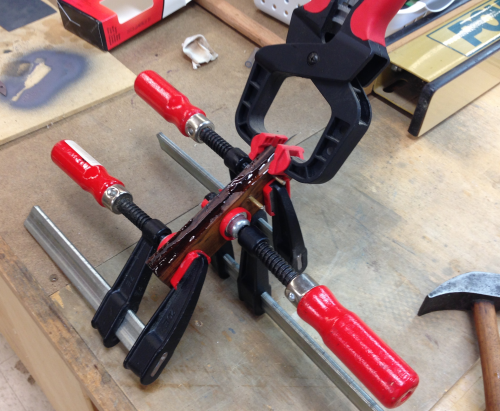
...the knife tang and scales were clamped overnight. |
 |
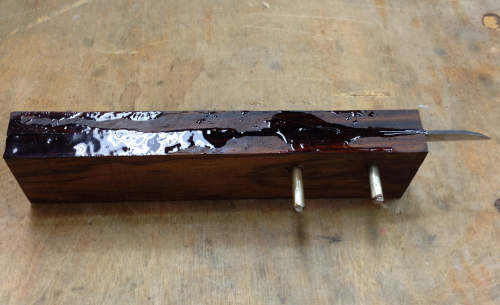
...out of the clamps, ready for shaping. |
 |
After glue up, the first shaping phase of the grinding of the wood and the metal was done on a belt sander with 80x paper. This was done to get the pins ground down to the surface. The cocobolo dust is fairly caustic so I ran both shop air filter systems and wore a protective mask. I washed off exposed skin after the sanding process. Secondary grinding of the pins was done on a 1 x 30 belt sander with 80x. |
|
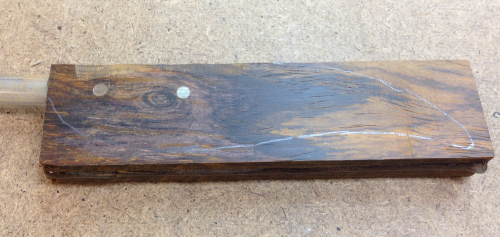
After the pins were surface flushed a pattern was applied to the blank. |
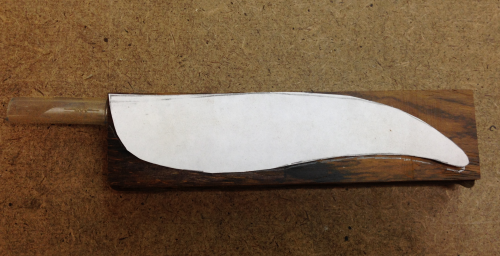 |
Here is the blank with markings for the shape... |
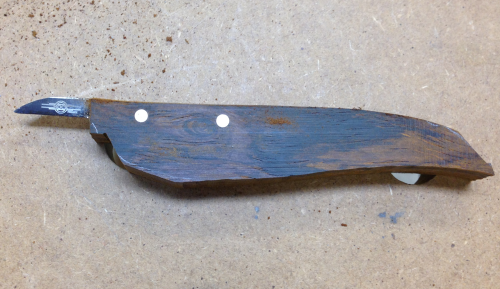
 |
After the bandsaw trim... |
 |
After leveling on the belt sander, the Rotex with 60x was used to get the wood sanded down to expose the spine. |
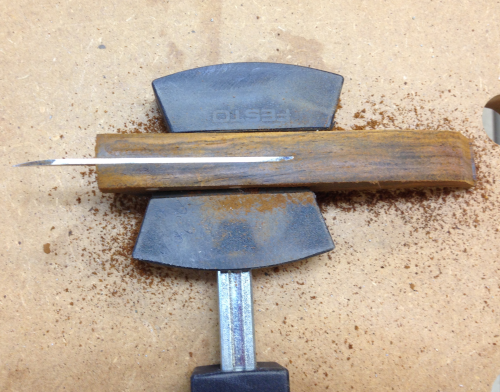 |
A rough shape was sanded with the 60x... |
 |
Further shaping was done with rasps, chisels, and spokeshaves. In particular I trimmed the size of the belly of the underneath side of the handle. |
 |
After the desired shape was acheived, further removal of wood was done with the Rotex 90 sander...the grits were progressed from 40x-80x-120x-220x-320x-400x. |
 |
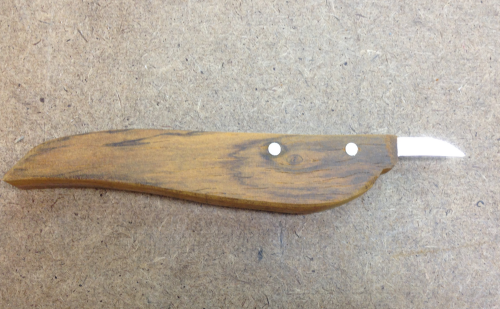
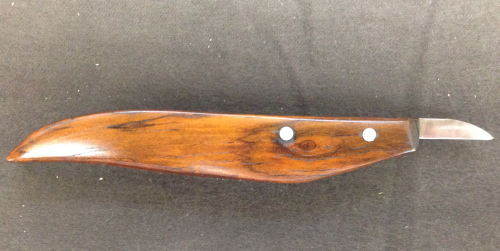
The finishing cycle consisted of multiple coats of Waterlox© wiping varnish. Each coat was saturated and then dried using wet/dry sandpaper.
|
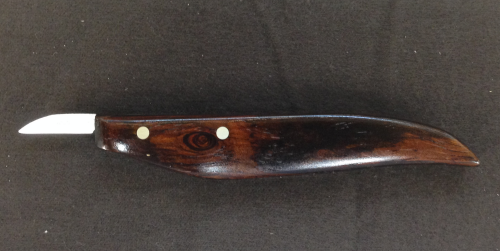 |
Two saturations and rub-ins were done at each grit from 400x-600x-800x and then a single saturation at 1000x and 1500x.
All of the sanding and finishing The finish was extremely smooth. The finished product after a couple of final coats of Waterlox© |
 |
|
|
