I bought a Jet 22 inch scroll saw. I had originally envisioned using the saw on rolling work station. However, vibration was a bother and I opted to mount it to a benchtop.
|
|
|
|
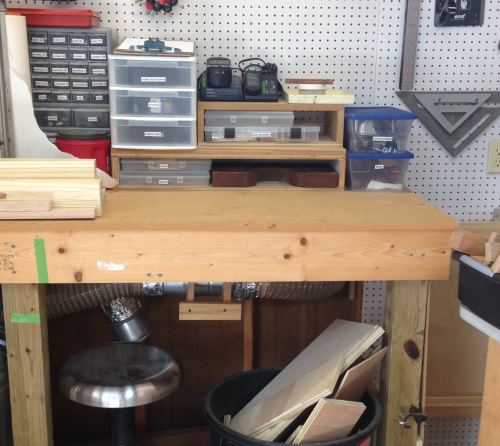
| I had been trying to reconfigure the east end of the chop saw station bench for months. The dust collection system under the bench was problematic and I wanted to create some more room for the router table in the corner. To make this move happen I rearranged the dust collection system both under the workbench and outside. |
 |
First I eliminated the 5 inch drop and hose that came from under the base of chop saw. I simply never used this option. The drop was made from a duct work reducer.
|
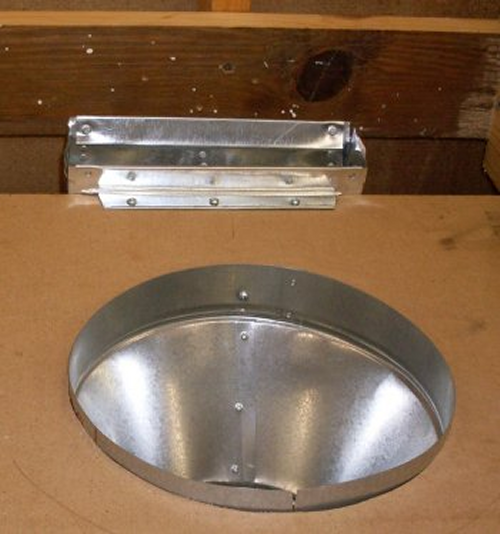 |
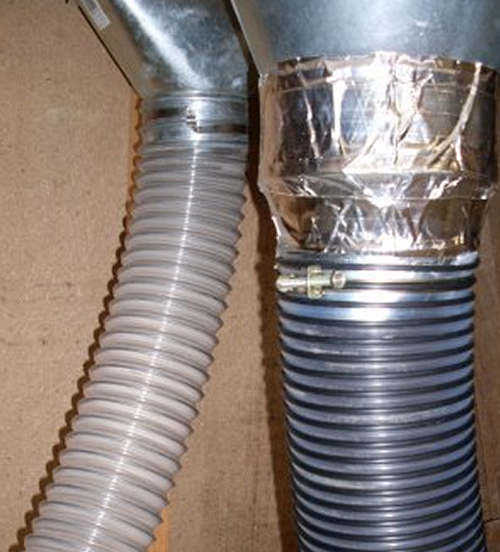
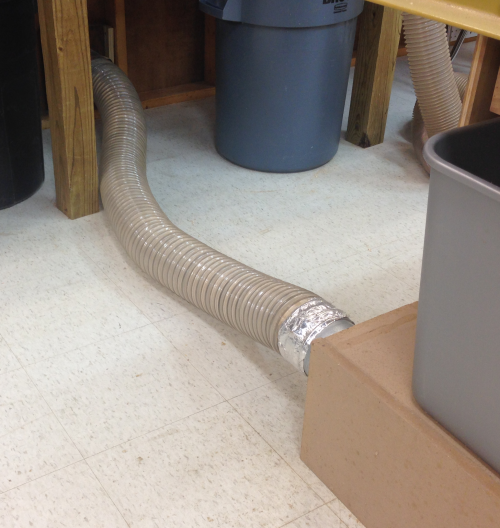
The reducer went down to 5 inches and then connected to this DC hose that could be connected to the Gorilla. This setup had been convoluted and took up a good bit of under counter space. |
 |
The U loop was large and would fill up with saw dust from the chop saw if it was the fitting was not connected to the DC system. |
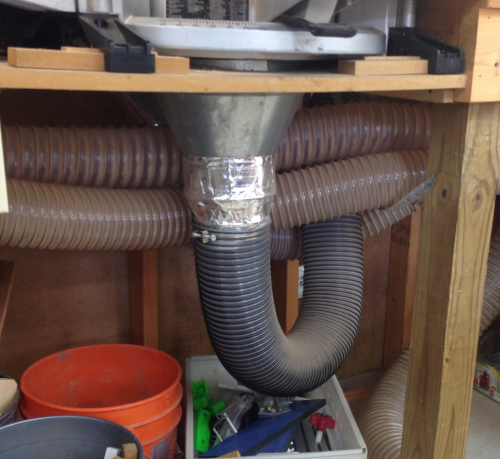 |
So, all of that 5 inch hose was removed and the long run from the P66 to the east end of the bench was eliminated. |
 |
Out back the 5 inch hose port made a large loop back to the Gorilla.
|
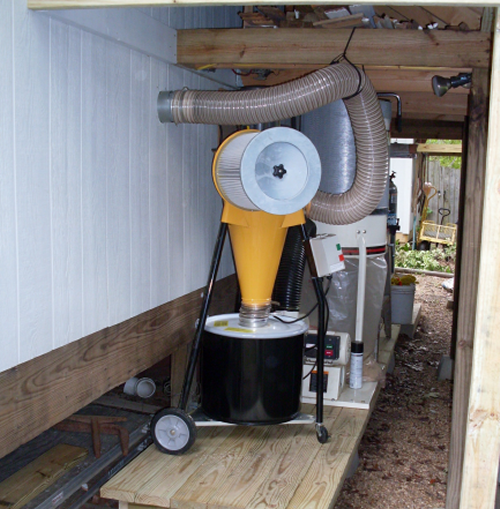 |
In the new setup the Gorilla and the Jet dust collectors switched places... |
 |
...and the new 5 inch port provides a short hose run to the Gorilla. |
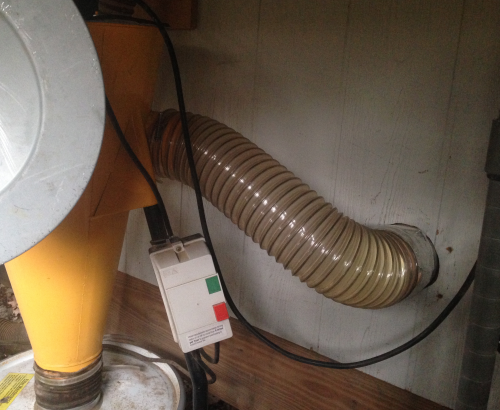 |
Inside, the 5 inch DC hose from the P66 goes to the new port in a somewhat direct route. |
 |
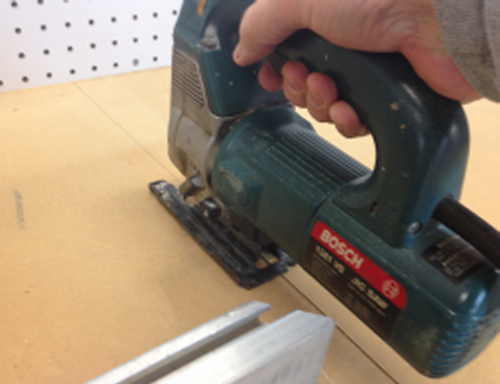
After the rerouting and reorganization of the dust hoses, the bench alteration began. The end of the bench top was removed with a jig saw cut and finished off at the wall with a Japanese pull saw. |
 |
After the top was pulled the underpinings could be assessed... |
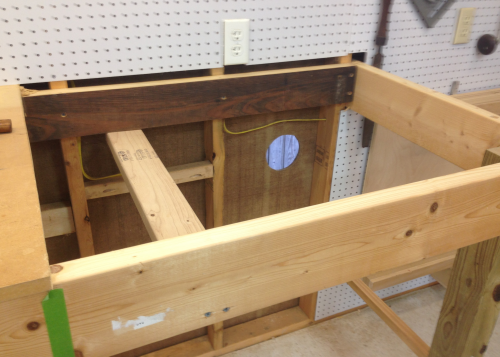 |
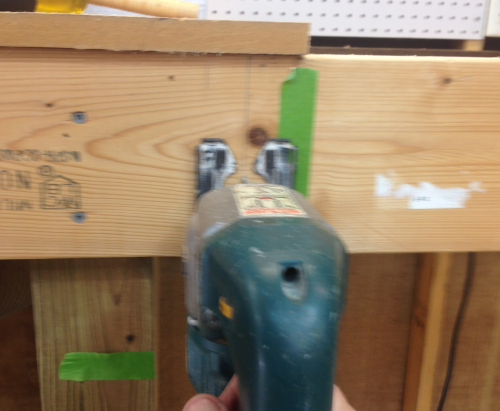
...and then wrecked...here the front 2 x 6 support was cut with the jig. |
 |
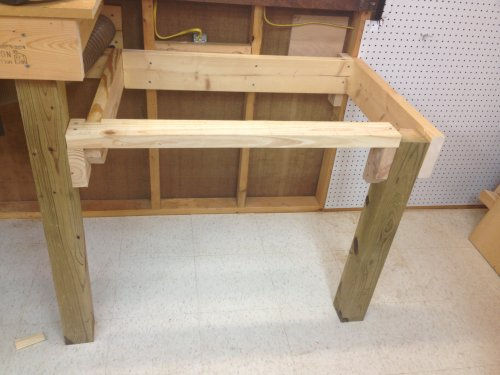
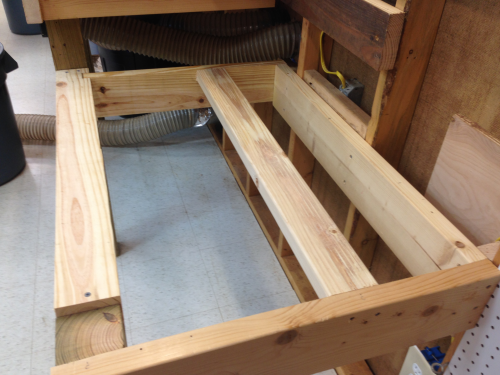
The supports were reconfigured at the new height. The end of the bench is now a lower workstation and it is shorter than the original by a couple of inches. |
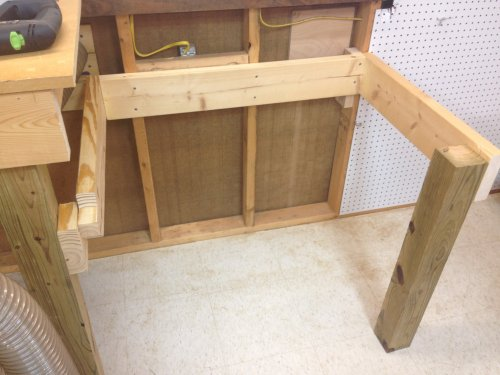 |
The front 2 x 4 support was configured horizontally to create more leg room under the structure. |
 |
| A temporary top is clamped on so that saw placement can be assessed before the final changes are made. | 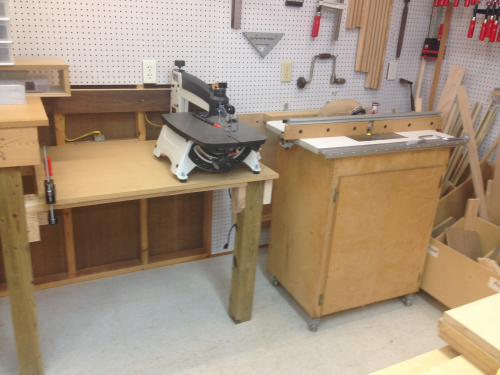 |
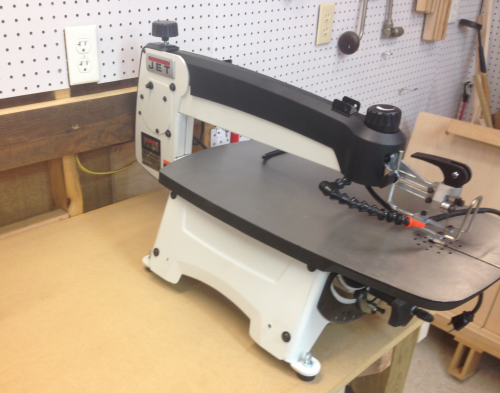
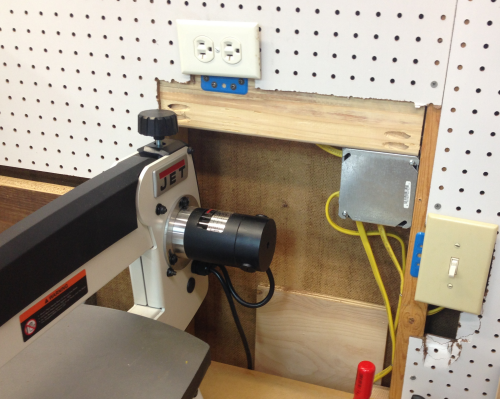
This includes providing more room at the back of the saw...the 2x stock that supported the previous benchtop was keeping the back of the saw from going deep enough on the benchtop. |
 |
Sawed off the support 2x...and then cut out pegboard to accomodate the back end of the Jet22. |
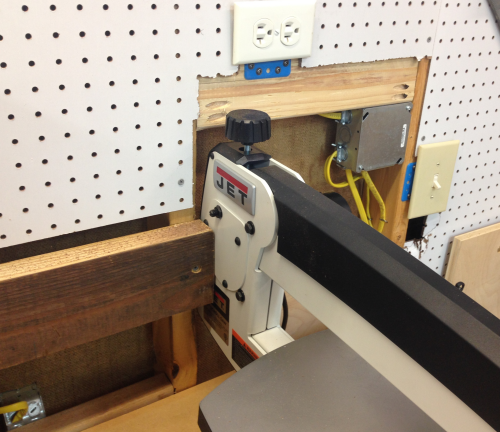 |
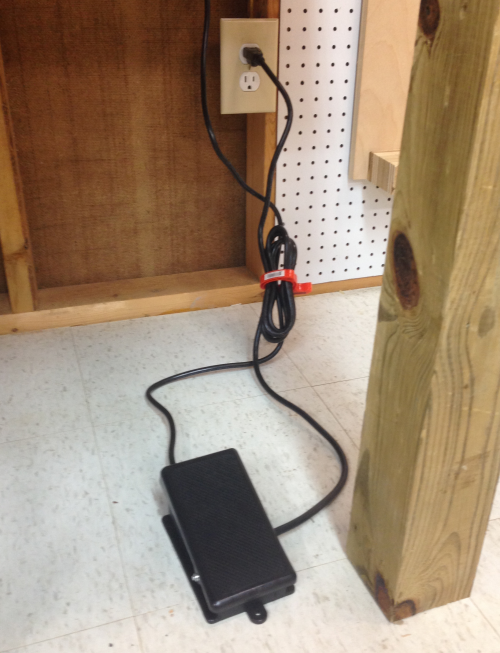
Then I rebuilt the area behind the saw by putting in a cross piece 2x with pocket Kreg screws...this provided a solid point to attach an electrical box...it went up higher horizontally and allowed the power wire to easily connect. I continued the reconfiguration of the electricals by putting in the metal junctions box. Power went out of the is box via the existing wiring and continued to power outlets on that wall. The switch provided on/off control of a new outlet under the bench. This will enable power shut off of the foot switch to avoid any inadvertent saw starts. |
 |
Here is the new outlet with foot switch. |
 |
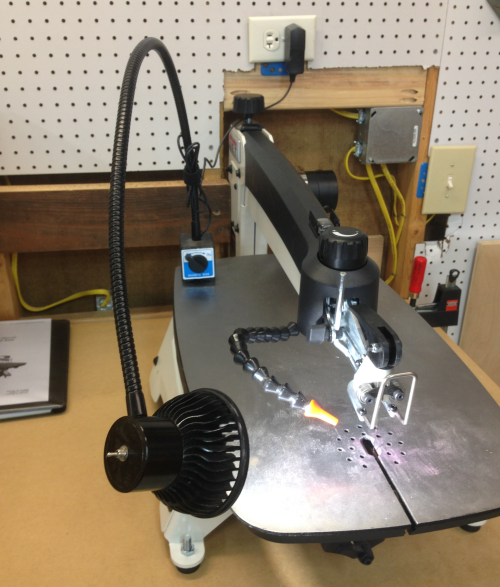
I added a magnet based lamp for extra lighting. |
 |
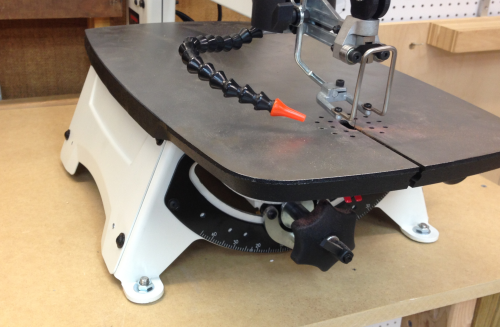
...some support under the saw for securing the saw legs to the base...the center of the two horizontal boards were 15.5 inches apart for the bolt holes.
|
 |
A new 3/4 MDF top was installed and then 3/8 inch holes were bored for a 3/8-16 x 2 1/2 inch bolt to come up through a washer, the 2x stock, the MDF, a rubber grommet, the leg flange and then be secured with a washer and nut. Unit is down tight.
|
 |
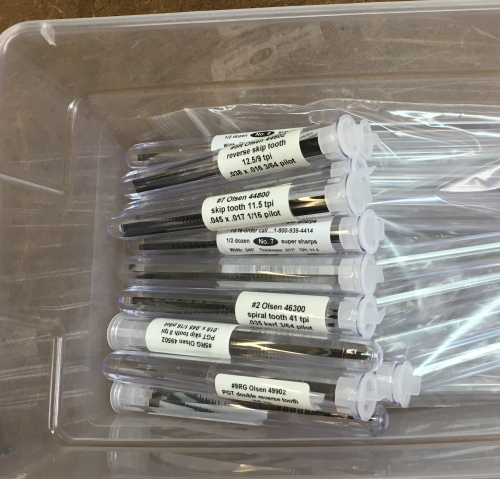
Numerous blades stored in vials. |
 |
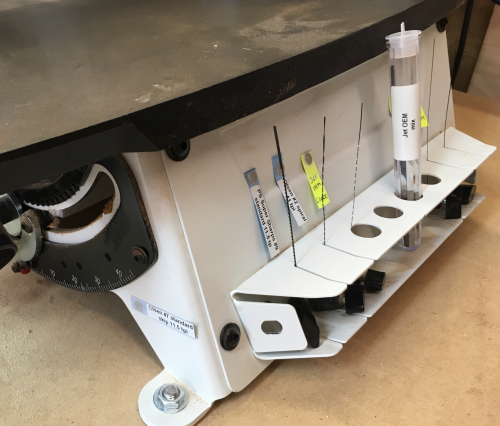
The Jet has a quick change blade holder. These holders, as well as vials of extra blades, may be stored on the side of the Jet. |
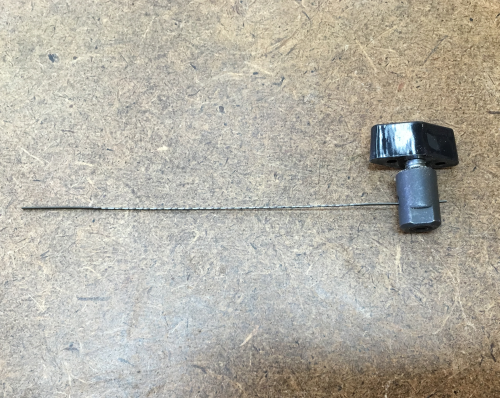 |
I have 6 of these and I used a magnetic label system to designate the type of blade in each holder. |
 |
