Garden Shed Project

Base Unit Build

Framing Stage

Exterior Installation

Finish Stage


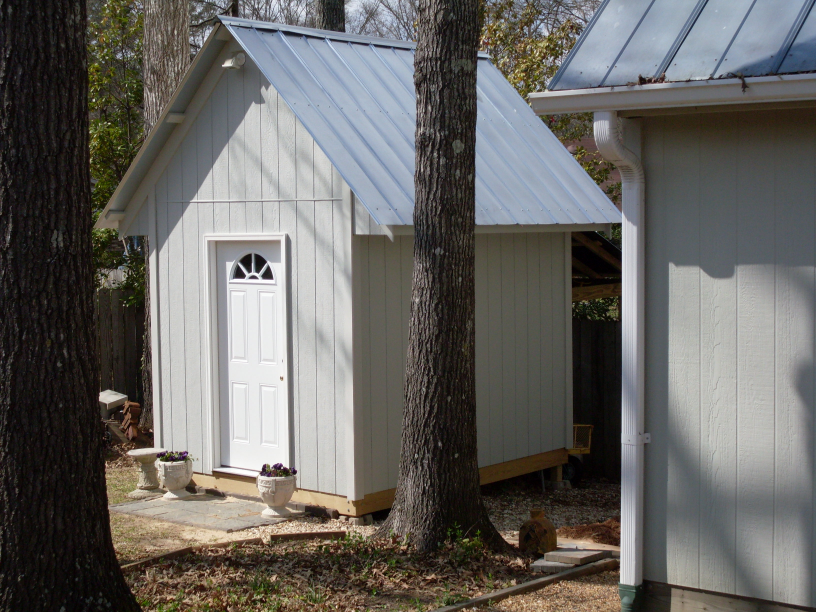
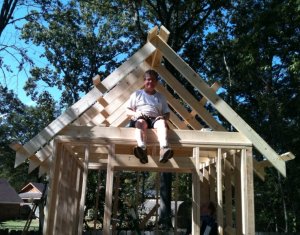
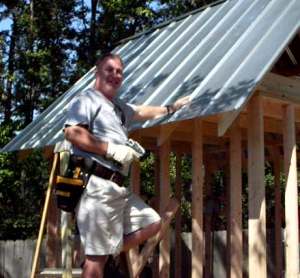
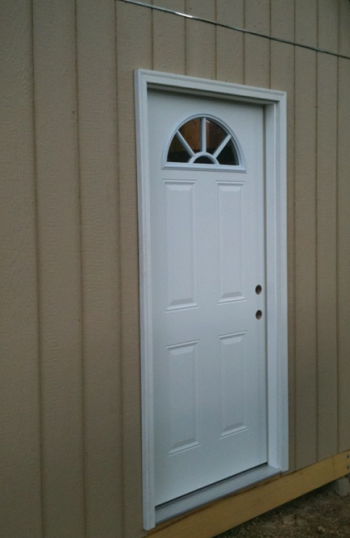
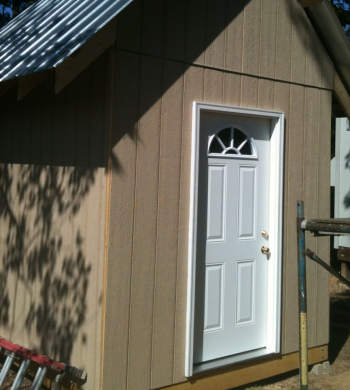
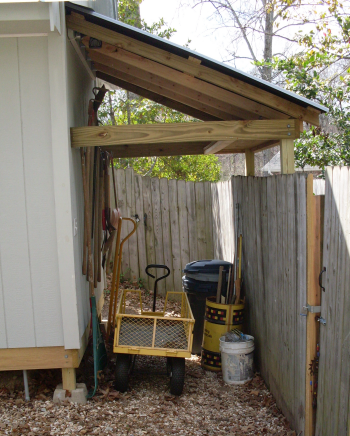
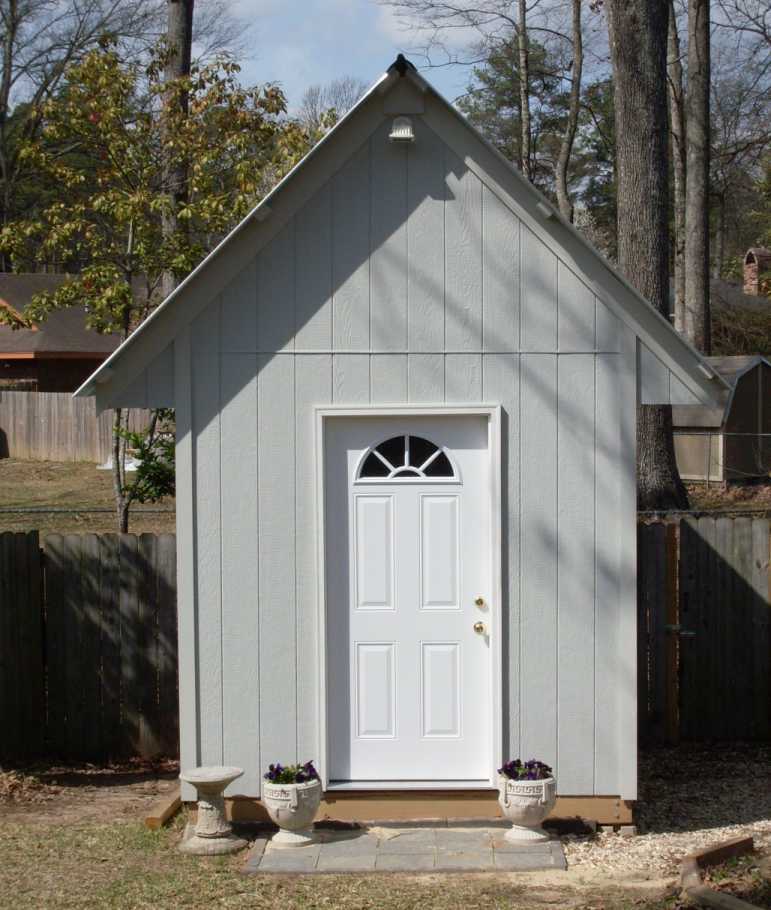
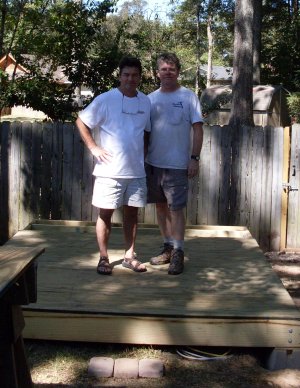
The finished product.
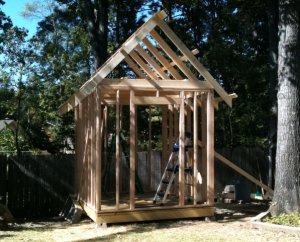
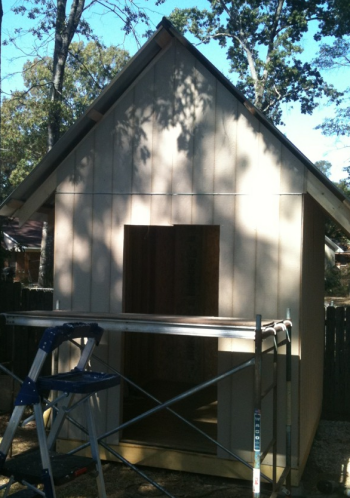
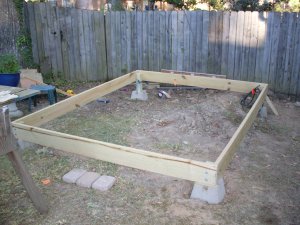
For Cindy, the key word is "adorable".


Base Build


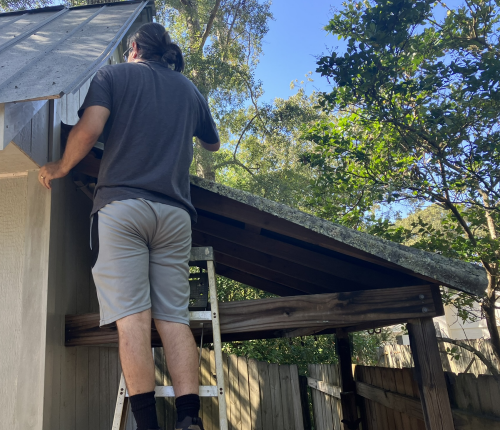
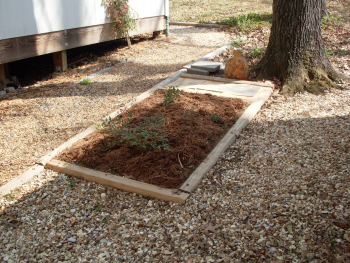
The Garden Shed is located to the west of the shop.

The shed will measure 8 x 10 of interior space with a covered area in the rear.

The exterior is identical to the shop in terms of materials and design.

The base of the shed has 2 x 8 treated rim joists. The joists are supported by 4 x 4 posts on floating piers.

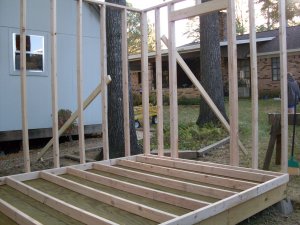
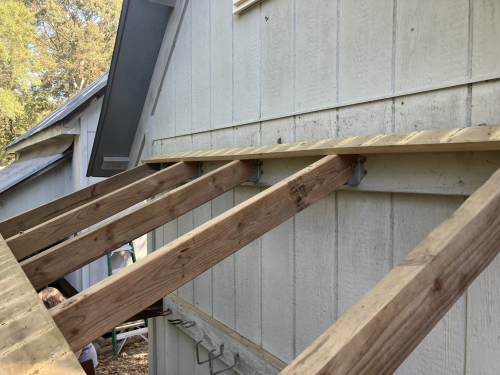
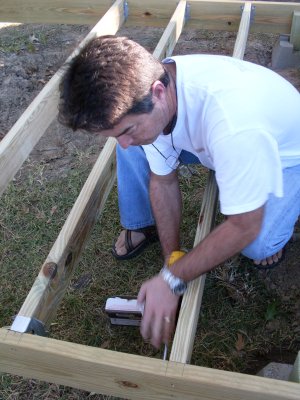
Floor joists are treated 2 x 6, secured with joist hangers.
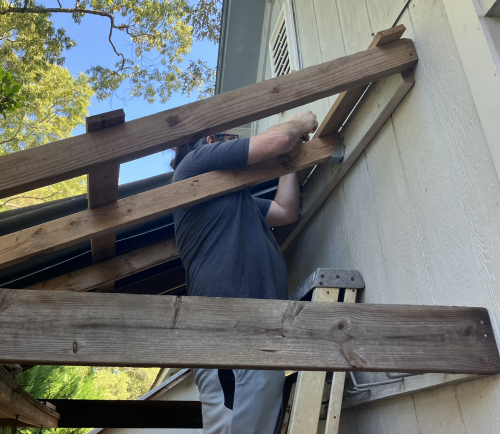
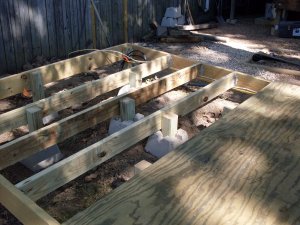
The floor Joists are on 16 inch centers with floating pier supports.

Electrical circuits to the front of the shed were pre-strung and secured to the rim joists prior to the flooring being installed.
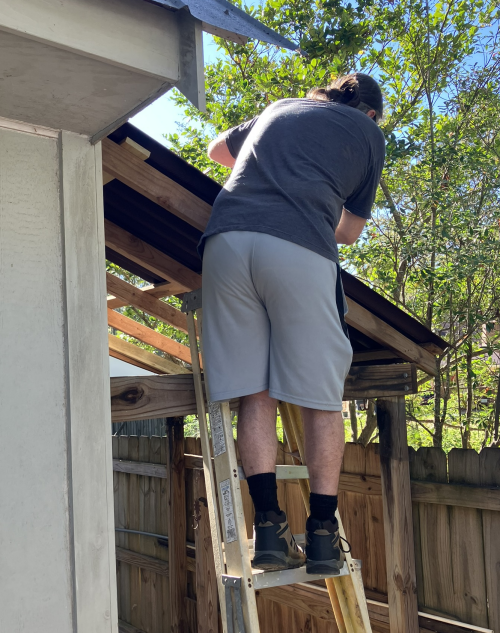
Shed decking is 3/4 treated plywood. Secured with Liquid Nails adhesive and screws.
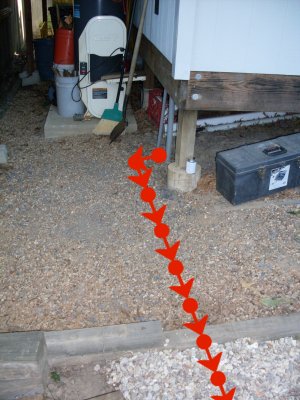
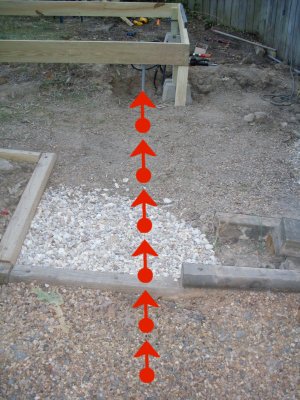
Electrical supply for shed was 6 guage 3/1 service wire connected to the shop power panel box via a 40 A 220v breaker.

The wire dropped inside a PVC conduit. The conduit was buried undeneath the gravel walk way.
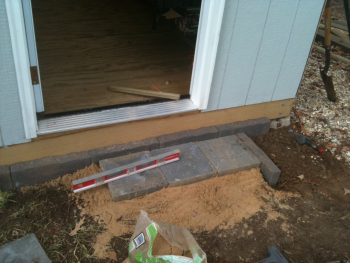
The conduit goes under the French drain pipe (hidden in the walkway) and then under the landscaping timber.
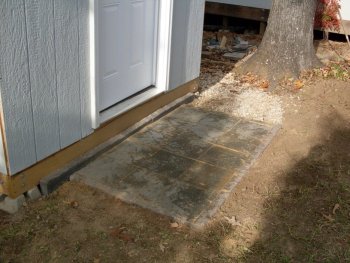
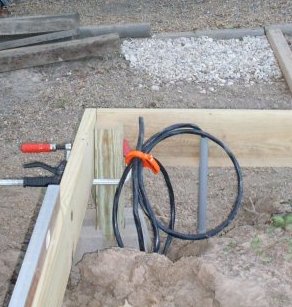
The conduit comes up in the northeast corner. The ground wire and all pre-strung electrical wiring converged in this corner.
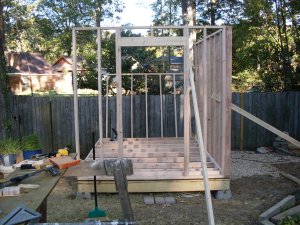
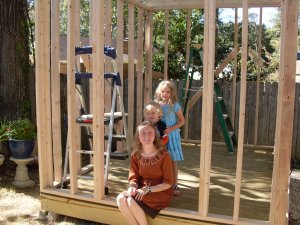
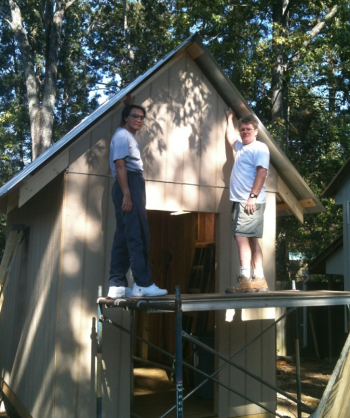
James and George on the decked base.

Return to the top of the page

Framing Stage


Sill plate and top plate lay outs, cuts for jack studs, and the door header were done one evening by James and George.

The walls were framed by George.

Walls were erected with assistance from Cindy and Ben.
The ceiling joists are 2 x 6 x 8s on 24 inch centers.
Ridge board issues slowed the pace down...but 2 x 6 rafters were finally installed.
Purlins (2 x 4s) were put in as supports for metal roofing panels.
Framing phase is complete.
A visit from the Rankins.


Return to the top of the page

Exterior Stage


Dave assisted with the metal 5v panels for the roof.

Cindy, Ben, and John assisted George as the gable finishing crew.
Scaffolding was needed to finish out the securing of the end pieces on the south side. John was the scaffold assistant.


Siding is 4 x 8 primed panels 7/16" thick. These panels have a faux wood pattern to resemble 8 inch boards. These panels give the shed the same look as the shop.
The north side did not have room for scaffolding and had to be reached by extension ladder. The gable stud structure on this end had to include a box for the gable mounted attic fan. James and George built the fan box earlier in the week to simply the process.

Reaching the peak with the nail gun was something of a challenge. The crew was holding the ladder in a stabile position at the base.


Here is the north gable end after siding install.


Return to the top of the page

Finish Stage


Finish carpentry included gable fascia as well as corner trim.

The long sides had 3/4 inch fir fascia boards attached to the end of the rafters. A 1/4 dado was cut into the fascia so that the soffit plywood could fit into that dado and then be attached to nailing strip on building.
The metal clad door with panels and crescent windows came with brick mould in place.
Lockset with double dead bolt installed.
Electricals include rear fan with switch, rear lights with switch, interior shop lights with switch, front gable light with switch.

North gable had to have trim for vent for gable fan. Scaffolding allowed easy access to highest points.
The scaffolding would not fit parallel between the building and the fence. We had to pull down part of the fence and then run the scaffolding perpendicular to building

The rear lean-to covering phase...

this began with installation of a ledger board. Brother Tom was in from San Diego and lent a hand.

The rear overhang takes water and drops it on the outside of the fence.

There is storage available on a shelf in the rafters.

Numerous tools hang on the rear of the shed.

There is ample room for storage and for the cart.
In 2022, we replaced shed lean-to roof with new Ondura panels.
Here, Max is removing the old panels. 
There were two panels, four feet wide.


Walkways between buildings were continued in gravel with appropriate landscaping.
Cindy and George installed the front paver pad. Edging stones were placed against the base joist.

The paver pad, 3 x 5 stones (12" squares), was laid on compaction sand.
The front paver pad. The pad was enclosed by edging stones.
Front view of paver pad at entrance. The side gravel walkway was extended to the right edge of the paver pad.


Return to the top of the page

Return to Shop Index