|
|
|
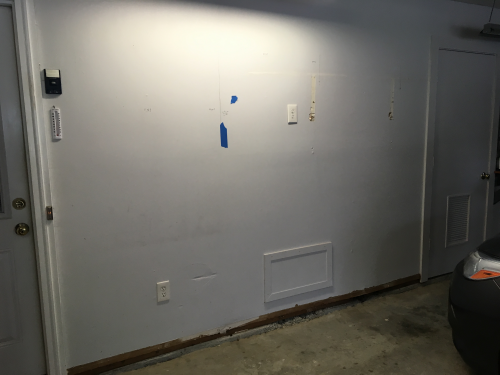
This is the area where the new shelves will be installed...along the back wall of the parking area...storage room to the right. |
 |
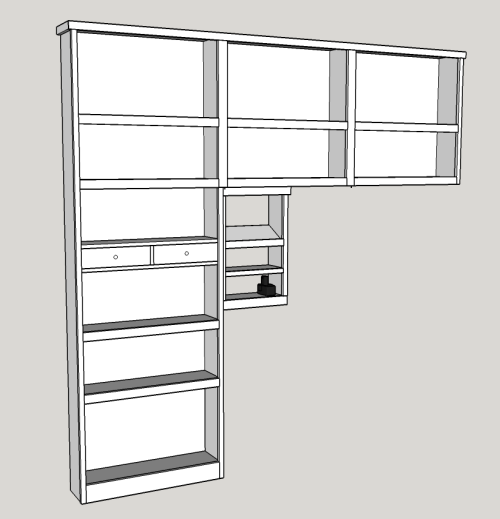
Early Sketchup model...a tall unit with two smaller upper units... |
 |
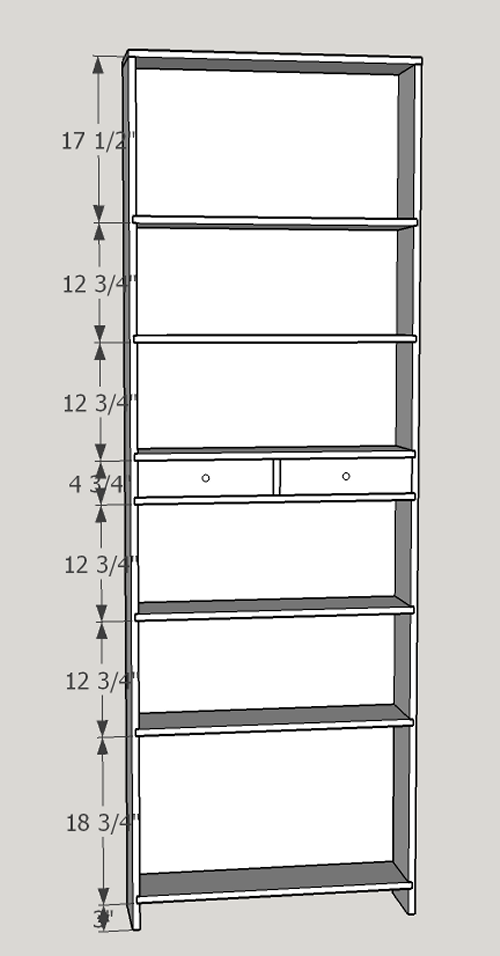
Spacing shown here...
|
 |
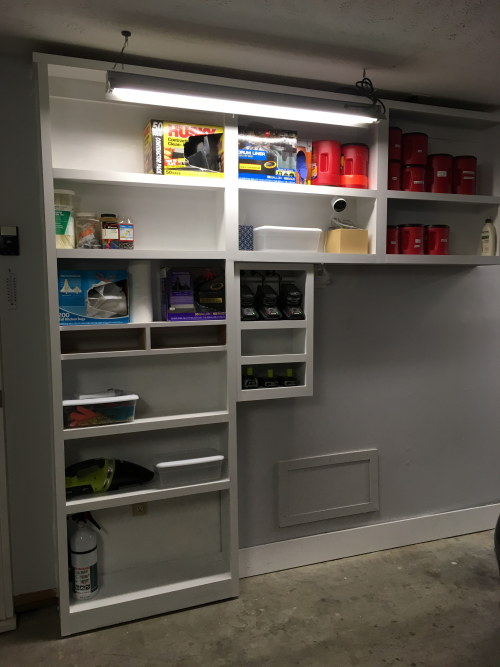
...with a battery charging and storage cabinet. |
 |
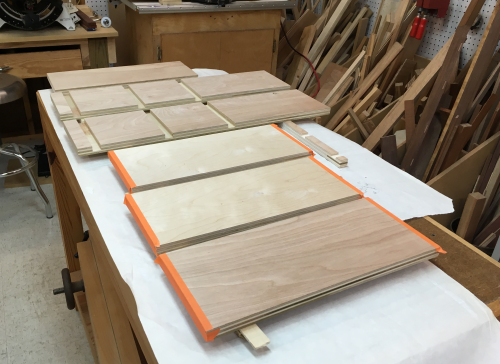
The primary wood selected for the project was Baltic birch. 3/4 nominal cabinet grade, actual thickness, 23/32 nch These premium priced but low quality sheet goods were purchased at the local orange BORG. |
 |
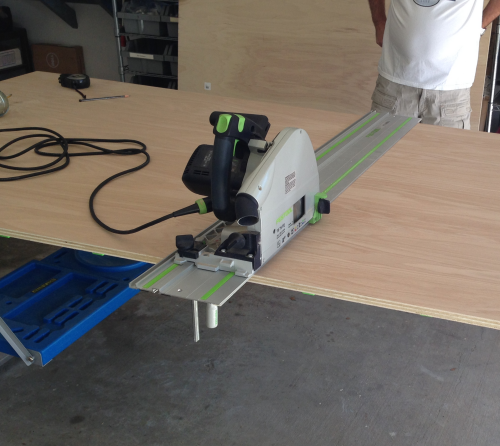
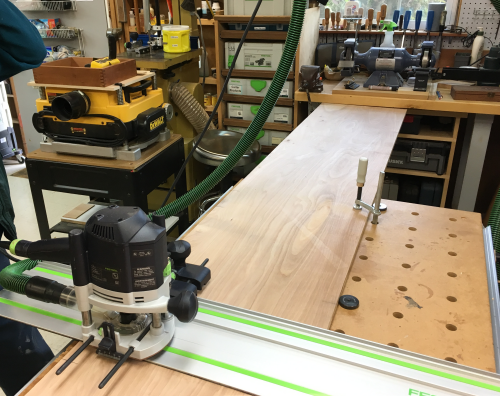
Benchmark table...in the garage...ripped and/or crosscut with Festool TS55. |
 |
Then in the shop...23/32 wide dadoes were routed...ERROR NOTE...failed to compensate for thickness of the rail and cut all dado runs too shallow.
Then ripped to create mirrored sides... |
 |
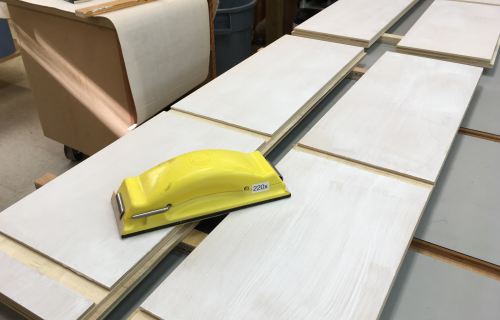
All interior show surfaces were primed prior to assembly. Primed surfaces were lightly hand sanded, 220x, and then painted. |
 |
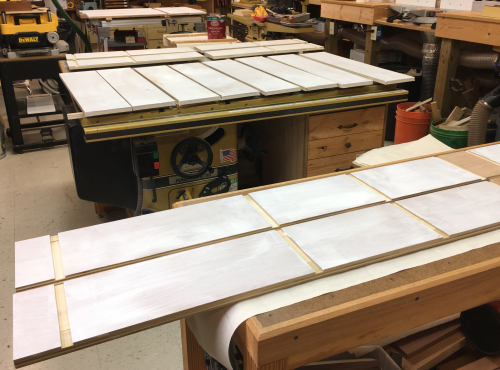
Along with the issue of the depth of the grooves, there was now a 9/16 thickness of wood...poor fractional math and a bad pain day caused many more mistakes...rectified with a fresh morning start and going by real world lengths...not added fractions. Finally all plywood blanks are ready to be sanded along grooves and then prepped for assembly. |
 |
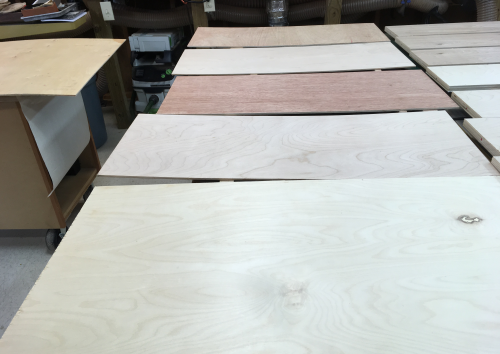
Last prep was 1/4 Luan plywoods to be backer boards at rear of shelves. Used many old scraps...some had some issues...plus the blanks bowed after paint...should have used .25 inch MDF |
 |
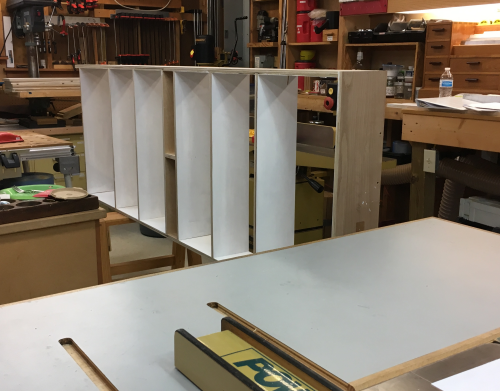
Tall unit...put together the drawer platform first...work done across P66 and outfeed table. We would put shelf into glue groove, then move caracase to the space between tables to allow a nail off with 1.5 inch 18g brads. |
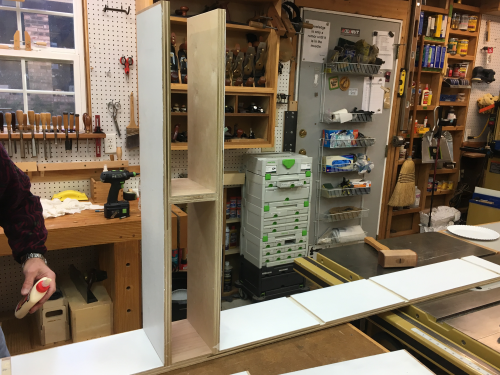 |
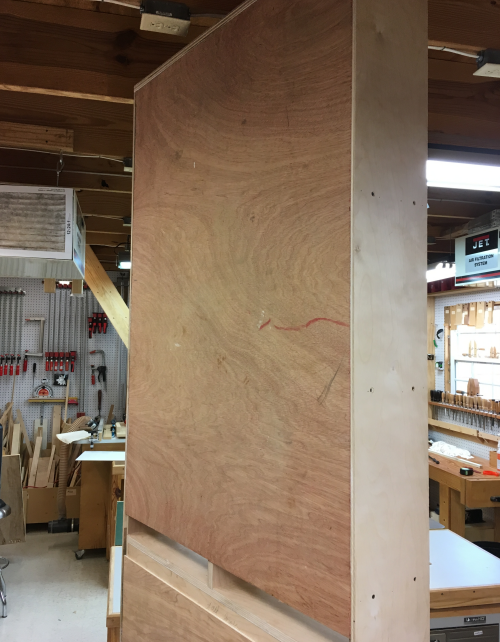
We then glued up the other ends of shelves and prepared to drop the Right side onto the carcase...standing on table was good for top leverage...but a slip of the step ladder on the way down caused a tumble. |
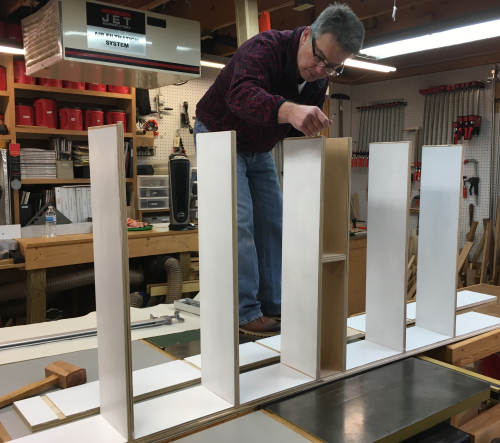 |
Clamps were used to press fit the shelves in the grooves...and they were then nailed off. |
 |
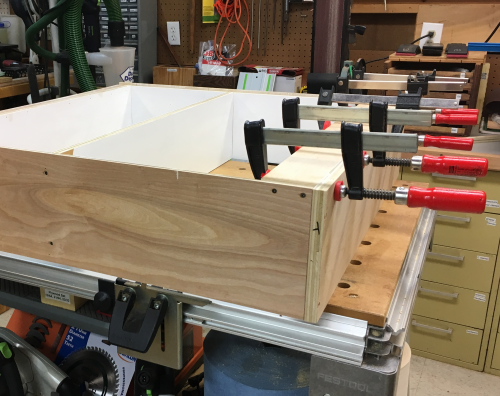
The carcase was laid flat and fully clamped off...6 pair of Dubuques made for easy work...good standoff, easy torqueing handles... |
 |
And I truely love the light weight. |
 |
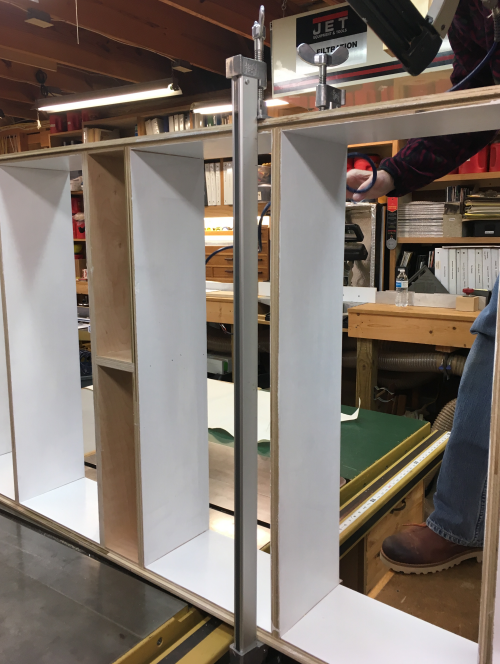
Screws were put into each shelve after glue set up...the carcase was then put down onto sawbenches.
|
 |
The back boards had been "fat cut" so some triming was necessary...the three blanks were then air gun stapled...the upper piece covered the top three shelves...two pieces were laid into the bottom sections. |
 |
No backing in the lower section...plus a gap at back of drawer section. |
 |
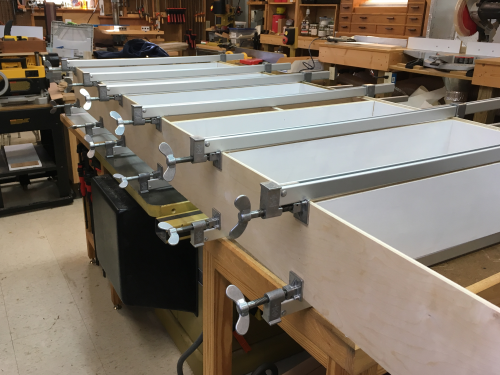
Upper Units...much smaller, dry fit and glue up done on MFT3. |
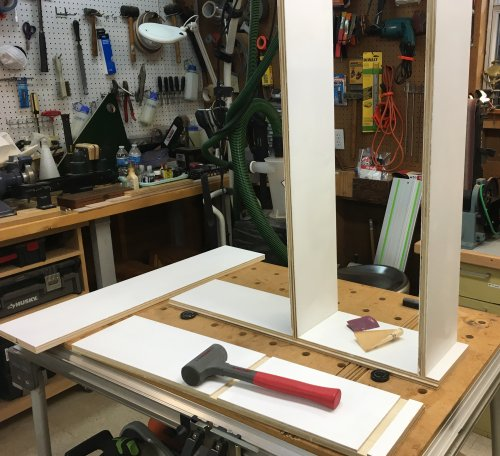 |
Clamped... |
 |
Header screw board attached... |
 |
Battery cabinet...milled boards prepped for paint... |
 |
All interior faces...grooves were sanded..glue ends were taped off to make joinery easier... show surfaces were painted prior to assembly... |
|
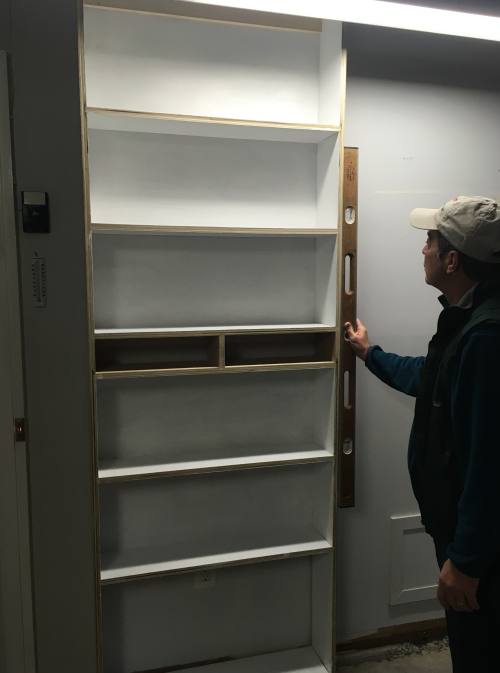
Had few issues standing the tall unit against wall...levelled it up...lifted entire carcase 3/4 inch (actual 23/32 due to ply cheaters). |
 |
...and then screwed it into studs. Followed quickly with the left upper unit. |
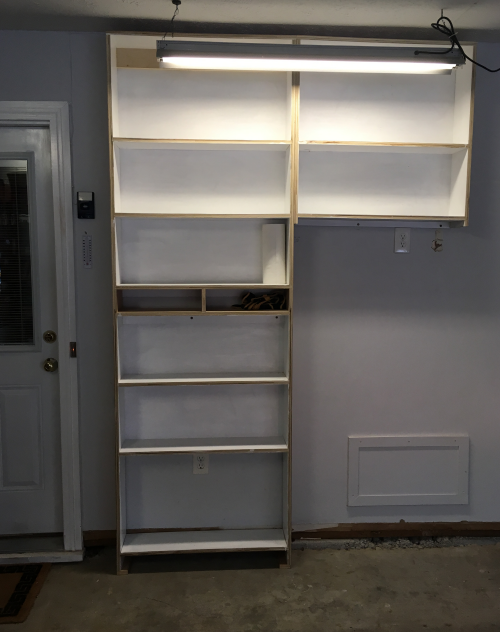 |
Cindy and I hung the third... |
 |
Secured pre-primed boards from the Borg...used predominately 1 1/2 inch boards for trim...Xcut on the Nobex saw secured to Benchmark. |
 |
...air shot the trim with 18g.
|
 |
| All the trim painted... | 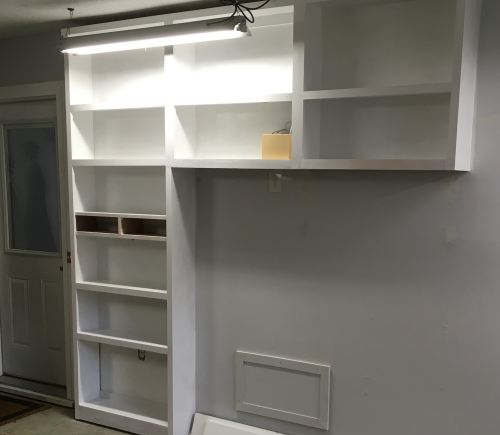 |
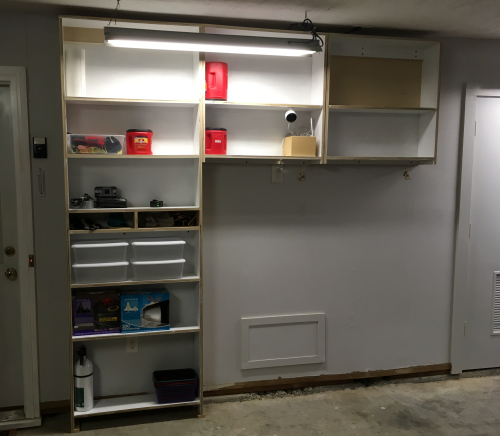
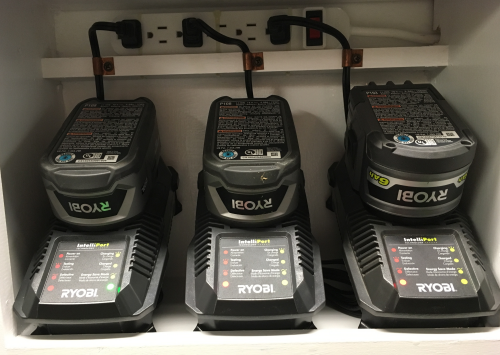
Battery charging cabinet installed...power strip will run three chargers...ample room for battery storage. |
 |
Closeup of battery chargers...the cabinet is hooked up to a Smart outlet and Alexa command will turn the unit on and off. |
 |
All painted and ready for service... |
 |