The wooden front door needed replacement. Cindy and I performed most of the wrecking phase and we were
joined by James for the install. |
|
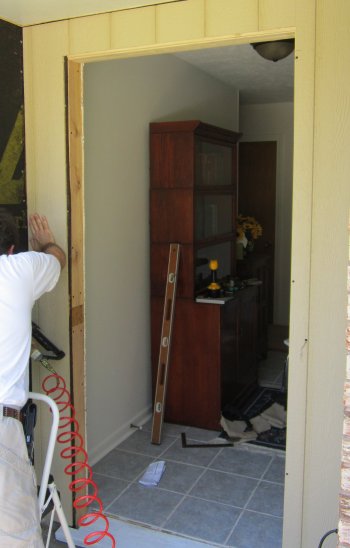
First step was to pull the door and frame, all trim, and surface sheet goods. We had to work around an electrical box, doorbell wiring, etc. |
|
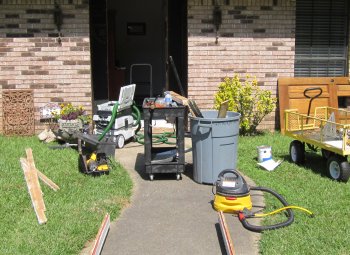
| There was a lot of equipment,
trash, carts, etc strewn across the front. |
 |
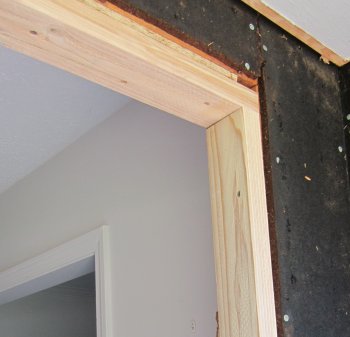
First install phase was to put new wood at top and right side of the door opening to make the hole the appropriate size. These scabs were 2 x 4s with a sandwich of ply in the horizontal piece. |
 |
I attempted to salvage the threshold by
sanding it and applying primer and new silicone caulk in appropriate
locations. |
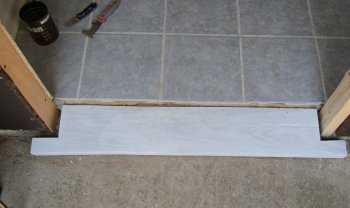 |
However, after the first dry fit of the new door and frame it was evident that the threshold would not do, it was not level in any plane. We could not adjust the door properly. So a new threshold was cut and installed. |
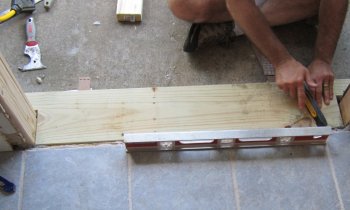 |
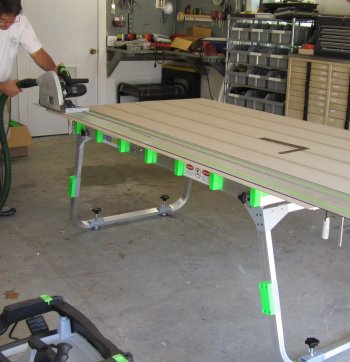
Sheet goods were cut on the newly purchased
BenchMark cutting table. |
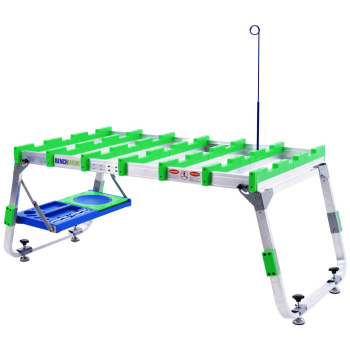 |
Using the Festool saw with guides, vacuum system, etc. with the new table and this made that process go incredibly well. The level of precision is greatly increased along with simplicity of clamping, ease of sheet manipulation, and the level of safety. I had been looking for enhancement of "one-man operation" capability...and I have to say that this table is just the ticket. |
 |
The new siding was installed around the
door opening. |
 |
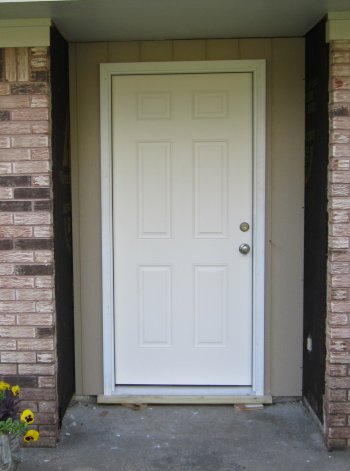
The fiberglass six panel door and frame
was installed along with lock hardware. |
 |
|
|
|
