East Shop Deck Project
|
|
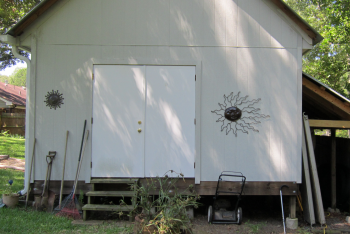
The east end of the shop never got finished out due to some unknowns about the development of the northeast corner of the back yard. At one time a large deck was in the plans. The deck was to have a ramp and then be on the same grade level as the floor of the shop sho that items could be rolled in throught the double doors. A number of considerations caused the plans to change... 1. all of the major tools for the shop are already in there, 2. sheet goods are no longer placed in the shop, they are cut into smaller pieces in the garage 3. we decided that we just simply did not want a large deck So we scrapped those plans and decided to...finish out the eastern edge French drain, put in a new French drain just outside of the shop and put in a walkway. Then we decided to add a small deck landing and step down to the ground level.
|
|
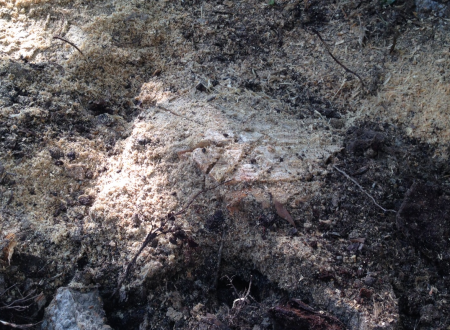
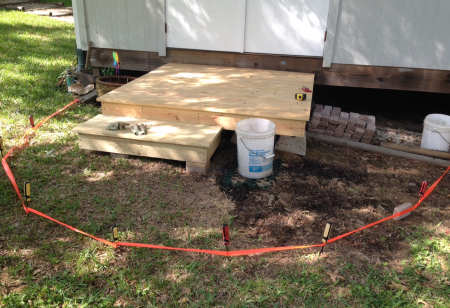
This is what the east end of the shop looked like.
|
|
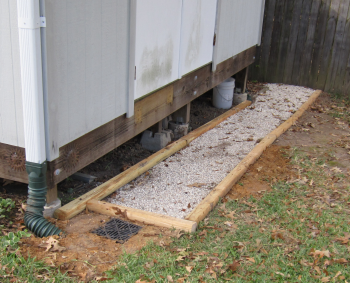
Walk area completed. |
 |
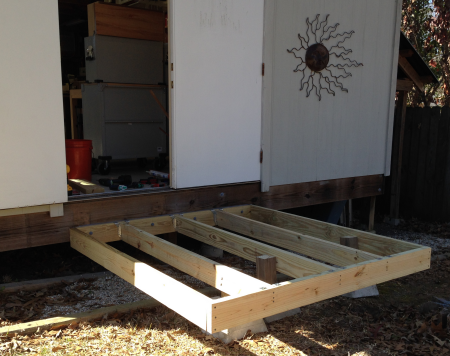
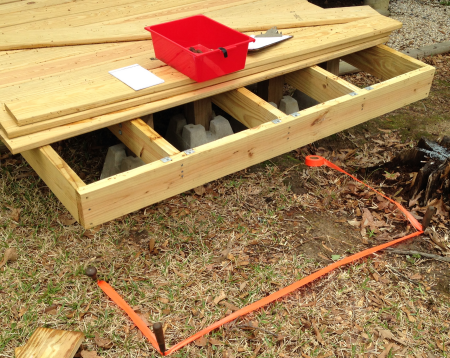
Deck build...treated 2 x 6 header attached to foundation of shop...joists attached to 4 x 4s on floating concrete piers. |
 |
A stump caused some issues when it came to creating a step down...here is an orange tape layout to decide where to put a couple of footings. |
 |
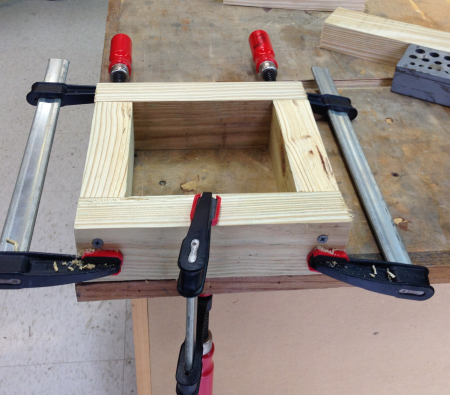
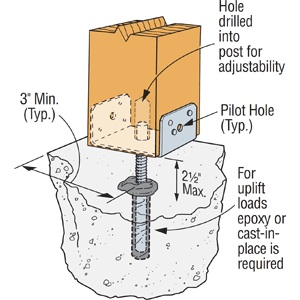
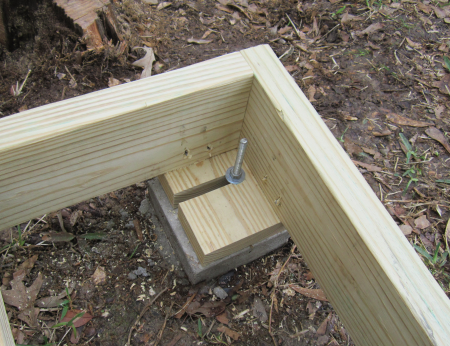
A form was made to create a 2.5 inch above grade 6 x 6 platform that will top off a "post hole" concrete pier. |
 |
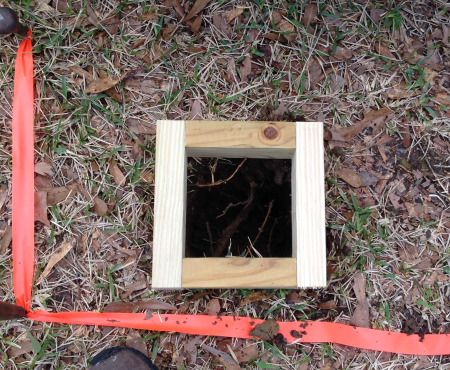
Here is the form centered over the hole. |
 |
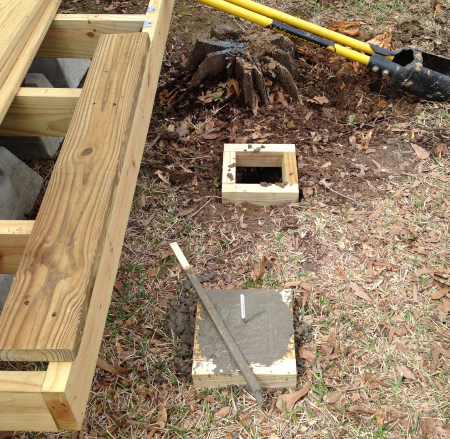
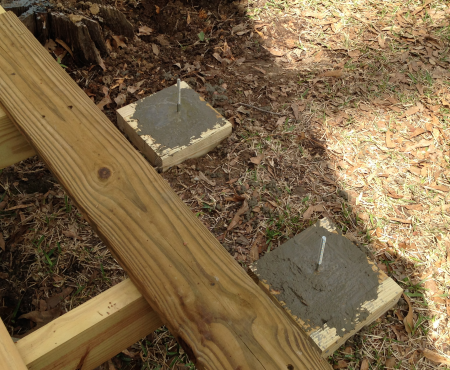
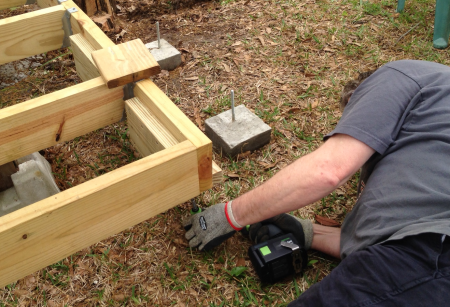
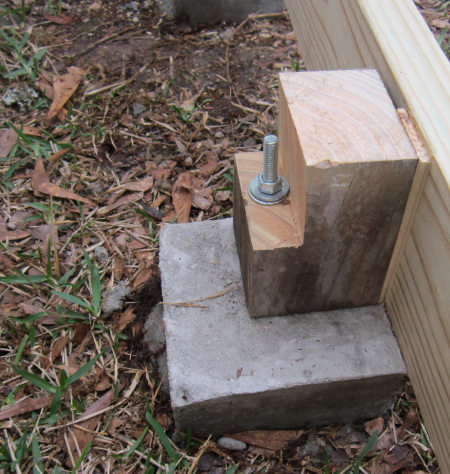
After concrete was pored into the pier, an eye bolt was stuck into the top to provide a securing point for a 4 x 4. |
 |
 |
|
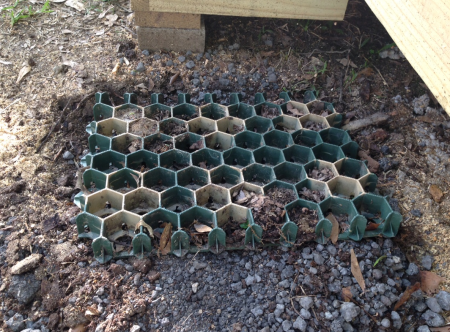
These concrete piers will provide attachment points for the stair but more importantly it will keep the wood above grade and dry. |
 |
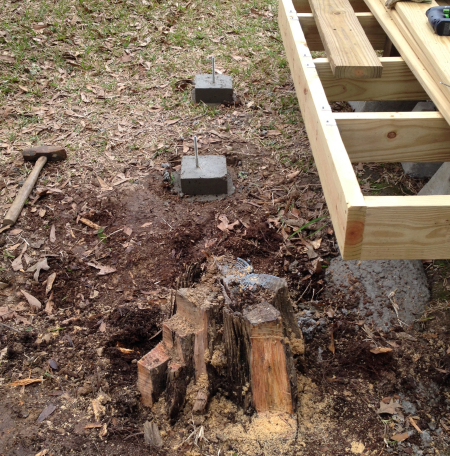
Stump removal has been brutal...this pine tree stump seems to be on the path to petrified wood...the removed material has come in little pieces...sawed off with a reciprocating saw or sheared off with a wedge and maul. |
 |
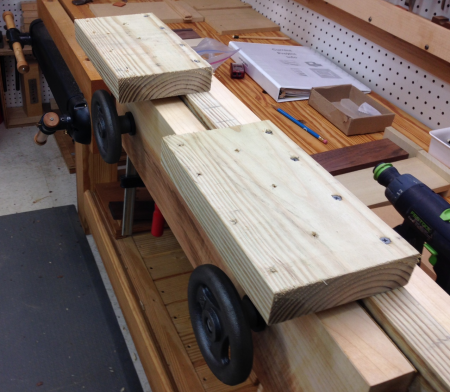
The box for the step platform will be difficult to attach...I created a Here are the two connection plates being attached with deck screws to the "lip". The unit was secured in the Moxon vise. |
 |
Here I am installing the lip to the bottom of the front 2 x 6. You can see the mounting plates on the inside edge of th 2 x 6. |
 |
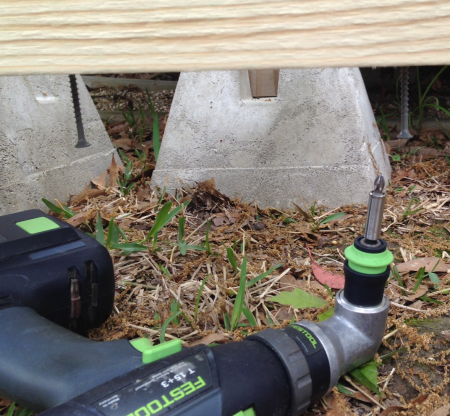
Screwing the lip from the bottom was difficult due to a lack of room...it was not possible to use a regular driver. |
 |
I had to use on 90 degree head on the Festool to be able to drive the screws. |
 |
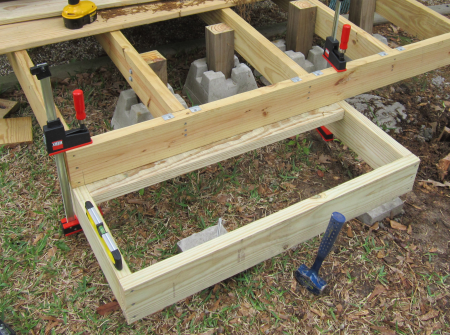
A 2 x 6 box was then screwed together with 3 inch deck screws...this box will attach to the lip and frame and then will be supported over the concrete piers. |
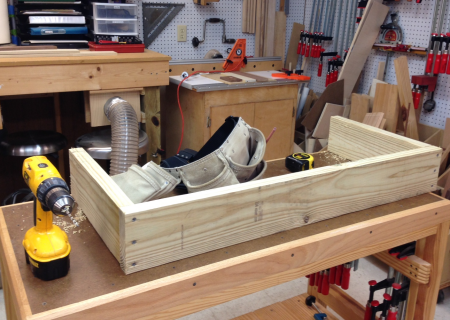 |
Here the step box is attached to the lip on the frame. |
 |
The near concrete pier was a little too tall to allow the frame to sit on it...I move the frame out just a bit. When I put these piers in I knew that each connection would involve some creative engineering. |
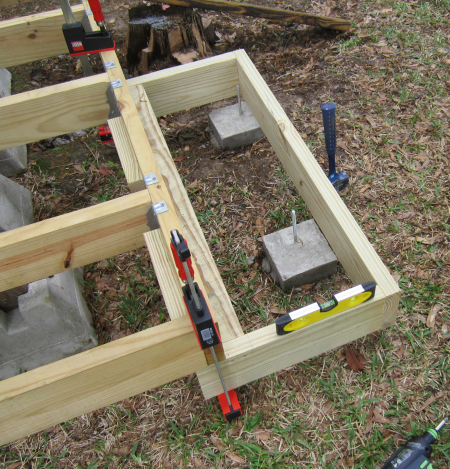 |
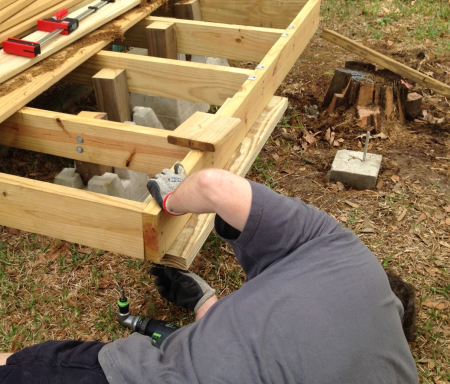
At the uphill pier, I bolted down a 4 x 4 to the pier...and using a shim I screwed the frame to the support thus providing stoutness to the frame as well as making the frame level. |
 |
At the downhill pier, the corner of the frame became level in two planes if it just sat on a piece of treated 2 x material. So that I could rest both the side and the front edges on the 2x, I created a slot rather than a drilled hole...this would slide by the bolt and provide the proper support. |
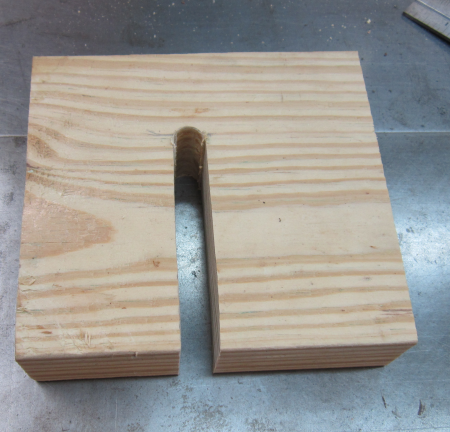 |
Then I secured the plate to the pier and toed in some 2 inch deck screws.
This made the step box frame quite substanntial...I need to install a middle joist and it will be ready to go. |
 |
Notched a corner and screwed in a middle joist. |
 |
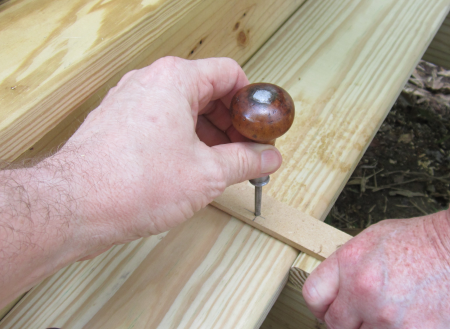
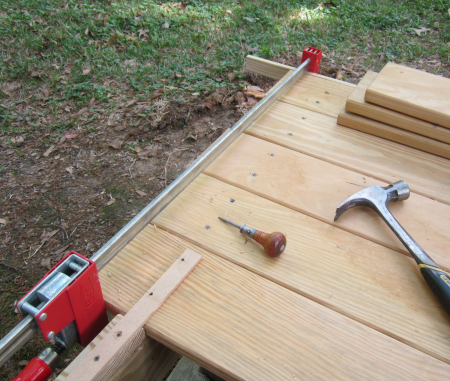
I made a simple jig that Cindy would square over the 2 x 6 joist...I would then tap the marks with the awl that spaced the two screws from the outer edges of the board and also aligned the holes over the center of joist. |
 |
I would then pre-drill the holes and screw the board down with 2 1/2 inch deck screws. |
 |
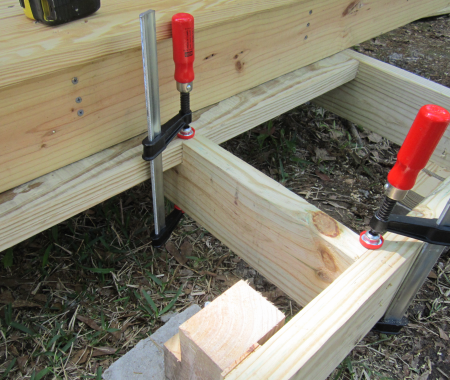
Some of the boards had gone wonky...they were not square to begin with...so we would put in one screw on one end and then use clamps to pull the other end up tight and then screw the deck board down. |
 |
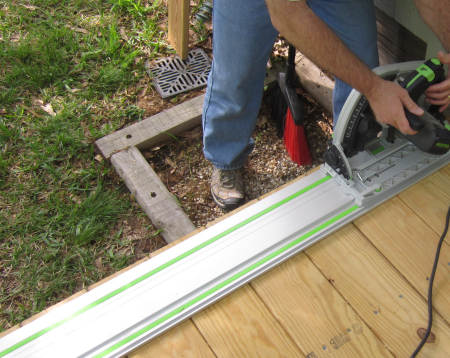
After getting all of the deck boards down the edges had to trimmed...brought out the Festool circular saw and laid down a rail to line up the cuts. |
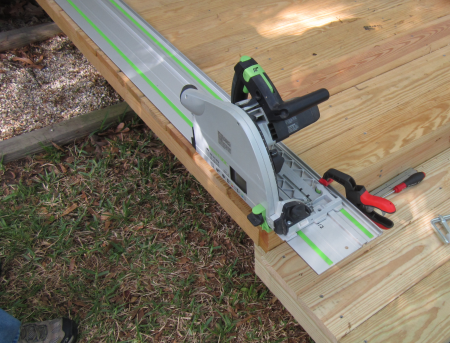 |
This sure made the cutoffs quick and easy. |
 |
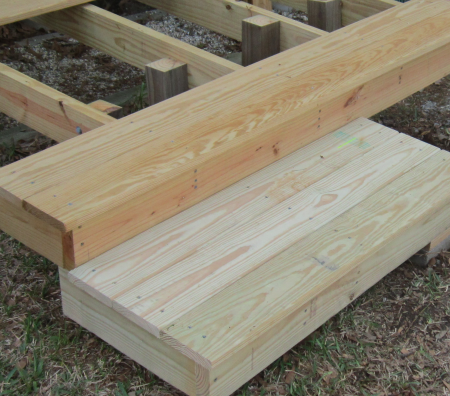
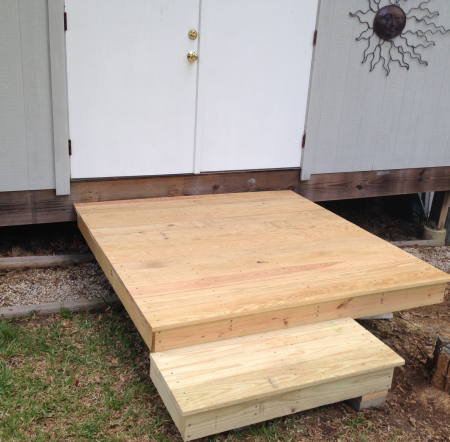
The finished product... |
 |
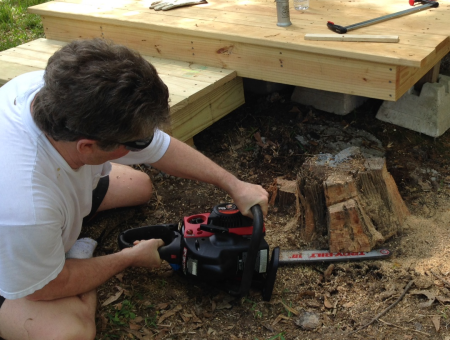
After the decking was done I turned back to the stump removal...using a chain saw... |
 |
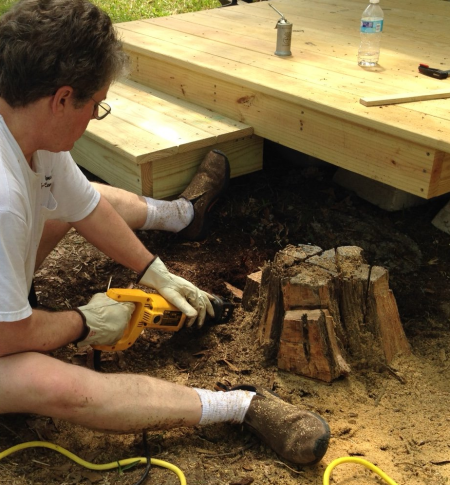
...and a reciprocating saw...it seemed that the process was like cutting a multi tier wedding cake...cut off a slice, cut off another slice... |
 |
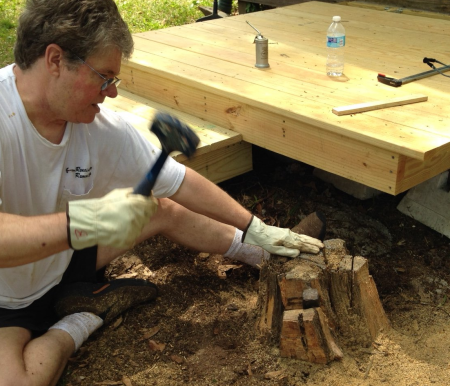
Pound in a wedge and pull off another slice... |
 |
After multiple sessions I am down to a few criss crossed pieces...they are all hard as rock... |
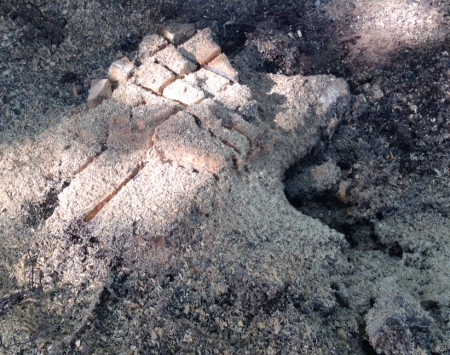 |
After chain-sawing horizontally I am ready to call the "stump hump" done... |
 |
Cindy and I dumped a bucket of slag onto the area and leveled it out to put a paver on the top. |
 |
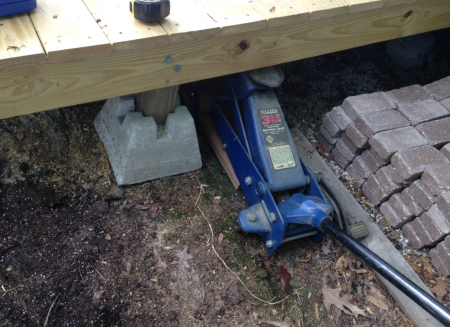
Before finishing out the down hill side, I wanted to straighten a support 4 x 4...the pier was on uneven ground...I jacked the edge of the deck up so that I could dig out a level spot and reseat the pier. |
 |
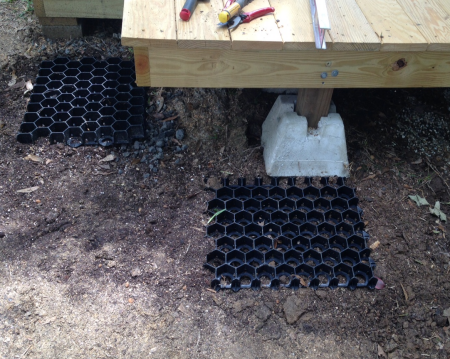
After getting the pier supported, we levelled out the ground for two pavers for pots. |
 |
We marked out the area that will provide the walk around. |
 |
We then put in the stone edgers, plants, and pea gravel. |
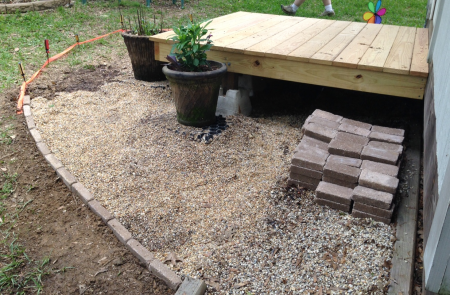 |
The down hill side is done... |
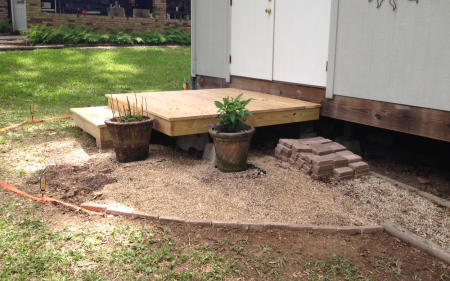 |
The stones on the front edge installed... |
 |
The uphill side completed...a pot installed and planted... |
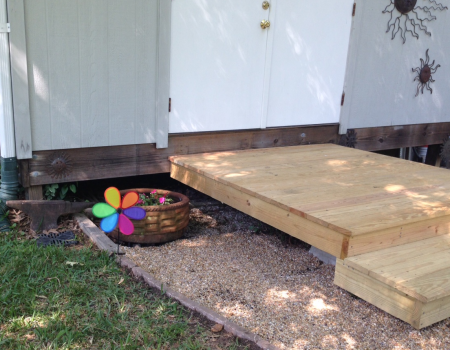 |
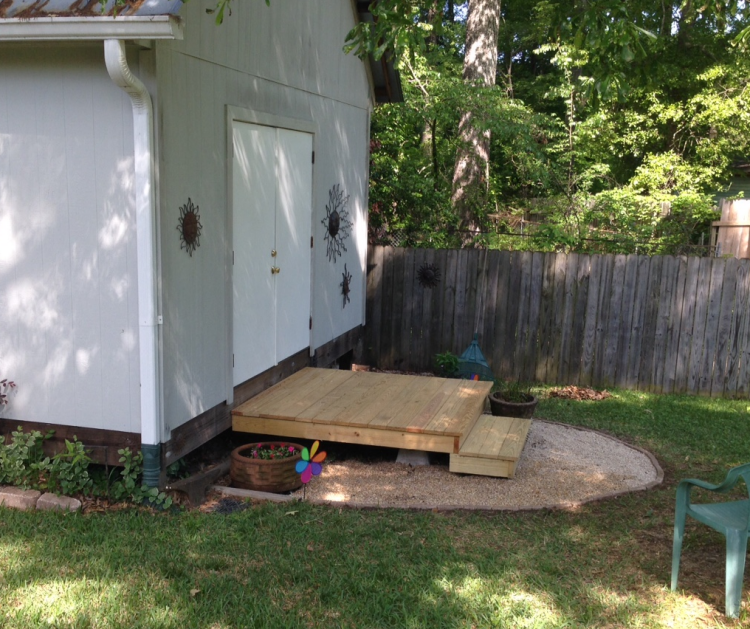
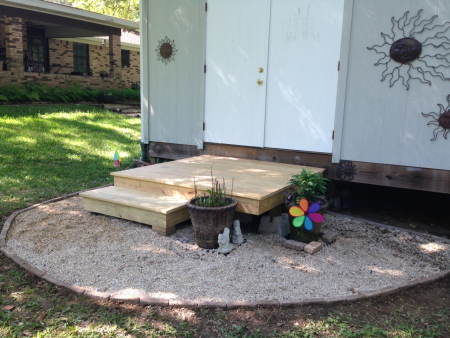
Finished...
|
|