 |
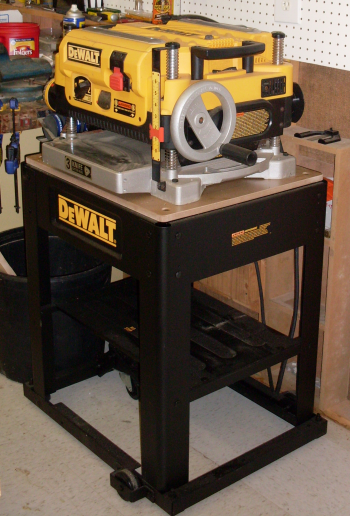
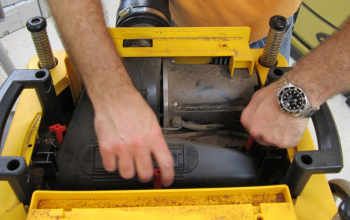
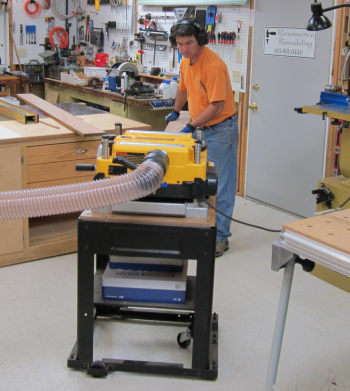
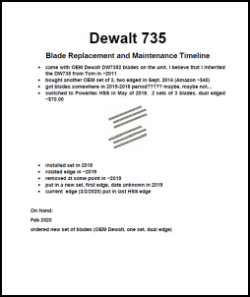
The Dewalt DW735 planer was given to me by my brother, Tom, when he moved to California. The unit was given a quick clean up and lube at that time. I purchased a Dewalt roll around workstation that matched the DW735 and the unit replaced the Ryobi as the planer in the shop. The first major milling activity was some very tough oak. There were a couple of failures...the planer knives dug in and the board was caught...the breaker shut down the device. Clearly we needed to change the blades out.
|
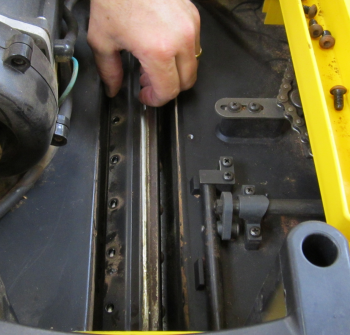
The three blades on the 735 are dual edged. We decided to pull the unit apart, give it a quick clean up on the interior, and rotate the blades. The top of the housing is removed by loosening four hex bolts. |
 |
This gives access to the dust shroud. The shroud is held by three red bolt units that are easily turned by hand. |
 |
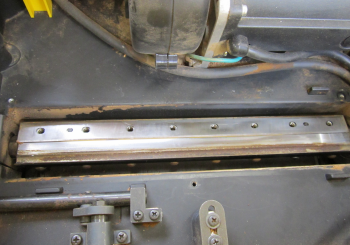
After pulling the shroud you have access to the planer blade assembly. The blade is held in place by metal bracket that has eight 4mm hex heads.
|
|
The blade is located properly by two setting pins. Then the eight holes line up. |
|
The top of the Dewalt supplied 4mm wrench
has a magnet which facilitates the safe lifting of the blade. |
 |
After rotating the blade the unit is reinstalled.
Because the blade positioning is set by the two pins there is no time
consuming blade alignment required. |
 |
A good cleaning was performed while the
unit was open. |
 |
A quick test was performed and the cut was much improved and noise was reduced. We could now mill our oak stock. |
 |
 |
|
 |
|
In 2020 I began to notice some feeding issues...figured that the rollers were having problems. Issues...the infeed was difficult to start, the wood blanks would skew, at times the roller would stop...
On the blogs and on youtube found the following generic steps to take to solve feeding issues.
After seeing this video...we decided to pay attention to the roller chain asseblies on each side...paying attention to the pins on cogs.
|
|
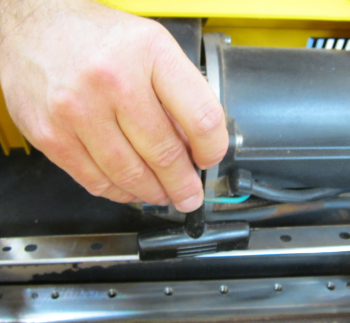
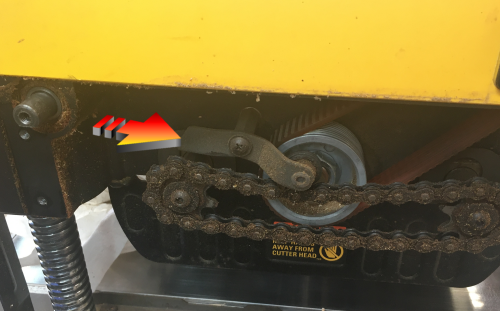
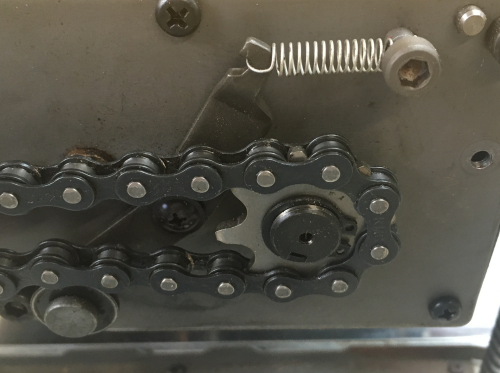
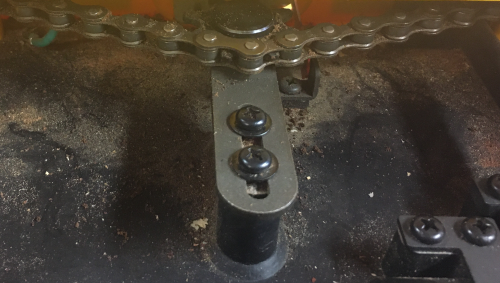
James and I first pulled the cover on the the right side...this has the cutter head belt and the chain that controls the front roller. There should be a spring applying tension to a roller that touches the chain (see arrow). There was no spring at all...broken off. We replaced it with a similar size and tension spring. This is temporary, ordered new springs from Dewalt. |
 |
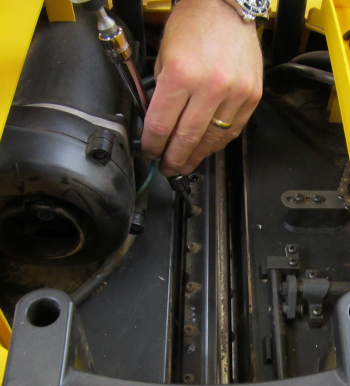
The left side of the DW735 has a different setup...retaining clips hold the chain sprockets in place (vs washers and screws on the right side).
|
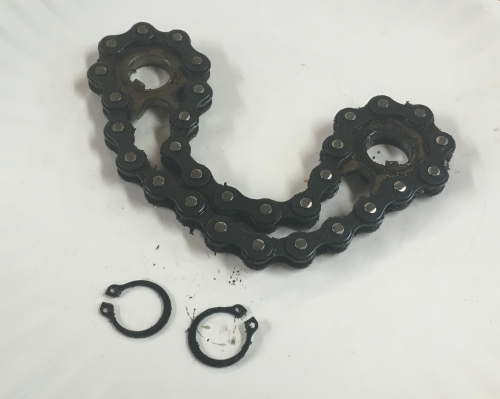 |
This left side chain system has a gear box setup...this side also had a spring problem...it was still connected and functional but it appeared stretched...visible in the top right corner of the image. |
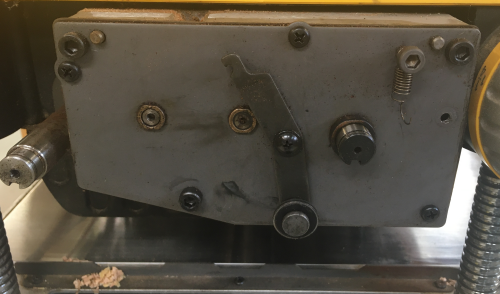 |
The gear box changes the rate of feed to the front roller...that function is changed on the front...the handle change moves the mechanism which is visible in this image. |
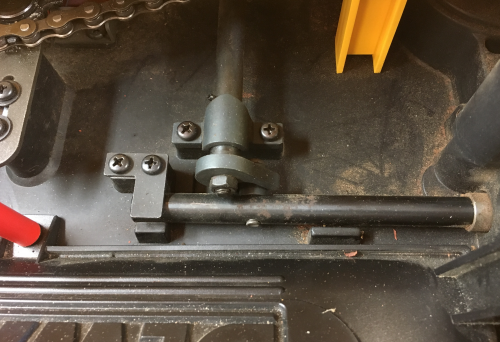 |
We put a temporary replacement spring here...cog pins appeared OK on both chains. We ordered two new springs and installed them on arrival. |
 |
The top, front chain raises and lowers the unit. It was cleaned and lubed. |
 |
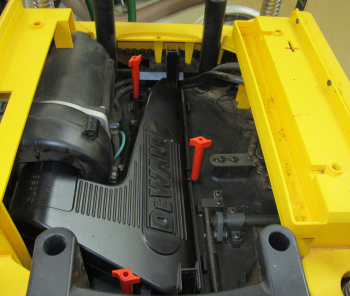
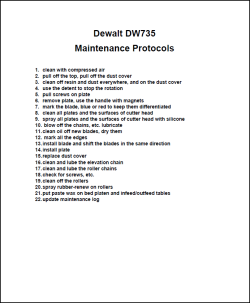
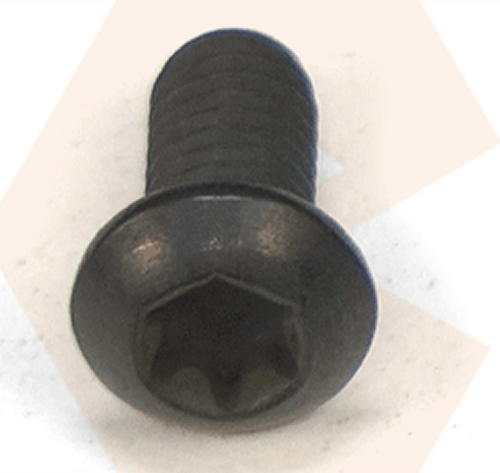
While rotating the blade edges we had a bolt head blowout...these bolts are M6, with a 4mm hex head. I ordered a hardware upgrade that will convert these to a Torx head screw. Installed the set of 24 screws and put copper anti-seize lubricant on them. The hardware set included a T-handleTorx T-30 driver. |
 |
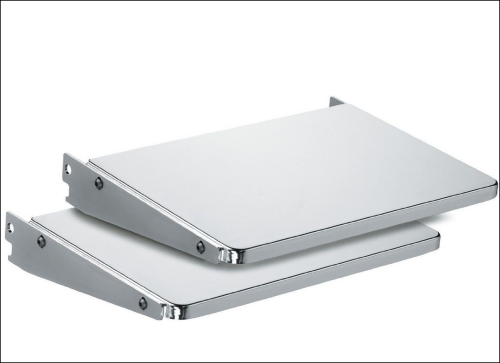
Ordered infeed and outfeed table extensions from Amazon. |
 |
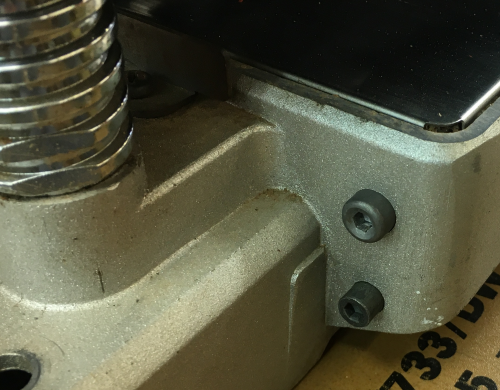
Installation: a threaded pin was screwed into the bottom edge of the table...4 mm hex head. |
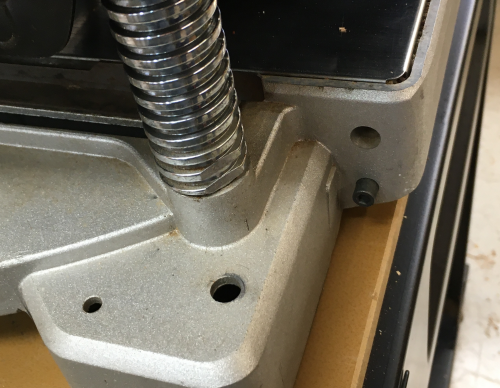 |
A through bolt head with a spring got a nut on the backside. This also had a 4mm hex head. |
 |
Close up of the table in up position. |
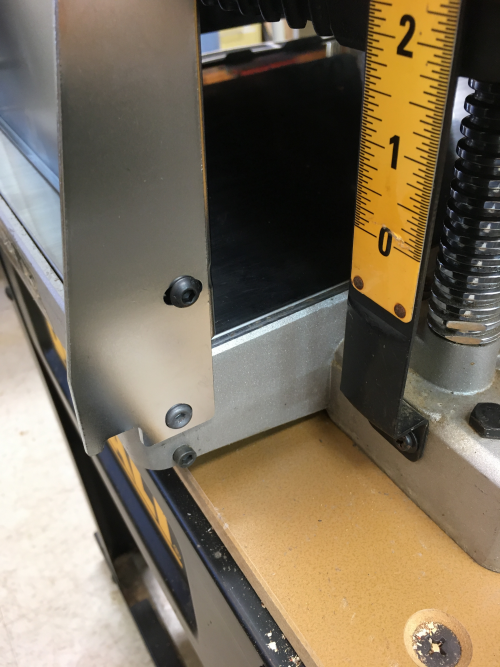 |
Table up. |
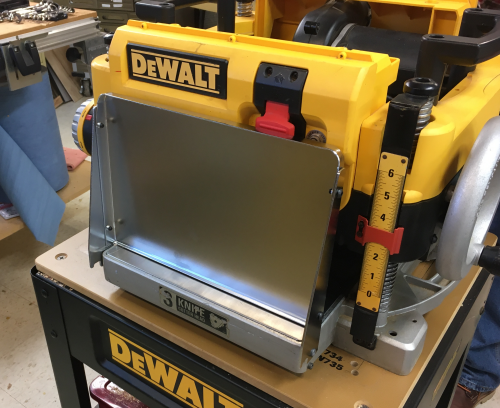 |
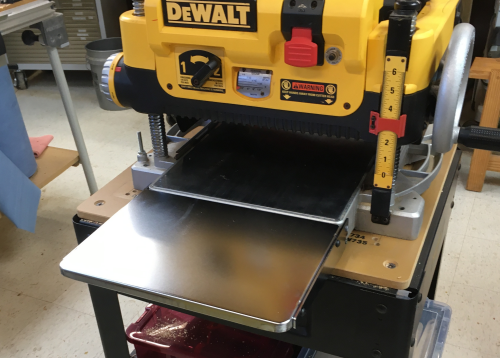
Table down. |
 |