Dovetail Box
|
|
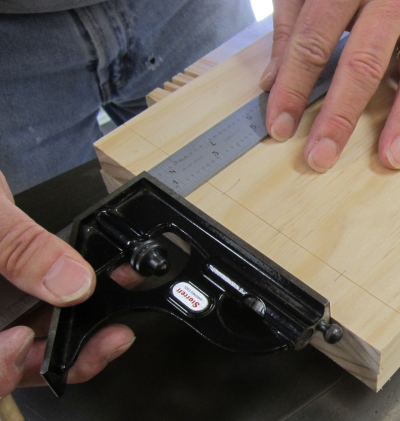
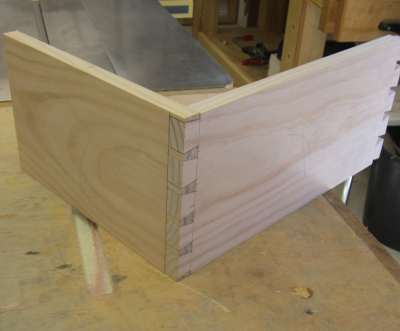
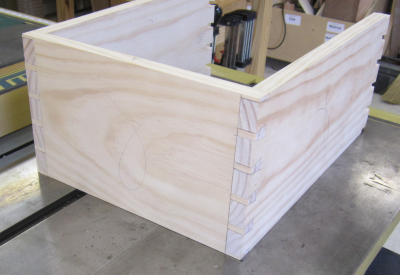
This simple pine box is our first project with hand cut dovetails. The sides and ends were cut to length and squared with the LN 51 on the shooting board. |
 |
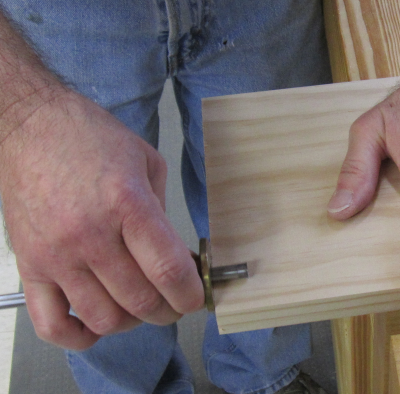
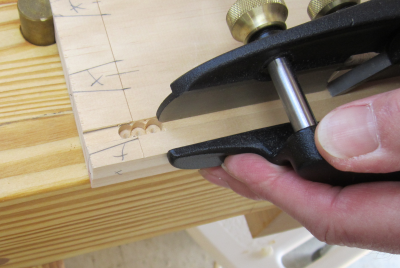
The Tite-mark gauge was used to scribe the baseline for the dovetails. The cutter was set slightly more than the thickenss of the board. This will produce dovetails that are slightly proud and may be planed to satisfaction. |
 |
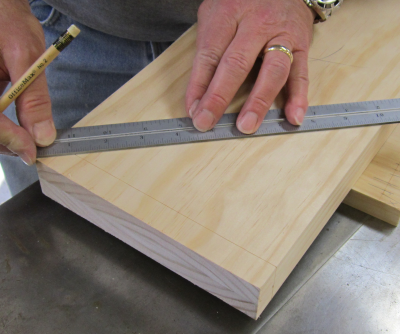
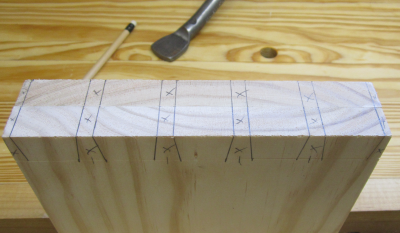
After much reading on the subject of hand cut dovetails, we decided to follow the style of Christian Becksvoort. Here is the layout process for spacing out our 5 tails...since we would have four full pins we took a rule and diagonally from 0 - 10 inches. Then a mark was made every two inches. This provided four marks that were to be the center line of each full pin.
|
 |
A square was then used to extend those center marks of the pin sockets.
|
 |
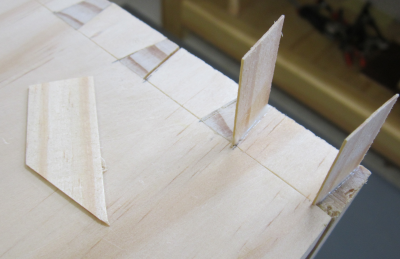
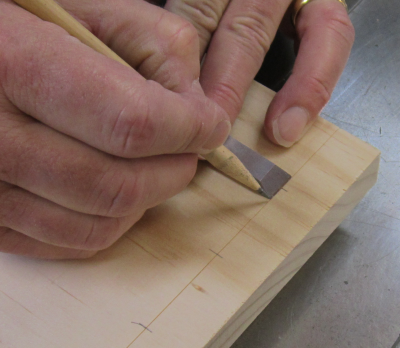
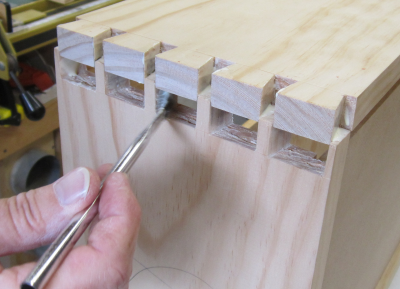
Then a LN 1/2 inch chisel was used to define the base size of the each pin socket. This will allow the chisel to be a perfect fit when choping out the waste for the pin socket. |
 |
From the outer edges of the base of the pin socket lines were extended using the LN dovetail gauge. We used a slope of 1:7.
|
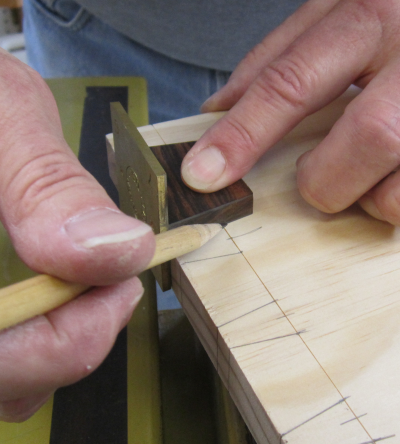 |
Then we marked off the half
pin sockets at each edge. |
 |
Here the two tail boards are put together in the vise. The lines are all extended. Waste areas are marked with an x as a visual aid. The cuts will be made through both boards at the same time. |
 |
The tails were cut with an LN
tapered dovetail saw. |
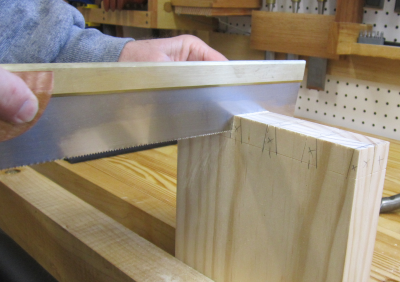 |
We were pleased with the vise
capabilities of the new bench. |
 |
A good bit of saw practice with the LN dovetail paid off and most of our cuts were true. |
 |
Pin socket waste was cut off with Knew Concepts fret saw.
|
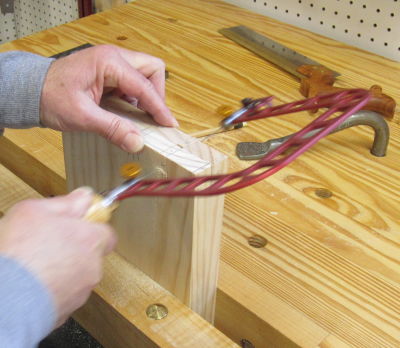 |
We were way too conservative
with these cuts and it meant a lot more waste to chop and pare in the
chisel phase. |
 |
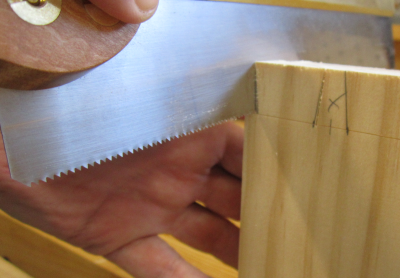
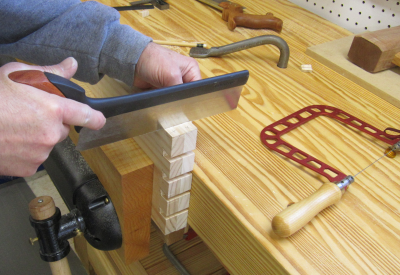
The baseline of the half sockets
was cut with LV crosscut saw. |
 |
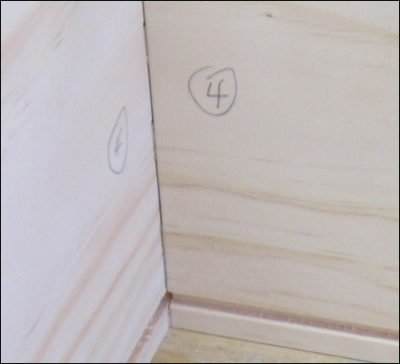
Before moving on we did one
last layout of grain flow. |
 |
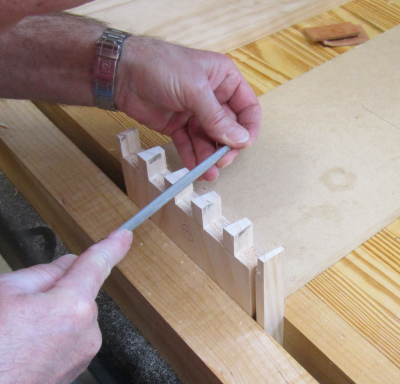
Chopping and paring were done with LN bevel edge chisels. We spent the previous weekend sharpening all these chisels and they were a joy to use. |
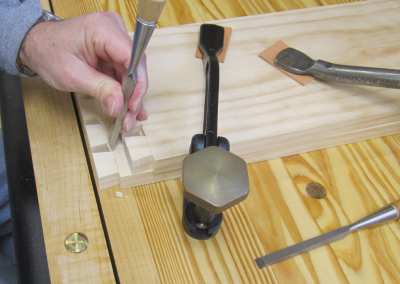 |
The enhanced hold down ability
of the bench made the chisel session go well. |
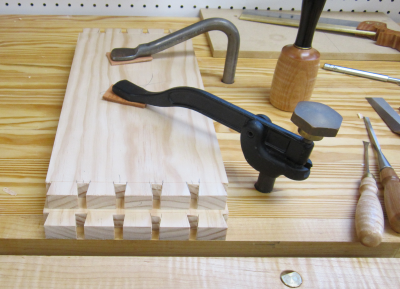 |
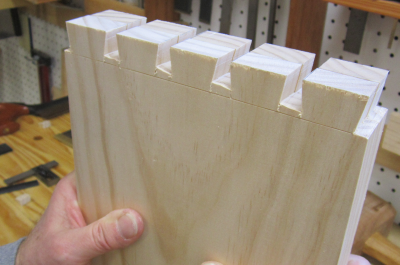
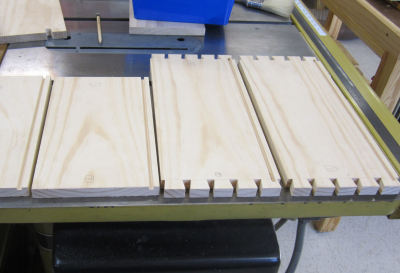
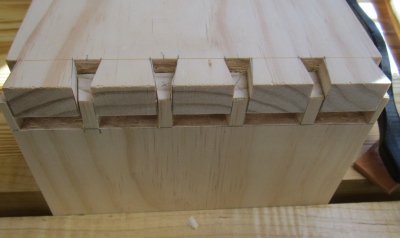
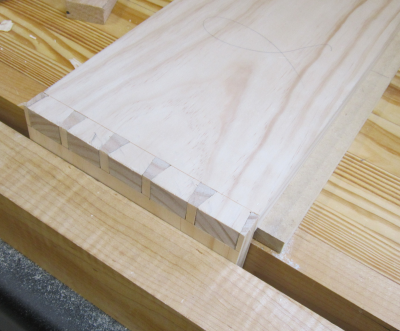
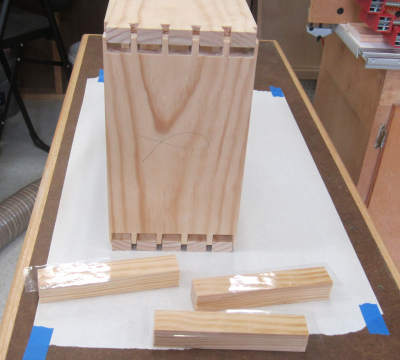
The chiseling session is finished...our
first hand cut dovetail tail boards are ready. |
 |
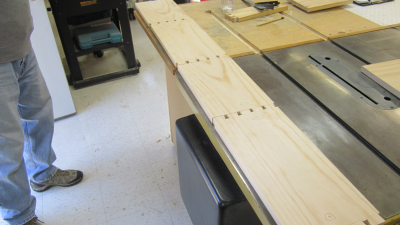
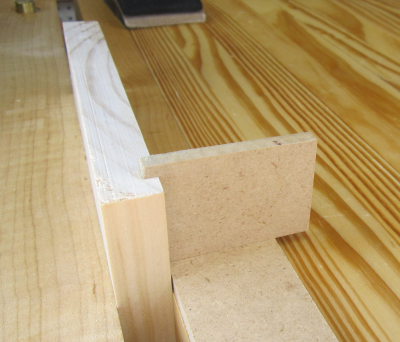
The next step was to put in the 1/4 groove for the MDF bottom. The pin boards could have a through groove but the tail boards had to have a stopped groove. We decided to create a "mortise"...a rectangule hole that would be 1/4 inch and would allow for the LN Small Plough plane to stop. |
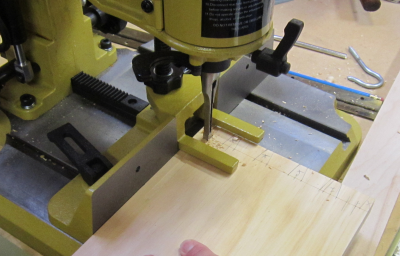 |
Then we came to the realization that the plough plane could not do a stopped groove. Though we wanted to do as much as possible by hand, we are not crazy Luddites and we decided to do the grooves on the router table.
|
 |
The stopped groove was created
on the front end of the groove by dropping the board down onto the router
bit. |
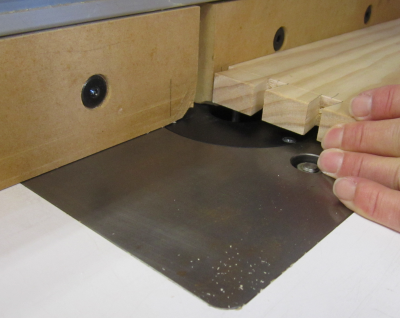 |
The back end stop was accomplished
by having a stop board on the left edge of the table. After making contact
with the stop the board was lifted off the bit. |
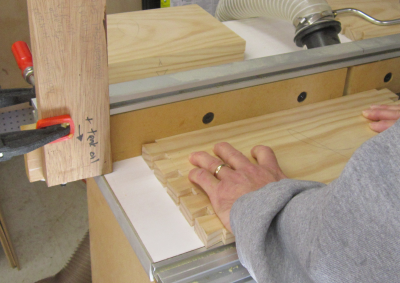 |
The pin boards got through grooves. |
 |
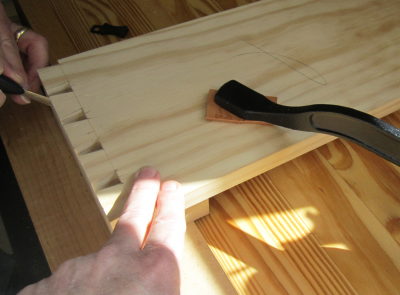
A spacer block of the 1/4 MDF was used to align the pin board with the tail board for the markout process. This guarantees that the grooves for the bottom of the box will all line up appropriately.
|
 |
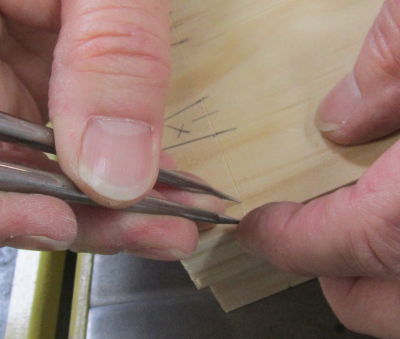
After securing the tail board,
a marking knife is used to mark the pin board. |
 |
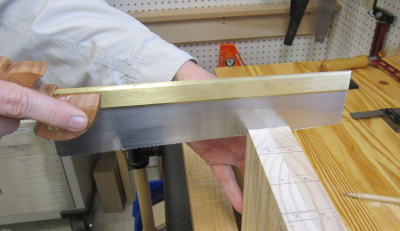
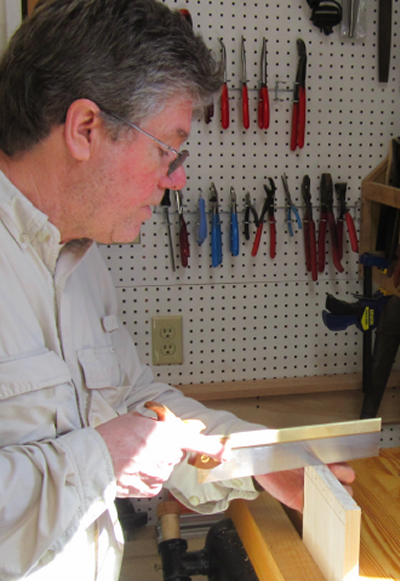
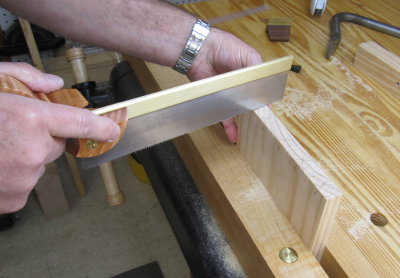
Here I am making the biggest
blunder of the project...I let myself get mesmerized by the sun light
off the brass back of the LN saw...I cut on the wrong side of my line... |
 |
The KC fret saw was used to
remove most of the waste...the rest was chopped or pared. |
 |
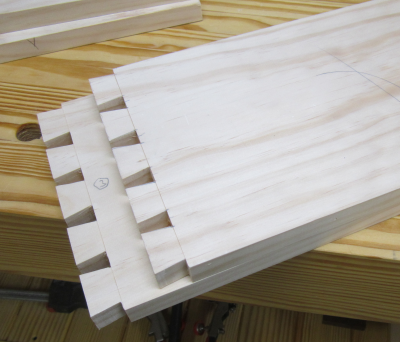
The moment of truth...our first
dovetail joint goes together. |
 |
Not too bad... |
 |
Groove lines up well |
 |
Auriou rasp work on the sides
of the pins. |
 |
Second joint... |
 |
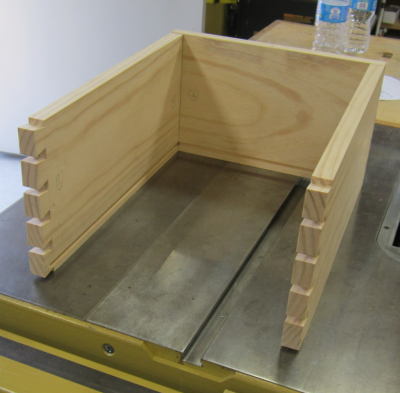
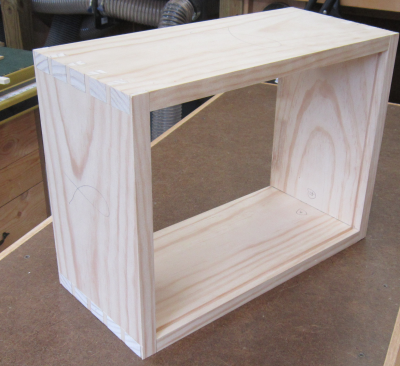
Box taking shaped. |
 |
Interior view. |
 |
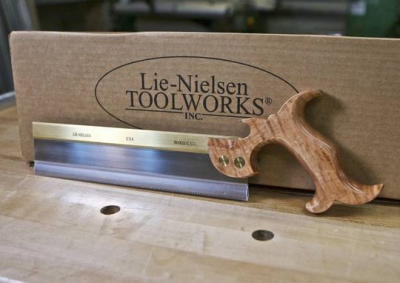
| During the build I stumbled across a good deal on Craig's list, a Lie-Nielsen dovetail saw with a progressive cut. I bought it. |
 |
Here we are trying out the new
saw...liked it... |
 |
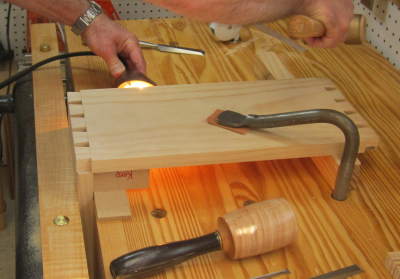
Working on the layout on the
last set of pins...using a light to try and get the shoulder layout
correct. |
 |
Dry run...all cuts made. |
 |
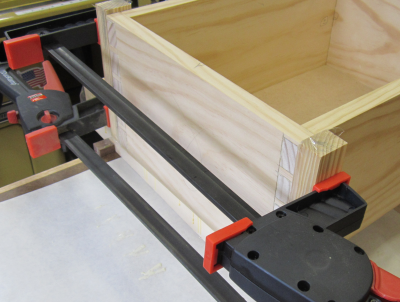
Glue up begins...we set up the
joints so they were just started. Clamping cauls were made from pine
so that they would depress around the dovetail joints. These cauls were
covered with tape so they would not stick to the joints. |
 |
Glue was then applied on the
side of the pins and tails. |
 |
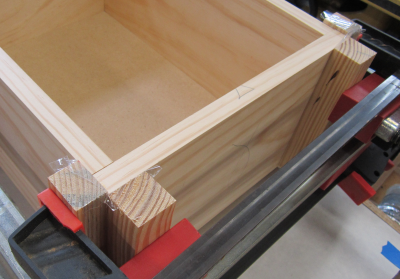
The cauls were put in place
and lightly clamped. |
 |
Here is a view of the cauls
clamped in both planes. |
 |
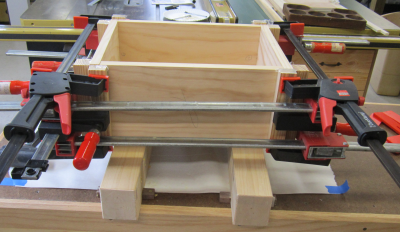
Final clamping configuration. |
 |
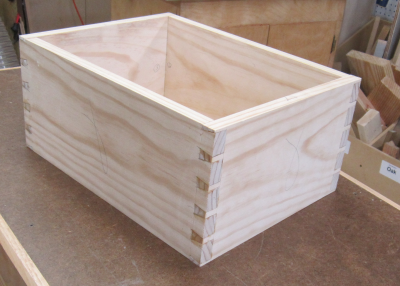
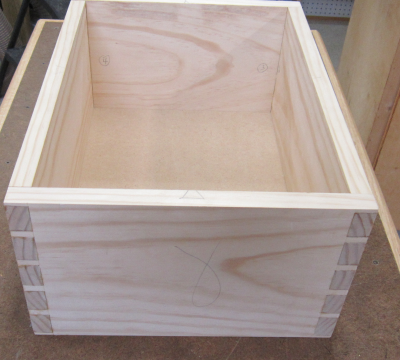
After clamp removal, the first hand cut dovetail box we ever constructed.
|
 |
 |
|
After reading up on how to fix
a gaps in the dovetail joints we created shims the thickness of our
saw kerf...cut an angled cut with the LN dovetail saw, glued in angled
pieces that were from the same wood with which we constructed the box. |
|
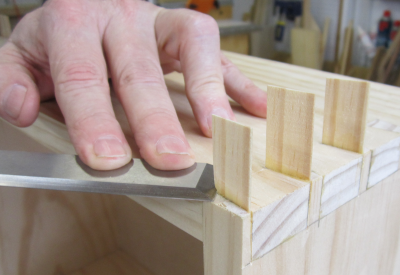
Then we pared off the shims. |
 |
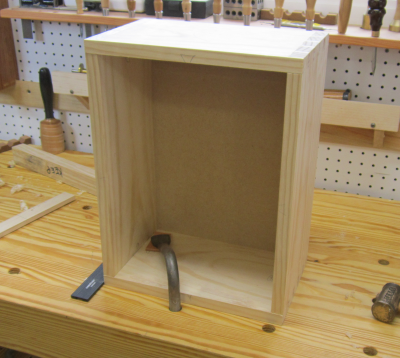
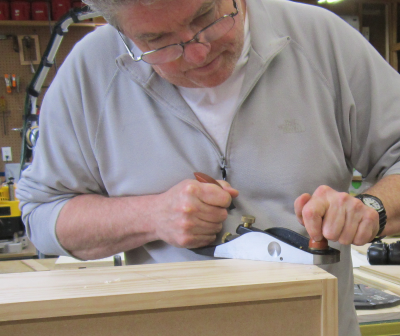
The box was secured to the workbench
with the Gramercy holdfast. |
 |
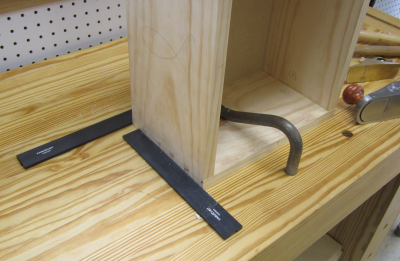
The box was also wedged into
a corner made by a couple of bench stops. |
 |
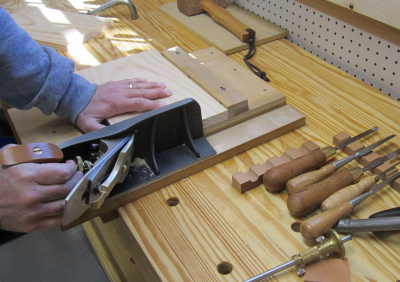
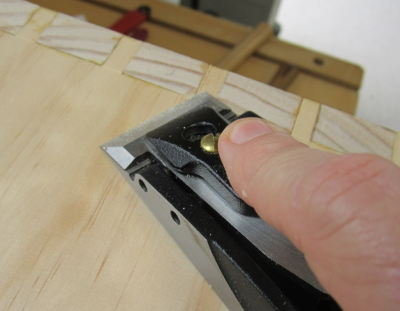
First plane to be used was the
LV cabinetmaker's trimming plane. The exposed front bevel up blade made
it easy to sneak up on the joints. |
 |
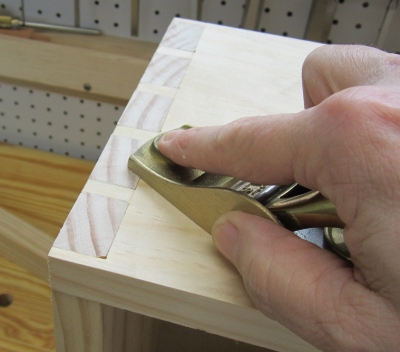
Then LN 102 and 60 1/2 block
planes nicely smoothed out all the joints. |
 |
Final touch with the LV small
bevel up smoother. |
 |
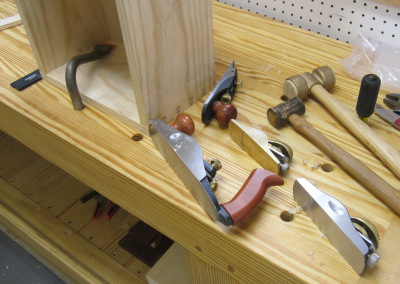
| The tools used... |
 |
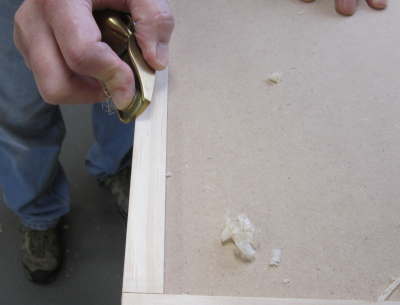
Final edge chamfers with LN
102 and the small LN 101. |
 |
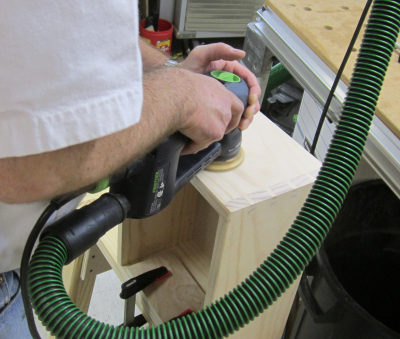
Sanding...
|
 |
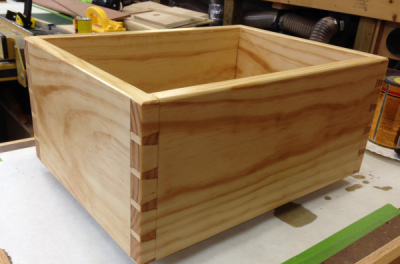
Finish coats were a semi-gloss
poly. |
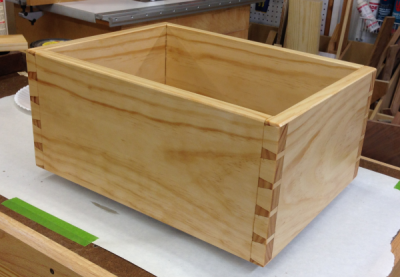 |
Really popped out the pine grain. |
 |
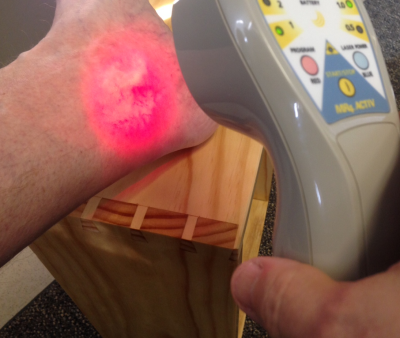
Here is the box in action at my chirpractors office. The box turned on in puts my leg at the perfect height for me to use the laser for sub-dermal light therapy. |
 |