|
I need a storage cabinet for
external drives and USB flash drives at my computer
workstation.
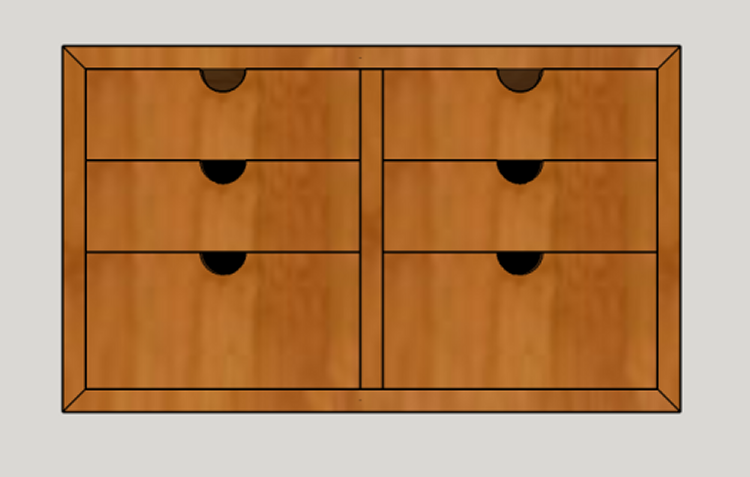
There will be two 3 x 6
drawers side by side at the bottom.
The top will have four 2 x 6
drawers.
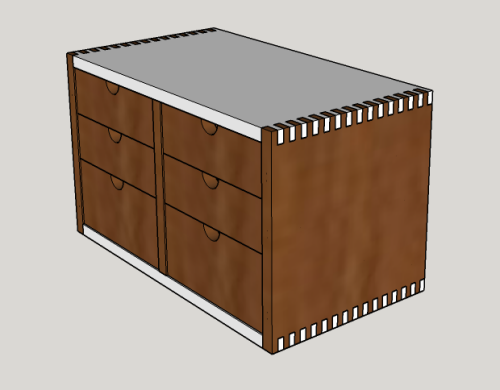
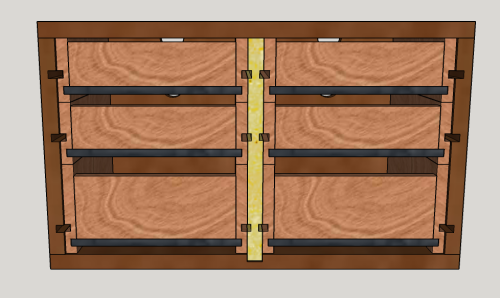
Configuration shown below.
 Final Milling, Carcase Assembly
|
|
|
A Sketchup model of the basic layout. Most material will be 1/2 inch thick.
|
 |
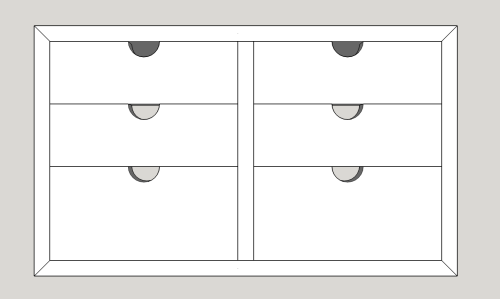
| This view shows thumb holes in
the drawers for easy pulls. These are 1/2" radius holes...thus 1 inch wide, 1/2" tall. The center piece shown here fits into a stopped dado and instead of a through dado as shown above. |
 |
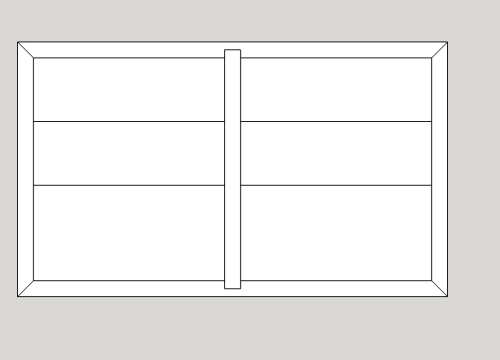
| This is view of the rear of the
box...there is a .125 inch rabbet around the interior edge of
the carcase to let in the rabbet to accommodate a rear panel of
1/8" hard board. |
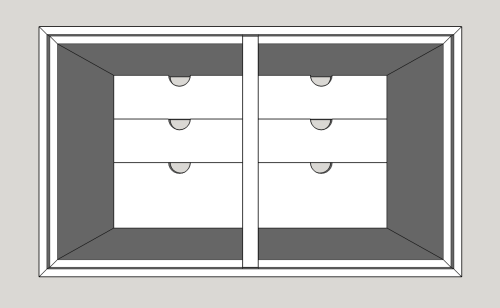 |
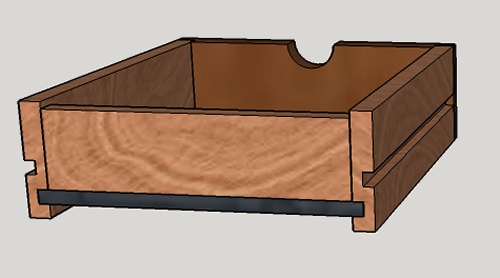
| Original plan was for miter
joints...changed design to use box joints...top and bottom
panels are white here for differentiation purposes... |
 |
|
|
|
|
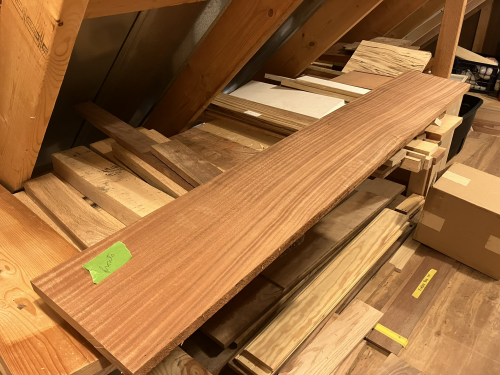
The cabinet wood in this project will be
African mahogany purchased down in Star. This plank was pulled out of deep storage in shop attic. Should be truly dry.
|
 |
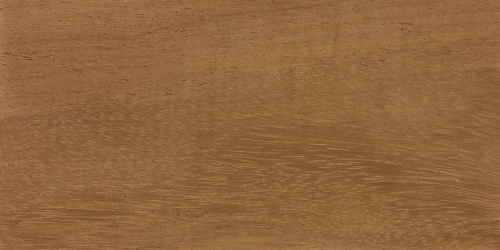
| African mahogany, also called
khaya, acajou d"Afrique. Scientific: Khaya A. ivorensis Color and appearance: Heartwood ranges from pale pink to a deeper reddish brown, sometimes with streaks of medium to dark reddish brown. Colors darken with age. Quartersawn surfaces exhibit a ribbon-stripe appearance. Info from wood-database.com |
 |
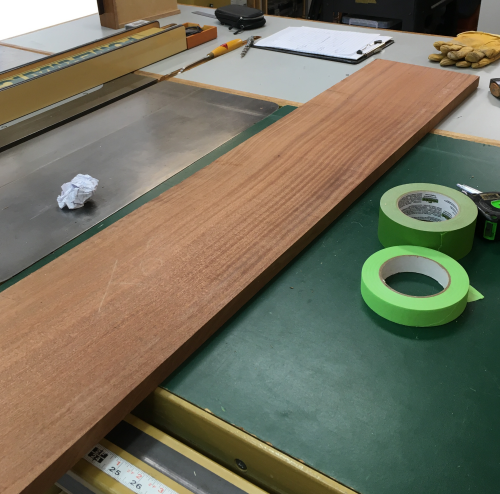
| This plank started as 4/4
lumber...we surfaced both sides when we got it to look at the
grain...it is now about 7/8 inches thick The blank is 60 inches long and 5 feet long...about 9.25 inches wide. After layout the blank was ripped to 7.75 inches to
allow access at jointer. |
 |
| The sides of the drawers and the
muntin wall will be red oak. Quartersawn blanks...these two
blanks were ~1 3/8 inch thick...after jointing a face and an
edge they will be milled. Need 4 blanks @ 3" wide, 7" long, 3/8" thick Need 8 blanks @ 2" wide, 7" long, 3/8" thick |
 |
| Resawn at bandsaw...5/8 inch... | 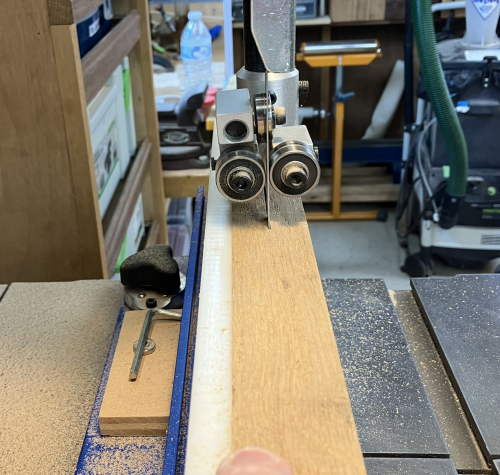 |
| Blanks were jointed as needed and then surface planed...down to ~1/2 inch. | 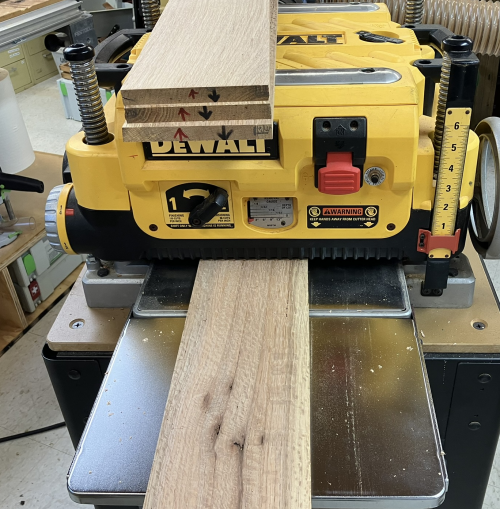 |
| Blanks are now ready to be drum sanded to 3/8" thickness. | 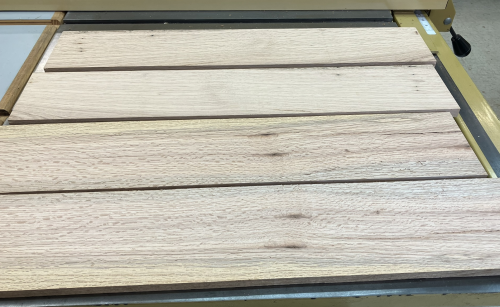 |
|
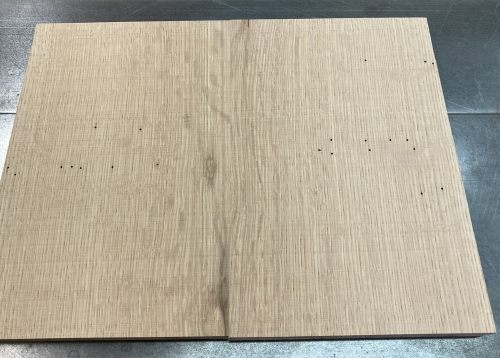
This white oak blank was not
tall enough to be the center muntin panel...chopped it,
jointed edges and put in Dominoes.
|
 |
| Glued the blank together...drum
sanded...blank ready to be milled. |
|
| The top and the bottom panels will have a stopped groove to accept the notched top and bottom of the center muntin. | 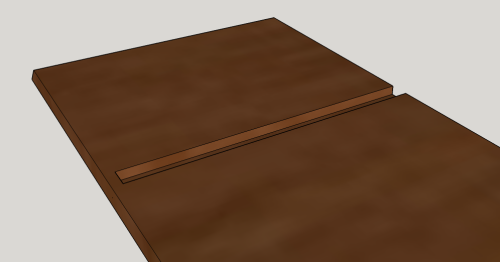 |
| The drawer slides will be
attached to interior sides of the case. |
 |
| The grooves in the side panels must be stopped grooves. | 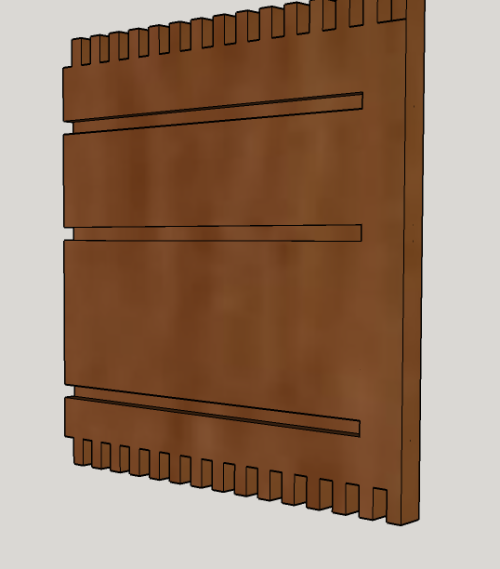 |
| The center panel will be
secondary wood with a 1/2 inch muntin attached to the front
edge...so the grooves in this panel can be through dadoes |
 |
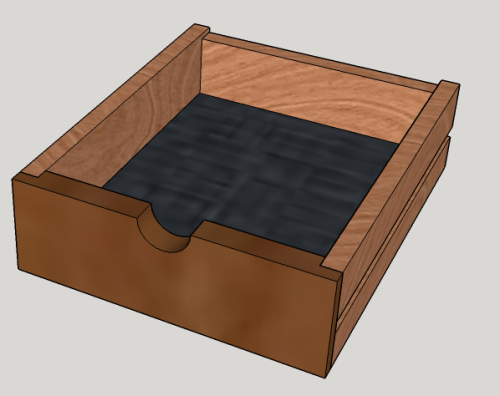
| The inner drawer faces will have
a 1/4 inch groove by 3/16 inch deep to let in the MDF bottoms.. These grooves can be through grooves. |
 |
| The drawer joints...the front
will have 1/4 x 3/8 rabbets to let in the drawer sides... |
 |
| The rear view of the carcase with
drawers in...the rear panel of the carcase will be 1/8
inch thick hardboard. |
 |
|
|
|
|
|
 |
| Then they were finished sanding
at the drum sander. |
 |
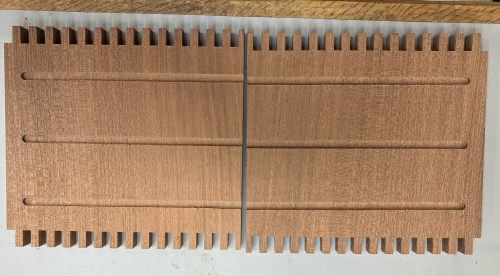
| Blank selections were made
according to grain alignments. |
 |
| Top, bottom and sides were finger
joint milled on P66 with jig and the Infinity .25 blade. |
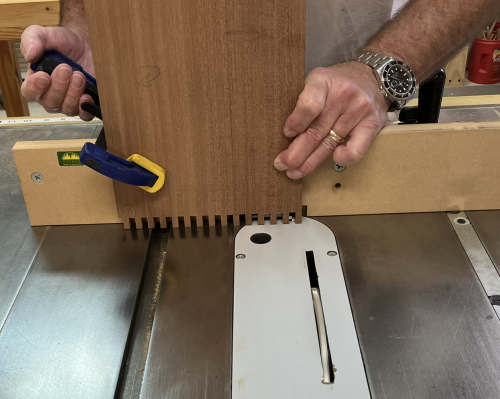 |
| We learned a lesson regarding
finger alignments... |
 |
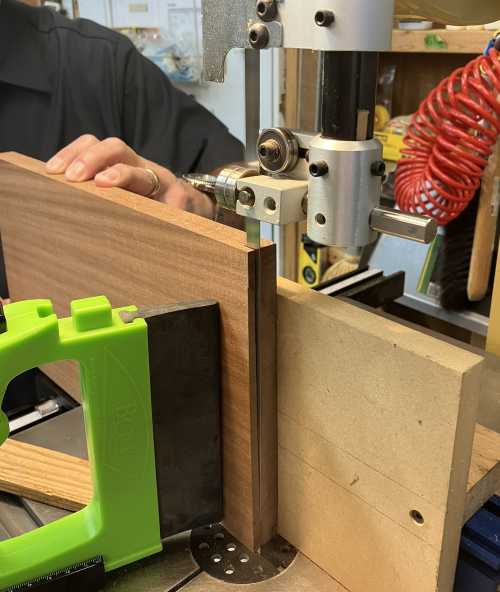
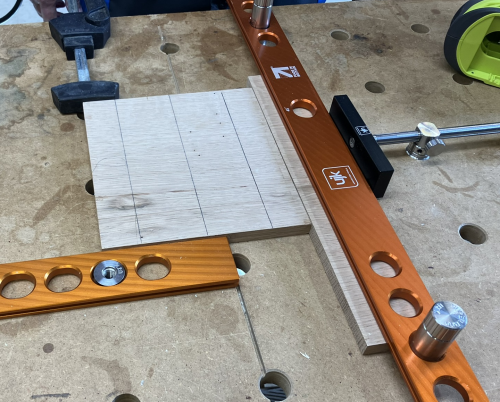
| To make the dadoes we would use
small router for the 1/4 inch slots in the sides and muntin. We decided to mark the center line of the bit...used half rule. |
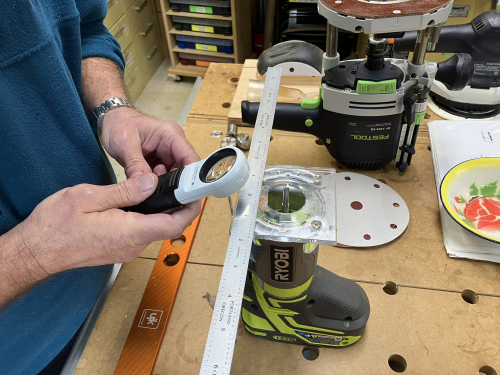 |
| With a small angle file, we etch
marked the plastic guide for the center. |
 |
| Marked in red | |
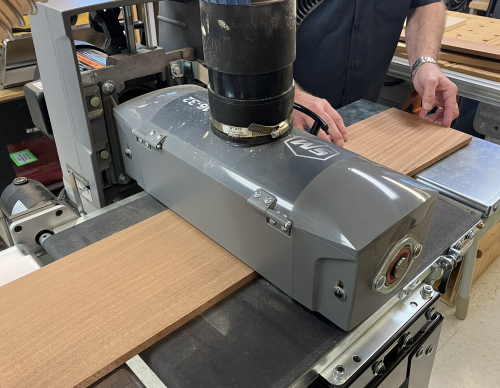
| The top and bottom blanks need a
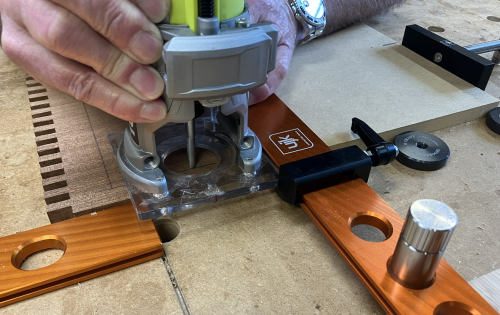
1/2 inch dado to accept the muntin. Used MFT/UJK setup to use Festool router. |
 |
| Festool router setup...we should
have used the longer edge of the router... |
 |
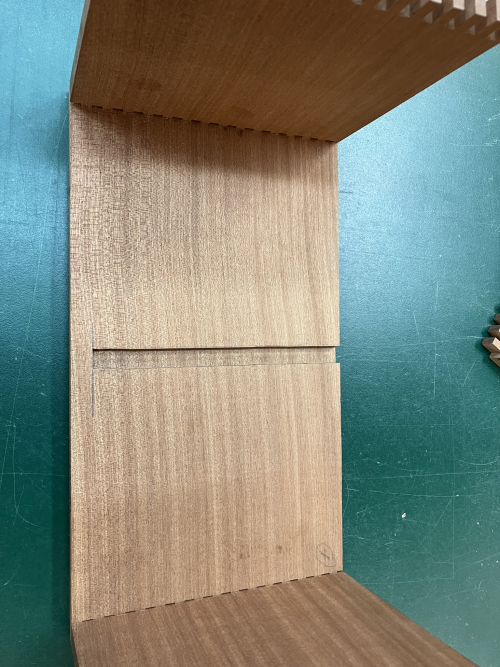
| Stopped dado was controlled
visually. |
 |
| Stopped dado cleaned up and
squared with chisel. |
 |
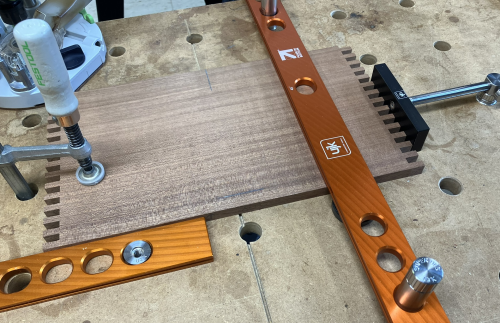
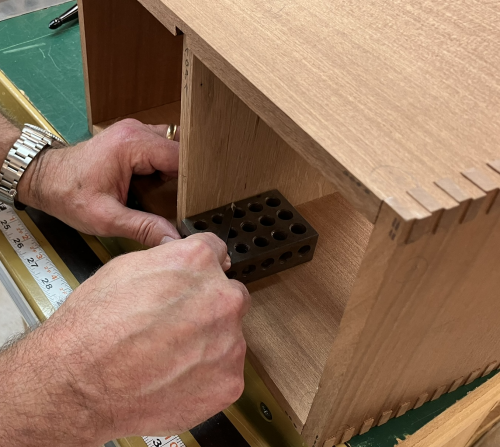
| The box carcase was dry fit and
the drawer dadoes were center using 1-2-3 blocks. |
 |
| Then the knife marks were
extended... |
 |
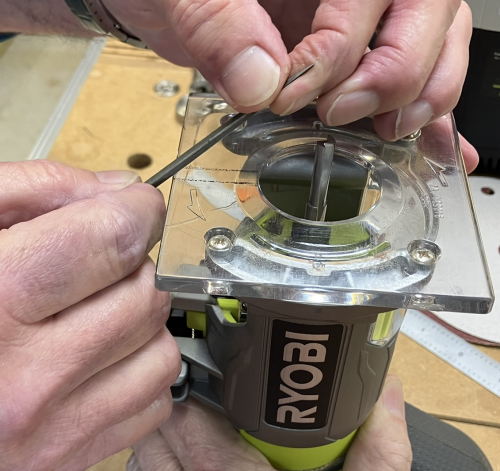
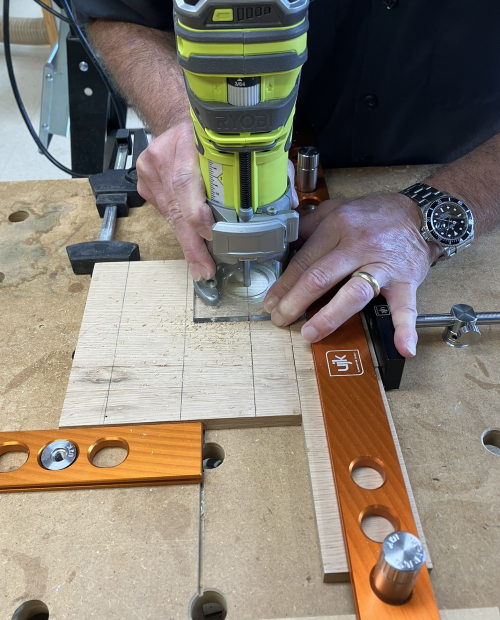
| MFT/UJK setup for the Ryobi
router. |
 |
| Router in use... |
 |
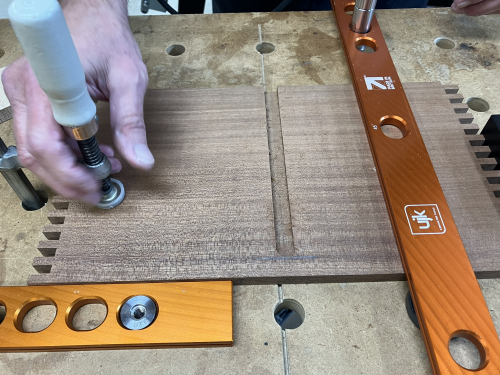
| For these stopped grooves we used
a UJK stop...worked great. |
 |
| Stopped dado... |
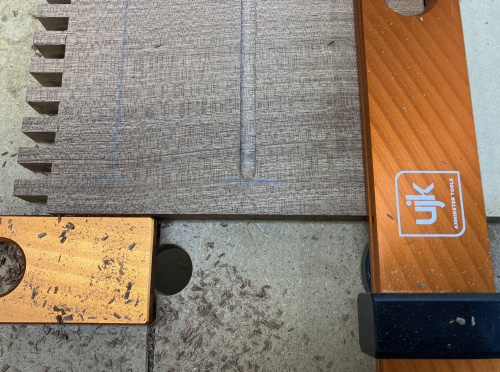 |
| Alignment check for the
grooves...all good except top left off a skosh. |
 |
|
Milling
and Assembly of Drawers
|
|
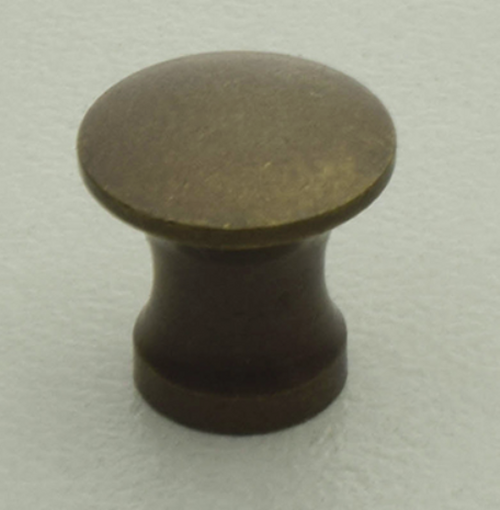
| Hardware selection...Horton H-42,
3/8 inch, dark antique, with wood screws (3/8 inch) |
 |
|
|
|
|
|
|
|
|
|