I own a couple of drawknifes that I had acquired twenty five years ago...Reese's Pieces...and I had never really used them because they were so not-sharp. Over the years they had been abused in use and in sharpening. Then I tried to sharpen them and abused them even more. So after some reasearch into how to really get the job done and after purchasing a Galbert Drawsharp I was ready to try to repair and sharpen these tools.
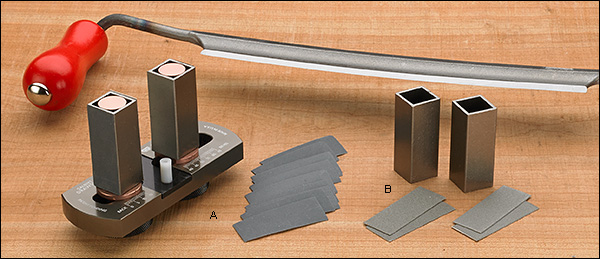
The Drawsharp was cleverly designed by Peter Galbert and is manufactured by Benchcrafted. Video of the Galbert Drawsharp in action is available here.
|
|
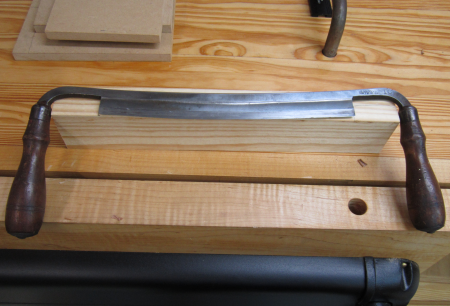
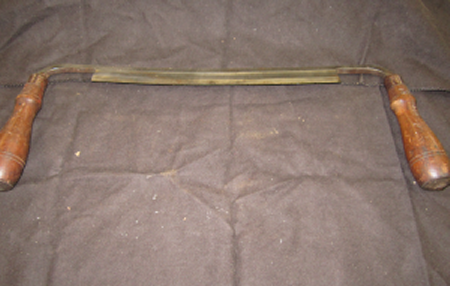
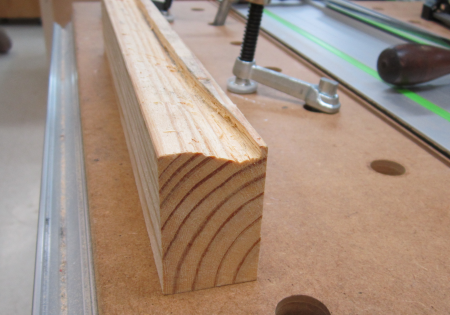
My first drawknife to sharpen was a vintage Jennings and Griffin Model # 42. This is 10 inch blade.
|
 |
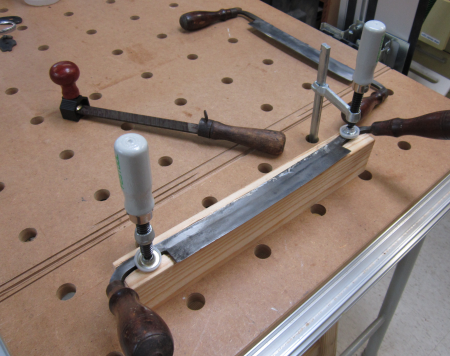
The first task was to get the back edge or "spine" of the drawknife free of nicks and dings. This surface must be smooth so that the Drawsharp can be effective. It must register against the spine. |
 |
I used a Festool sander to clean the surface and mill files to smooth out the many abused areas. Because there were some problems on the back of the blade I had to use a mill file to get the back surface as flat as I could. This is difficult to do because it is hard to clamp the knife and still have an accessible angle.
|
 |
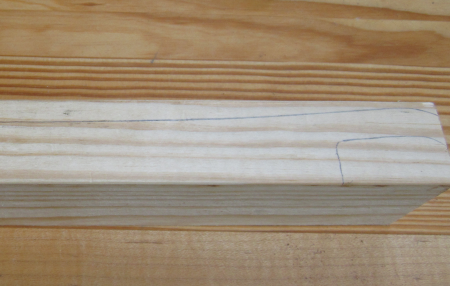
I found a old-timer solution in Graham Blackburn's "Traditional Woodworking Tools". You carve out a holder that enables you to clamp the drawknife effectively. I found another version of this device in David Charlesworth's "A Guide to Hand Tools and Methods". Here I am tracing the outline of the JG42 onto a thick piece of pine. |
|
The area then must be chiseled out so that the front edge is flush and the back edge is deep. The angle of the trough is to allow the blade to be held by clamps but have the surface that is to be files be somewhat horizontal for ease of access. |
 |
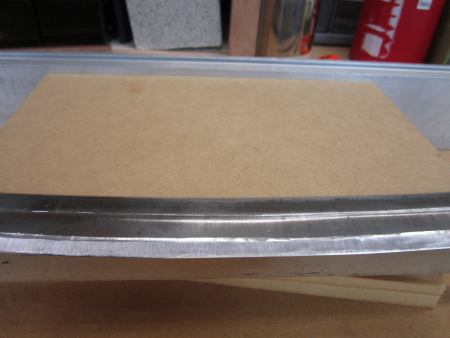
Here is the chiseled jig. |
 |
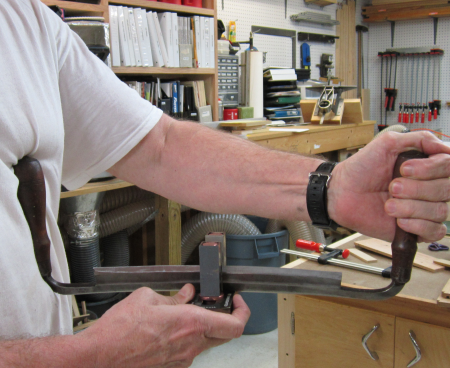
Here is how the blade sits when clamped.
|
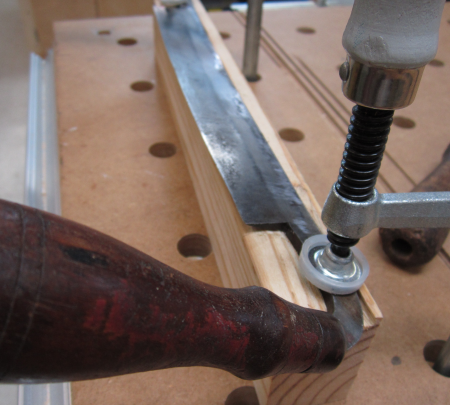 |
The unit was held on the MFT3 table. |
 |
The back edge had a lot of uneven areas that had to be removed. Most of the work on the back was with 10 inch mill files and the front bevel was with 6 inch.
|
 |
There was still a lot of work to be done on the front bevel. Here the JG42 is mounted in a jig and put on the Tormek water wheel. You can see how erose the edge is. |
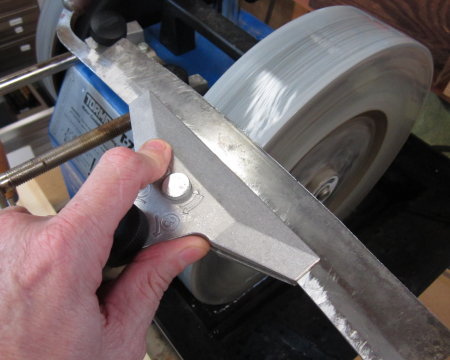 |
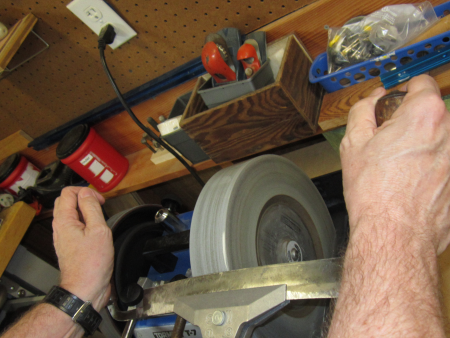
The knife is so long that it makes it quite difficult to keep a constant angle on the stone. It was almost necessary to remove the buffing wheel but a minimal clearance was achieved. |
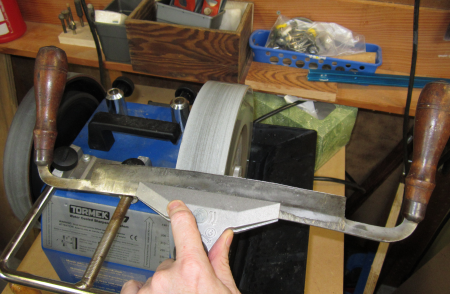 |
With both hands on the handles and some belly button pressure on the base of the jig I got pretty good at keeping a decent angle.
|
 |
After a number of passes I was reasonably pleased with the bevel angle (25°) and had a decent burr. |
 |
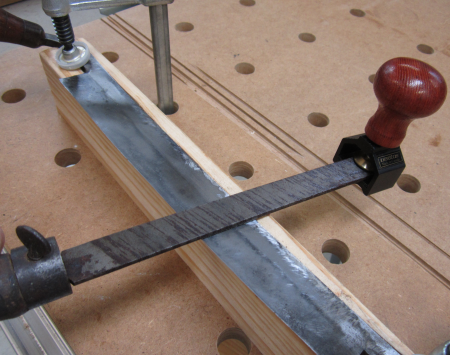
Then the Galbert Drawsharp was used to provide the micro bevels. Here the blade is in the Back angle section. It is putting a slight micro bevel on the flat back side of the blade.
|
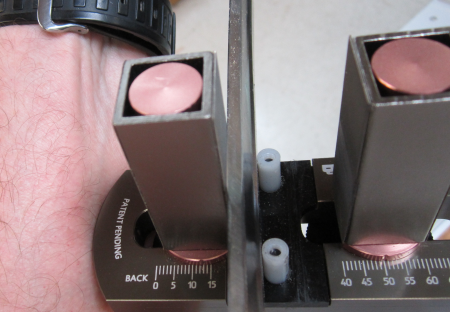 |
Here the Front angle section is creating the front bevel. |
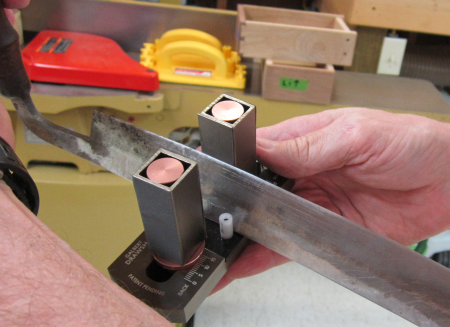 |
This is how the drawknife is held. The Drawsharp slides along the blade and hones both the back and front edges. Then a finer grit is used to remove the burrs front and back and polish the micro bevel. |
 |
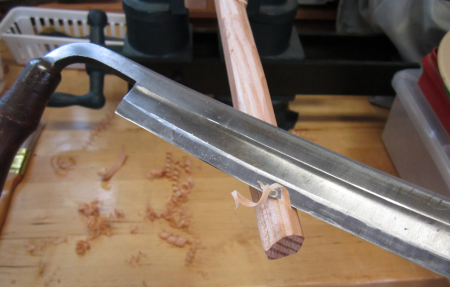
Here the sharpened knife is cutting nicely on the skew. Not bad for first sharpening. |
 |