|
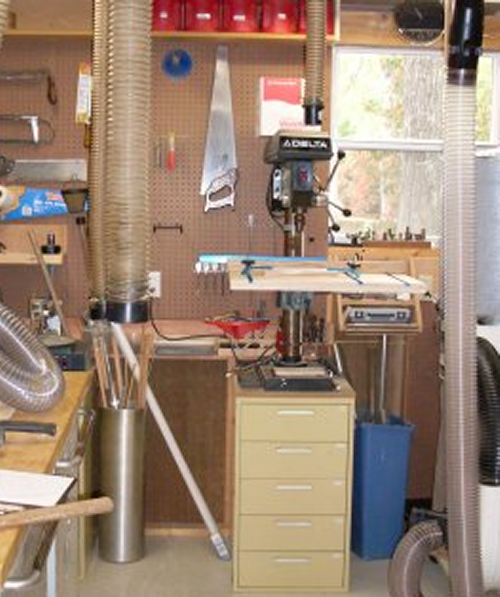
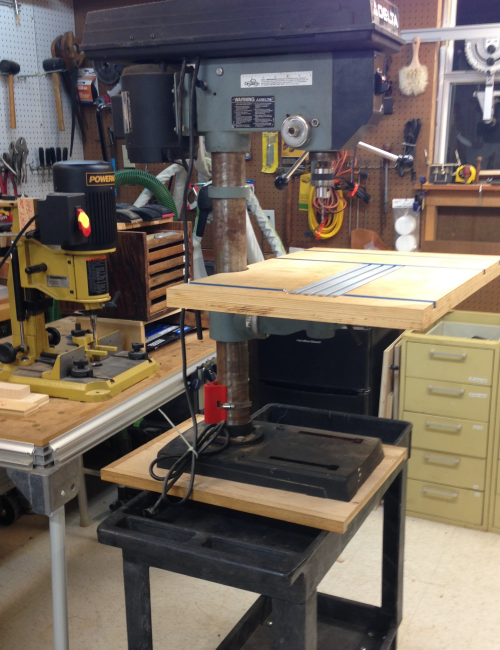
When the shop was first built, the drill press sat at the west end of the shop just the the left of the window. It was mounted above a set of drawers.
|
|
The OEM drill press work table was the typical small metal table.
|
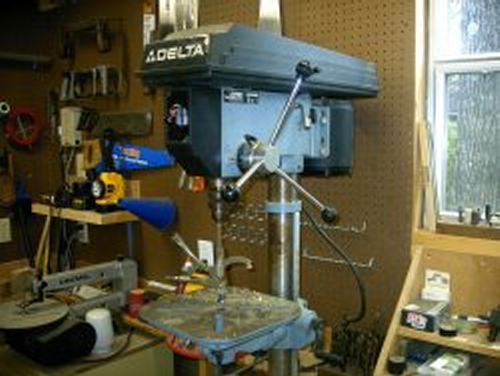 |
| A shop built table was installed. |
 |
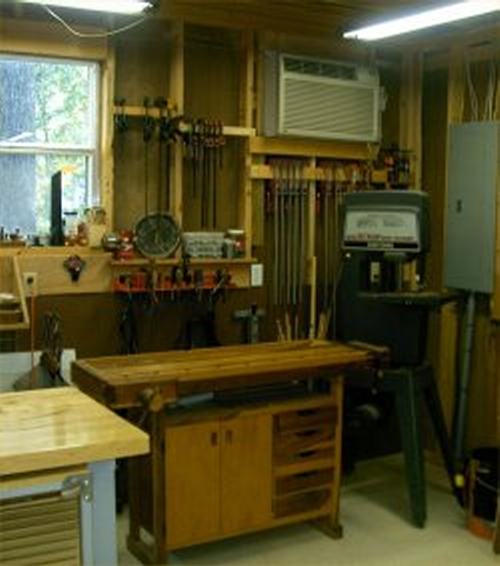
The area to the right of the window was used for a Swedish work bench and a bandsaw.
|
 |
A series of Kaizen overhauls and the building of some new workbenchs meant major relocations. The single set of drawers and the double sets of drawers were reconfigured.
|
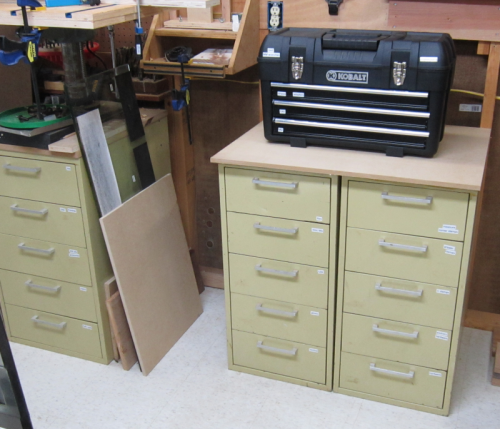 |
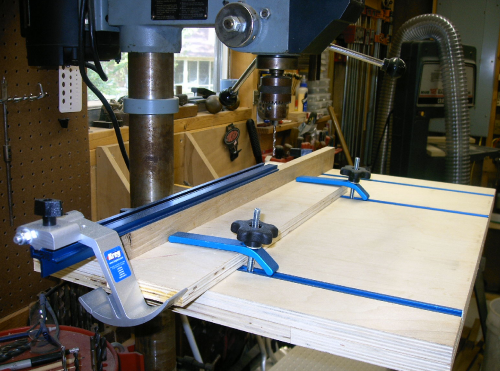
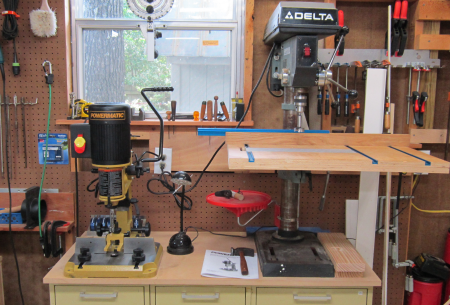
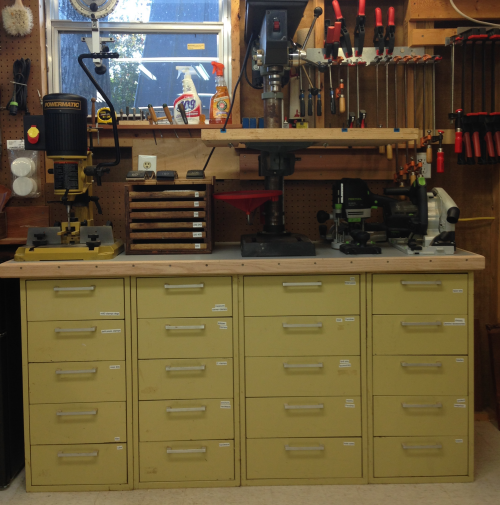
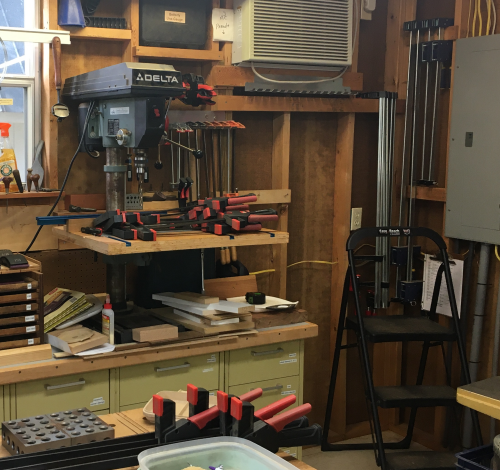
This put the drill press to the right of the window with a "temporary" MDF sheet as a working surface. When a dedicated bench mortising unit was secured it lived at the left end of the bench. |
 |
Another migration put a fourth set of drawers
at this end of the shop...they served as a Festool holder. |
 |
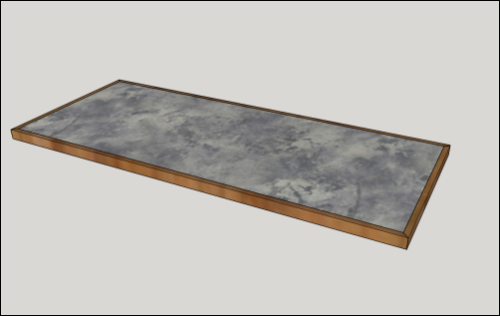
I decided to move the four sets of drawers in tight and to create a new benchtop to hold all of the equipment. A new outfeed table for the Powermatic 66 was in the works so the worktop will be made out of the same materials. Double 3/4 inch ply with a Formica surface and oak banding.
|
 |
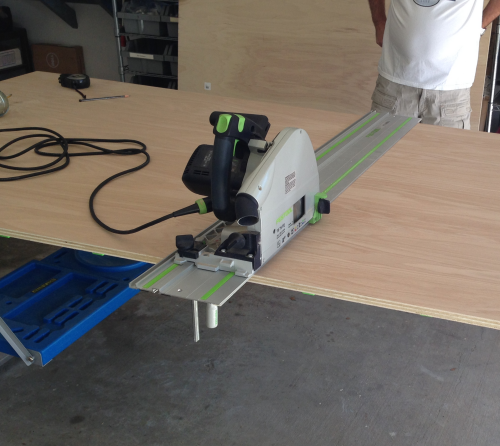
Oak sheet goods were ripped and crosscut
in the garage at the Benchmark table. |
 |
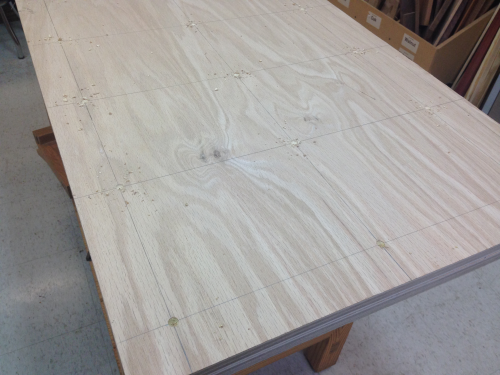
The plywood base will be 23 inches deep and 65 inches long. Here the bottom piece of oak ply is marked out for screw holes. There will be 27 screws. Counterbores were made for the heads of the 1 1/4 inch, coarse thread drywall screws. |
 |
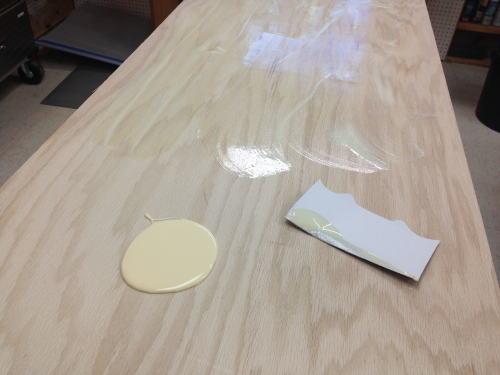
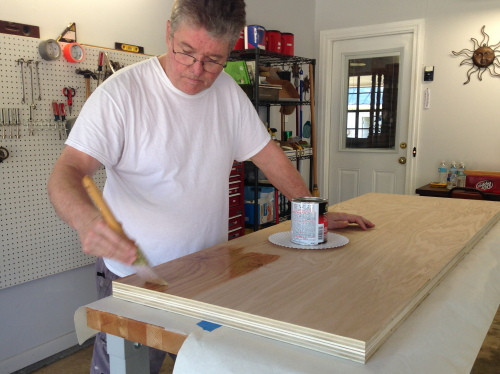
The bottom surface of the top ply was covered
in glue, spread with a piece of cardboard and glue brushes. |
 |
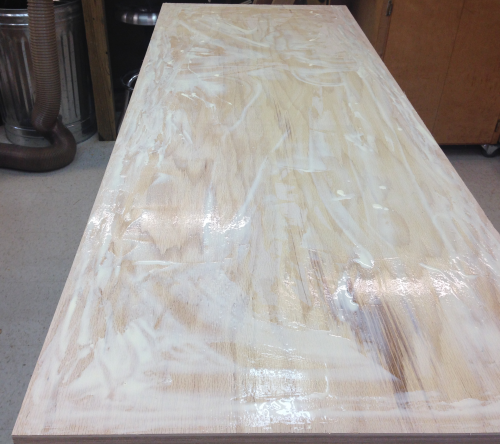
Surface is ready... |
 |
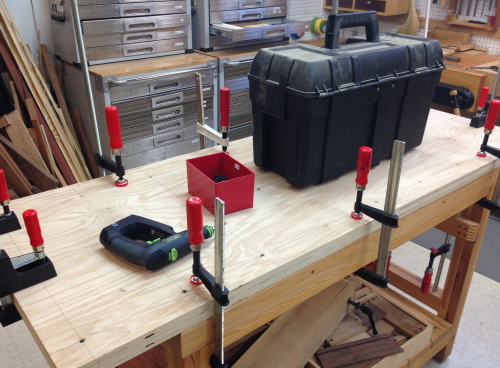
Cindy and I then laid the bottom of the sandwich onto the glue surface. The most important edges, the front, were carefully made coplaner and clamped to avoid movement. Then the bottom was screwed into the top and clamped. The heavy tool box was put in the middle to hold down the center. |
 |
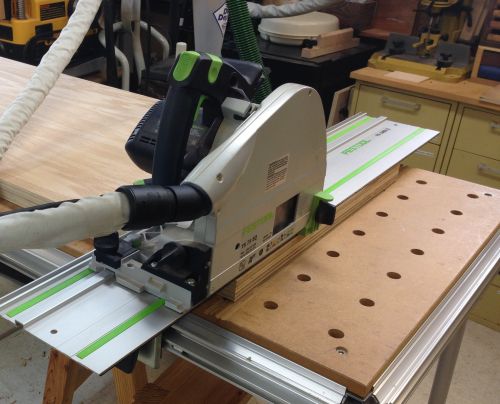
After removing the clamps, the edges were assessed. The long edges were ripped at the P66...the ends were made coplanar and square by crosscutting at the MFT3 table. |
 |
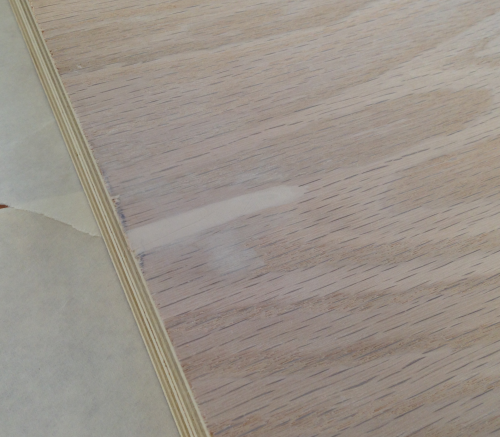
There was a piece of oak plywood that came off the top piece...it was repaired with Timbermate and then sanded.
|
 |
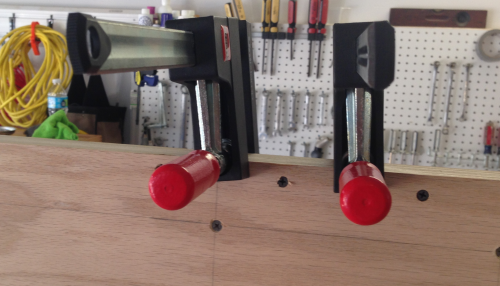
There were a couple of small front edge
gaps between the two plys...a few extra screws near the edge tightened
these gaps. |
 |
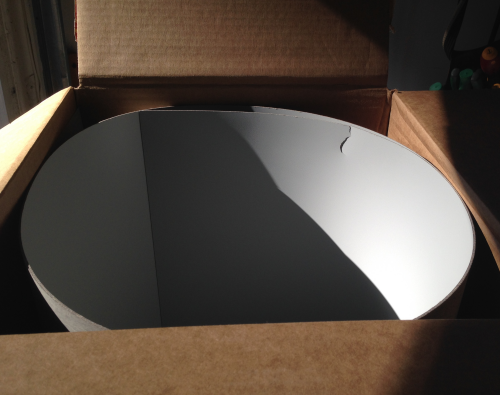
A 4 x 8 sheet of Formica laminate (49 x
97) was ordered from the Orange BORG...Dove Gray. |
 |
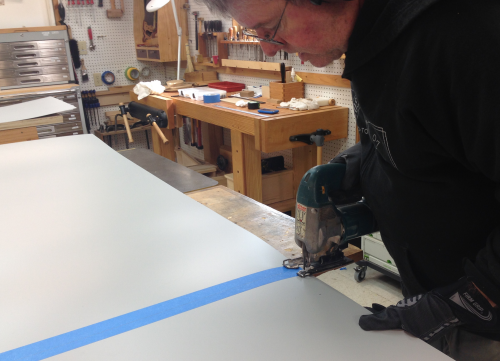
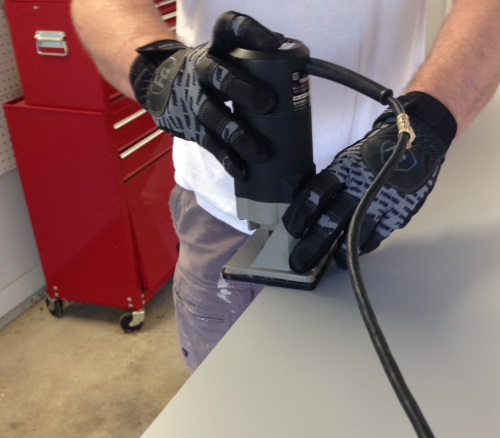
Cindy, Max and I ripped the laminate on
the P66...the ends were crosscut with the Bosch jig. All edges were
cut 3/8 inch oversized. |
 |
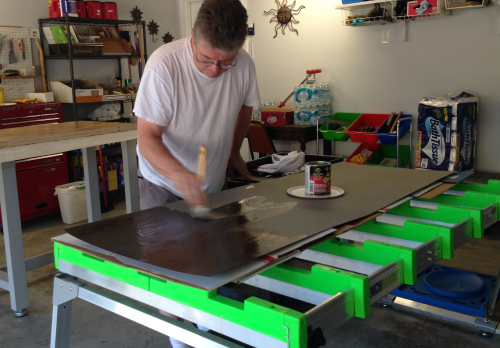
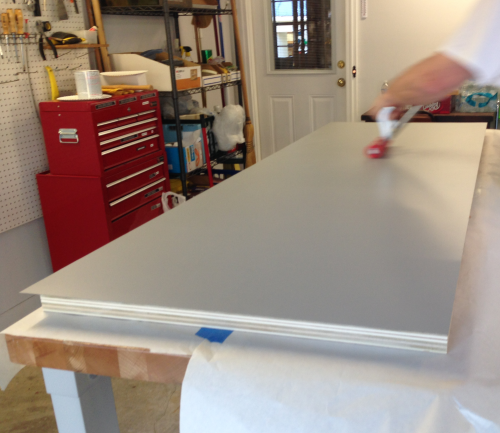
Cindy and I laminated the slab in the garage...the
wood slab was laid on a workbench and the contact cement was brushed
on...took about 7 minutes. |
 |
The laminate backside was coated at the
Benchmark work bench. |
 |
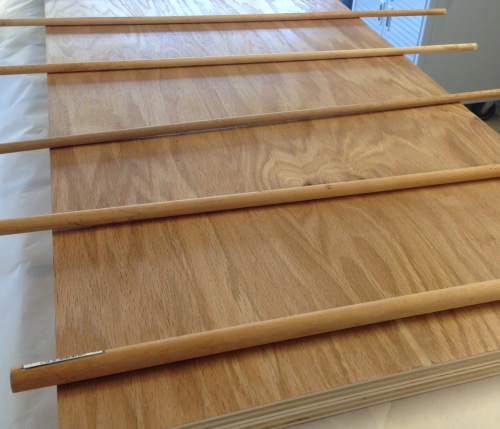
We waited 40 minutes for the to-be-mated
surfaces to dry...then we laid out dowels on the wood slab...these acted
as spacers to keep the surfaces from touching. |
 |
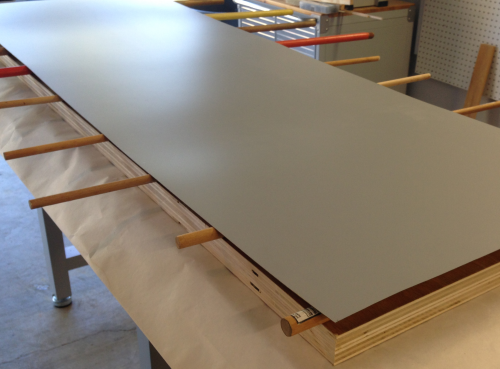
Then Cindy and laid the laminate on top
of the dowels and centered the laminate so that there was an overhange
on all sides. |
 |
We started at one end and on cue, Cindy
pulled the dowels out one by one as I rolled out any air pockets. |
 |
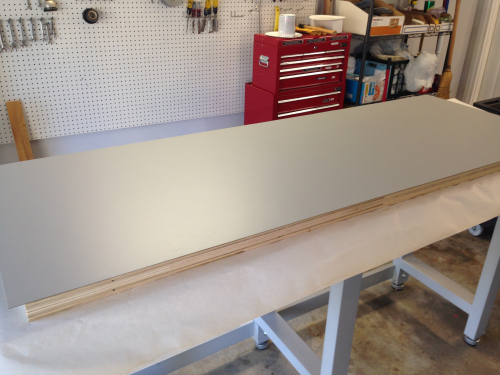
The laminate is down...with appropriate
overhangs on all sides. |
 |
Trimming the laminate flush to the plywood...using a straight flush bit with a bearing in the PC trim router. Greased the bearing with Crisco...greatly reduced the glue build up. |
 |
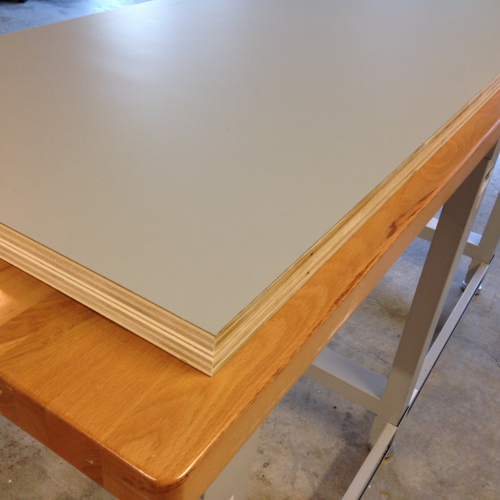
The finished edge trim on the laminate.
This is now a 1 9/16 inch slab. |
 |
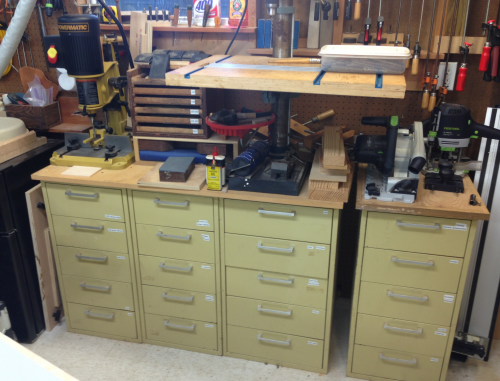
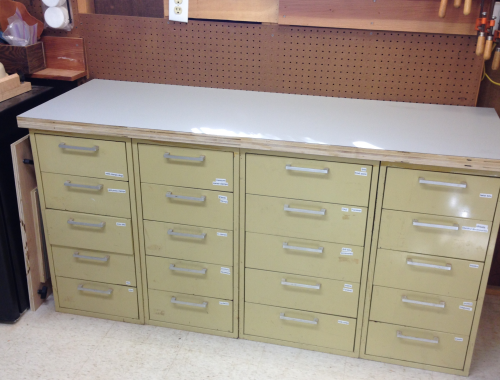
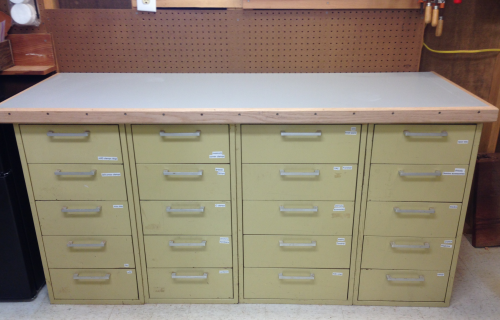
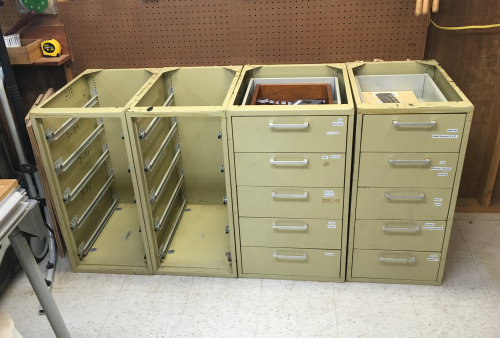
The drawer units and the current workbench
that will make the base for the new work top. |
 |
The MDF top of the three units was not previously
secured...it had been a "temporary" that stayed about five
years. |
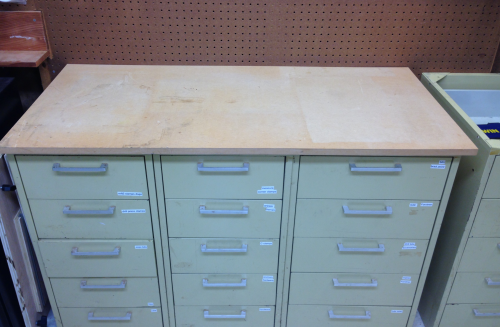 |
The four drawer units were pushed up against
one another. |
 |
The mortiser and the drill press were temporarily
relocated. |
 |
Moved the slab to the drawer units. |
 |
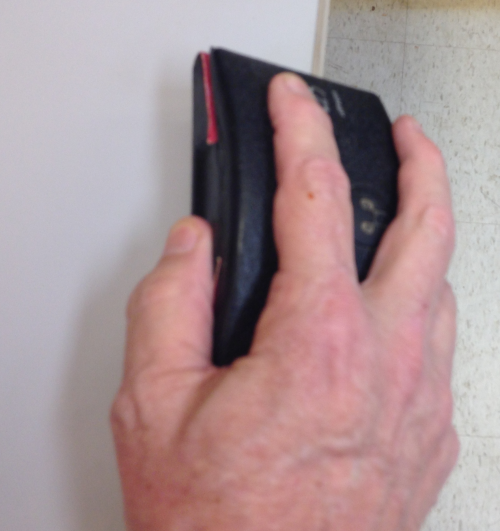
Used a sanding block with 150x paper to
clean and lightly bevel the laminate edge. |
 |
Clamps were used to dry fit the mitered
corners of the oak banding. |
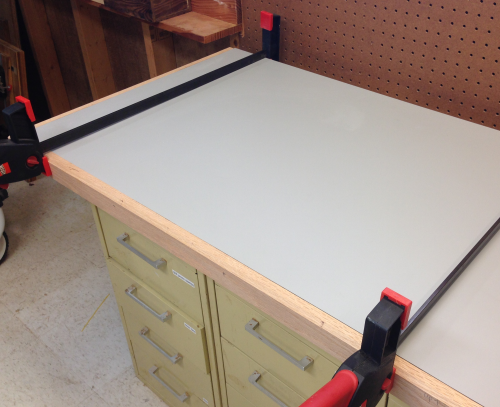 |
Glued and screwed...pre-drilled, counter sunk screw holes made attachment easier. Used #8 x 1 3/4 inch square drive screws...started at 10 inch intervals on the end...opted to go to 5 inch intervals on the front. |
 |
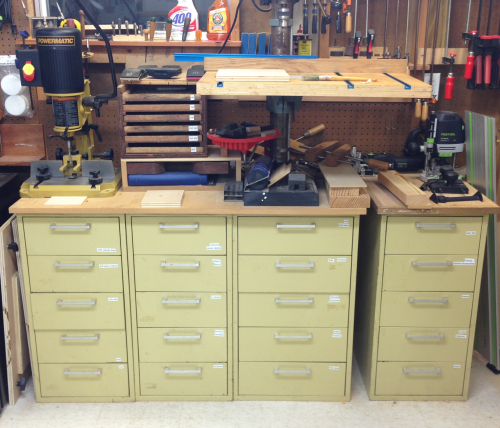
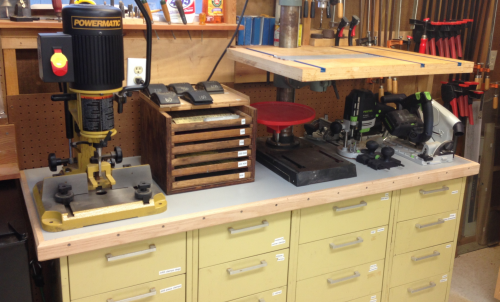
Tools and storage items back in place. |
 |
Greatly enhanced bench area. |
 |
|
Bench Rearrange |
|
Over time the benchtop mortiser was moved to a rolling workstation. |
 |
Later, I secured a new benchtop drill press...Nova Viking. (install notes here) |
 |
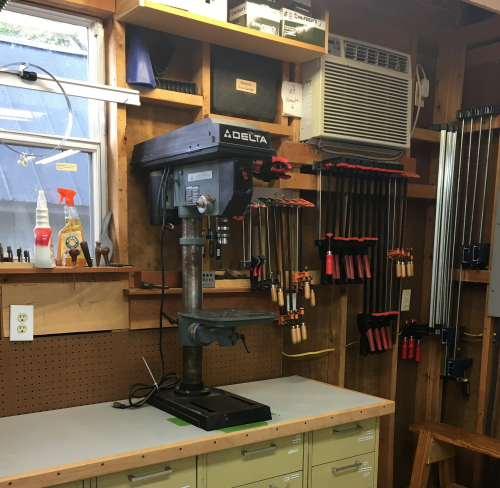
As part of the drill press replacement I realigned a number of items in the area. Clamp racks were moved higher. |
 |
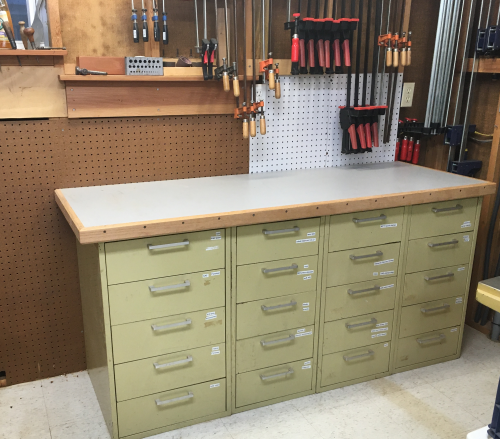
All items were removed except the Delta...new storage areas were assessed. |
 |
Delta drill press was removed, bench top removed. |
 |
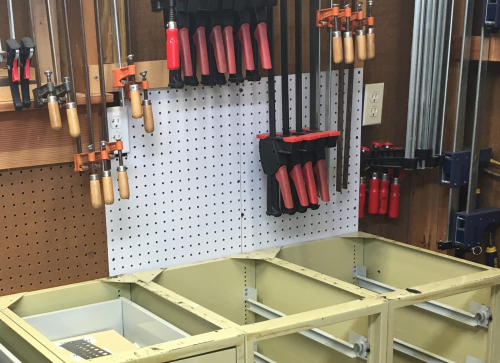
Corner area received pegboard. The two drawer stacks at the left end of the bench were moved to the right end of the bench.
|
 |
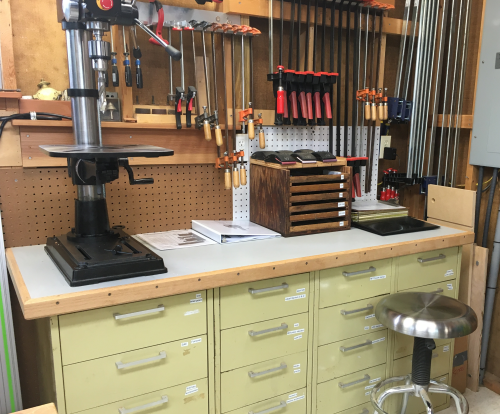
Benchtop was replaced. |
 |
Nova drill press installed...and new horizontal spaces were created for sandpaper storage, manuals, and a laptop station desk area. |
 |
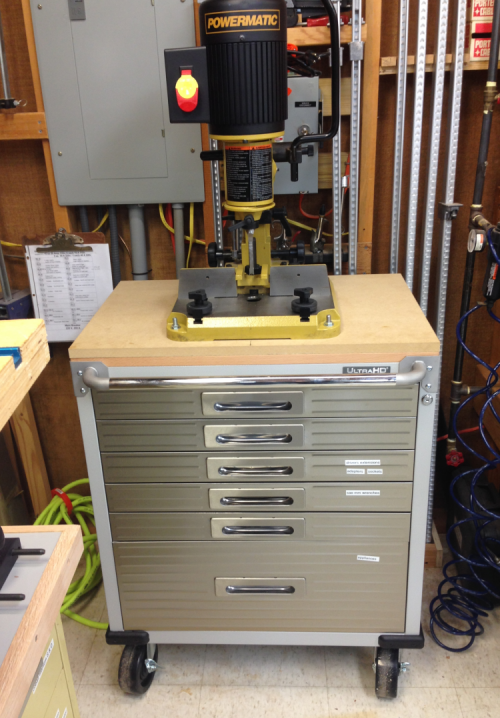
A shop-built, roll around storage cart was placed to the left of the drill press bench. |
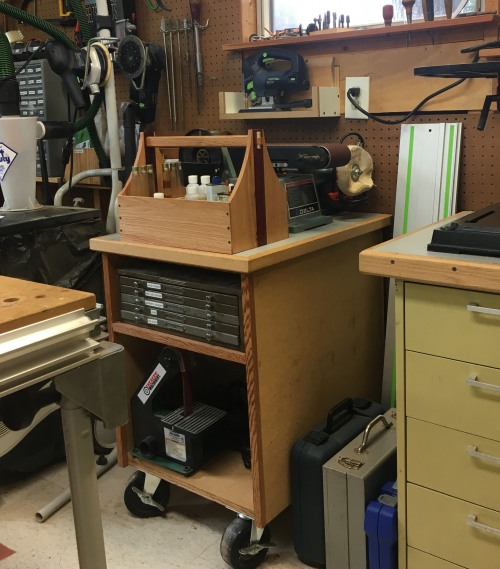 |
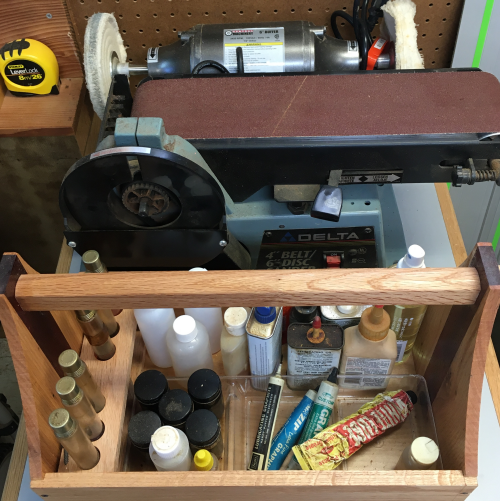
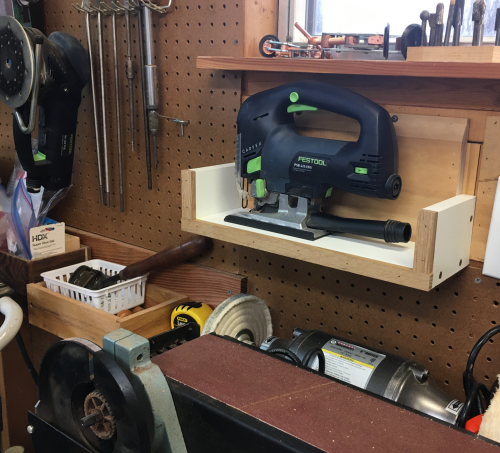
Storage on the top of the roll around...polisher, belt sander, and the lubricants tote.
|
 |
Above the roll around is a new shelf to hold the Festool Carver jig saw. |
 |
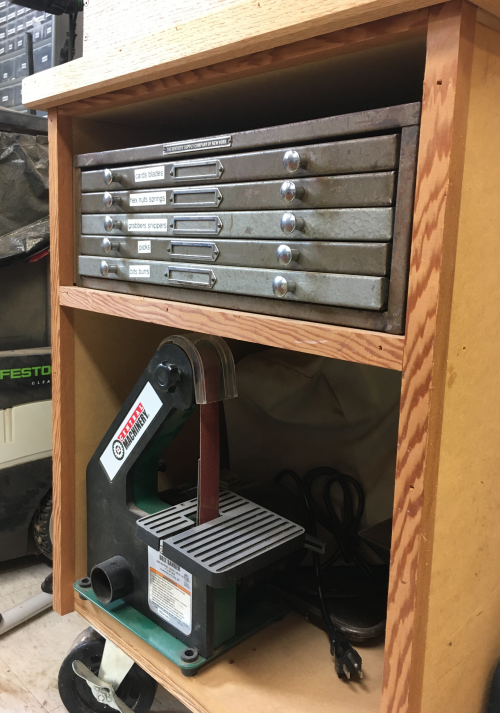
Storage in the lower section...the dental cabinet, the one inch belt sander and the Tormek. |
 |
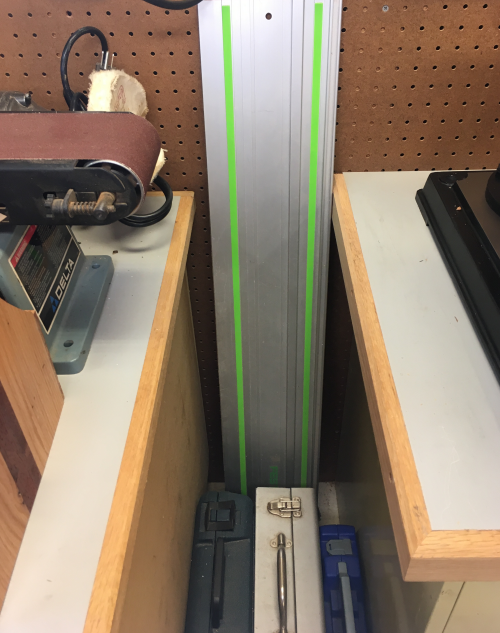
Between the two units is a spot for the Festool MFT3 guide rail. |
 |
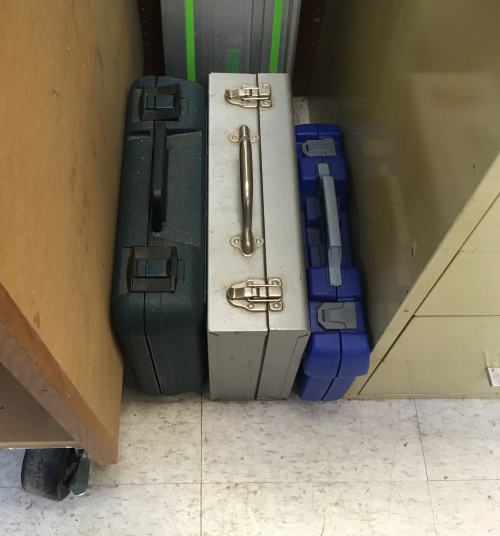
On the floor are three tool totes...the Bosch jig, the Delta countertop router and a socket set. |
 |
To the left is the Festool dust collector with boom.
|
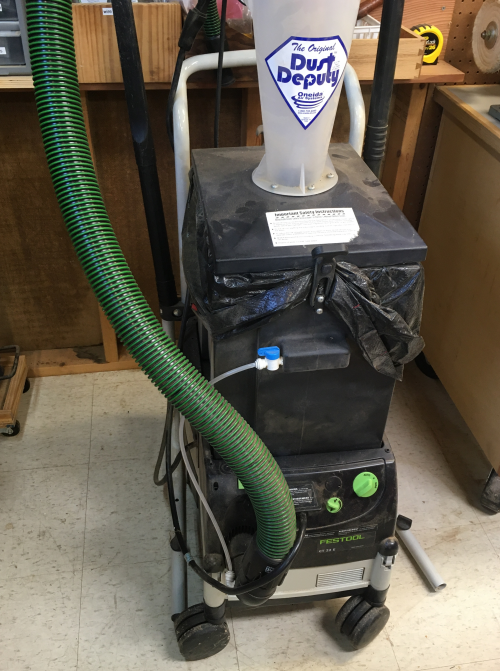 |
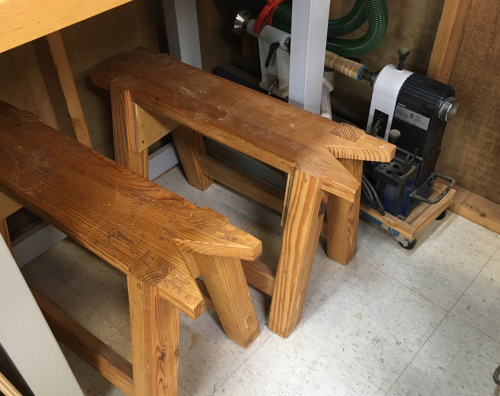
In the far left corner are saw benches and
the lathe (on a roll around cart) in the corner. |
 |