Dust Collection Band Saw |
|
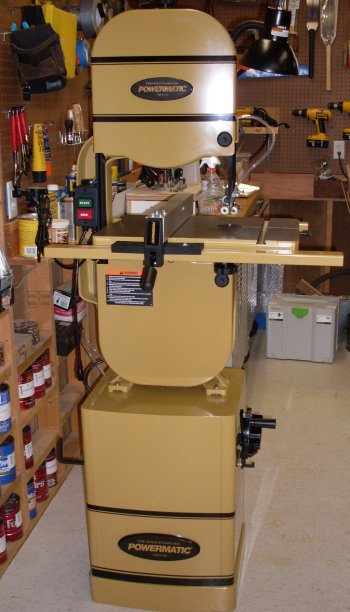
| The new Powermatic bandsaw is
located to the right of the door on the southwest wall.
|
|
The Jet unit is operated by a remote control
switch.
|
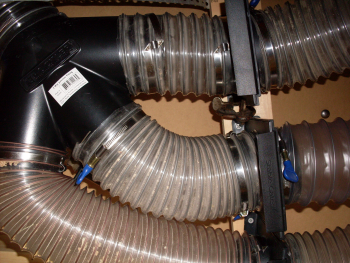 |
The center line here is the path to the band saw. |
 |
The front and center lines continue westward. |
 |
At the end of the main bench the middle
line goes down to the floor. |
 |
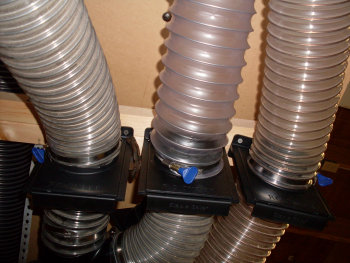
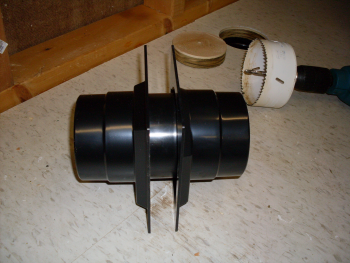
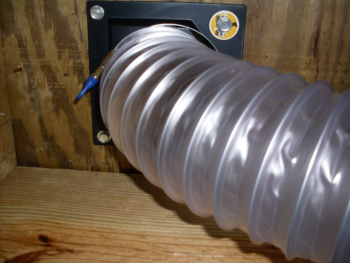
| For the junction at the floor we used a Rockler Dust Right "though
the wall" setup with two flanges and a tube that goes through the
wall (or in this case the floor). |
 |
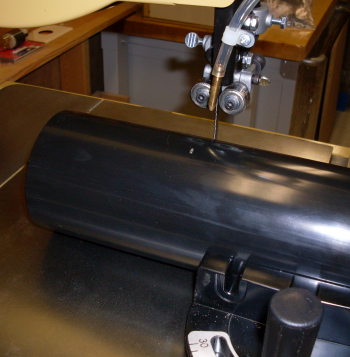
The tube had to be cut down on the bandsaw
to make it the proper length for the two flanges to sit flush. |
 |
Aftrer the tube was cut down so that after
insertion into the two flanges there was a 1 1/8 gap. This is the thickenss
of the floor substrate plus the tile. |
 |
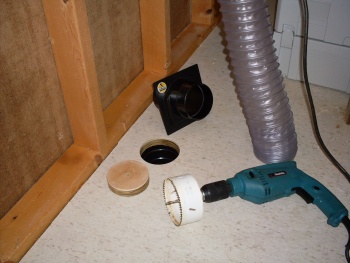
A hole was drilled using a four inch hole
saw. |
 |
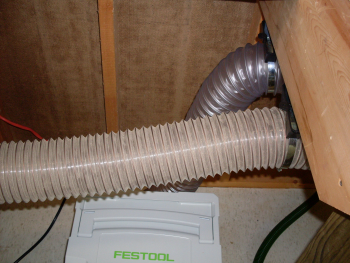
After the unit passes the floor, the under-the-shop-flange is secured and the hose is connected. |
|
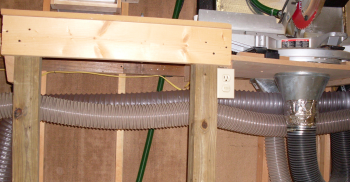
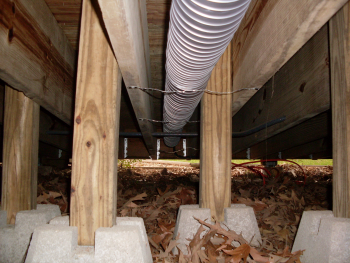
The line then crosses underneath the shop. It is contained in the space between the florr joists and floats in space held only by strapping material to prevent sagging.
|
 |
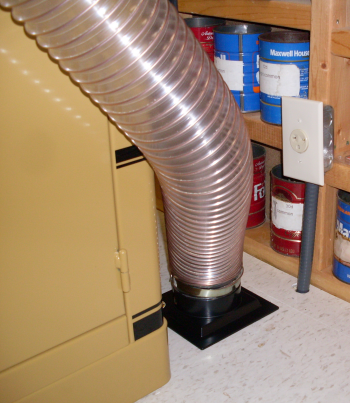
The line then re-enters the shop and a hose is connected to the flange on the floor by the southwest wall. A new 220v electrical line was run at the same time and the bandsaw was rewired to run on 220v. |
 |
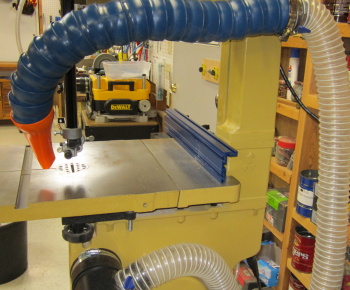
The final phase of this long and winding road is connection to the four inch cast iron port on the rear of the Powermatic.
This fitting rotates and has a 2 1/2 tee that is connected to a flex hose. |
 |
A rigid flex hose comes off of the 2 1/2
flex and can be positioned to pull dust at the point of the cut. |
 |