I inherited a large cedar chest that my mother had painted in her 70s "milk can antique green" phase. At some point a decade ago, I attacked the paint with a belt sander and was so frustrated with the process that I declared that the chest would never be presenetable and it became an attic storage unit for my camping gear. During a "clean out the attic of my shop" phase, I decided that it would no longer be used as attic storage and we decided to use it to hold quilts in the guest room in the house.
|
|
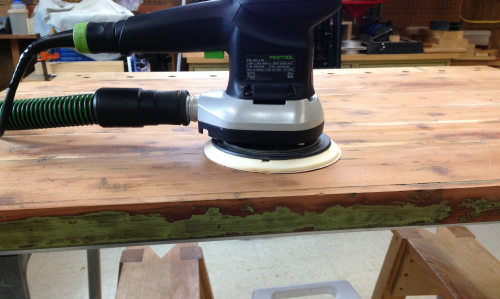
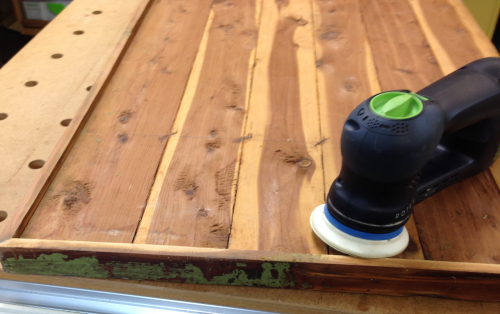
So I started the restoration project on the top of the chest with a sanding session with the 150mm sander.
|
 |
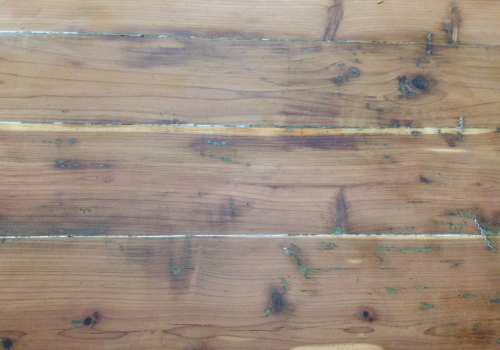
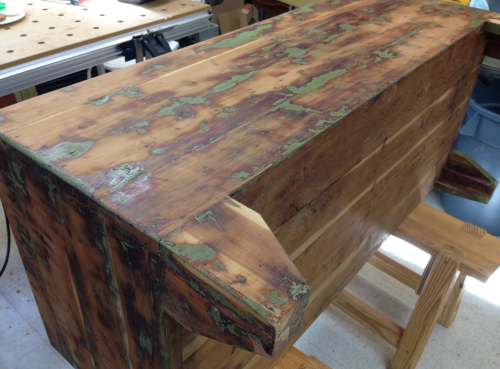
Even after most of the paint was removed, it was pretty clear that this would never be a beautiful piece...it certainly has a "distressed" look. |
 |
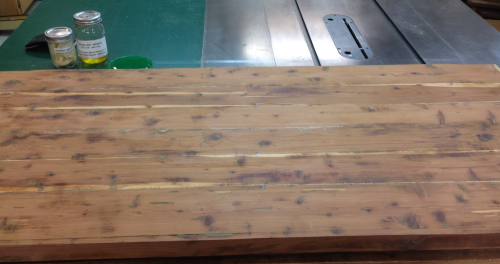
| The edges were all sanded with 90mm Rotex.
|
 |
The top...ready for some finish...the first coat will be 1# Super Blonde Shellac. |
 |
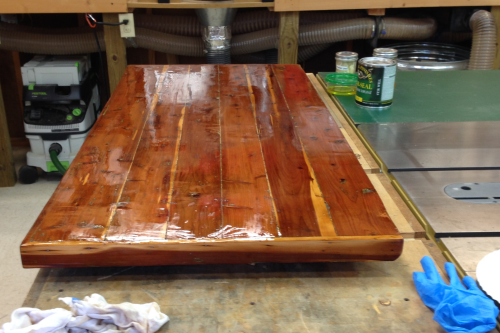
The shellac was padded on...just that quick first coat really changed the appearance. |
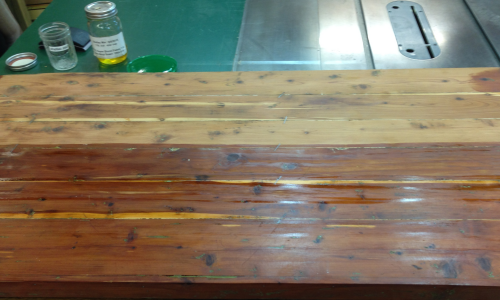 |
After the quick drying...rubbed the top out with 0000 steel wool. |
 |
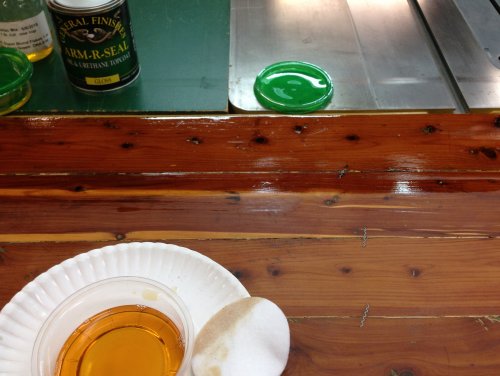
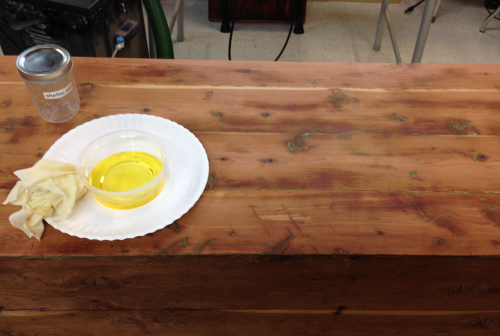
| The next layers will be rub on varnish...General Finishes Arm-R-Seal oil and urethane top coat. | 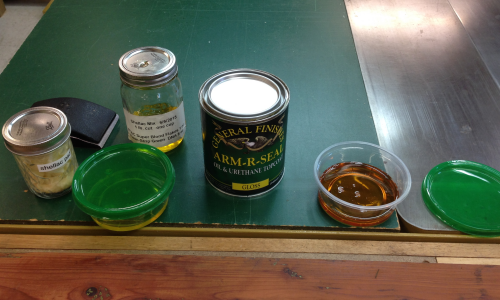 |
This coat was applied with a disposable pad. |
 |
First coat... |
 |
On to the chest...the unit before the final sanding. |
 |
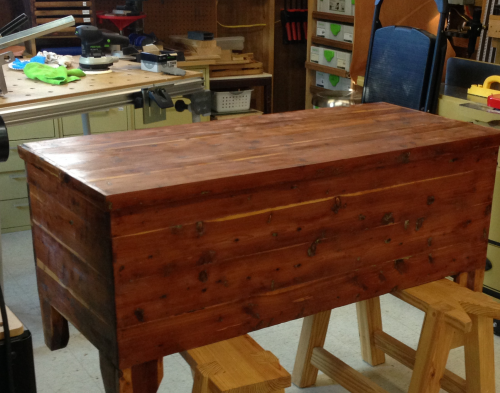
After the sanding...ready to start the finish...shellac was put on with a pad. |
 |
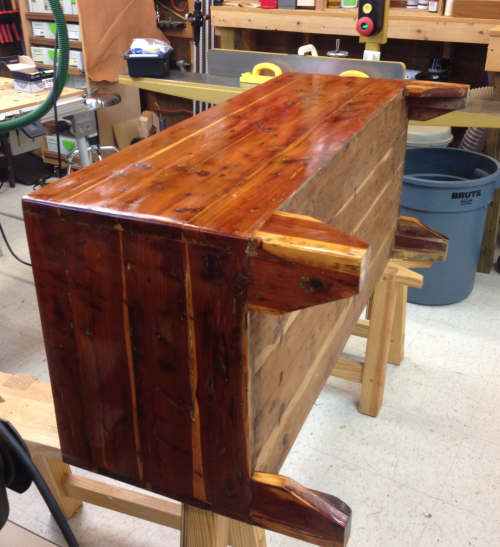
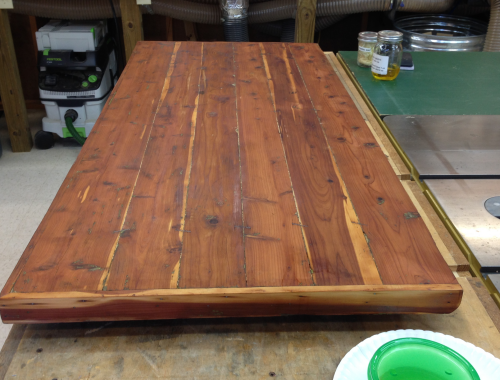
Chest after a rub-on coat of blonde shellac and then a varnish oil and urethane rub. |
|
After a knock-back of the gloss of the urethane with 0000 steel wool. |
|
|
|