|
Wood Selection, Milling Wood and the Box Joints Dado for Bottom and Top of Box Sanding, Finish Application and Final Product
|
|
|
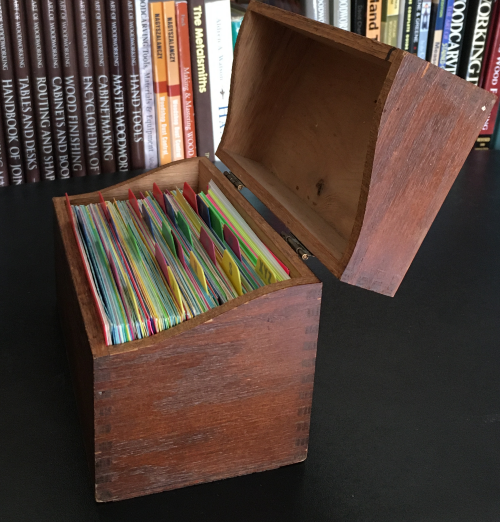
This is a multi box project with box joint joinery...will make several variants of card file boxes. The beta card file box is based on this box shown to the
right.
The box will be rectangular...it will hold 3 x 5 index
card stock and dividers. material is .42 inch thick, the end pieces are 4 inch by 4 inch... the front and back are 6.5 inches long. |
 |
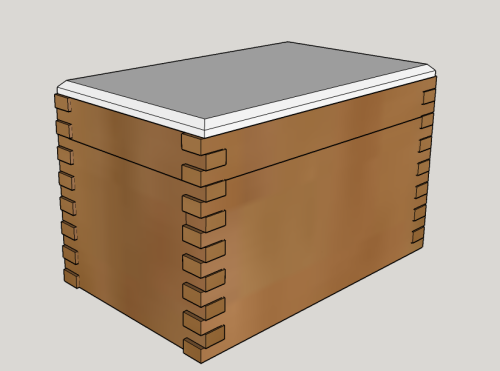
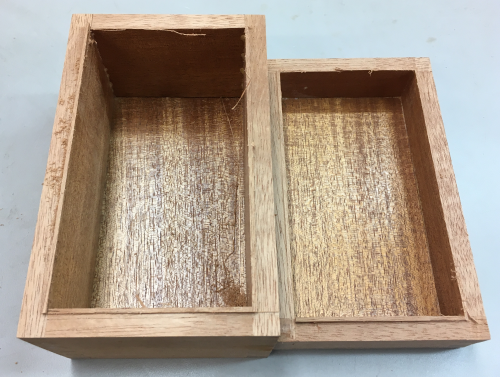
| The basic box... finger jointed with a glued on top...after glue up the top will be cut off at the band saw. |
 |
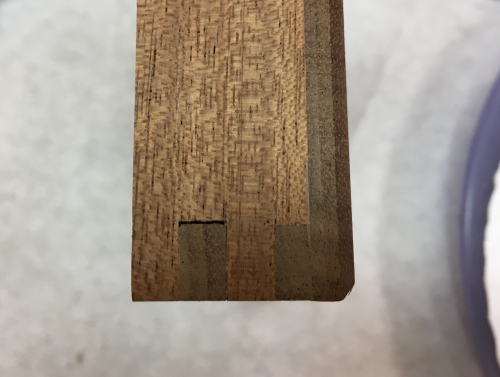
| on the end blanks, the top and bottom dadoes are 1/8 inch through grooves... | 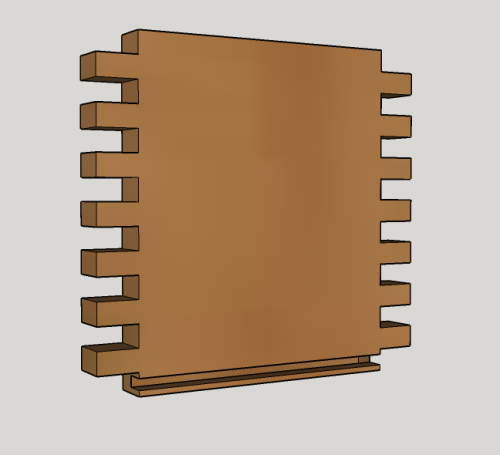 |
| the long sides will have a 1/8 inch stopped dado... | 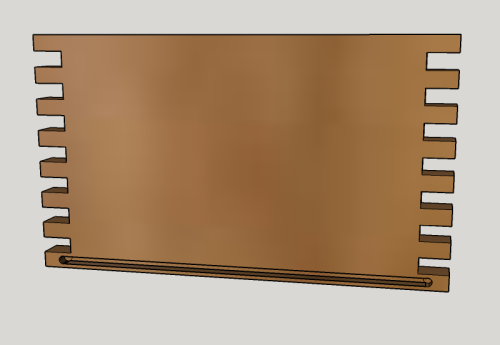 |
| an end and a side joined... | 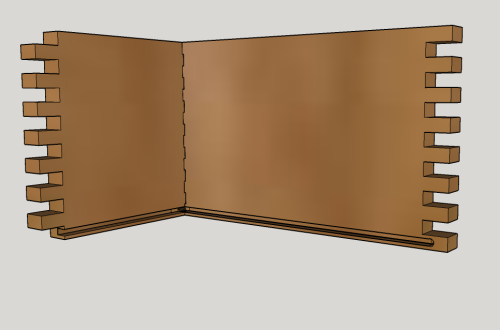 |
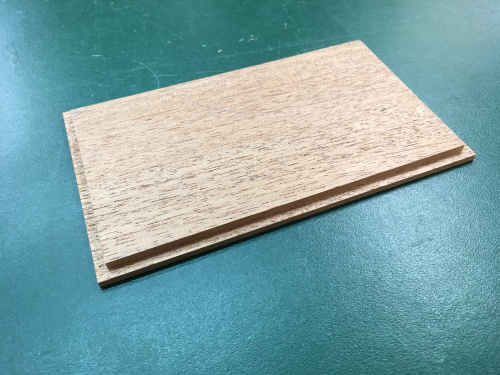
| the bottom panel will be ~.25 inch thick with a 1/8 inch rabbeted ledge. | 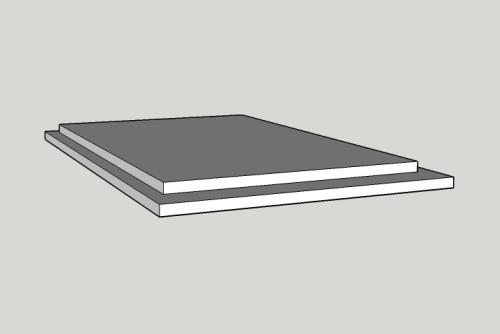 |
|
Box Joints |
|
|
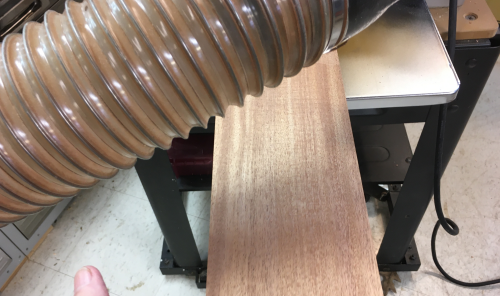
Wood selection for beta model was
Honduran mahogany...left over from the machinist chest...
|
 |
|
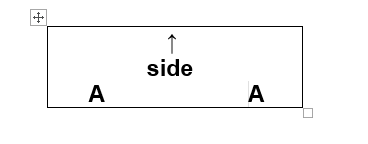
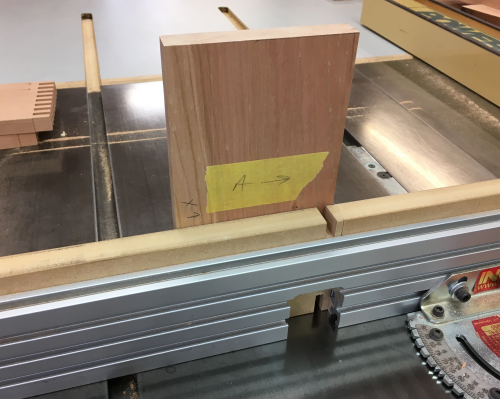
The layout marking pattern of one
side...
|
 |
|
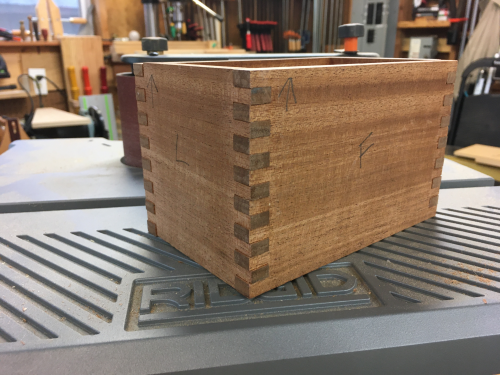
Typical marking pattern for all four
sides...
|
 |
|
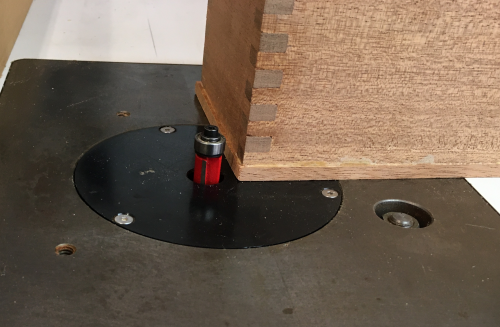
The Infinity blade height was set at slightly above
the thickness of the material. This will make the finger ends slightly proud.
|
 |
|
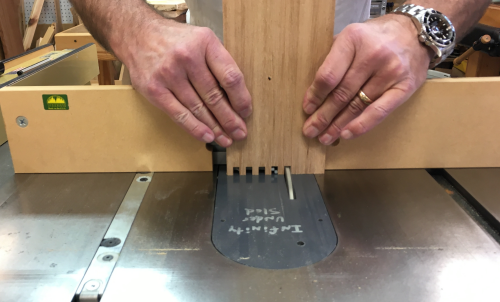
James milling the finger joint cuts on
the mahogany.
|
 |
|
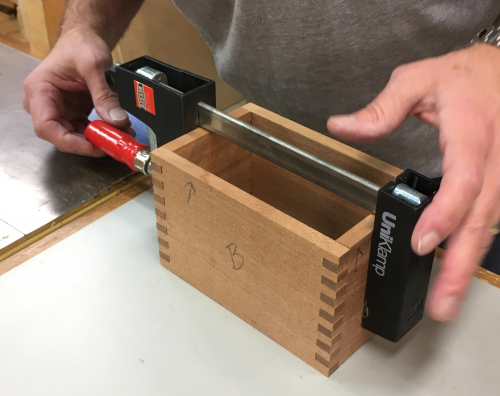
Dry fit for box
|
 |
|
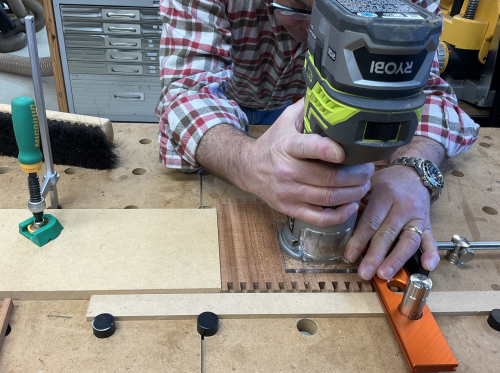
The front, back and side panels will have an 1/8 inch groove to accommodate bottom panel that is ~1/4" thick...with a 1/8 rabbet... we will use a 1/8 spiral up bit in Ryobi router. Set up was made on the MFT3 table using Parf fence, stops and clamps.
|
 |
| Original plan for stopped groove in long sides was changed to a through dado. | 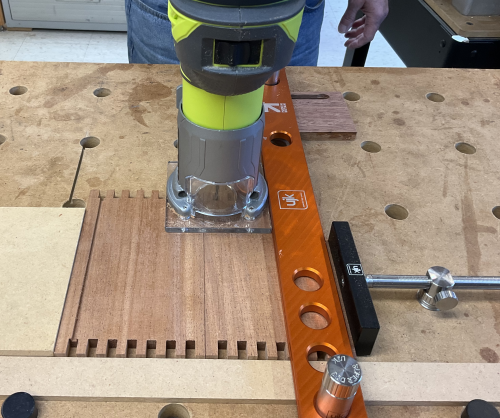 |
|
The stopped dado was placed in
the end panels...router bit was plunged and lifted...
|
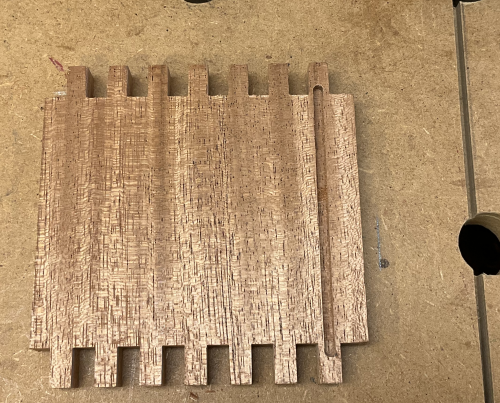 |
| Routed grooves... |  |
| The bottom panel rabbet was
milled using a sacrificial fence with 1/4 inch Infinity blade |
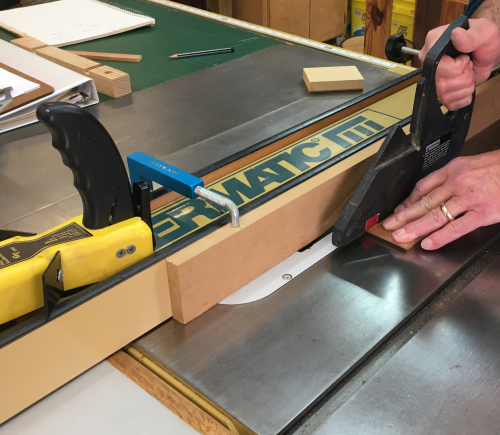 |
| Crosscut rabbet made using a
backer board push. |
 |
| Some last minute ripping was done using Parf fence |  |
| Bottom panel with rebates. |
 |
| Final fit tweaks with plane... | 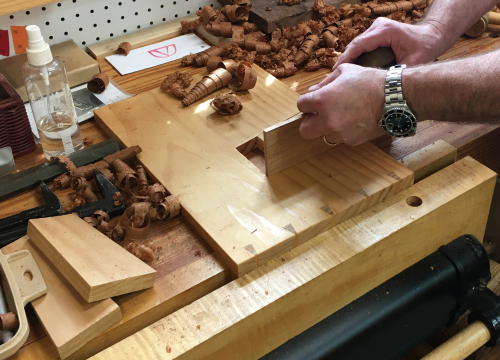 |
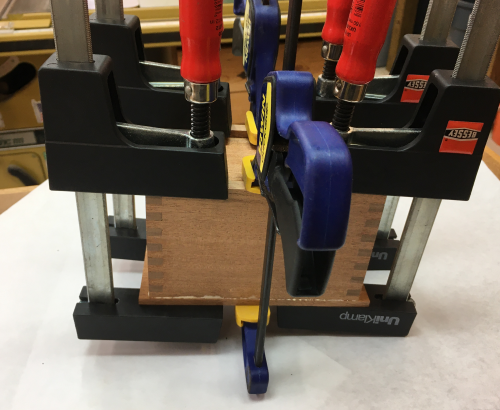
| Light glue application...clamping... | 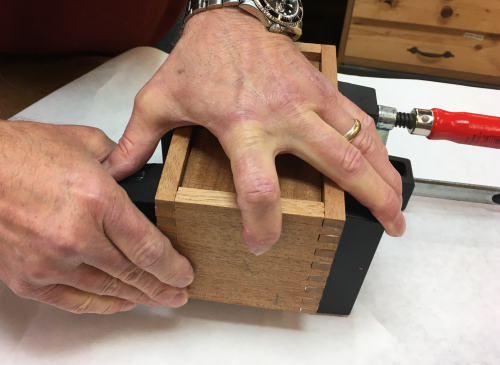 |
| After glue up...tested a variety
of methods for making the fingers coplanar...sanding, chisels,
block planes, etc. our favorite method continues to be flush cutting with the Veritas flush saw...planing with small LN block plane, and then sanding flush. |
 |
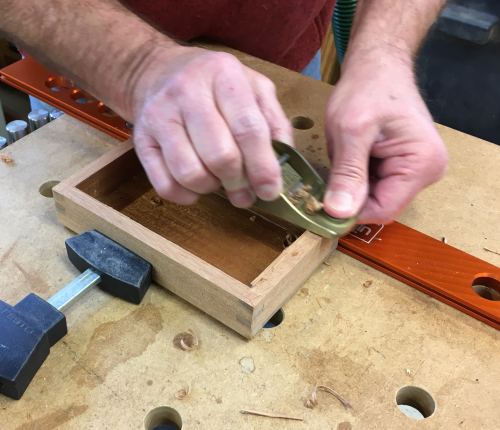
| Top and bottom edges were made coplanar using belt sander. | 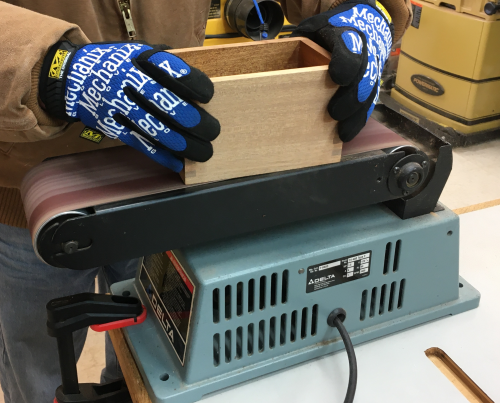 |
| The oversized top panel was glued
to the box and clamped...two easy pressure clamps at first to
avoid movement. |
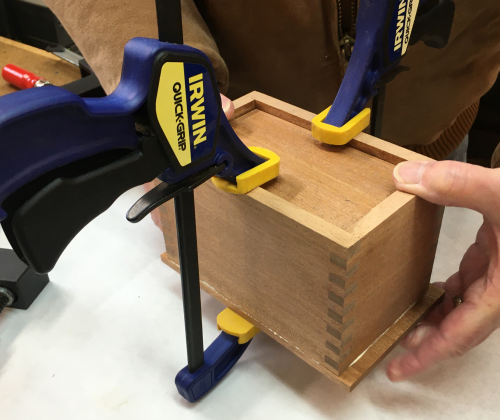 |
| Then added four Bessey clamps. |
 |
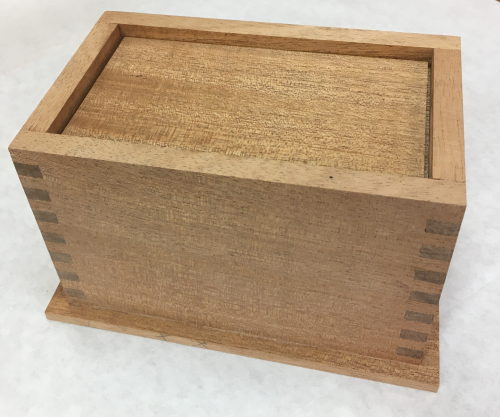
| Glued up unit...shown upside
down...oversized top extends beyond the sides... |
 |
| Removed some of the excess
overhang at the bandsaw. |
 |
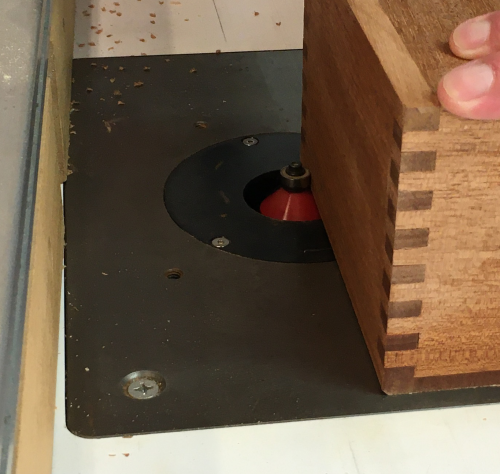
| Edges of the top plate were flush
routed with a pattern bit with a bearing... |
 |
| Then a small chamfer was made
with a 45º bit |
 |
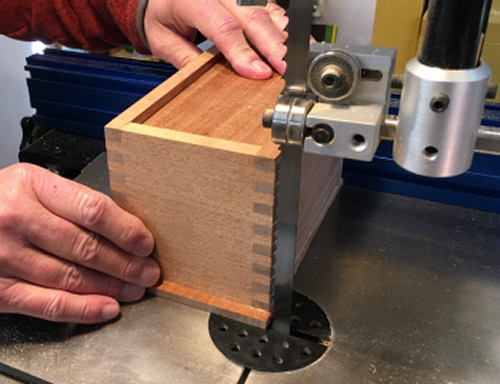
| To separate the top from the
lower box...1/8" thick Tenryu blade was used with a height that
stopped short of cutting all the way through the side of the
box. Rotated three times at the P66. |
 |
| The remaining uncut wood in the
kerf allowed the box to retain its shape...the kerf was then
finished with Odate pull stroke hand saw. |
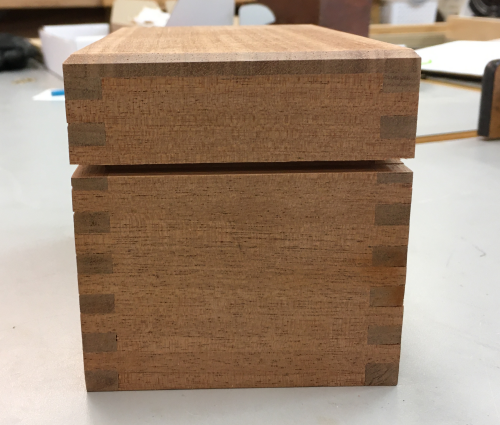 |
| The finished sawn kerf |
 |
| Edges were cleaned with chisel... |
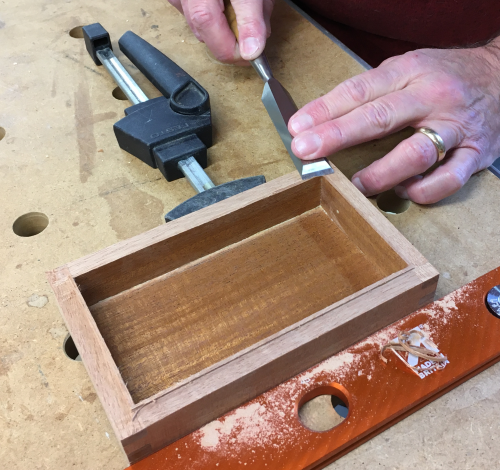 |
| ...with small LN block plane and
hand sanding. |
 |
|
|
|
|
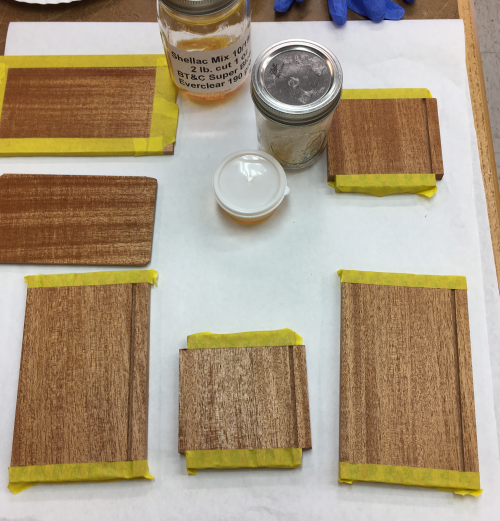
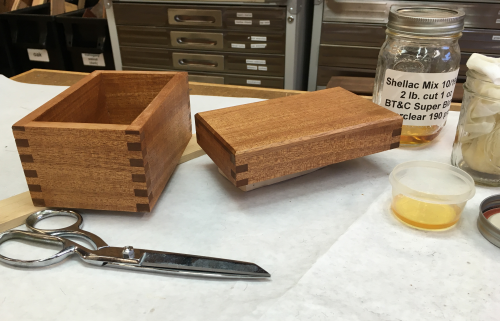
After light sanding, I covered
fingers with tape to prevent future glue surfaces from getting
shellac on them...padded on 2# Super Blonde
shellac...three coats total.
|
 |
| Minor gaps were present at
several finger joints... |
 |
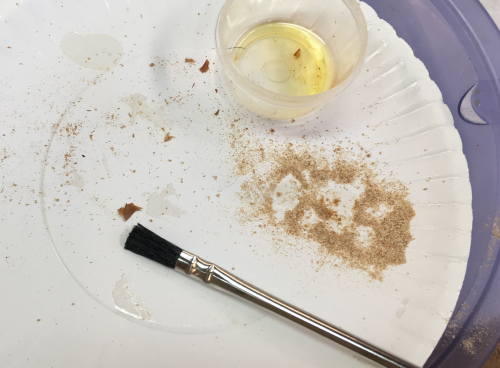
| The solution was mahogany dust
from the project...applied with a brush using shellac as the
glue. |
 |
|
Finish sanded the box exterior...hand sanded at 150x, 2209, 320x...cleaned with acetone...then padded on a coat of shellac. |
 |
|
Ended up with 3 coats of
shellac...light 000 steel wool rub in between.
|
 |
| Brass hinge hardware was installed at 1 1/8 in...clamped top and bottom together, marked holes, pre-drilled a very shallow pilot with 1/16 bit, placed screws with smallest Grace Phillips driver. | 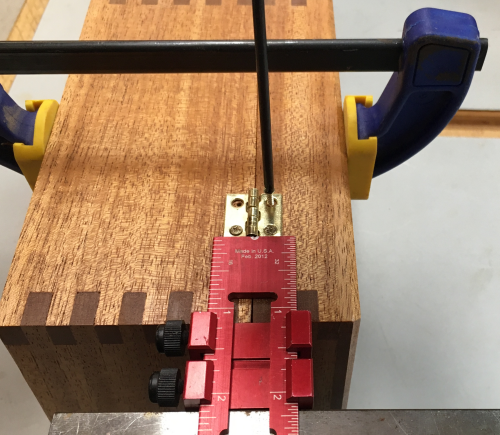 |
|
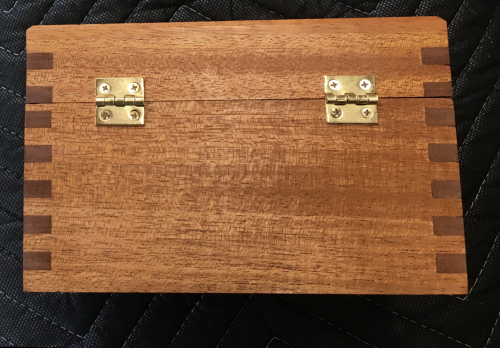
Finished rear of box...
|
 |