Making a bookcase to hold my woodworking library...will follow the basic construction pattern and techniques of Christopher Schwarz bookcase...
|
|
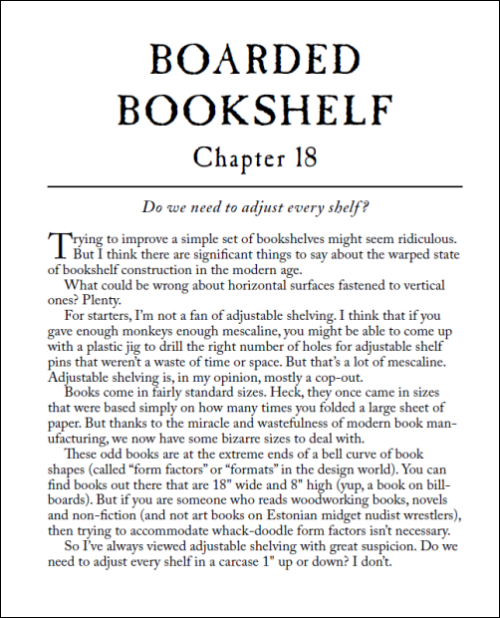
I originally saw this design in Schwarz' book, "The Anarchist's Design Book", chapter 18. |
 |
Downloaded the Video from Popular Woodworking site... |
 |
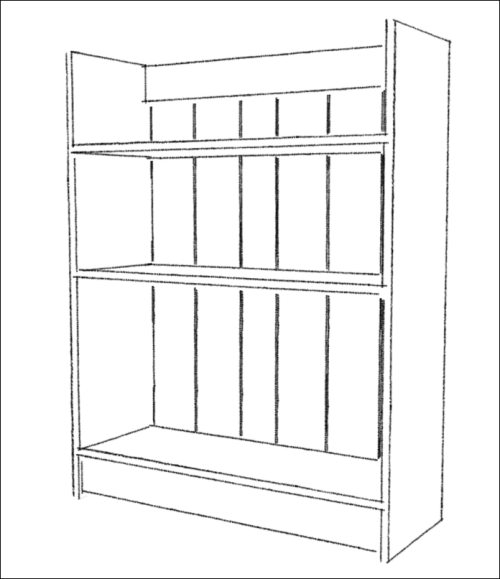
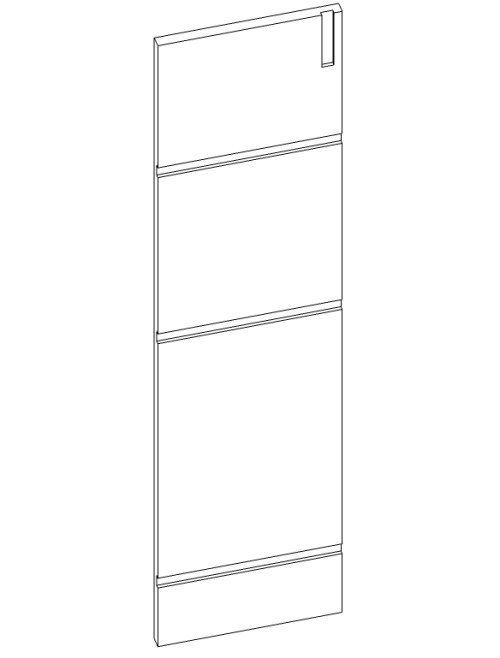
Schwarz' Sketchup...rough design. I will pretty much follow all of the dimensions...will do the milling and the construction in a hybrid manner...hand tools and machine tools. |
 |
|
|
|
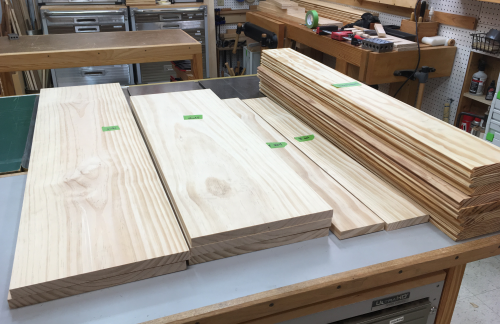
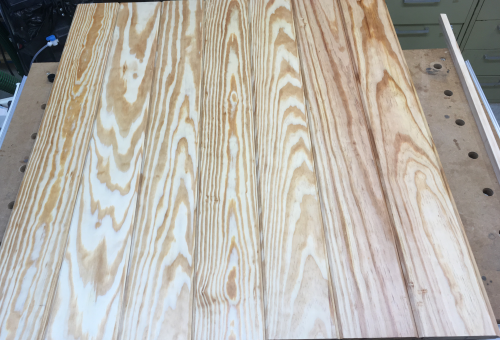
I purchased some 4s boards from the orange BORG. Premium pine...one 1 x 12 x 8 and a couple of 1 x 12 x 6s. These will provide 11.25 inch wide sides with 10 1/2 inch wide shelves.
|
|
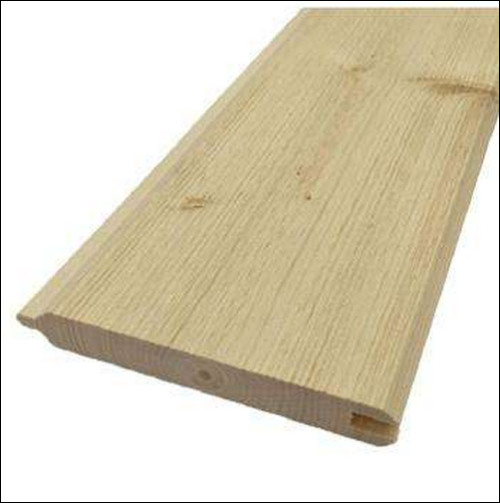
Additionally, I bought 4 secondary pine boards...5 inches wide x 3/4 inch thick with vee-tongue and groove. |
 |
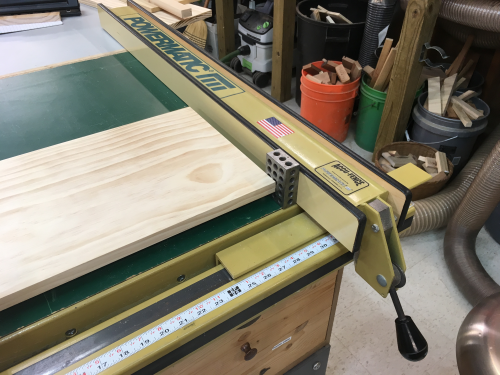
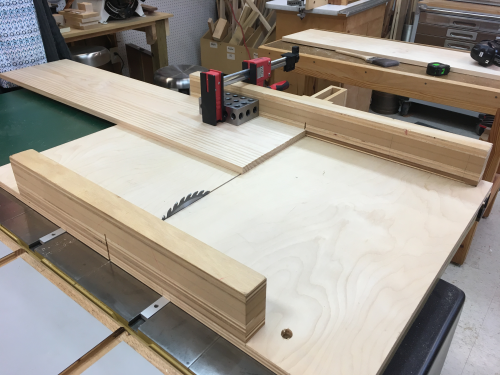
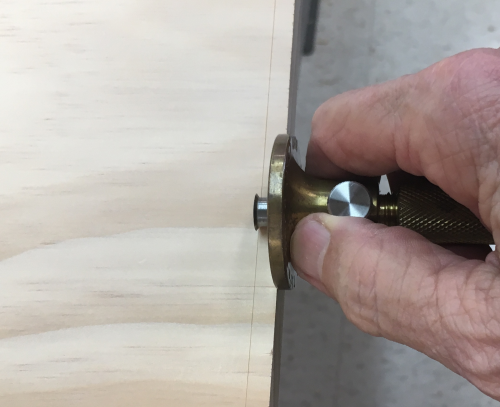
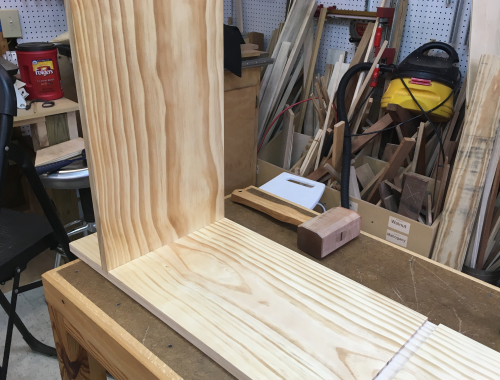
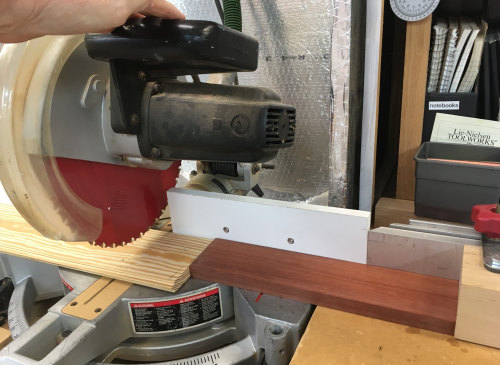
The large boards were roughly cross cut with a jigsaw and then cleanly cross cut with the sled on the P66...here a 1-2-3 block is used to measure against the fence...this was to cross cut at 35.5 inches for the shelves and rails... |
 |
Then the longer boards (the sides) were cross cut to get a square end...then they were cut to length of 46 1/8...the length of the board required some weight as ballast, some clamping pressure, and Cindy as an outrigger... |
 |
All of the wood after the first cuts...will be stored for a bit. |
 |
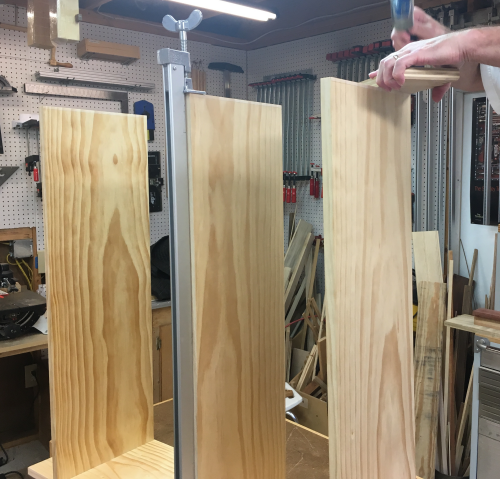
The sides will have three horizontal through dadoes for the shelves...and one vertical stopped dado for the top rail. |
 |
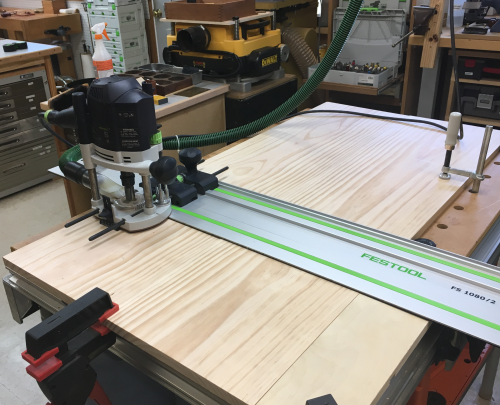
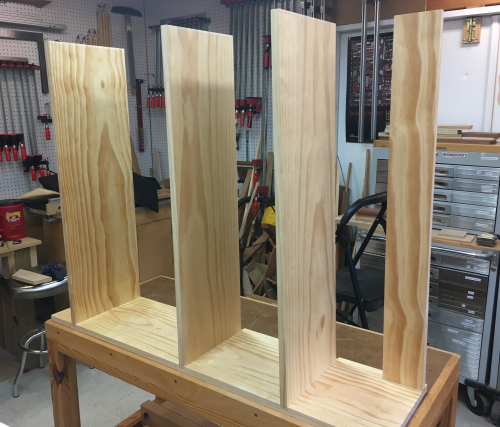
The horizontal shelf dadoes were made in both sides at the same time...this was done at the MFT3 table with 3/4 inch router bit... |
 |
The mirrored dadoes turned out right on time... |
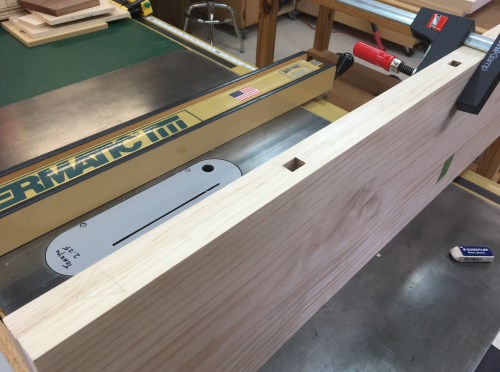 |
The vertical stopped dadoes were made with chisels... |
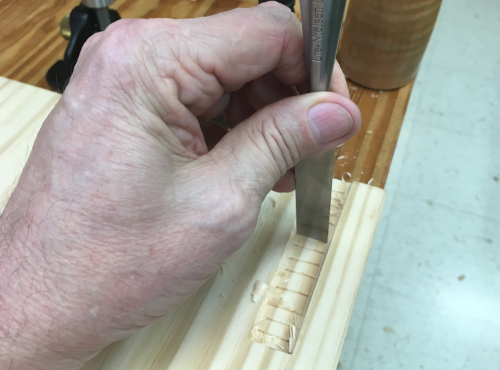 |
...and cleaned with a router plane. |
 |
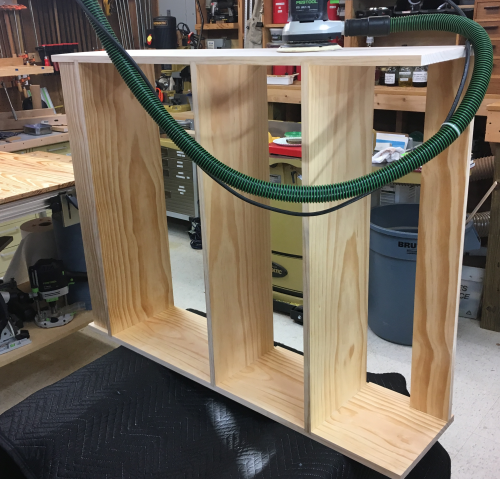
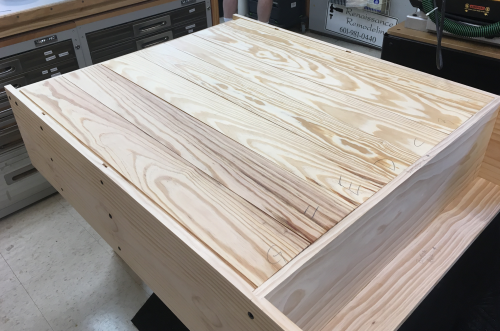
Dry fit...all ready to do some surfacing on the inside faces and shelves and then glue up... |
 |
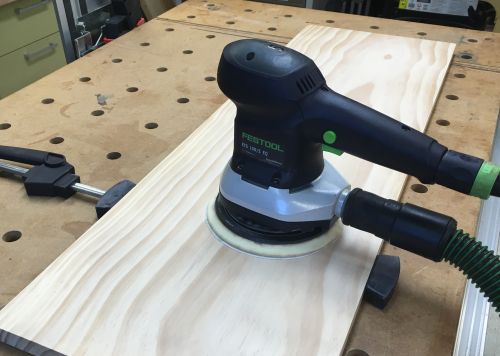
Before the carcase assembly, the interior surfaces of the sides and the surfaces of the shelves were to be sanded and prepped... Prior to purchase there were some dings on the pine...and during the milling process the radiata was prone to pick up "shop rash" ...first phase was to identify the dings... |
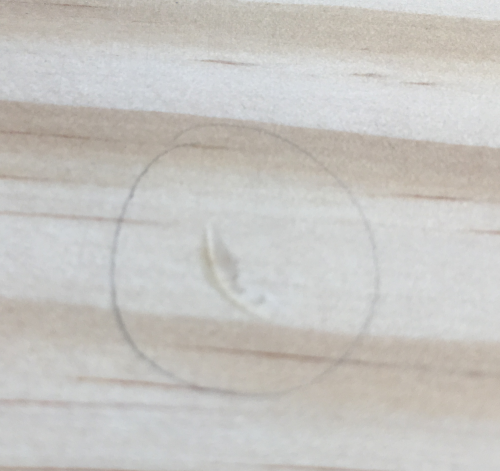 |
| ...then I dampened them and ironed out the dents... |  |
...most closed up nicely. |
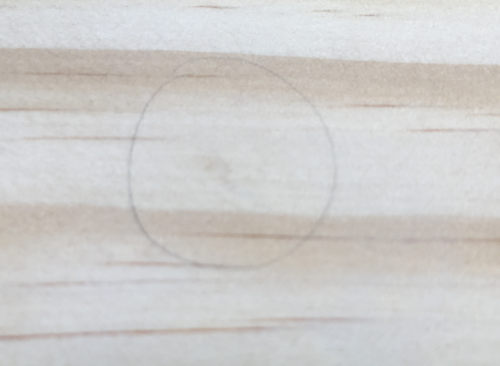 |
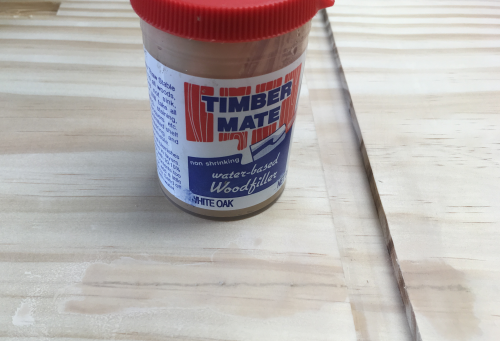
There was one pretty severe ding... |
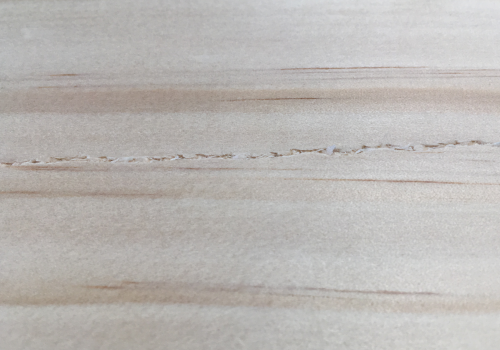 |
...after ironing it out the gash did not pop all the way out to the surface...so I filled it with Timber Mate wood filler...white oak... |
 |
Then all the interior surfaces were sanded with Rotex 150mm with a grit progression of 120x-220x-400x. |
 |
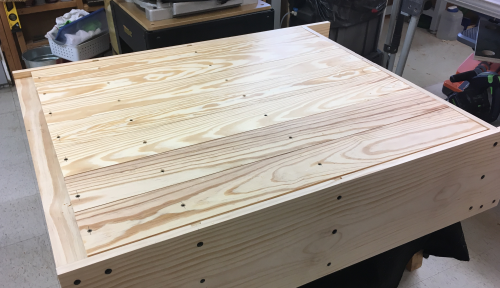
Shelf ends that would be glued were identified and marked off... |
 |
...then they were taped off so that varnish would not affect the glue joint. These boards will be proteced with moving blankets from this point on. |
 |
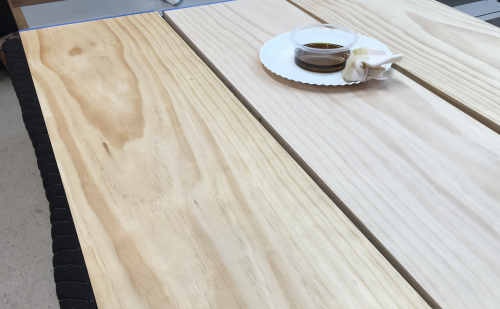
I rubbed on three coats of wiping varnish...shop made with 1/3 spar varnish, 1/3 boiled linseed oil and 1/3 mineral spirits.
|
 |
The shelves and the top rail were glued into the dadoes using hide glue.
|
 |
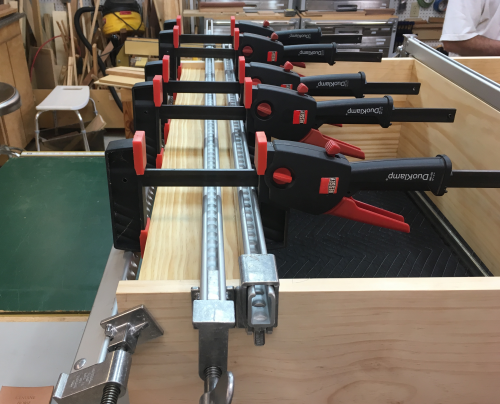
The horizontal shelves were a tight fit in the dadoes...the boards had to be pounded in...from above for leverage... |
 |
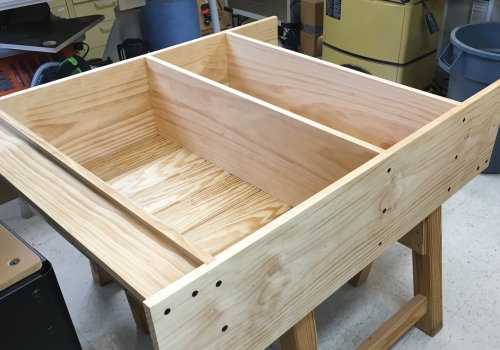
All horizontals and the vertical top rail are in place... |
 |
The other side was laid in place and pounded and clamped into position...the clamped assembly was moved to outfeed table. |
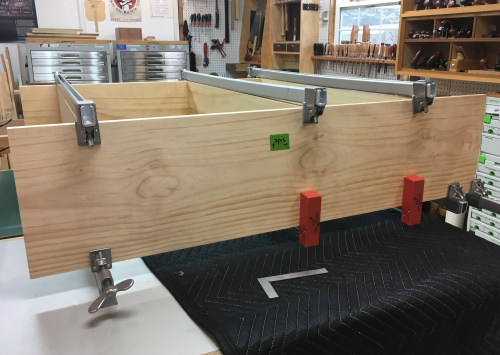 |
The front kick plate was glued into place beneath the bottom shelf. |
 |
The seven back boards were milled to a thickness of about 11/16...and then they were chopped to a length of 39 inches. |
 |
The dry fit of the seven boards...then the application of wiping varnish. |
 |
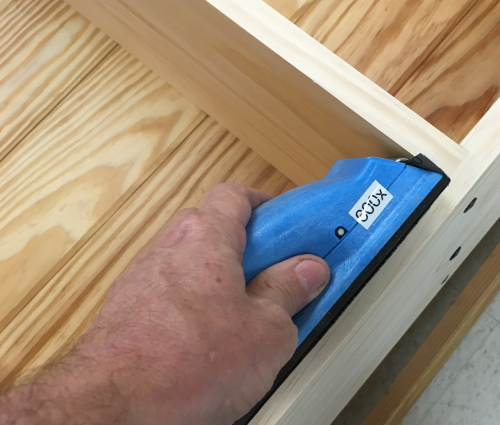
After pulling the unit out of the clamps I placed the carcase on the saw benches...and sanded the outer faces of the sides of the case. Rotex 150mm with a grit progression of 120x, 220x to 400x. After sanding, ready for nails... |
 |
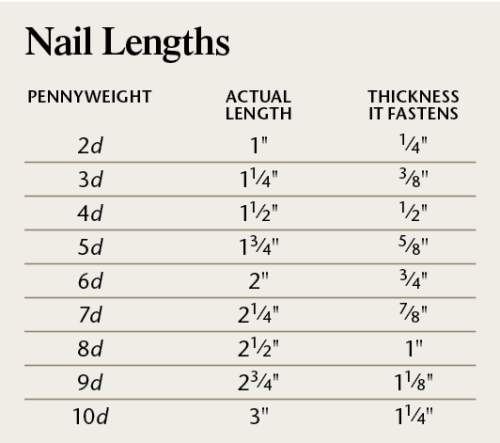
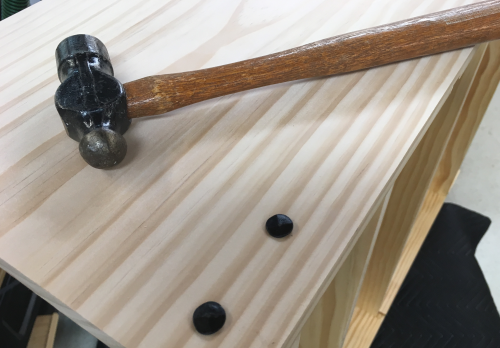
The length is determined using the following formula...determine the thickness of wood to be attached...in this case 1/2 inch. Convert that to eighths...thus 4/8...take the top number, in this case four provides you with the penny...I am using a 4d nail. |
 |
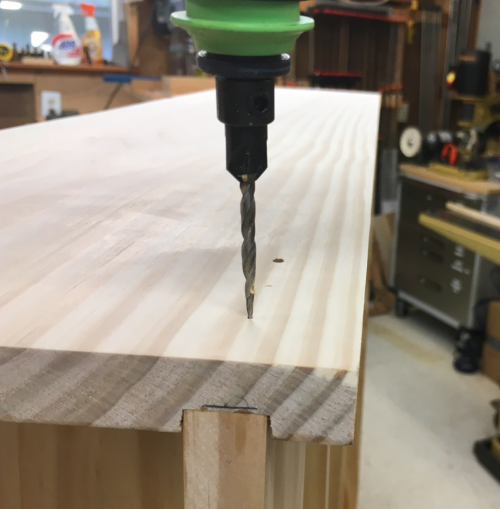
The pre-drilled hole will be about 2/3 as deep as the nail shaft extends and will be tapered. |
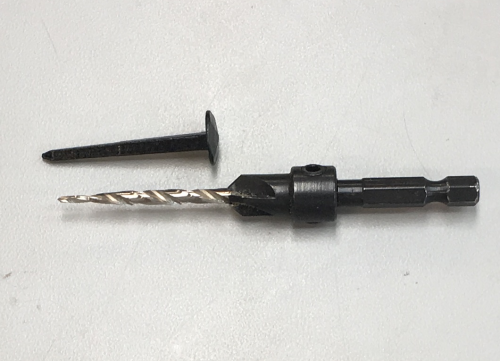 |
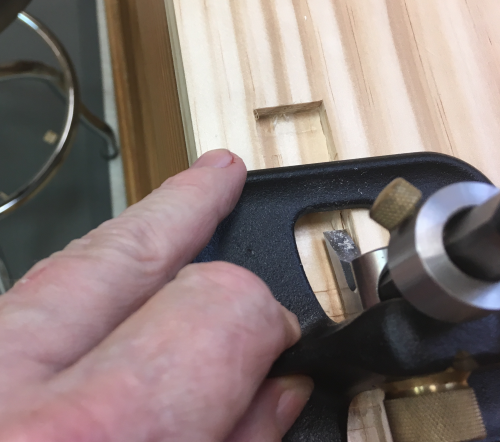
I did the verticals first...laid out the holes and drilled with the tapered bit... |
 |
...hammered in with a peen hammer. Then we laid out for the horizontals...using a tick stick... |
 |
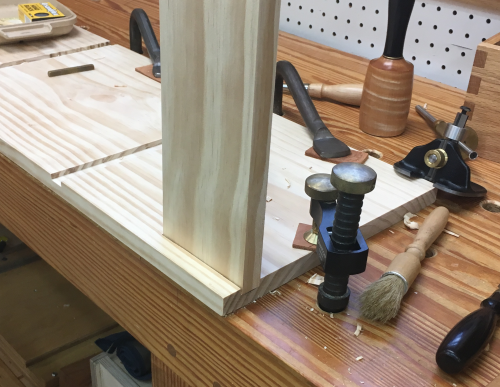
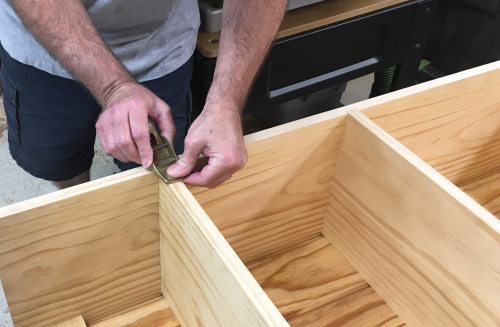
The rear tongue and groove boards were dry fit into the the back of the carcase.
Seven slats went in as full units...the base of the board rests on the bottom shelf... |
 |
Secured them with screws...#8 x 1 1/4 inch square drives up through the bottom shelf into the bottom of the back board, through the back board into the two shelves... and #6 x 1 inch from the rear of the back boards into the top rail. All of the screws were located in the center of each back board to allow for expansion side to side. |
 |
A wooden strip was attached to the back of the top rail to hide the end grain tops of the back boards. Construction complete...
|
 |
All of the front show surfaces were made coplanar with various block planes and smoother planes... |
 |
Then these show surfaces were sanded by Rotex 90 in grit progression of 100x, 220x, to 400X... |
 |
...and then finished with hand sanding at 600x |
 |
...and all the edges and the outer faces of the sides received three coats of rubbed on wiping varnish. Image is after first coat. |
 |
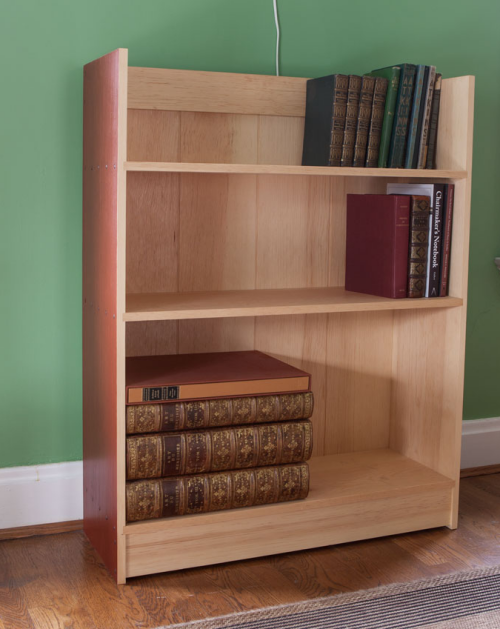
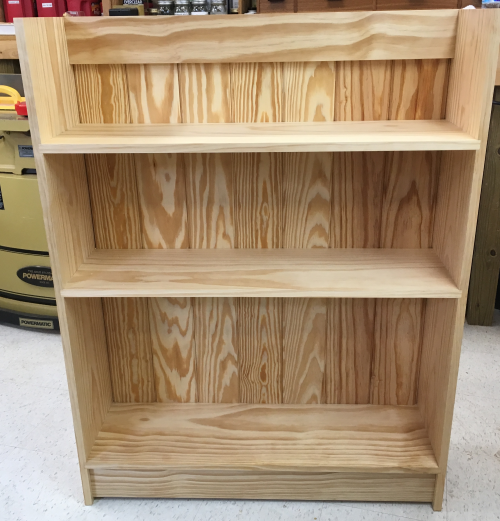
Bookcase completed... |
 |
The unit in service... |
 |