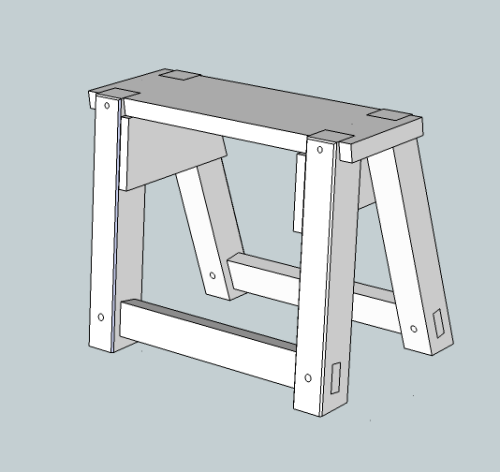
This bench is for our back porch. It is meant to be a very rustic work, low to the ground, and very sturdy. It follows the design of the sawbenches. Changes from that design will be a top that is shorter...legs that are shorter. I plan to sit on it to put on my boots. Cindy wants to be able to stand on it to reach her bird feeders. |
 |
Top will be 24 inches long, ~8 inches wide and 1 5/8 inch thick. |
|
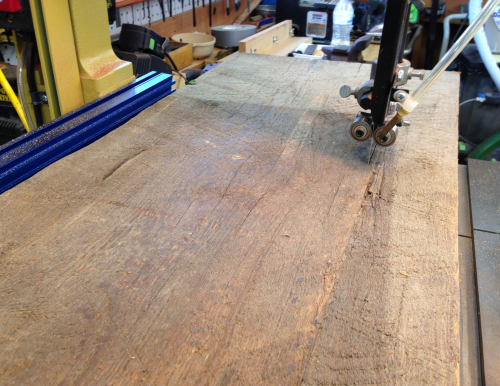
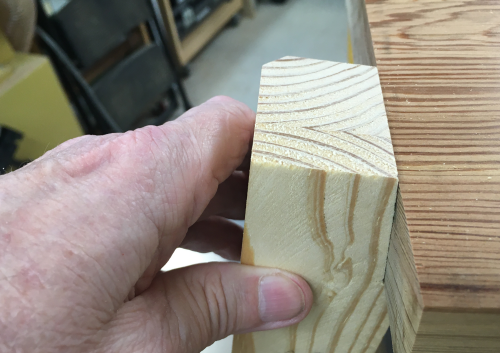
The most important element of the design will be sturdiness. Here is a surface look at the large slab. Original saw marks are very visible. This larger piece of wood is about 11.5 inches wide and ~36 inches long.
|
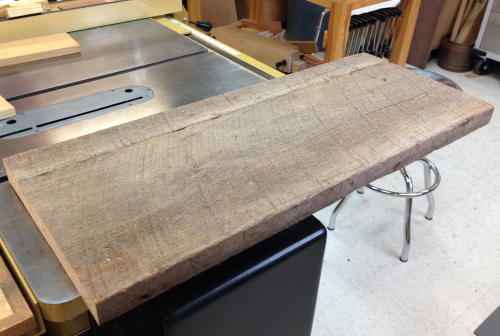 |
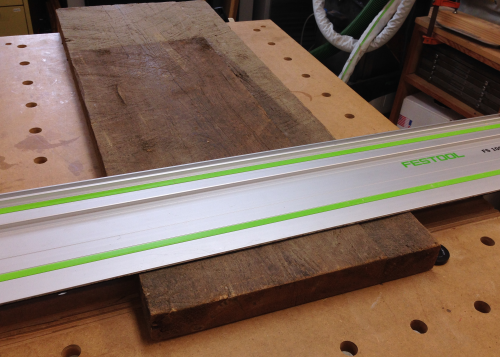
The main slab for the top has been stored in my shop for over twenty years. It came from Mr. Reese's shop. I have no idea how long it has been in this rough cut condition. It is my belief (as well as the belief of a local lumber man) that this wood is old growth, very tight grained, virgin southern yellow pine. It is really dry and hard. I am cutting off a piece on the MFT3 to get an idea of the wood. |
 |
The slab is about 2 inches thick. There are two pieces joined together. I plan to remove the smaller edge piece. The rings are very tight, there is a unique pitch odor to the wood which lends credence to the pine theory. |
 |
I ripped the piece on the bandsaw
to remove the outer, smaller portion. |
 |
Then I ran it through the jointer
to neaten up the edge. |
 |
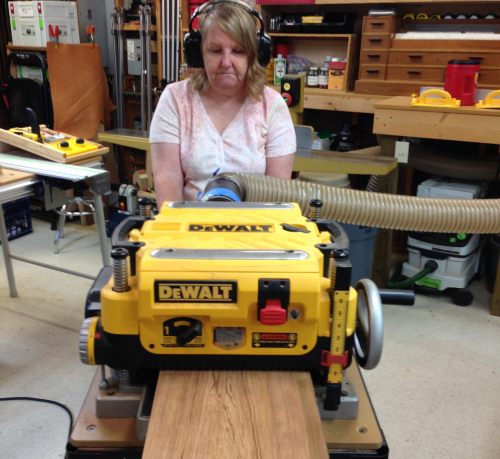
Cindy and I surface-planed
both sides of the slab. |
 |
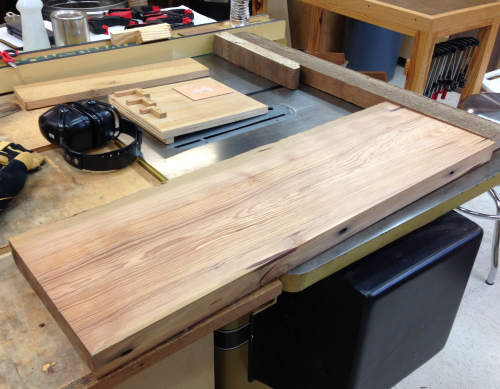
Roughed out blank for the top of the bench. |
 |
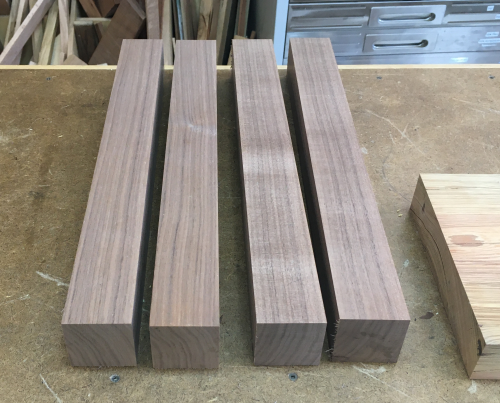
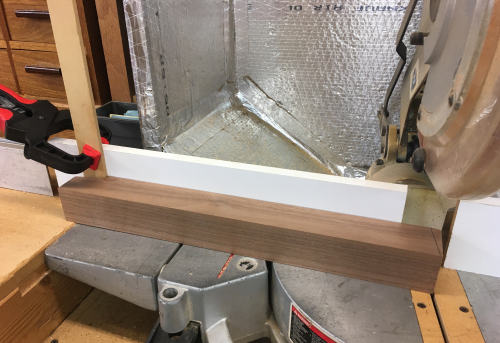
The top was later milled down to 24 inches long and 8 wide. In the shop attic I found a couple of black walnut 2 x 2 x 36+ blanks. I think these came from Tom's supplies over a decade ago. |
 |
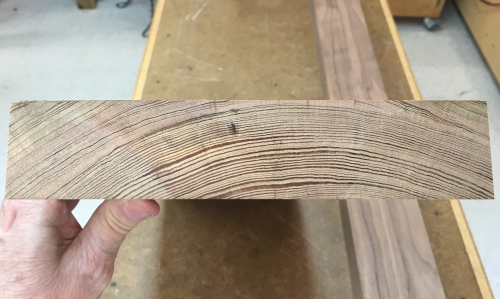
End view of how tight the rings
are... |
 |
The black walnut leg blanks were chopped down to 18.25 inches long. They were surface planed on all four sides for appearance...final size is ~2 x 2. There will be a stretchers with mortise and tenon joinery made from yellow pine cut offs. The leg braces will be plywood. Dowels will be oak. |
 |
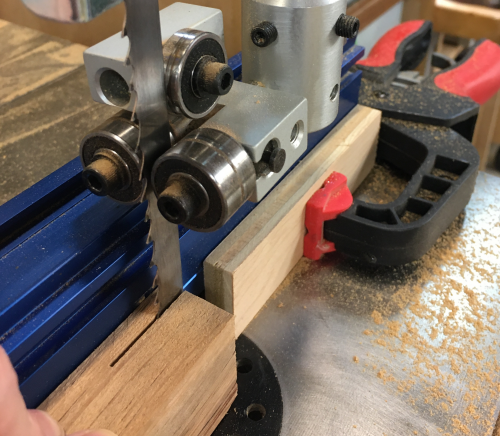
In the sawbench build we had used a couple of jigs that were set at 10°...this one is used on the bandsaw to cut the haunches on the legs. |
 |
There were differences in the width of the legs and the thickness of the seat between the two builds so I had to do some CTD work until I got the angle and depth of cut right...there had to enough of the leg out proud of the bench seat...it will be cut flush later. |
 |
The legs were then cut at bandsaw at the 10° angle using the jig. It was not a through cut so I used a stop. |
 |
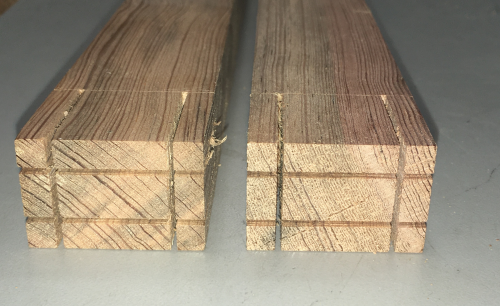
The four legs... |
 |
The bottom of the bird's mouth was back cut at 10° on the bandsaw using the mitre gauge. |
 |
The angles were cleaned up
with a shoulder plane...spelching was an issue. |
 |
Using marriage marks I reset
the four legs and checked all surfaces...everything was pretty close. |
 |
The bottom of each leg was chopped on a 10° angle...the cut was made at a set distance from the bird's mouth...a stop was attached to fence to make all cuts referenced from that point. |
 |
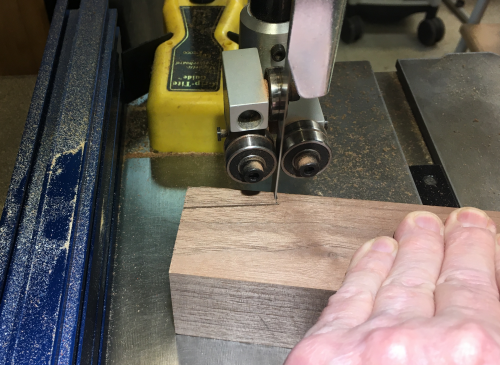
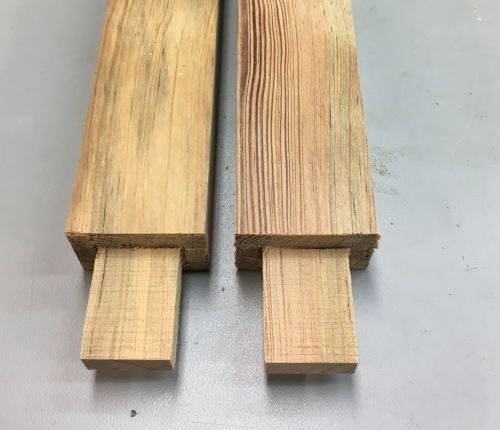
Tenons were cut at the bandsaw...~.25
inches off fence...all four cuts...measurement was not meant to be exact...it
was calculated using CTDs so that all the four cuts would be the same
saw setup and the tenon was then usable... |
 |
After the first cuts...lay out for shoulders is 1 3/16 inches off the end...shoulder to shoulder measurement at 18 inches. |
 |
Shoulder cut line was clearly delineated with marking gauge. |
 |
Then the shoulders were handsawn with Stilleto... |
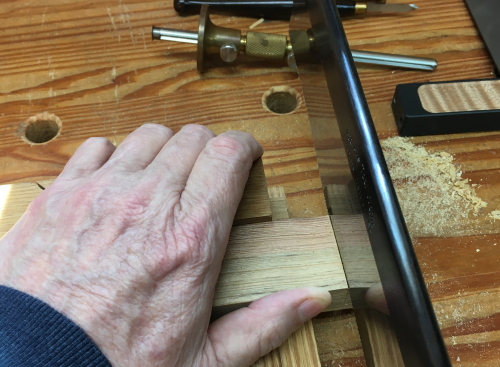 |
The tenons were all usable straight from the saw...will use rasps to custom fit once the mortises are milled. |
 |
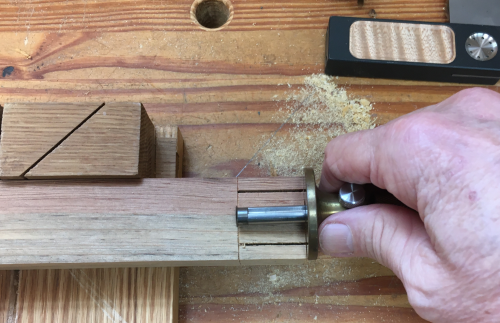
Mortises were created on dedicated mortiser...used tape instead of pencil on dark wood. |
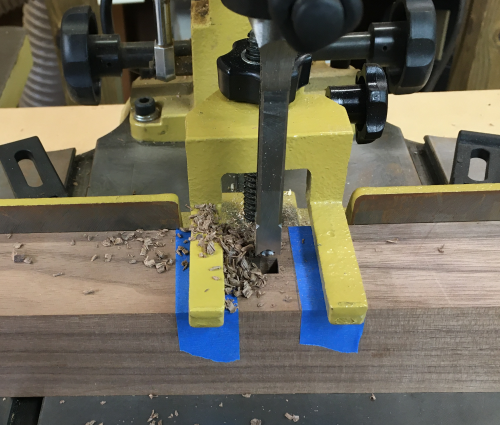 |
A set of mortises... |
 |
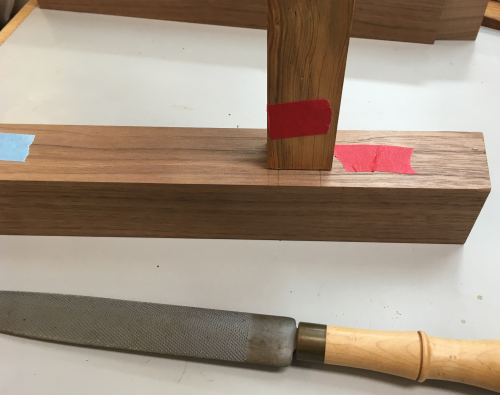
Used a rasp for cleaning up the tenon. |
 |
Dry fit of one side |
 |
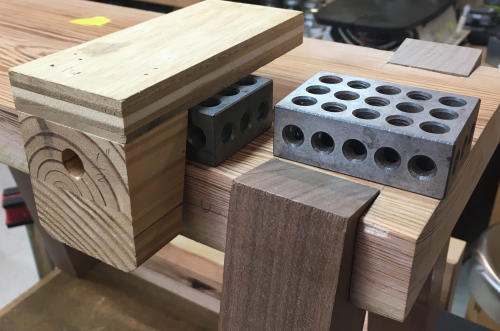
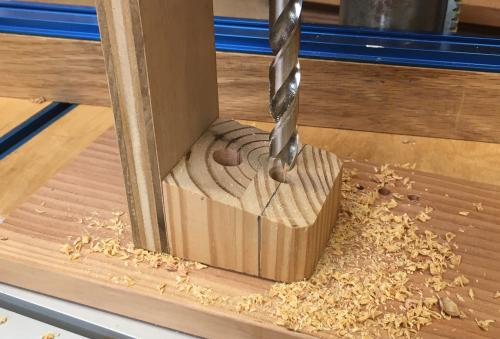
Holes drilled for 3/8" oak dowels... |
 |
Glue up with dowel install... |
 |
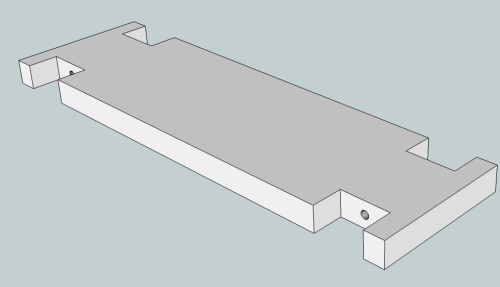
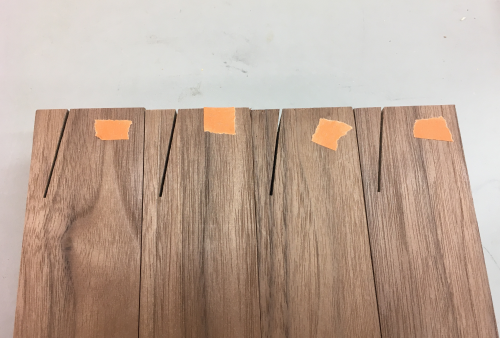
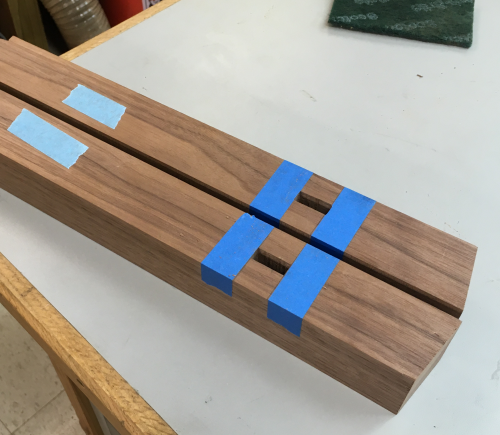
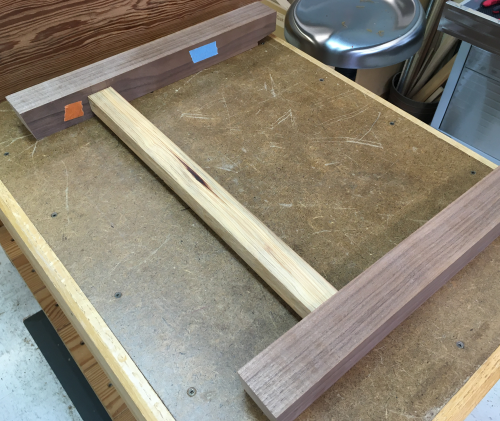
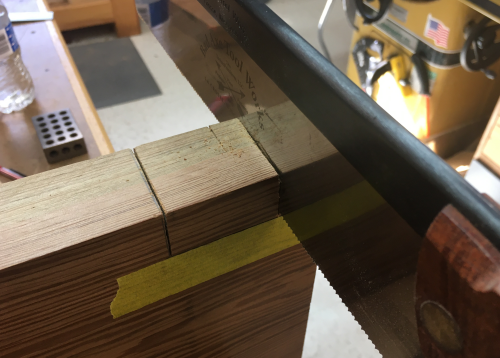
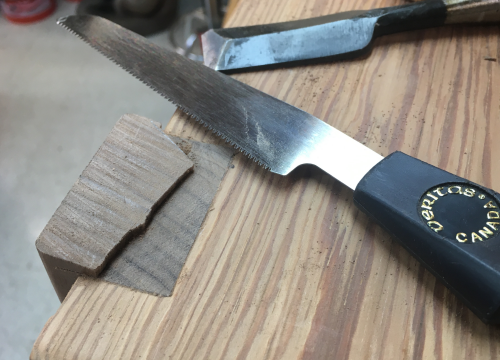
| Creating the slots for the legs...The cross cuts were done with bandsaw or Bad Axe small tenon saw. The layouts were made by laying leg assemblies on the top...cuts were made inside the marks so the hole was skinny. |
 |
The joint cutout was then worked
with rasps, chisels, and sandpaper until a friction fit was adequate. |
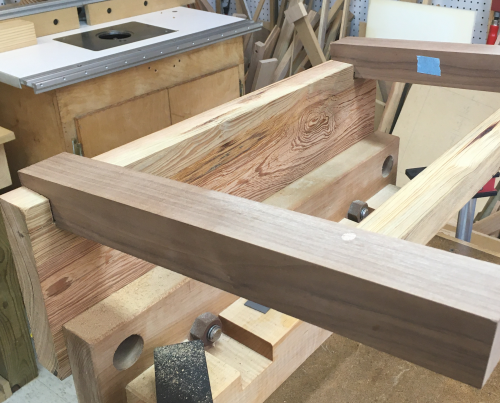 |
Dry fit of the leg assemblies... |
 |
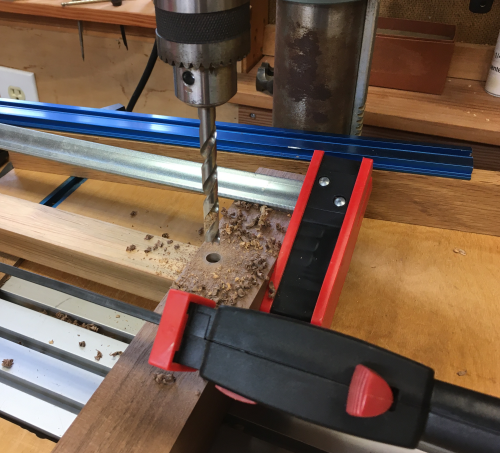
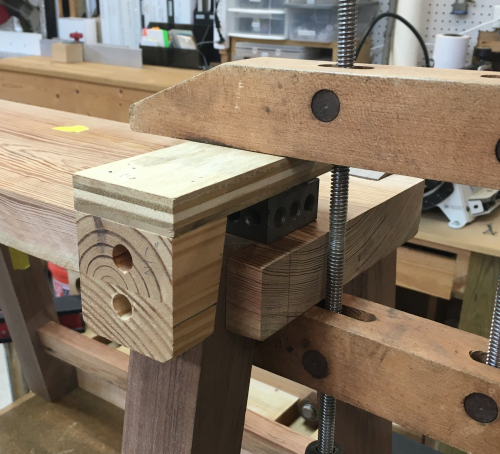
In the original sawbench design the joints were glued and then pinned with a dowel...in this bench I decided to use a screw in each joint to assist the fit during the glue up...I repurposed the 10° jig from first build...calculated where to put new centered hole...referenced at one inch off top of bench. |
 |
The new centered hole was drilled in jig... |
 |
Jig set up to put a 1/2 inch hole at x inches deep... |
 |
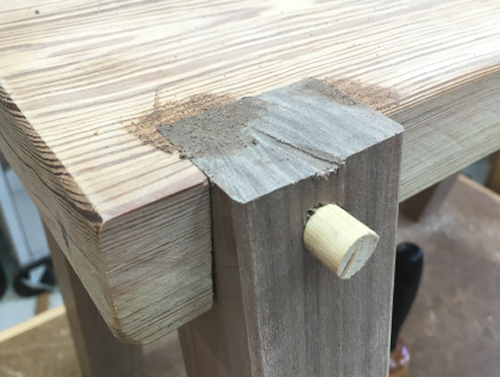
The angled tops of the legs
were sawn co-planar with the top. |
 |
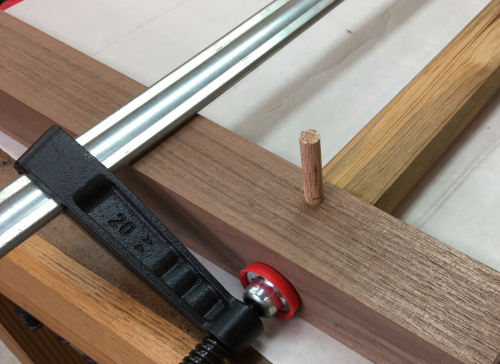
Screw was used during glue up and clamping...then hole was plugged with a dowel...gaps were filled with glue/sawdust filler. |
 |
Some left over amber shellac and some General varnish were applied...rubbed on. |
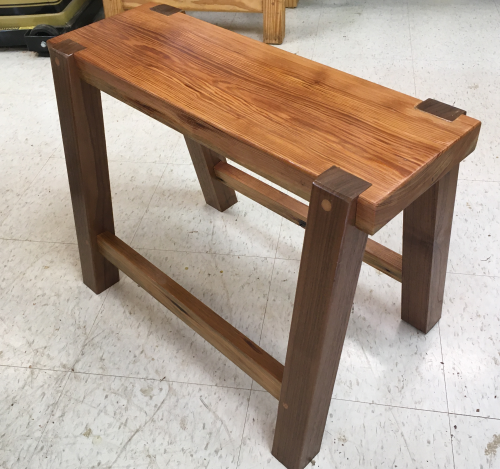 |
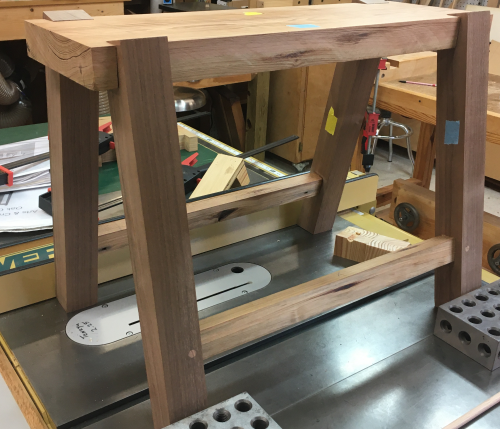
Side view |
 |
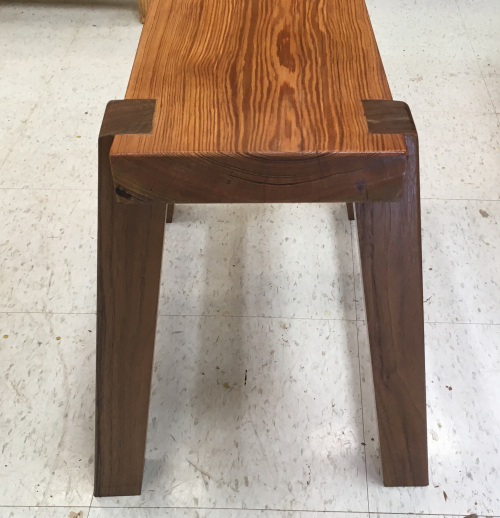
End view |
 |
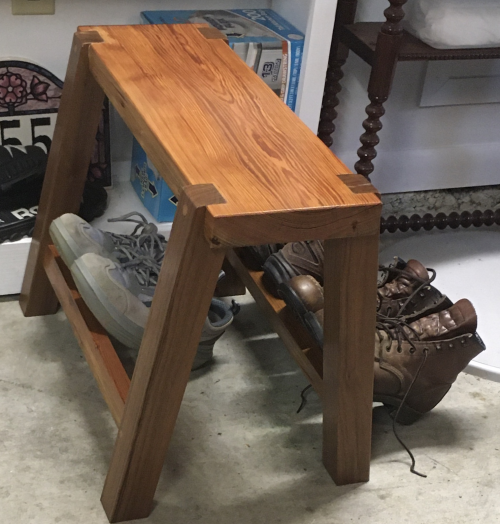
Bench ended up being used in garage...
|
 |