|
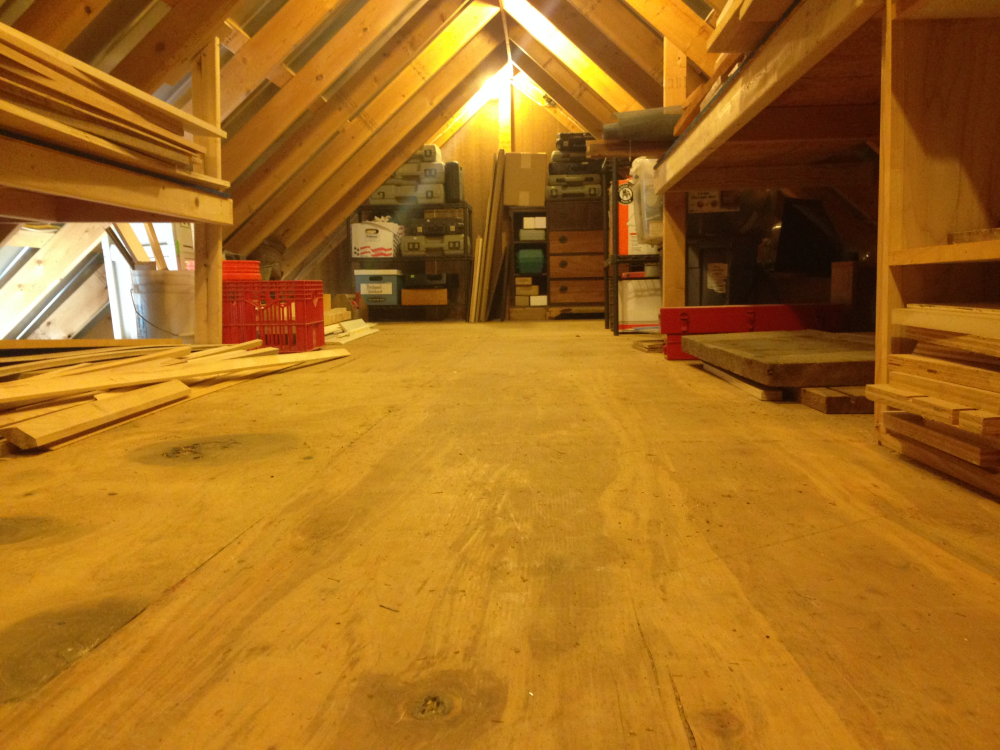
The attic remodel in the shop involved changing the storage area to maximize space. This included the removal of as many stored items as possible. Lots of items moved from the previous shop were sorted. Several trips to the metal recyler helped and some items were just trashed. Major improvements were wood storage
|
||
|
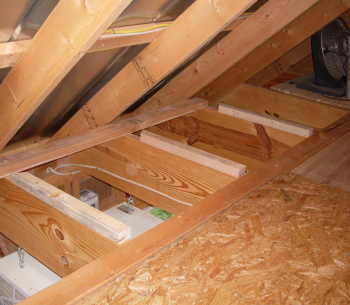
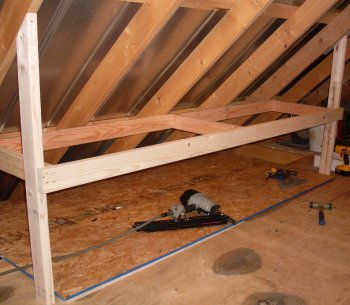
I wanted a solid base that would support storage of full 4 x 8 sheet good. I added a rear support spine, scabbed the tops of the ceiling joists, put a scab strip to level the front edge. |
 |
|
|
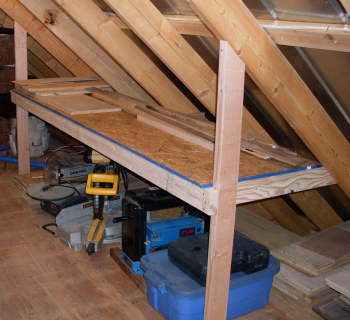
After flooring the bottom storage area
with 1/2 inch press board, I built a frame for a second shelf.
|
 |
|
|
The upper shelf is 24 inch x 8 feet.
|
|
|
|
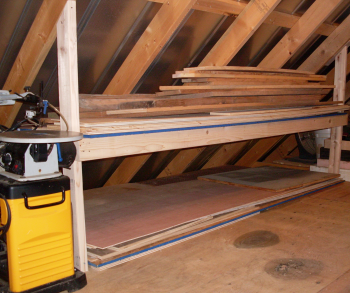
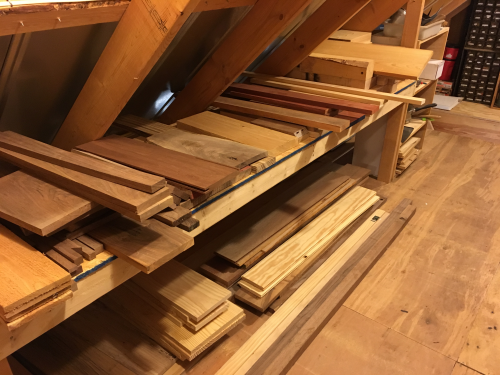
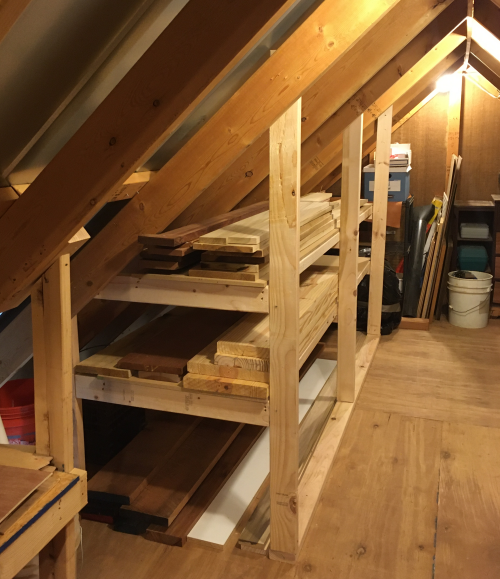
Here is the unit with some wood
stored.
|
 |
|
|
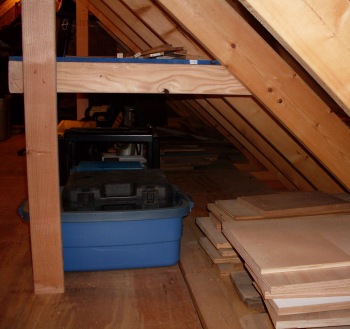
This is the second unit on the opposite
It is desinged to only be a single shelf (24" x 8') |
 |
|
|
The second unit has "captured space"
behind the tools. |
 |
|
|
2016 update Major overhaul of storage space
|
||
|
The access ladder to the attic is a 12 foot long 100 lb model that disappears into the ceiling joist space. For four years I lifted and lowered this ladder with a rope and pulley system. It had become increasingly difficult as I aged...and when James said I should look into a "winch system" it tumbled me off in an upgrade.
|
||
|
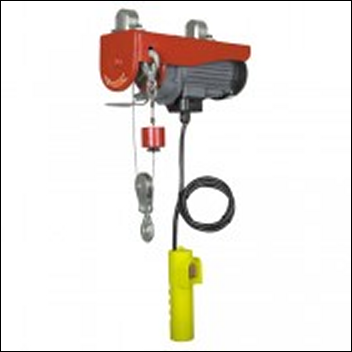
After some design assists from Bob, the BioMed engineer at work. I developed a plan. I purchased this 110v hoist from Harbor Freight. The unit is rated for 220 lbs. single line (my setup) to 440 lbs. with double line. |
 |
|
|
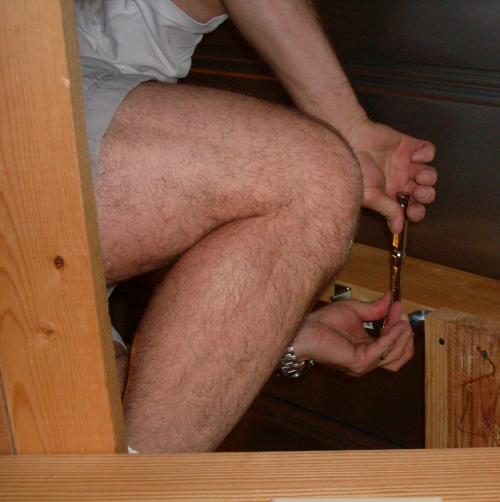
The hoist is designed to hang on a pipe. I used an old piece of solid 1 1/4 inch aluminum (aircraft grade Alcoa...a Reese's Piece) that had sat in the corner of the shop in a bucket for 15 years. In photo below James is mounting some heavy duty gate
hardware to the ceiling
|
||
|
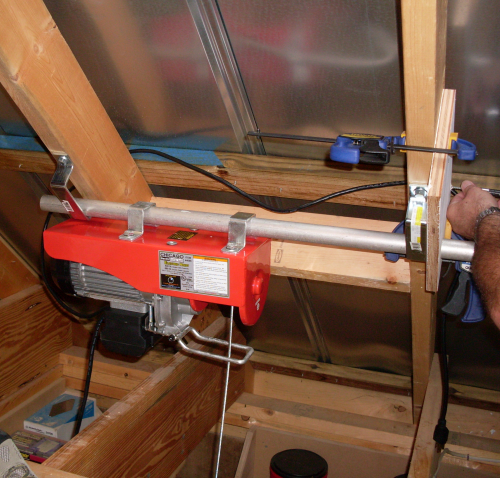
After the hoist was hanging on the aluminum bar, we made wooden plates with a hole to accomodate the bar and then screwed these to the rafters.
|
||
|
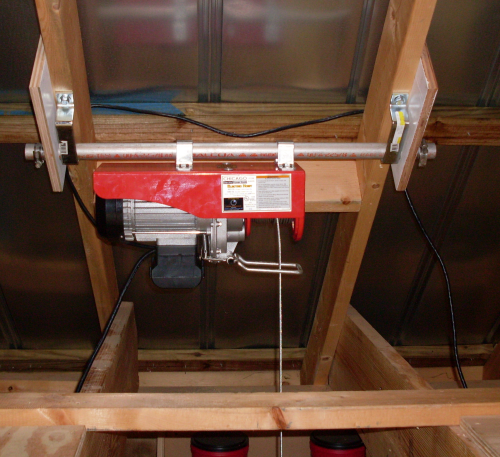
Then we added two worm drive clamps to each end the aluminum bar. These clamps, in conjunction with the wooden plates, will prevent the bar from moving laterally. The hoist itself is free to move on the bar as needed to "self-adjust" itself to pressures.
|
||
|
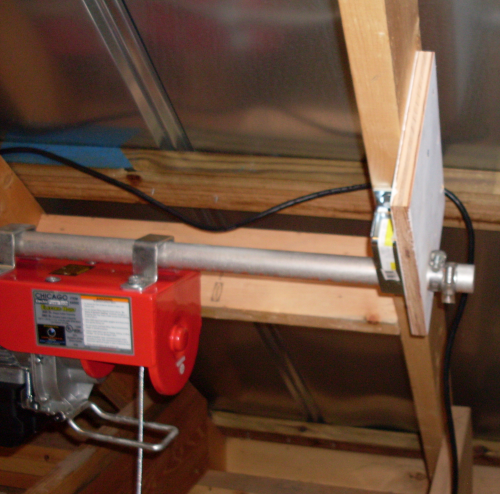
The completed installation.
|
||
|
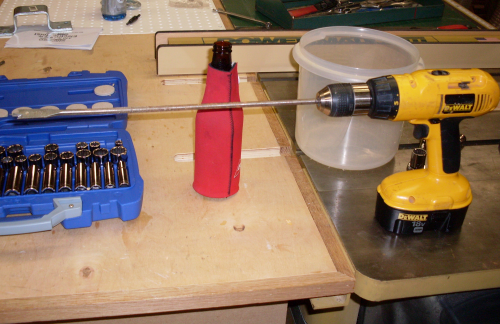
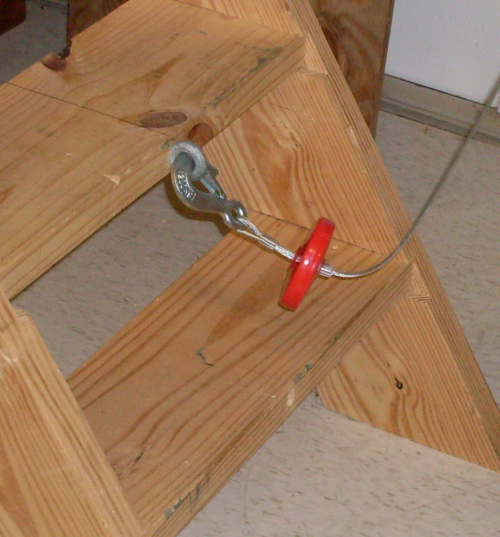
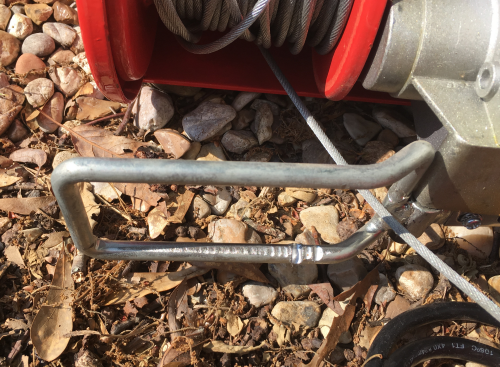
The original rope and pulley line had connected to an eye bolt on the bottom tread of the ladder. The new hoist cable needed a different angle and we had to move the eye bolt to the second tread. This required a damn long spade bit.
|
||
|
Here is the new cable line attached to
relocated eye bolt.
 |
||
|
The hoist worked extremely well. Here is a video of the quick lift capability.
Sorry the video is poor...I turned the camera 90 degrees to get the video and then had to edit it in a cheap video editor. When I rotated it the dimensions were off and James looks very stumpy. |
Click image to play video.
|
|
|
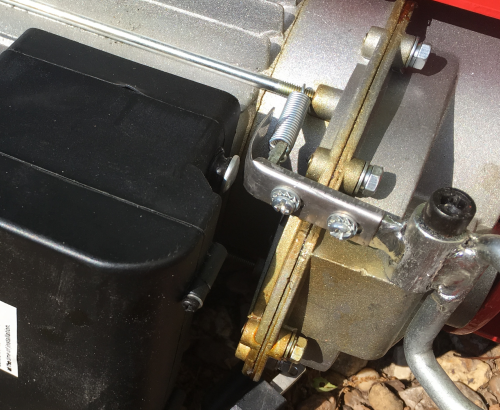
After some time, the Chicago Electric hoist began to leak...I determined that it was from the gear box...I tightened the bolts but it did not stop the slow leak...there was no way to replace this factory installed lithium grease...when it ran out and the hoist began struggling (after 7 years), it was time to replace the unit...I opted not to tear it apart. The joint that leaked is quite visible here. |
 |
|
|
After pulling the power and remote
control wires, for safety I temporarily secured two boards to
rafters in the attic...one under the unit and one over the
large opening.
|
 |
|
|
Cindy and I then pulled out the CE
unit.
|
 |
|
|
During the post mordem exam I found a
good bit of wear where the wire rope was rubbing against the
front edge of the stop control bracket...this is due to the
angle at which the ladder is pulled up...might try to lube
this with some UHMW on the new unit.
|
 |
|
|
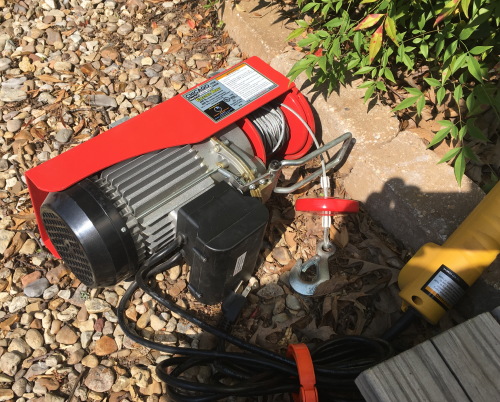
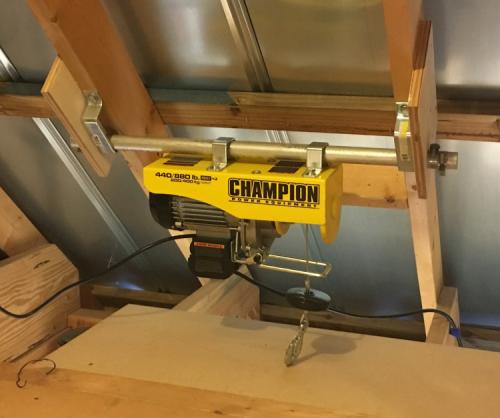
New unit from Champion Power Equipment...pretty much the exact same "Made in China" design as the previous unit...twice the HP...twice the weight claims...440 lb. with a single wire rope. It should install in the same location with few problems. |
 |
|
|
The install was fairly straight
forward...hold the unit in place, replace the bar and
clamps...hook up the power and
remote...remove safety boards...test without load...test with
load...ready to go...
|
 |
|
|
K12
Remodel 2018
|
||
|
Using the Kaizen philosophy plus my belief that at my age I have only 12 years left to climb into my attic...(I think I will stop at 80 years old)...I changed my attic storage. Sheet good storage was a key when I made the shop...now sheet goods are usually cutoffs by the time they make to the shop. South storage area redone... |
 |
|
|
On the north side...I scabbed the
floor area to make N-S storage easier...this will accommodate
pieces up to 48 inches long...
|
 |
|
|
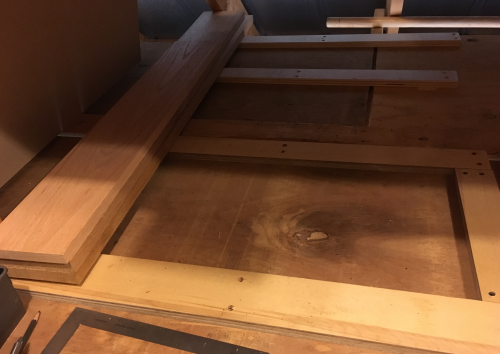
Running E-W this spot will accomodate
60 inch boards...
|
 |
|
|
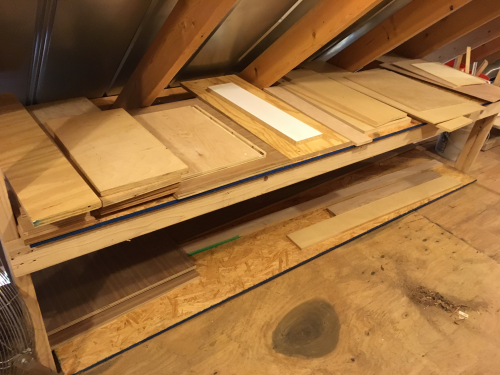
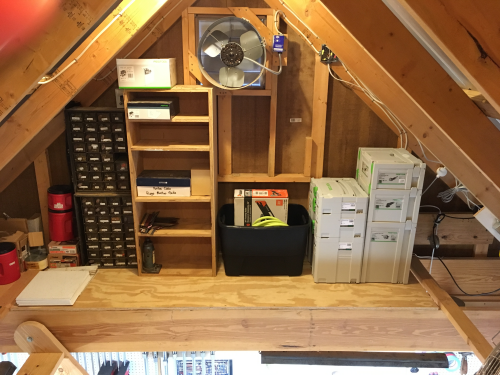
The upper shelf will accommodate wood
33 inches long...view of filled shelves...
|
 |
|
|
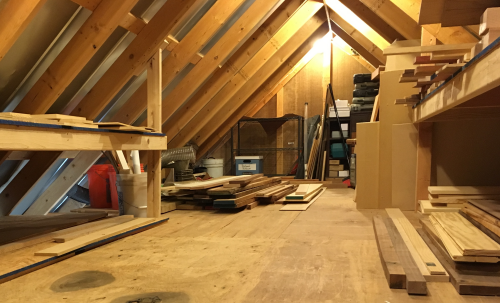
The boulevard is now pretty
clear...long slabs are stored on the floor at the west end.
|
 |
|
|
The east end was also reorganized.
|
 |
|
|
|
||
| Kaizen overhaul with nine years
left on the plan...east end got remodeled again. |
||
| The wood storage on the floor of boulevard seemed like a good idea but it has become dangerous. | 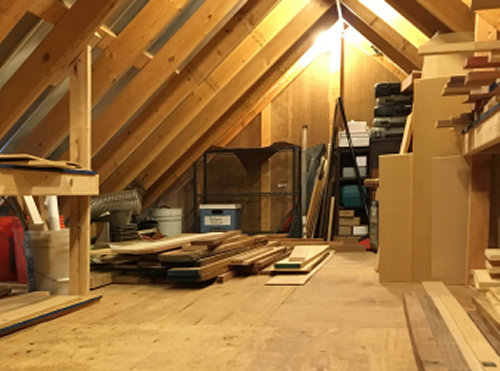 |
|
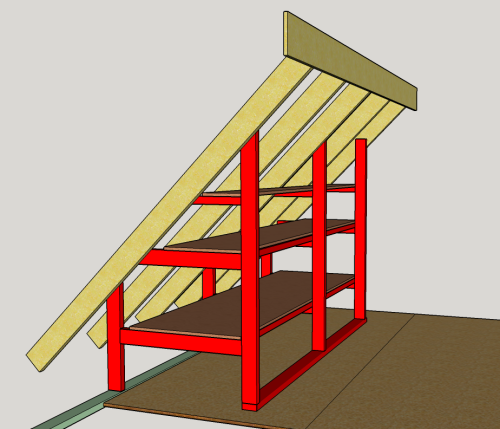
So a plan was made in
SketchUp to maximize the storage available.
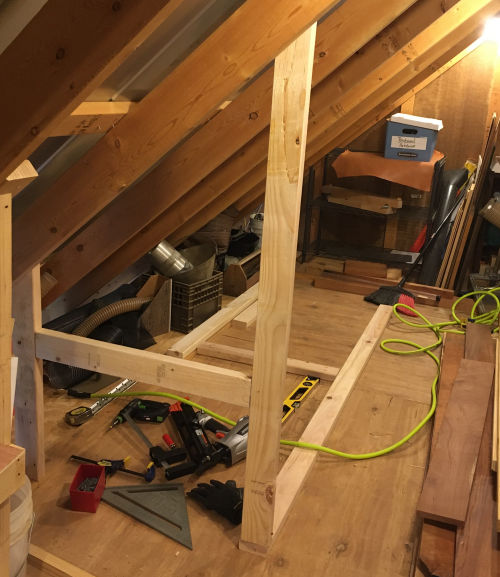
The shorter strut was secured
12d nail into a strongback (green in this image) on the
boulevard...
the taller struts were 12d
thunked into rafters, the bottoms were secured 12d thunked to
a bottom plate which was attach thunked into joists under the
sheet good of the boulevard floor.
|
 |
|
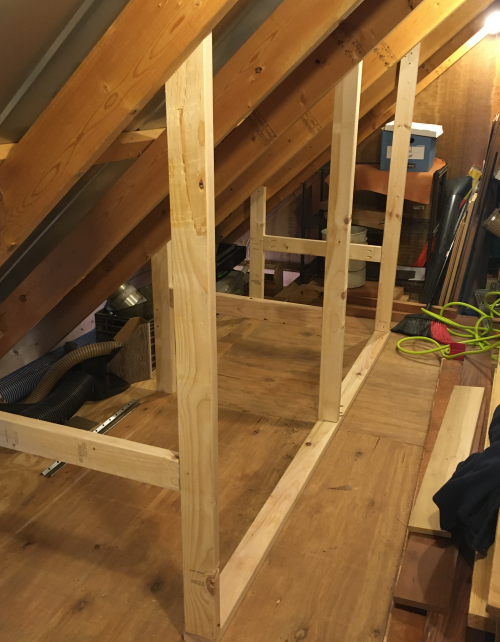
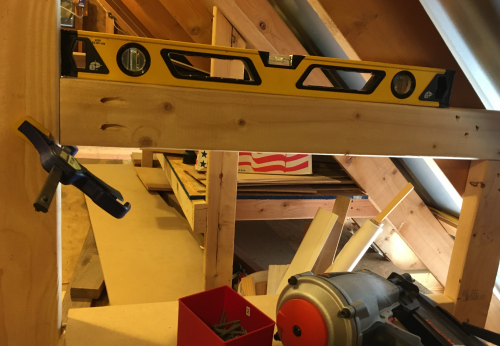
| The lower, larger opening
has a crosspiece that is Kreg pocket jig screwed into the
struts. |
 |
|
|
 |
|
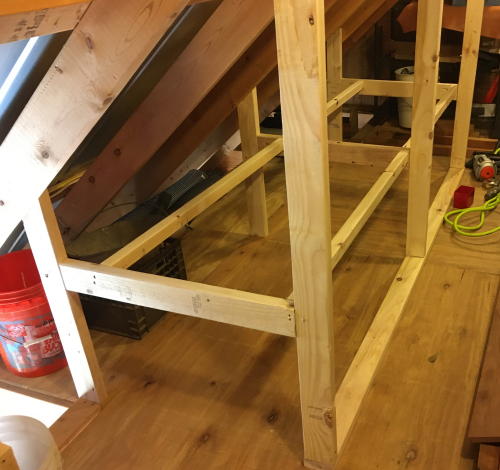
| The longer run support pieces
were 1.5 inch x 1.5 inch...12d nailed or pocket screwed as
needed. |
 |
|
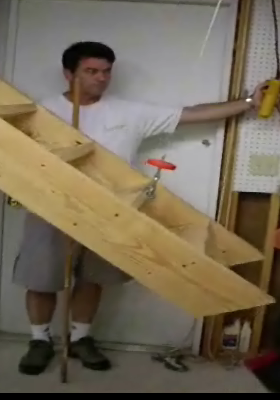
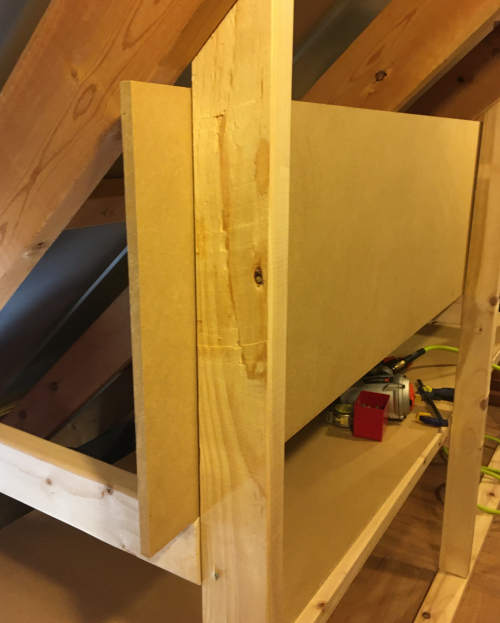
| Due to angles of surrounding bins...this shelf MDF could not go in horizontally...It had to go in vertically... | 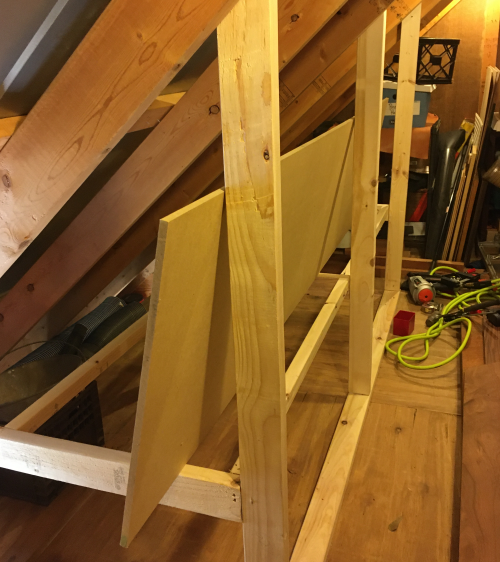 |
|
| and then dropped into the opening. | 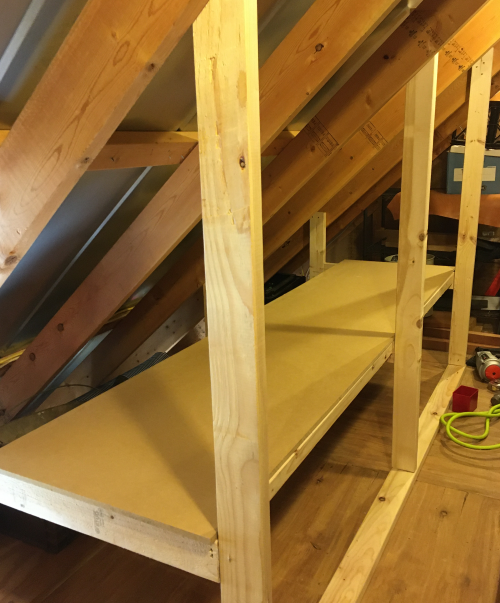 |
|
| The next level of support
crosspieces were pocket screws to the tall struts and thunked at
the lower strut. |
 |
|
|
The second shelf had a very
small margin for error to slide in vertically.
|
 |
|
| Wood neatly stacked and the
boulevard clean... |
 |
|
|
|
|
|